Here you will find a detailed documentation of how to use it: Online-Documentation
It’s still a Beta version, so please tell me if there are any bugs or just give me feedback about what can be improved!
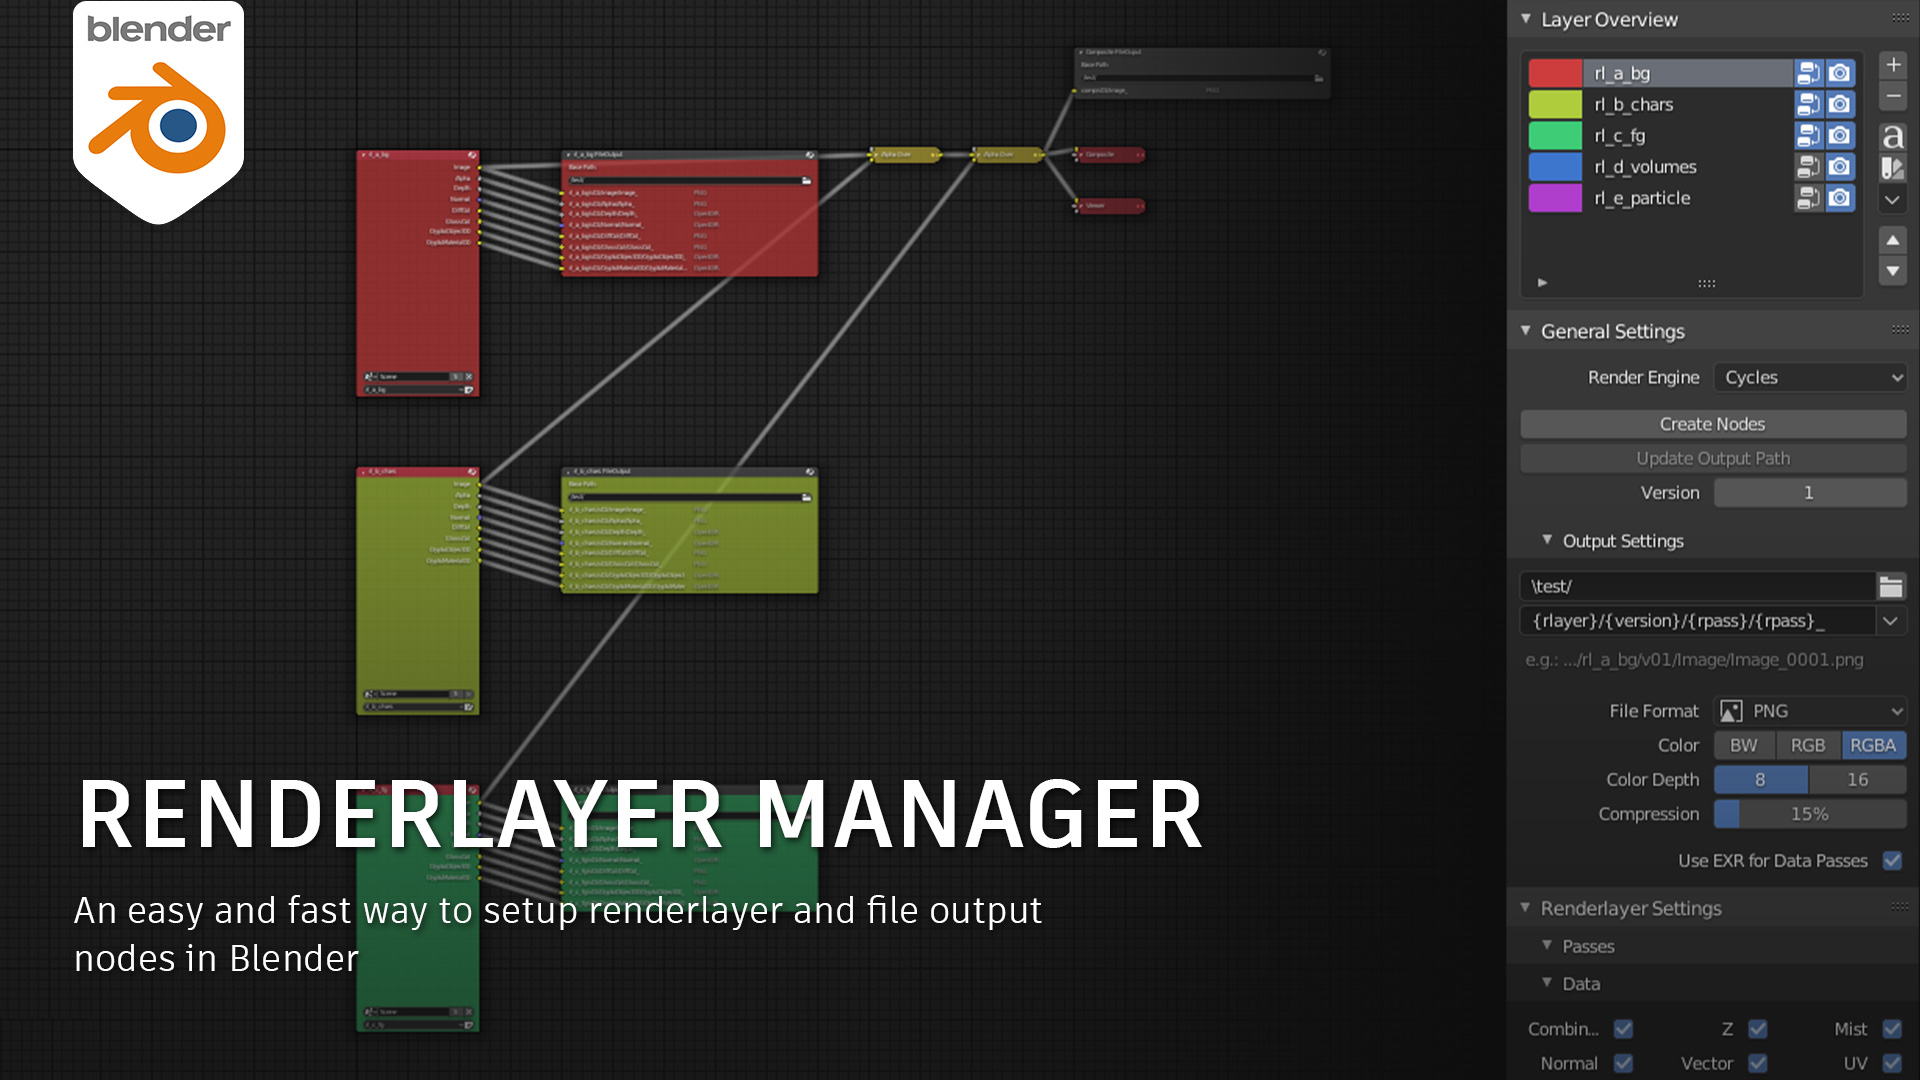
DESCRIPTION
This addon provides something I was always missing in Blender. It’s about the tedious and time consuming process of setting up all the renderlayer, renderpasses and file output nodes when it comes to the final rendering and compositing. So I decided to write some code that will help me with that in the future.
Here are some features this addon provides:
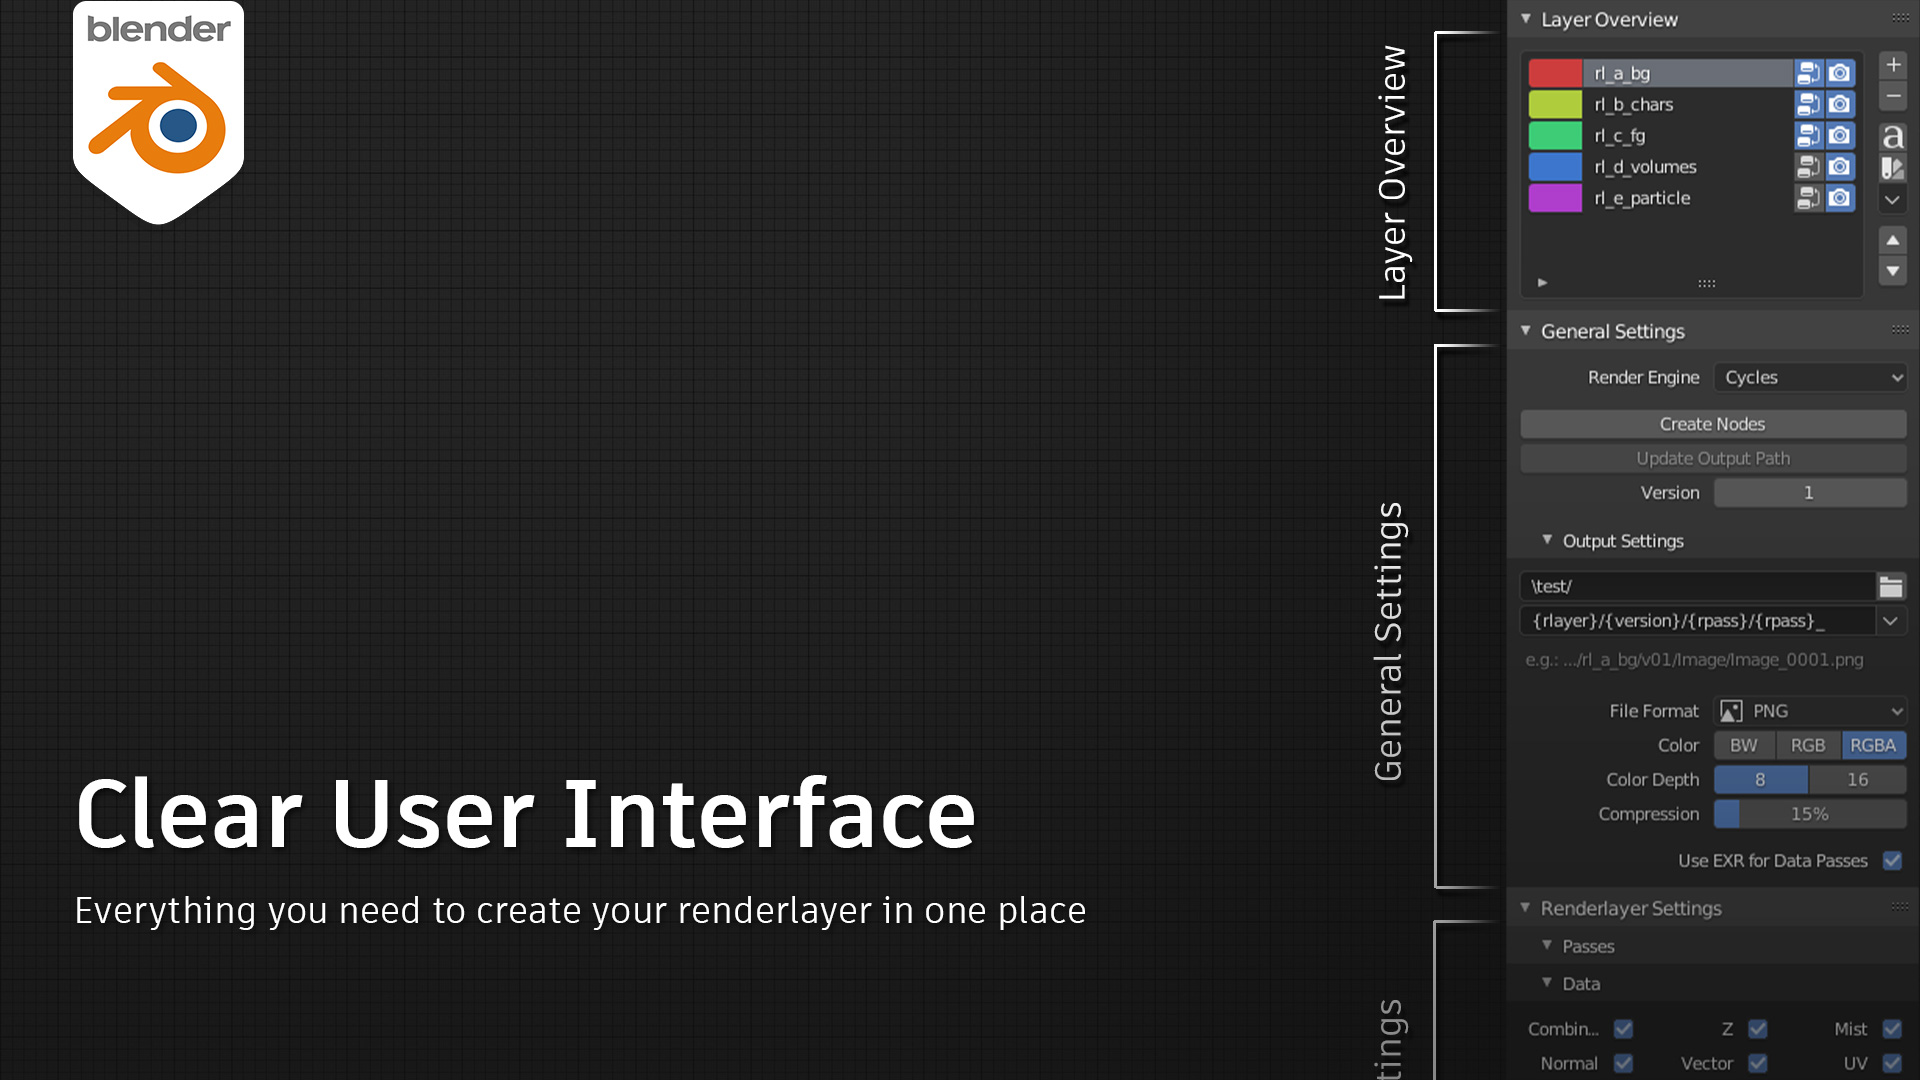
Clear User Interface - Everything you need to create or edit renderlayer is placed in one panel inside the compositing editor.
Automatic Nodetree Setup - The main reason why I wrote this addon. Only one click and it creates all the renderlayer and file output nodes including linking and naming of the inputs and outputs.
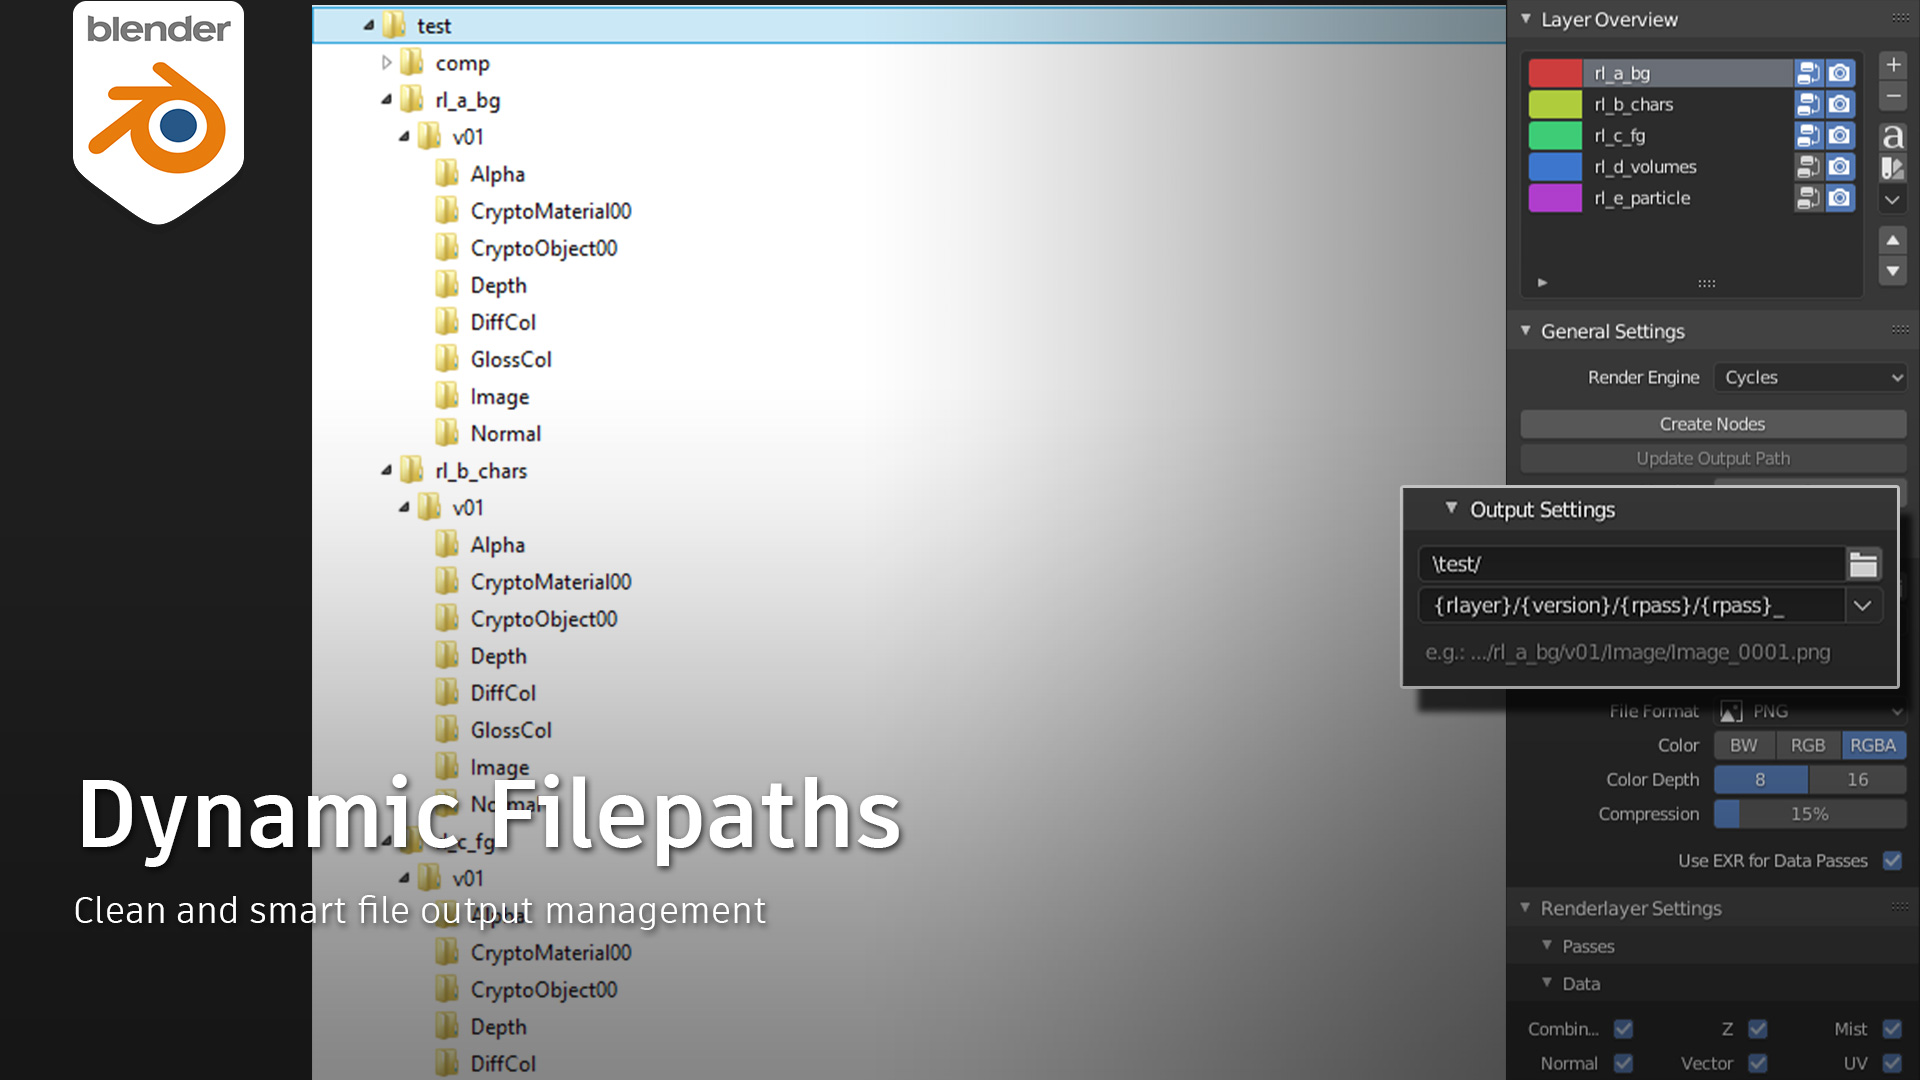
Dynamic Filepaths - The render output paths are generated by one single path via render tokens.
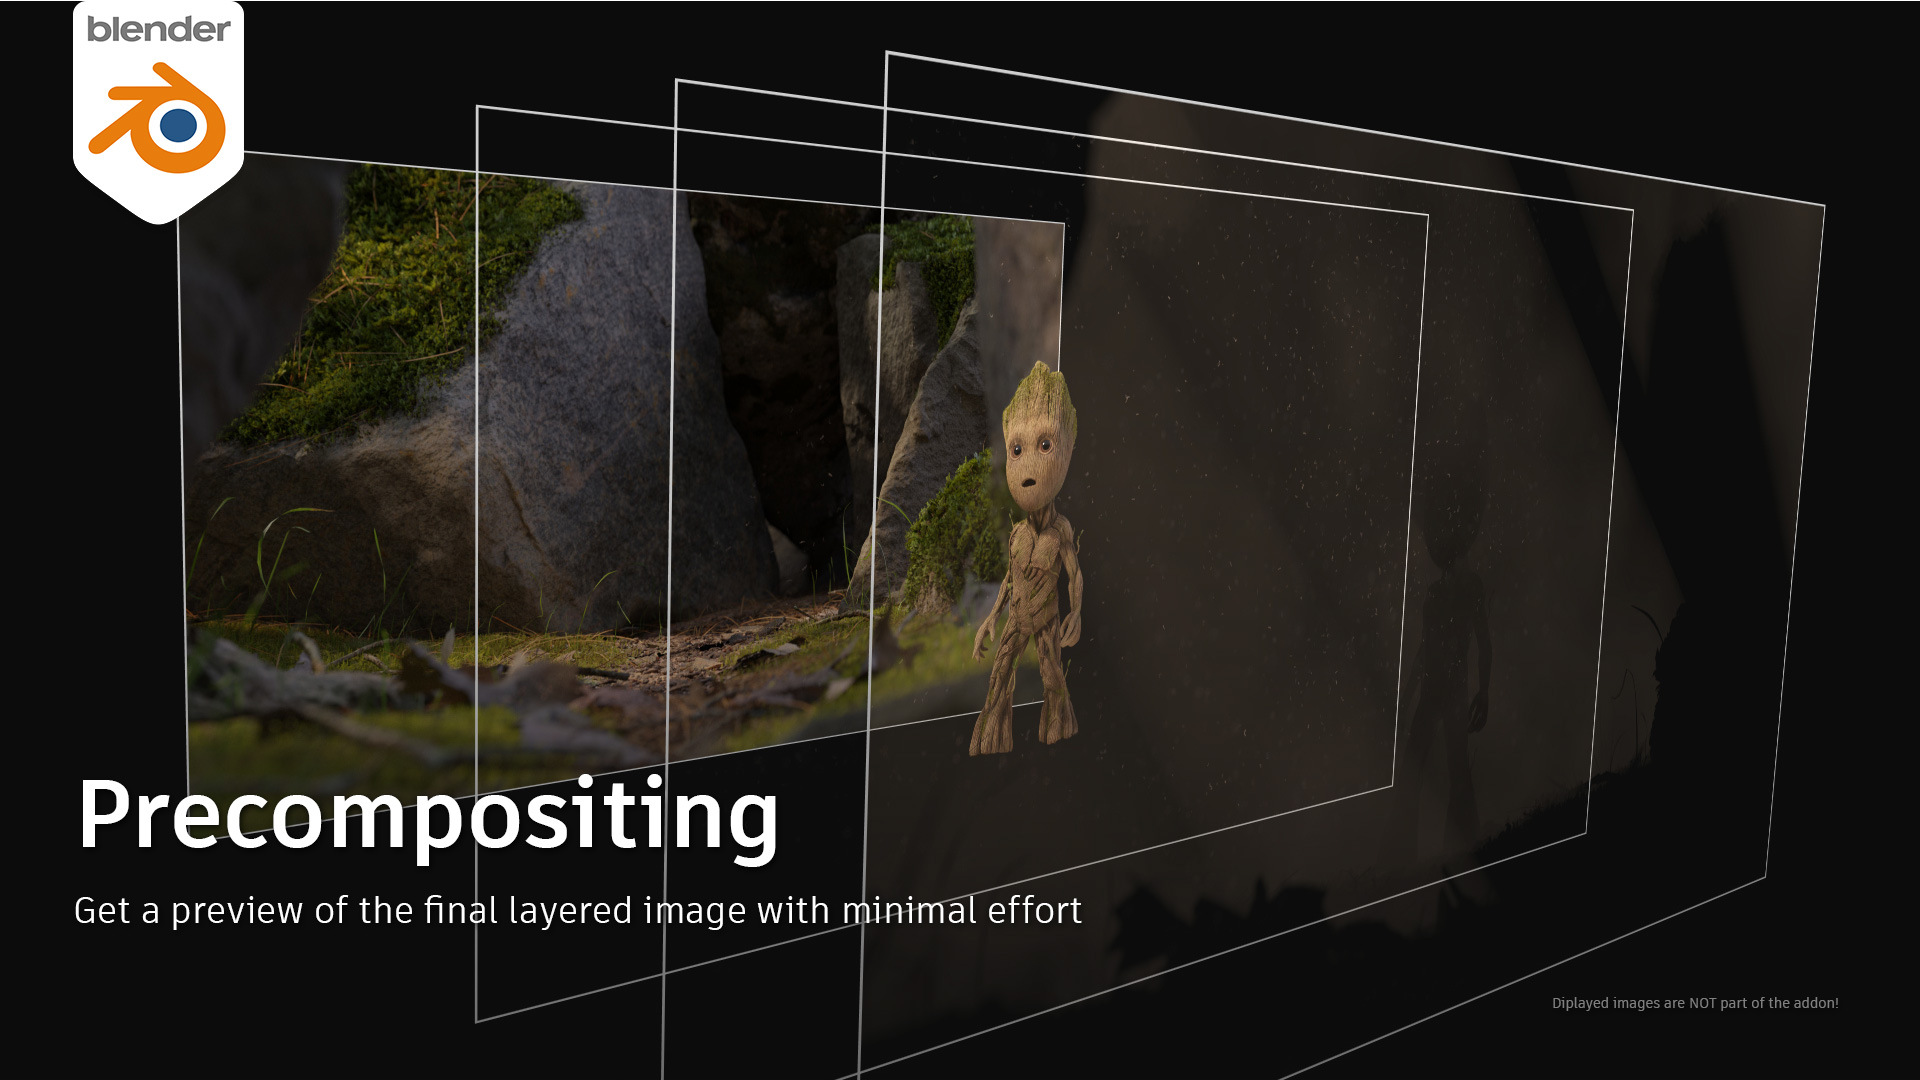
Precompositing - An automatic way of premerging the renderlayer and provide a preview of the final comped image.
That’s it for now. Happy rendering and compositing !
Hi everyone, I just did a small update for the new Blender version 2.92. The reason is that some of the renderpasses were renamed in the Blender API which results in errors of the ui. Should be fixed now and I hope I didn’t miss anything else.
If you want to use this addon in Blender 2.92, please download the latest version 1.2.
Just went through the whole documentation (which btw thanks for making it… its so important and I know they are a lot of work to do), looks solid! I noticed I can get your addon through Gumroad, I will be happy to throw in some bucks to support you with the development. Keep it up!
Oooof thanks a lot for the support! I actually disabled the sales notification on gumroad at some point because there were only 3 people paying a few bucks since the release Though I shouldn’t be surprised when I provide it for free. Just makes me even more happier when someone think it’s worth her/his money!
You also might be the first one who read the documentation and I am glad that it’s good so far. I always find it really frustrating when there are awesome add-ons but I have to find out myself how it’s working.
If you find any bugs or see any improvements I can do, please let me know!
Just saw that incredible Uruk-hai model in your portfolio and I knew there must be a hardcore LOTR fan.
Ah I understand. Well I think it’s brilliant, having something like this is a must, I don’t like having to fly around each view layer to see what I have. But I understand that the vast mayority of users is not out there making complex animations, but I believe the community will mature more with time, probably even more when cycles X coming and they will find this very useful!
And sure! I can give you some feedback once I get the opportunity to try it out. Haha and thanks! Glad you enjoyed the artwork, happy to hear it
Thank you! Glad you find it that helpful!
Maybe the Blender devs will find a better solution in the future. But they are working on so many other great features right now, I can’t blame them for having no time.
Yes, I hope you can keep supporting the plug-in, which is excellent. The official team is busy developing new tools now, and seems to ignore some tool improvements in large-scale processes
Hi, first of all thx for this addon and making it free too. I have a question regarding the default way of doing it and how your addon is making it easier. So in the outliner you have this “exclude from view layer” checkboxes. Is there a way to access them easily in your addon or is that not the purpose of that addon?
I was just setting up a cube, plane and cylinder and the cube and plane should appear on one layer and the cylinder with transparent background on the other. When I see the layer overview under you N panel tab there is not really a way to manipulate the items that should show up there. Is that even the intention of your addon?
And a thing i noticed is when you change the renderlayer output path and dont select the renderlayer output node, you cant “refresh” the update of those nodes
And when you remove a renderlayer in the overview with the - the nodes are still active and are not deleted
Hey @hammertime, thanks for using the add-on and the feedback!
The main purpose of the add-on is to set up the nodes in the compositing editor. You have access to most of the viewlayer settings you also have in the property editor. Per object settings like exclude from viewlayer are not part of the viewlayer settings and not intended to be part of this add-on and should be changed in the outliner. You can also still change these settings after you set up all the file output nodes in the viewlayer.
Also important to note: When you are switching the renderlayer in the add-on, you are not changing the visible viewlayer in the background. So if you want to edit visibilities, exclusion etc. of objects per viewlayer make sure you switch the viewlayer with the viewlayer menu in the top right corner!
And the “refresh” button is selection-based. This is handy if you want to update the version for only one or a few file output paths and not all of them.
If you want to update everything at once you can use the create nodes button again with the option “replace existing nodes” enabled (which should be enabled by default) and this will recreate the whole node tree again.
The nodes also won’t remove when you use the - button until you recreate the node tree because the add-on does not update the tree automatically. For example when you add/remove passes after you created the node tree, those passes are also not added or removed to/from the existing node tree until you recreate everything.
The intended workflow is actually that you always hit the create button after you made changes and you will get a new node tree with everything updated. The downside is, when you add any nodes yourself to the node tree, it will be removed or the connections will be lost every time you recreate the tree. But usually you are doing the compositing in a different software or you have another blender file where you do the final compositing, so you don’t have to add any more nodes.
I hope this answers your questions. If I should go into more detail or something is unclear, don’t hesitate to ask!
Would you consider adding “transparent background” toggle for each render layer? The coolest thing would be if you could make it so that when you select a render layer the active viewport switches to the selected layer( like you would in the outliner)
I meant the film>background checkbox
And maybe that one layer will be rendered in eevee and one in cycles? Like basicly per layer different engines…oh you have that already -.-
I checked your request and the “film transparent” option is a scene property, so it can only be changed for the whole scene and not for each render layer independently. Nevertheless I added this option to the General Settings > Output Settings.
The same for the active render engine. It’s a scene property and can not be set per viewlayer.
That the viewlayer don’t change when you switch the renderlayer is by purpose. If you have big scenes with a lot of objects for example, Blender needs to load excluded collections every time you switch the viewlayer. I want to avoid those loading times and that’s why I separated renderlayer and viewlayer from each other.
The addon should be also just used after you already set up all your viewlayers correctly. Because the main purpose of the addon is to set up all the file output nodes and not to set up the viewlayers.
I updated the files on Gumroad and you can download v.1.2.1 now including these changes:
(feature) new option to enable/disable output for alpha and noisy image pass
(feature) new option to enable/disable film transparent (world background transparency)
(ui) change the layout of the renderlayer settings properties to the new property layout of the Blender viewlayer properties
(ui) denoising properties are also available now when the active render engine is Eevee
The renderlayer order can only be changed when the renderlayer have the correct naming convention with the prefix “rl_a_”, “rl_b_”, “rl_c_” and so on. You can name them automatically with the “Auto-Rename” button right above the up/down arrows. I couldn’t find another way to sort ui lists in Blender but in an alphabetic order. But this way you also have them listed correctly in your os file browser and you may also use the alphabetic order to load them correctly in your compositing software with another script for example.
Please also check out the documentation for more detailed informations about the Layer Overview Panel: https://gitlab.com/fishsnack/renderlayer-manager/-/wikis/2.-Layer-Overview.


 I actually disabled the sales notification on gumroad at some point because there were only 3 people paying a few bucks since the release
  Though I shouldn’t be surprised when I provide it for free. Just makes me even more happier when someone think it’s worth her/his money!
 I understand. Well I think it’s brilliant, having something like this is a must, I don’t like having to fly around each view layer to see what I have. But I understand that the vast mayority of users is not out there making complex animations, but I believe the community will mature more with time, probably even more when cycles X coming and they will find this very useful!

