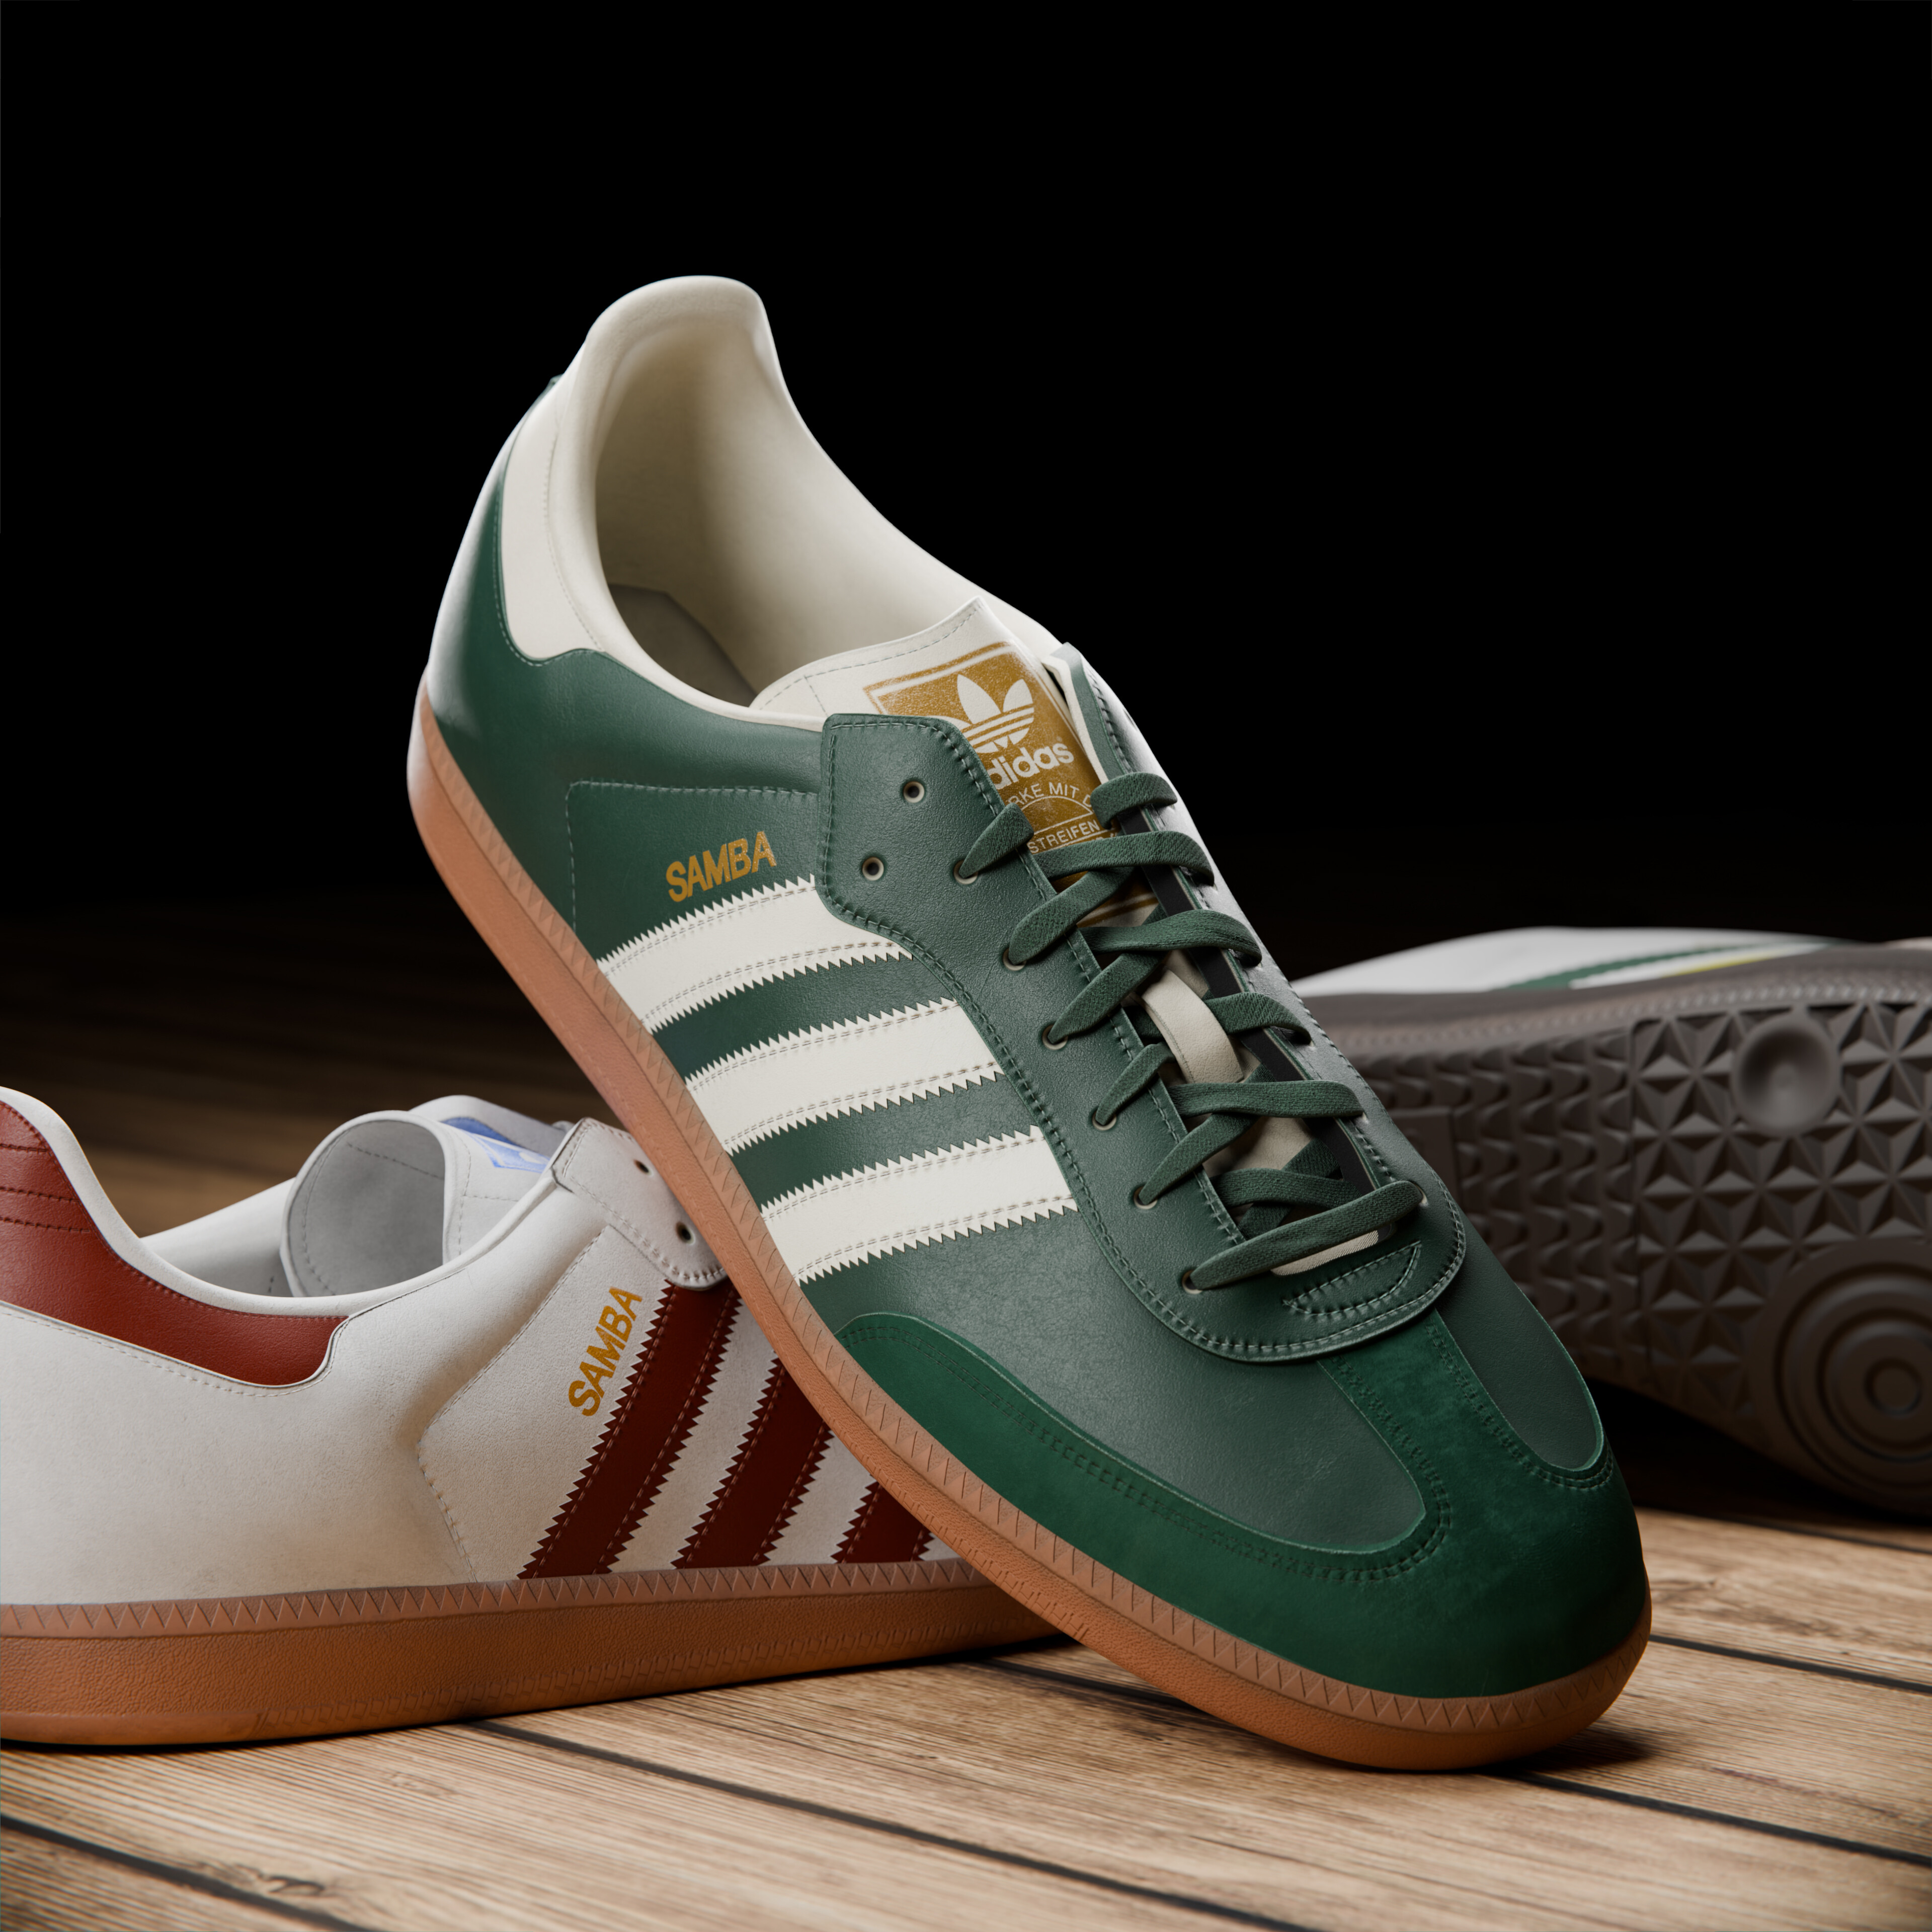
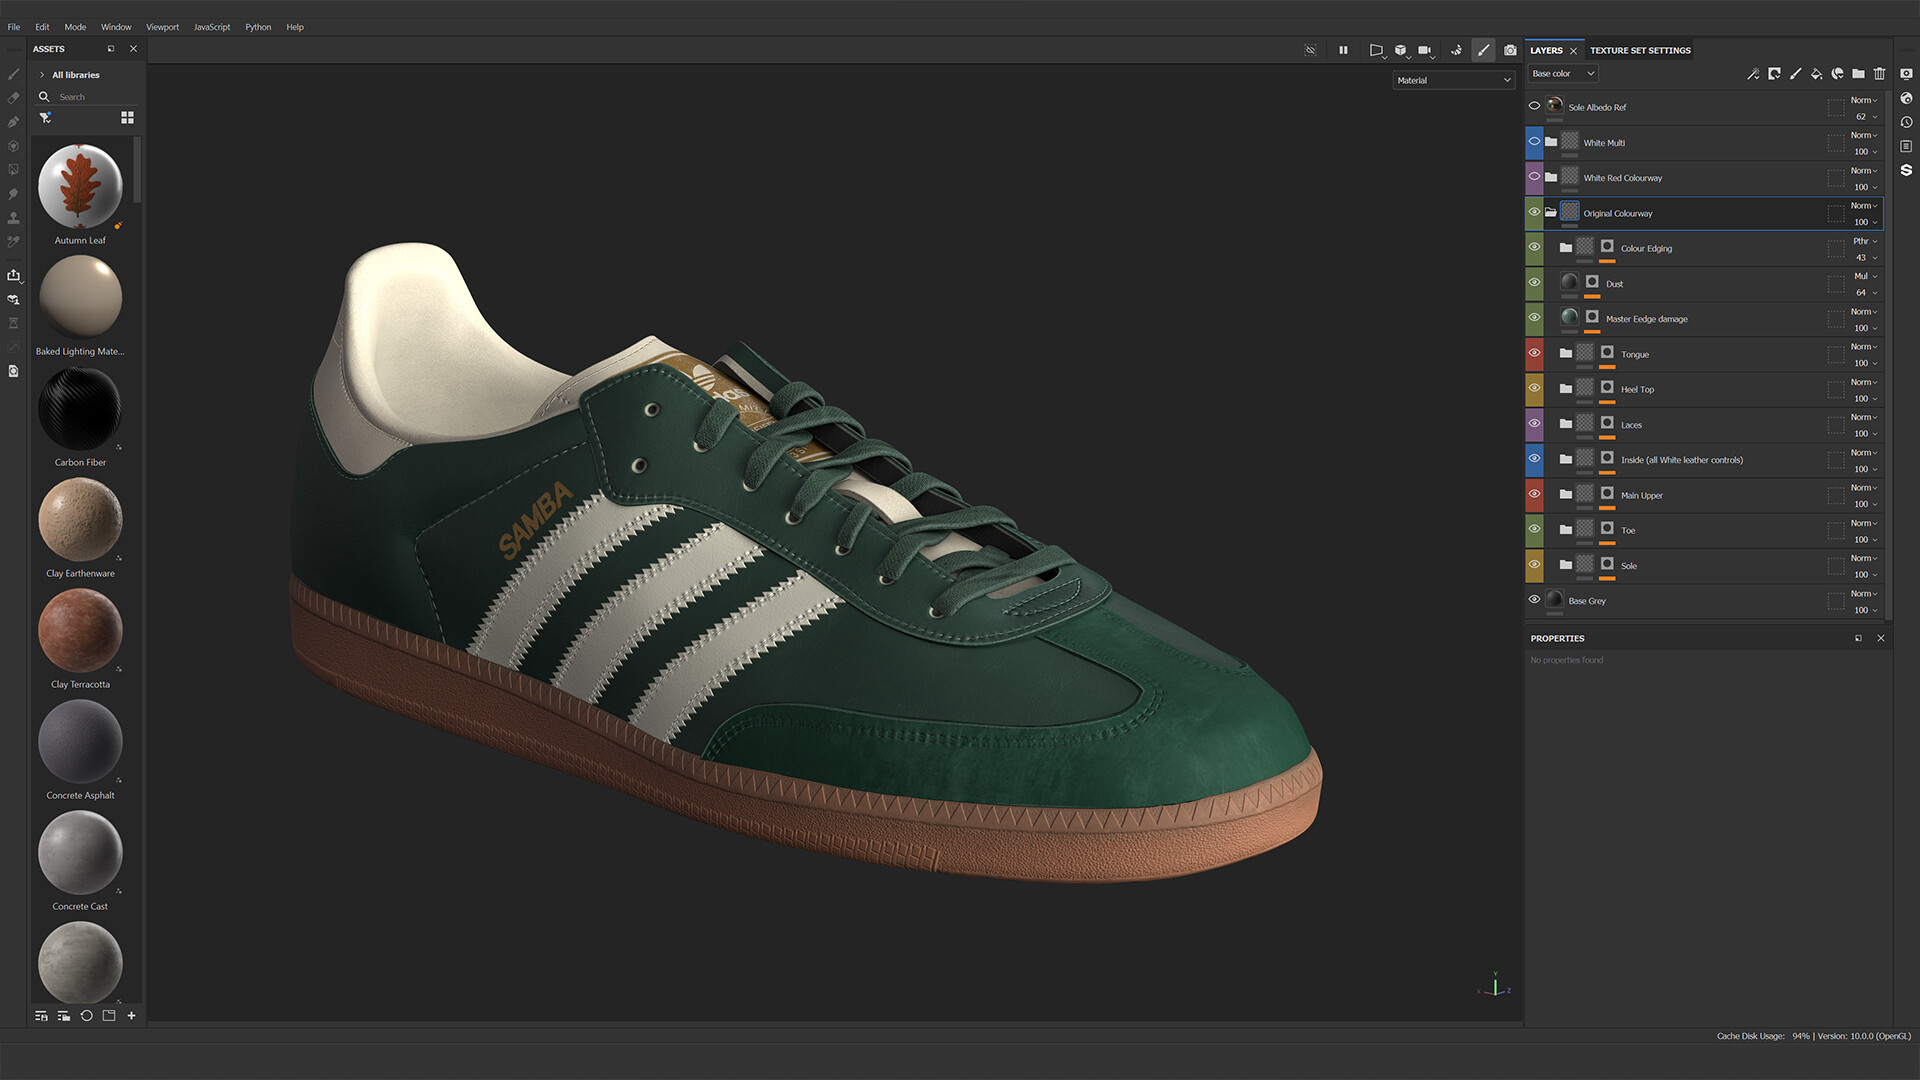
This project was inspired by a new pair of shoes I bought. Namely, a pair of Adidas Sambas.
I have a lot to tell about it, but I’ll do all the waffling after the main images.
Higher res images available on Artstation - https://www.artstation.com/artwork/PXlDV8

Most of 2022 and part of 2023 my day job was scanning a lot of footwear. I had lots of nice items but I couldn’t really show much of it off, so I wanted to do a piece of my own to play with.
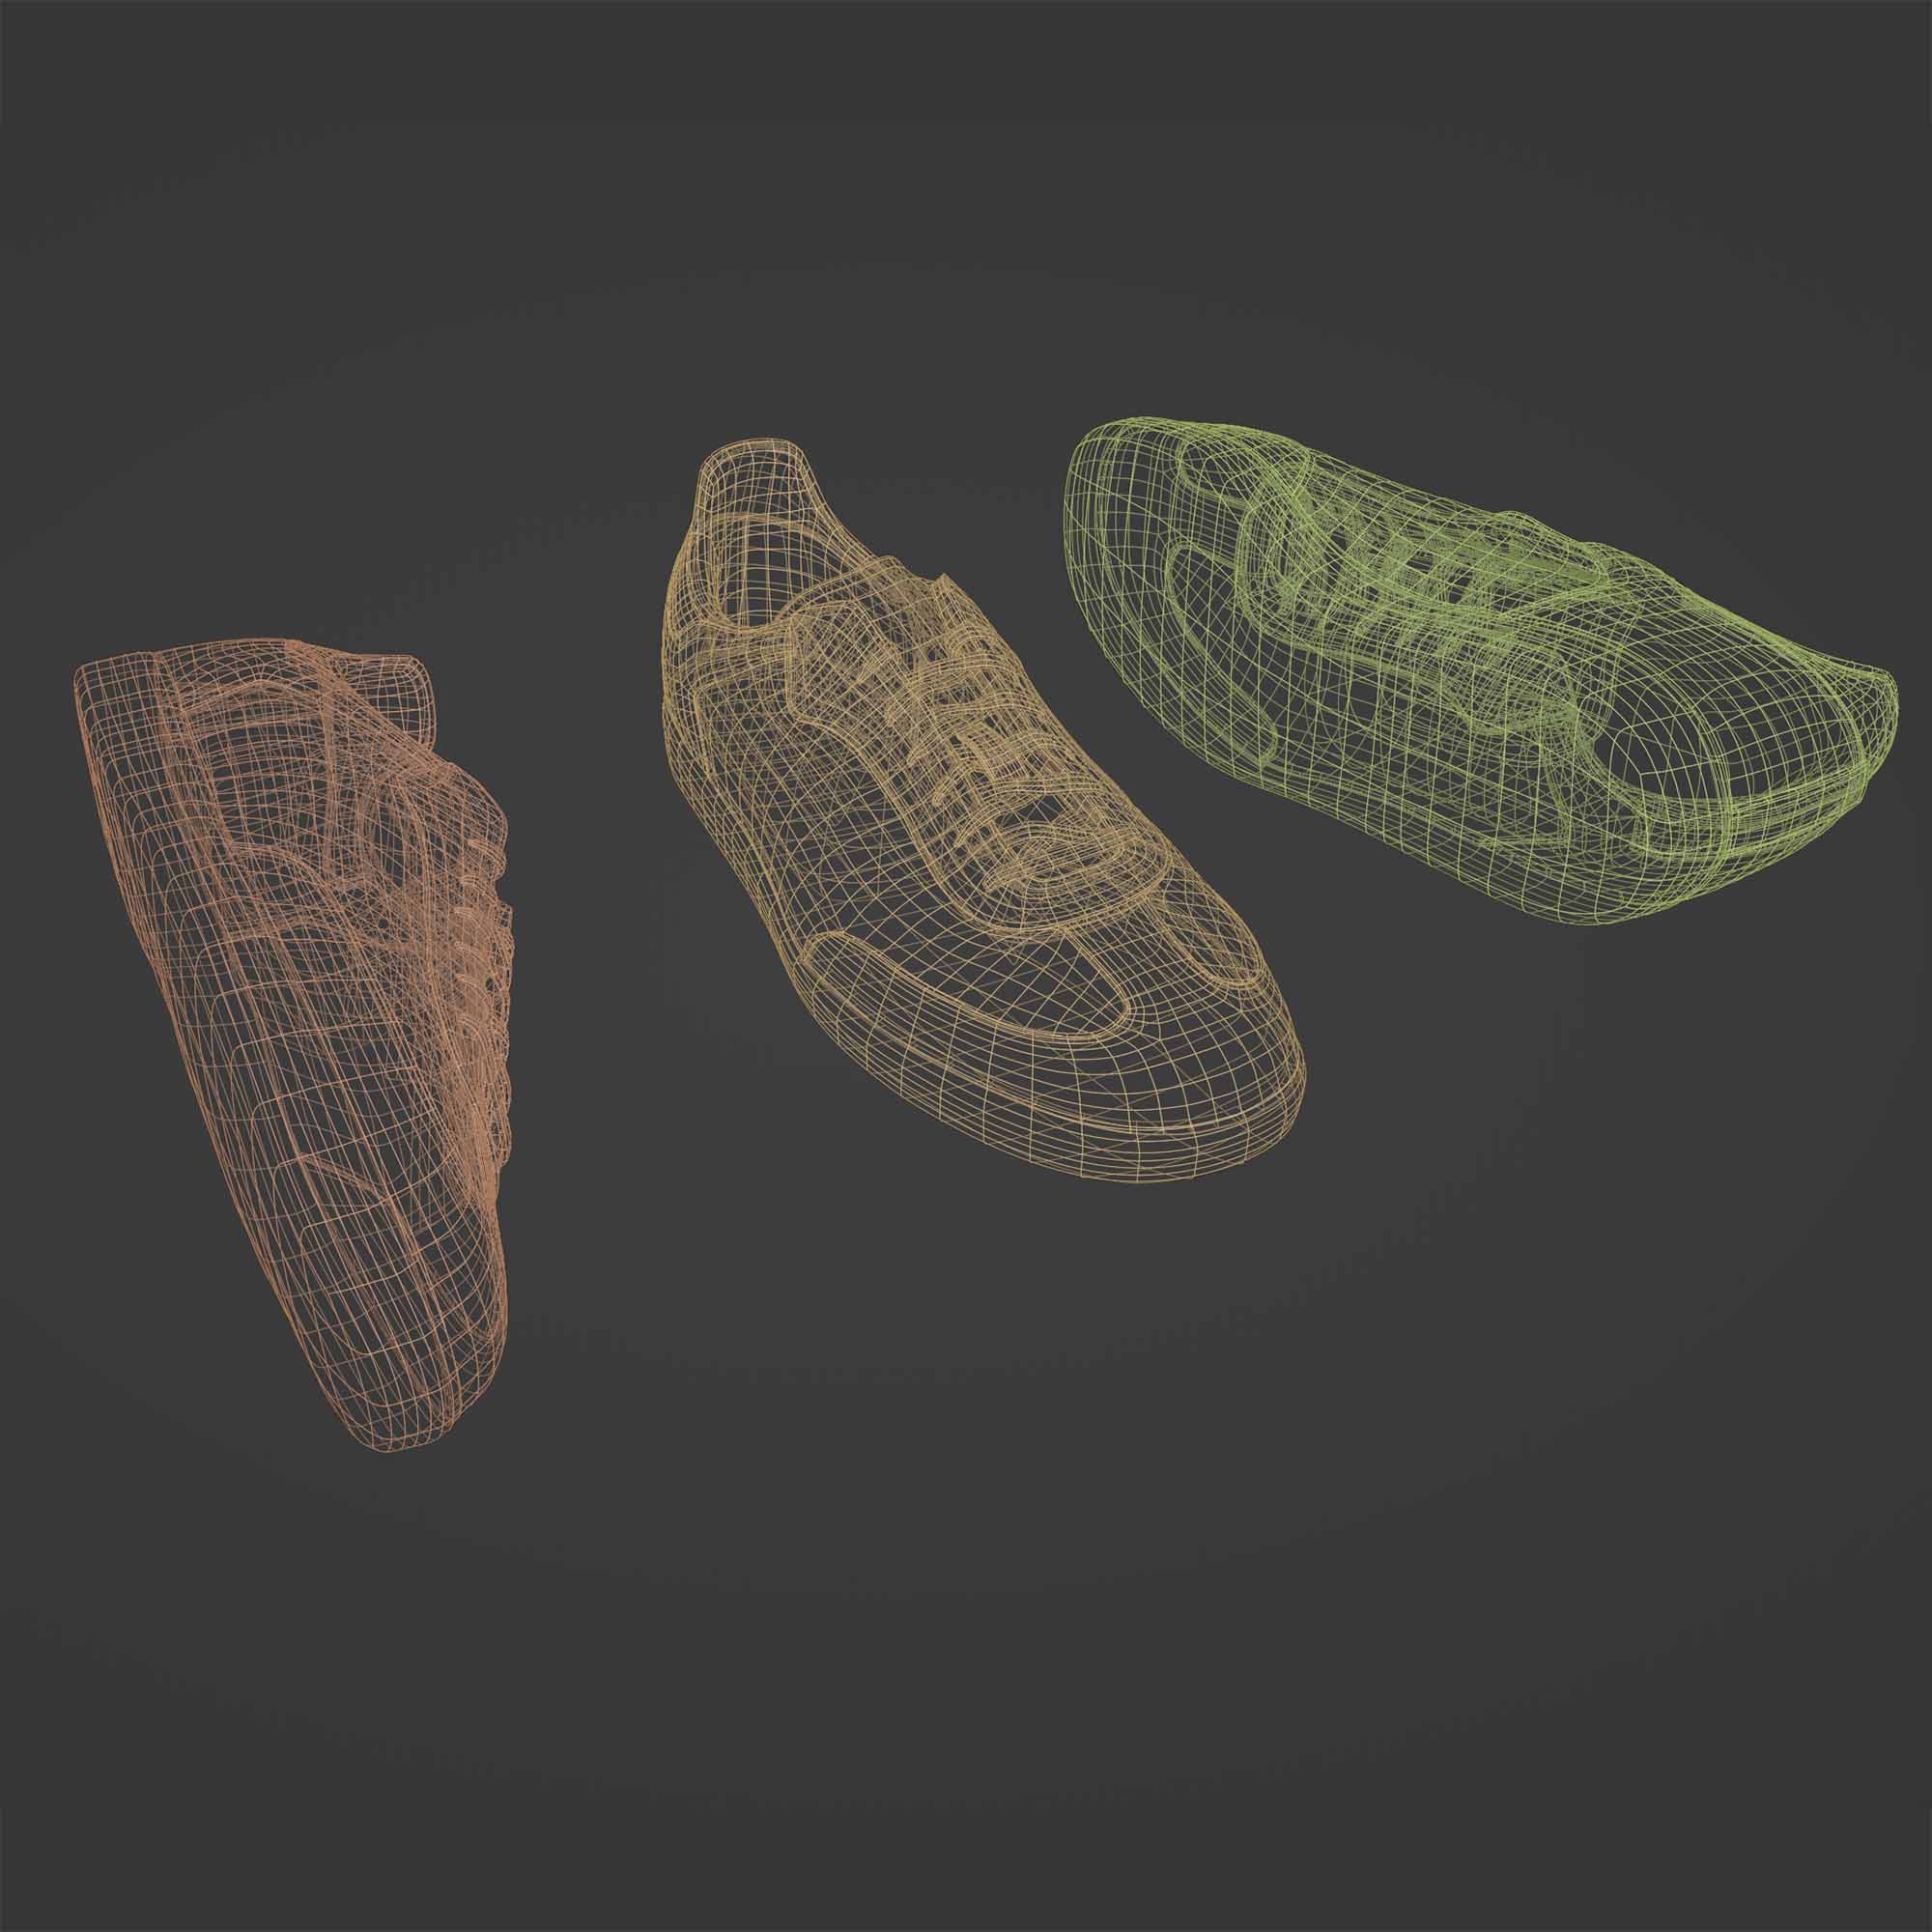
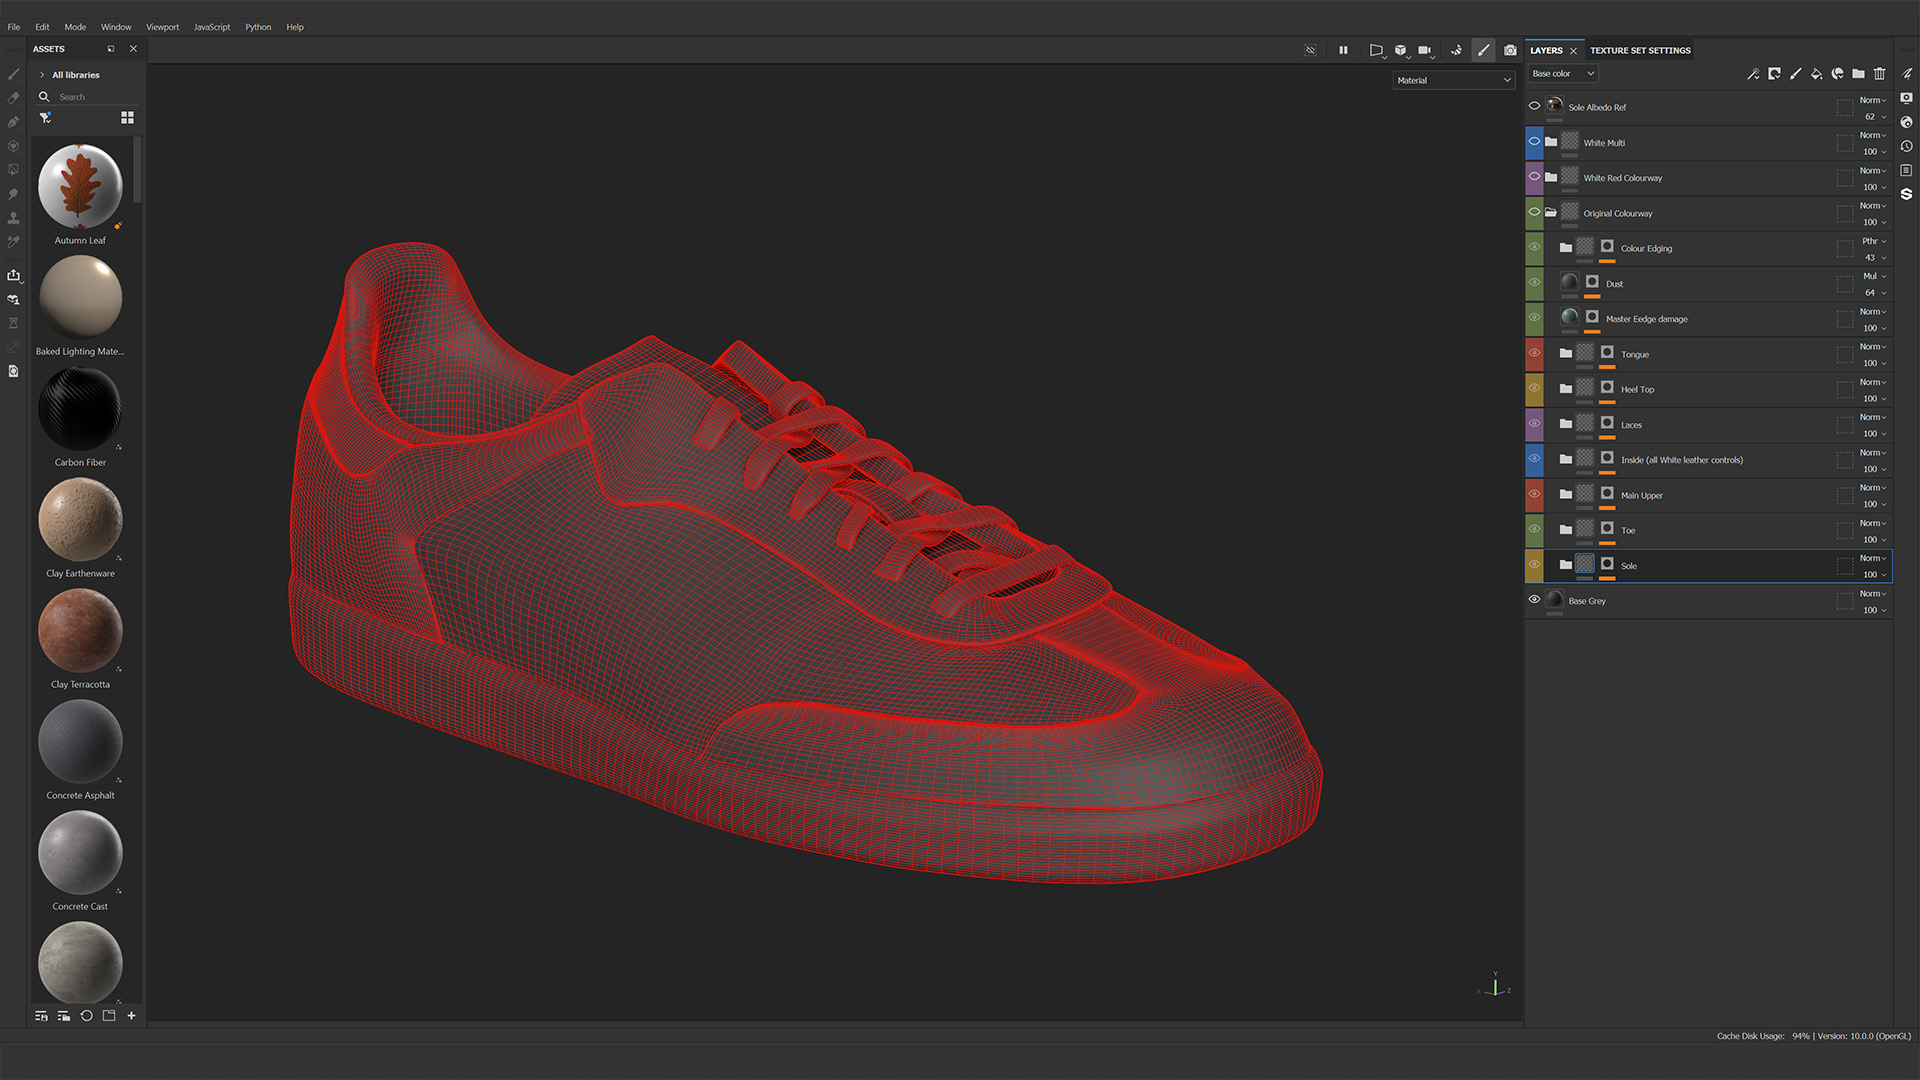
So, off to the photobooth this new shoe went. Turns out, it was not a great scan. The irony! Still, I wanted to produce a nice final piece, so I did a complete retopologising of the model, and used the scan as a reference for texturing.
The rest of my 9-5 time, when not modelling, is product photography. This is really where my 3D work has benefitted the most in the last years. Applying real world light setups to 3D space may sound like a no brainer, but seeing how lights work in the real world, made applying it in 3D space so much easier. I can’t recommend highly enough the book, Light Science & Magic An Introduction to Photographic Lighting. Absolute game changer. I also highly recommend checking out Gavin Hoey on YouTube. Easily the best guy there is for studio lighting. The biggest takeaway that everyone needs to know when it comes to lighting, is this. The bigger the light source relative to the subject, the softer the light. That’s it.
The main tools used in the process.
I used Retopoflow for the retopo. Still a bit buggy at times (I think mainly when adding loops) but makes retopo a lot of fun.
UV work was done with ZenUV and UVPackmaster. This was also the first time I used UDIMS (2x4k tiles on this piece) so UVPackmaster was brilliant in organising those. The ZenUV videos showing some basic workflows are a goldmine.
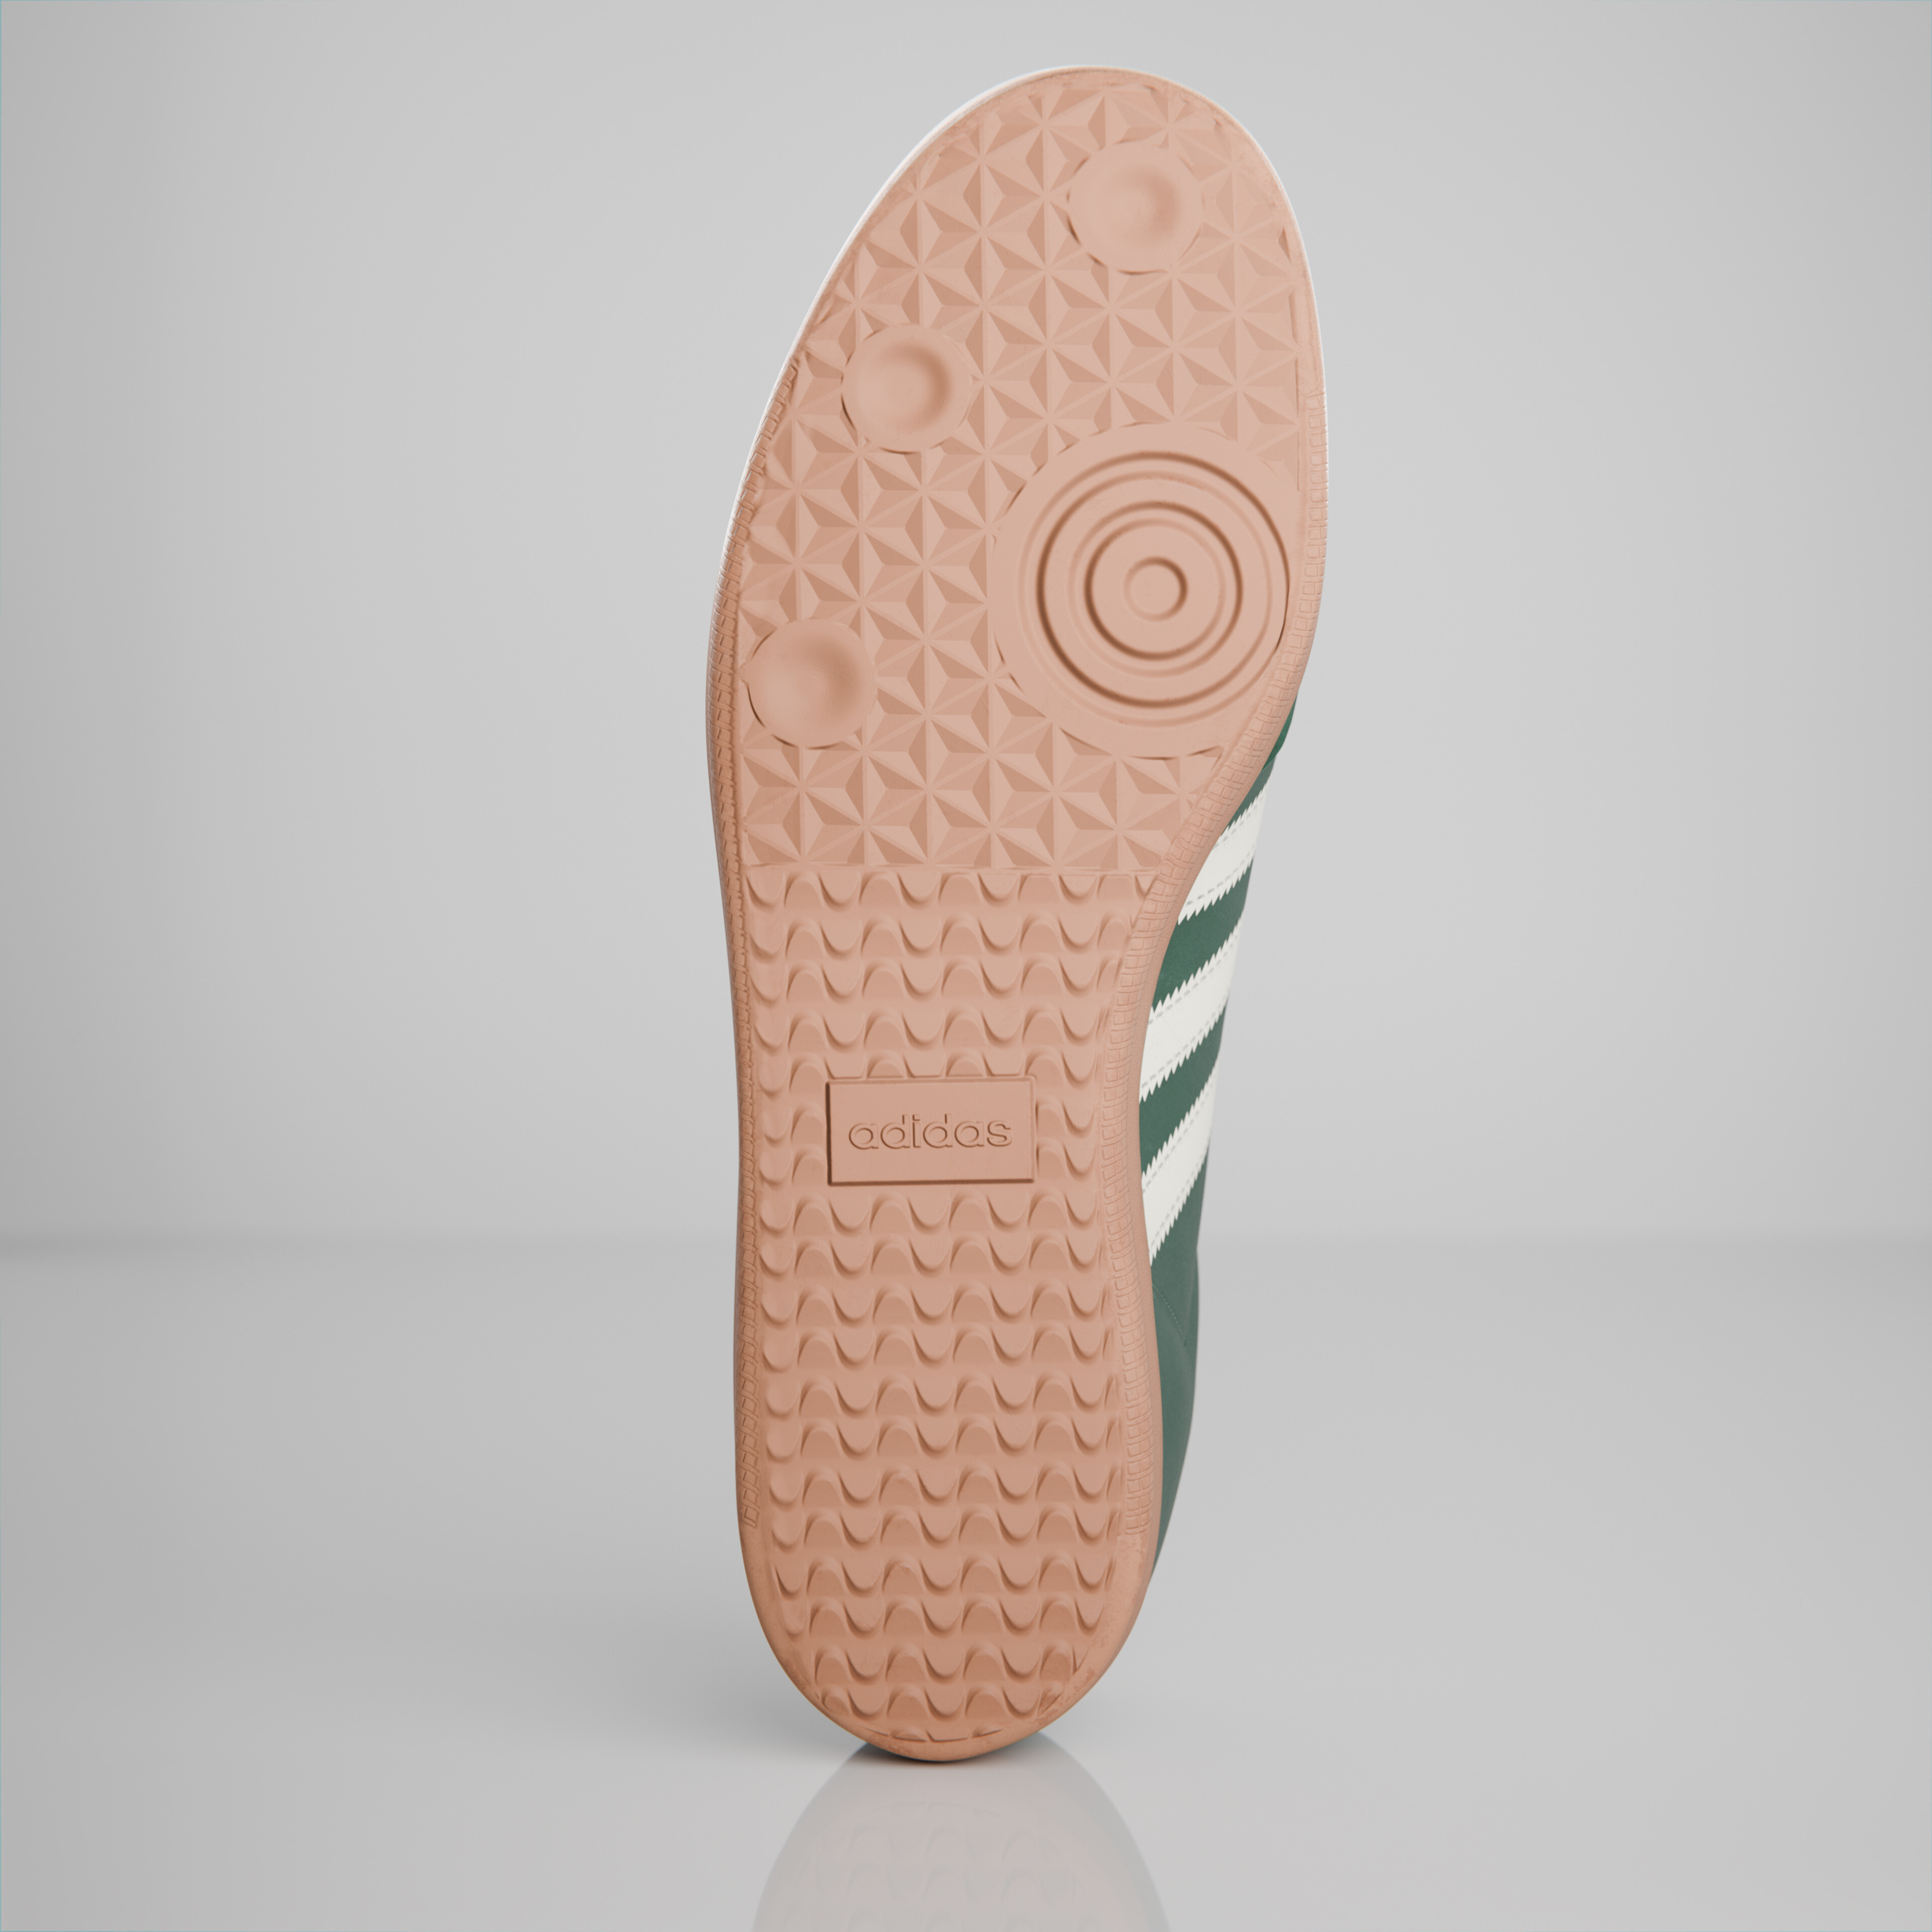
Texturing was done in Substance 3D Painter. I attended a Substance conference a few weeks back and was truly inspired to get this piece finished. Learn how to use Anchor points. The video by AJ3DVFX on YouTube is wonderful. The stitching part is outdated, but how he uses Anchor Points taught me a lot. Speaking of stitching, the paths tool in Substance is insane. The stitching presets are wonderful. I only wish they had anchor points for paths. Would save a lot of time copying settings across multiple paths. I also used a lot of textures to do “detail modelling”. All of the patterns on the sole are driven by textures. Having a good UV layout makes this process a lot easier.
As for camera and lighting setups, these were basic enough.
First of all, my biggest thanks to the Photographer addon. Love, love, love, love it. @chafouin, Merci mon ami! All my cameras and lights are set up using this addon. The post effects are also a godsend.
Camera is a full frame camera. 85mm lens. It’s what I use in the real world for shooting people. I also use a 24-70 for a lot of my work, so sometimes I’ll digitally change that up. Longer lenses reduce lens distortion and higher quality ones also have less fringing and visible aberration. This is stuff you want to avoid as a product photographer, but even still, adding a little of that back in with the Photographer addon helps to sell the digital pieces IMO. My pet peeve is people adding tons of aberration to their renders and it just screams fake. As a photographer these are defects that you want to remove, but they are still there. Subtlety is key here.
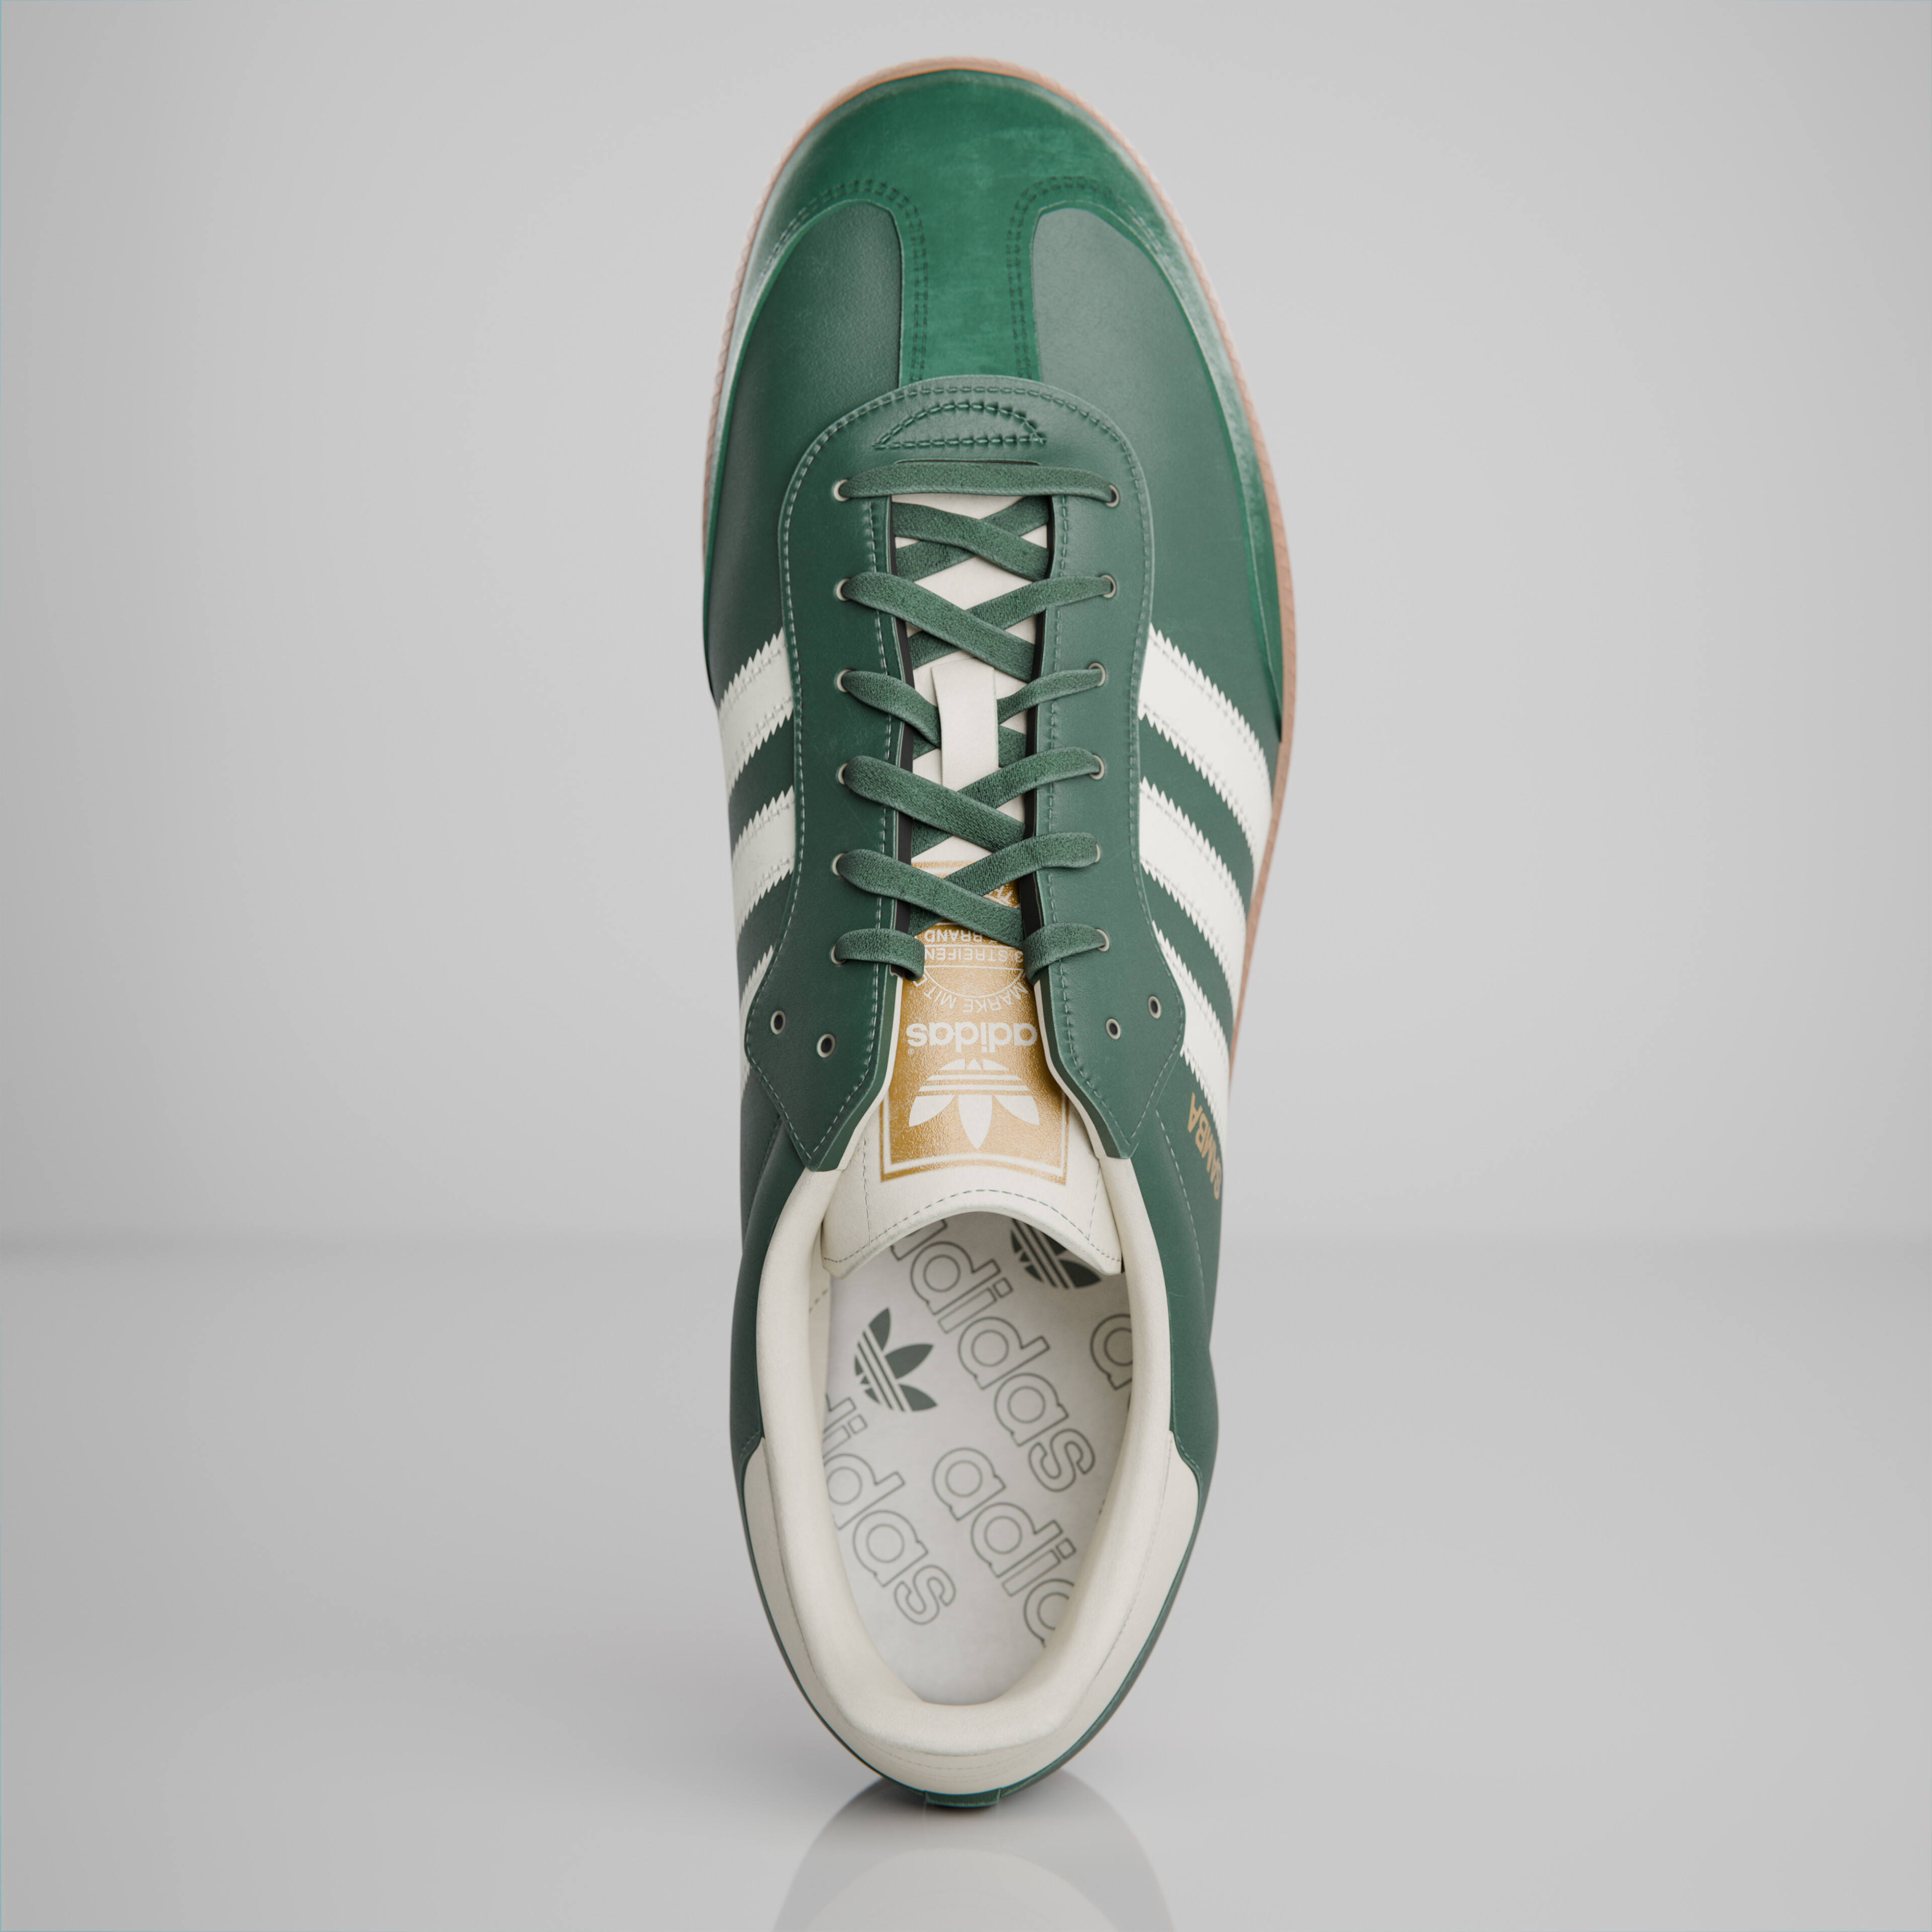
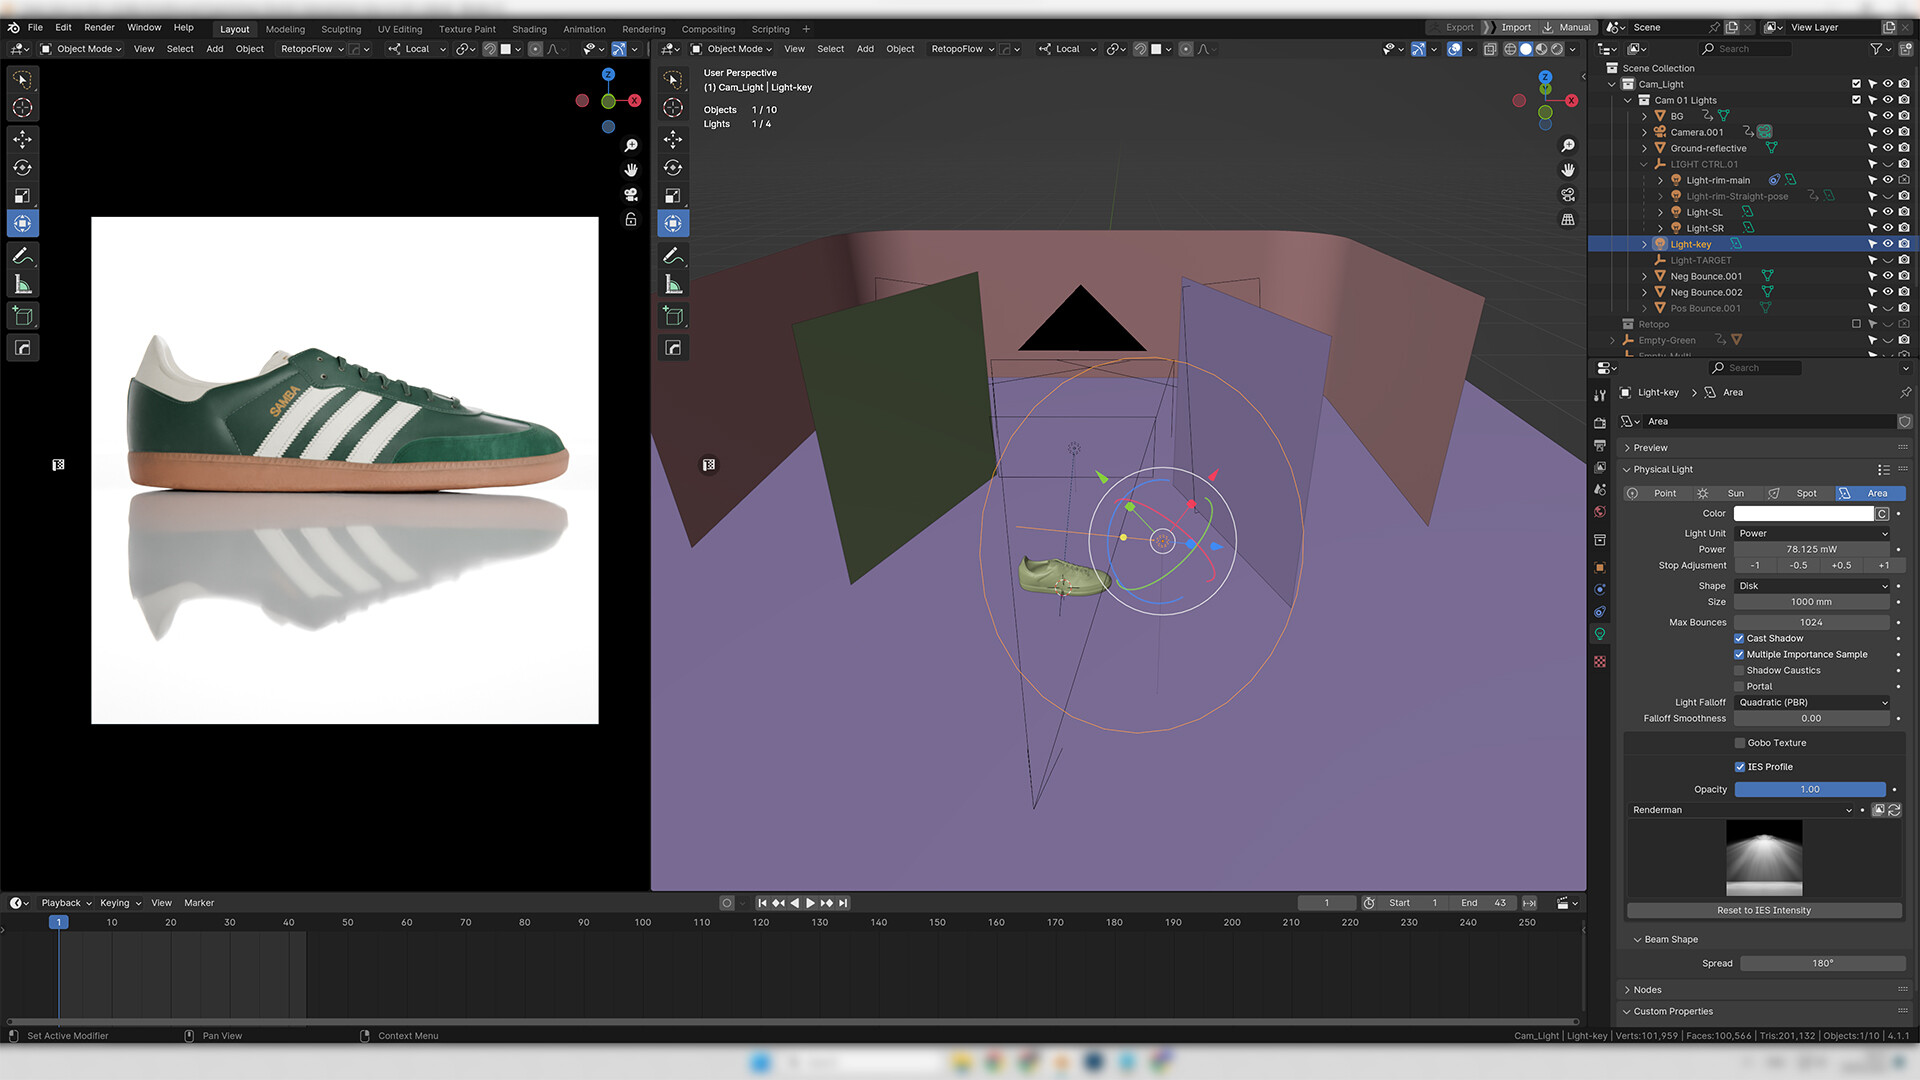
For the top down shot, a large round key light was used with a smaller fill at the bottom. I like using octaboxes in the studio at work, so circular keylights have become my go to in Blender. Very simple.

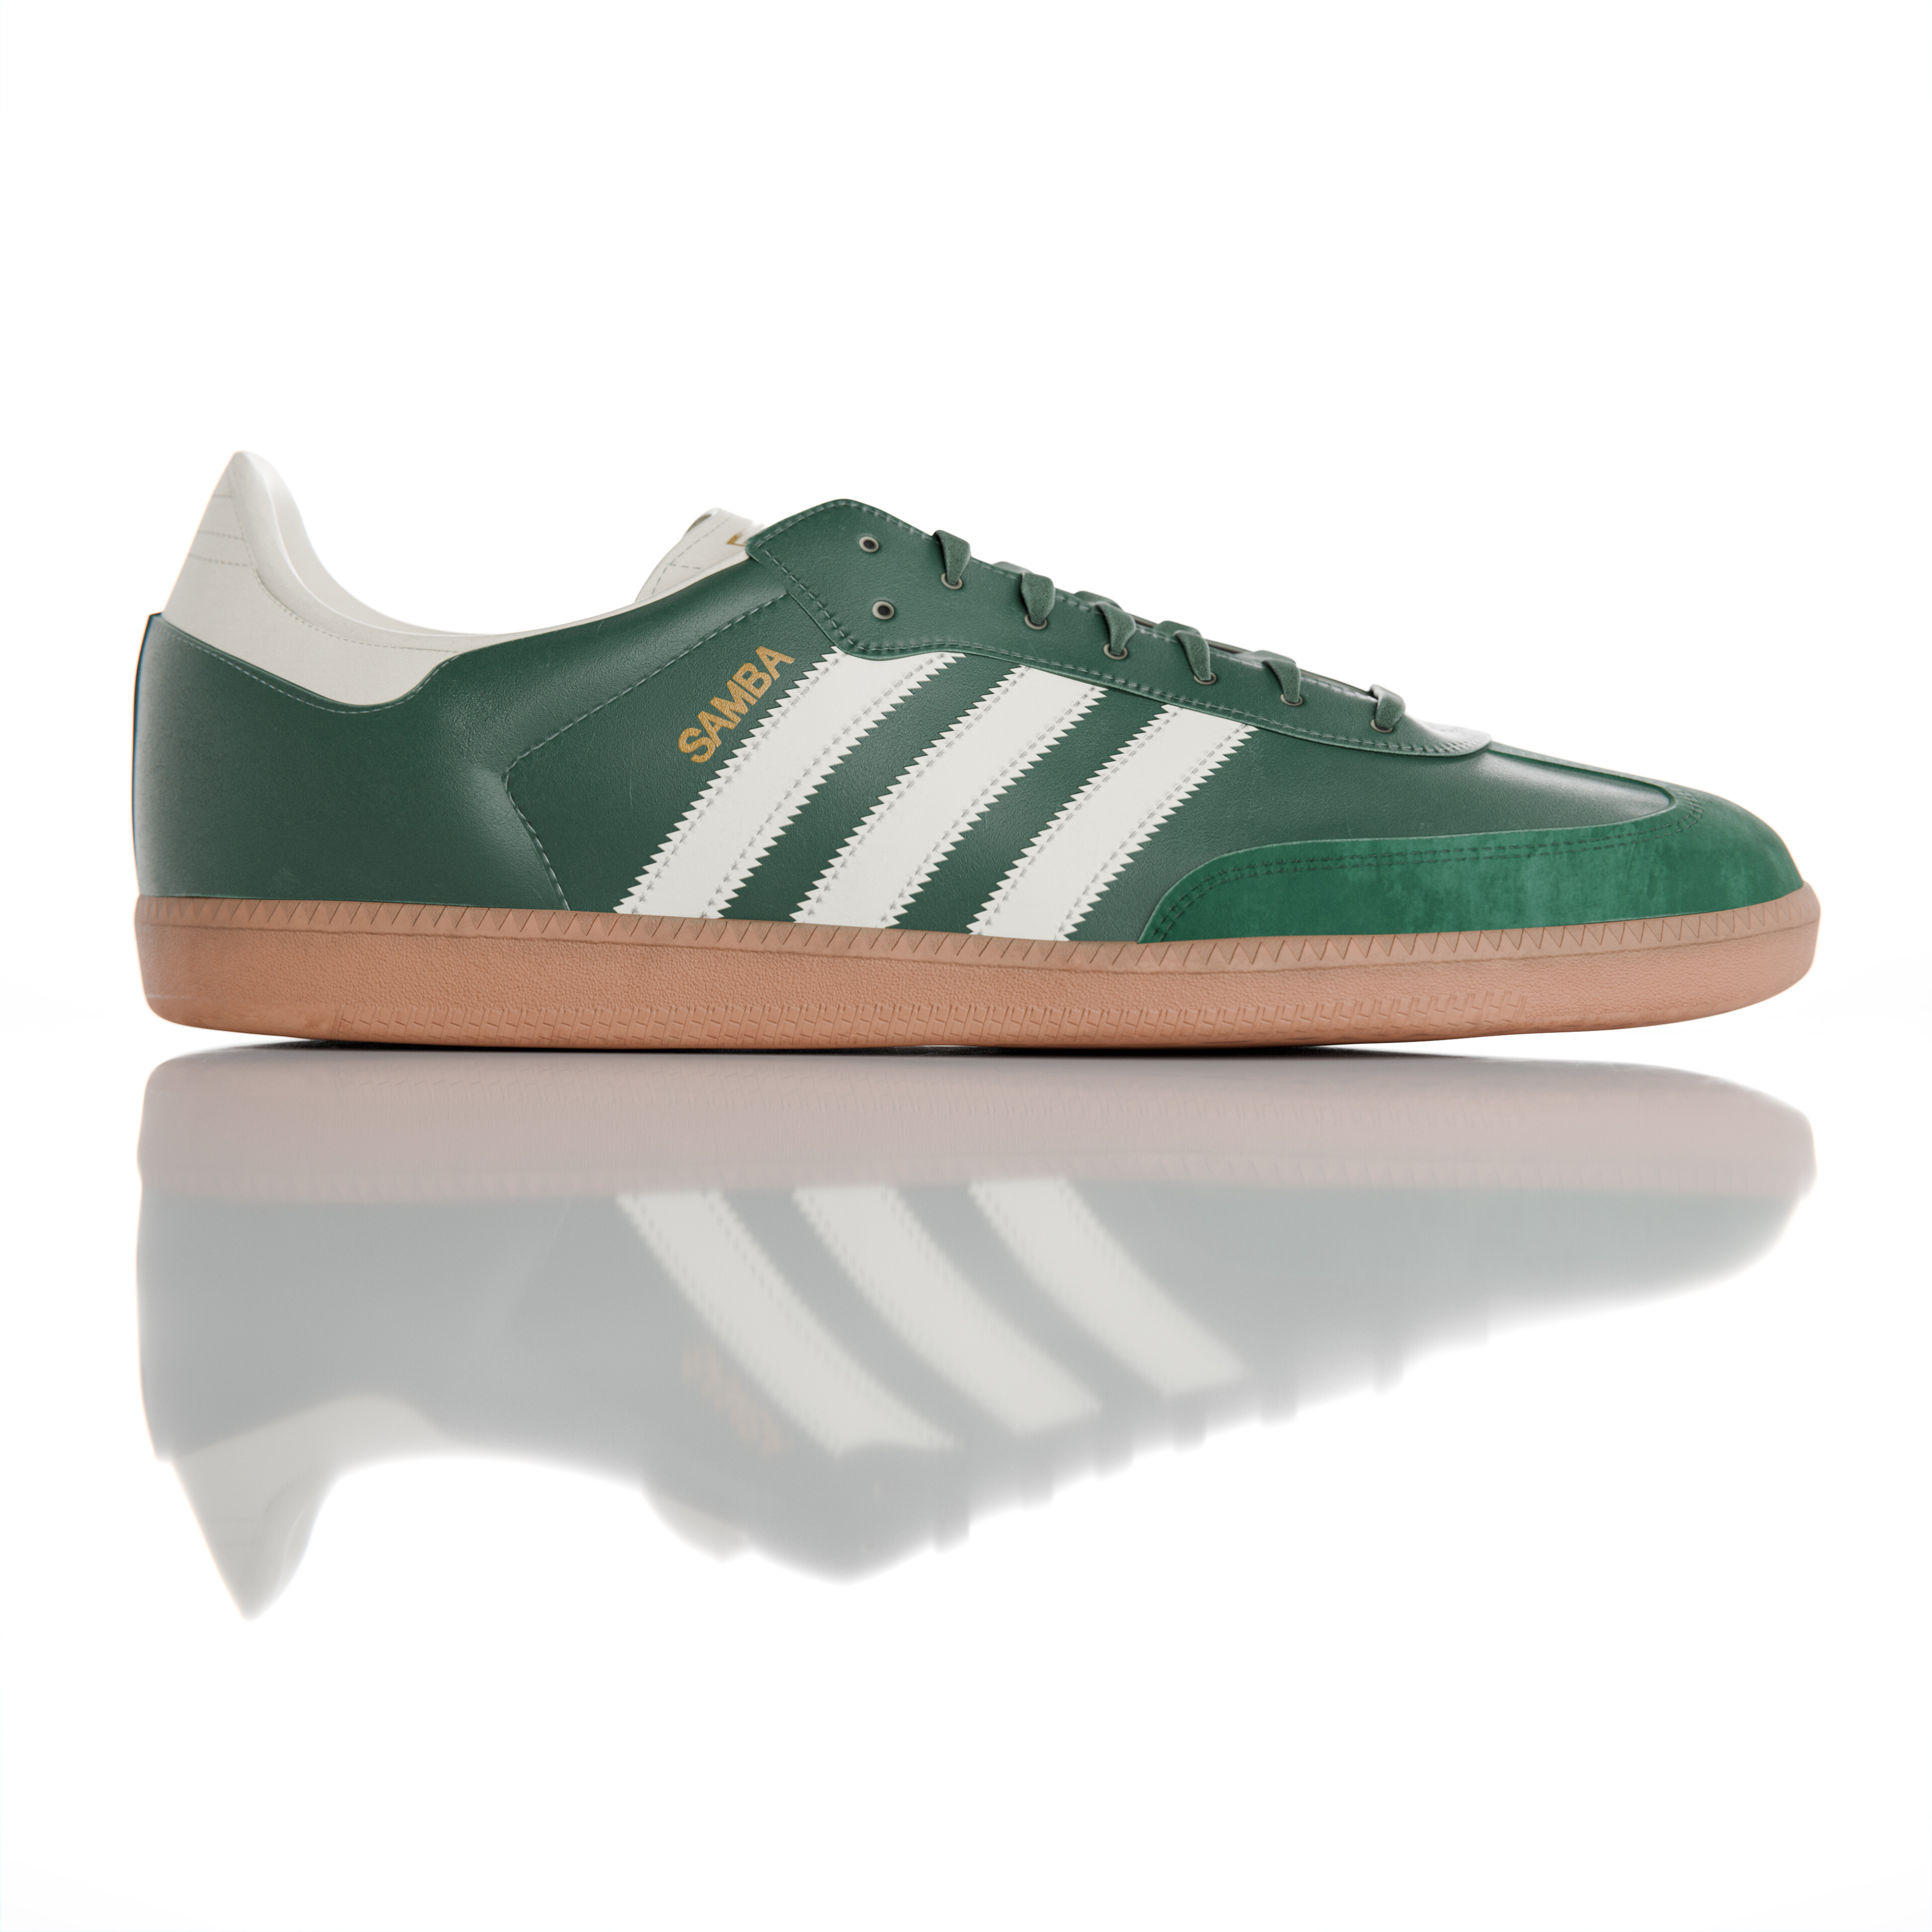
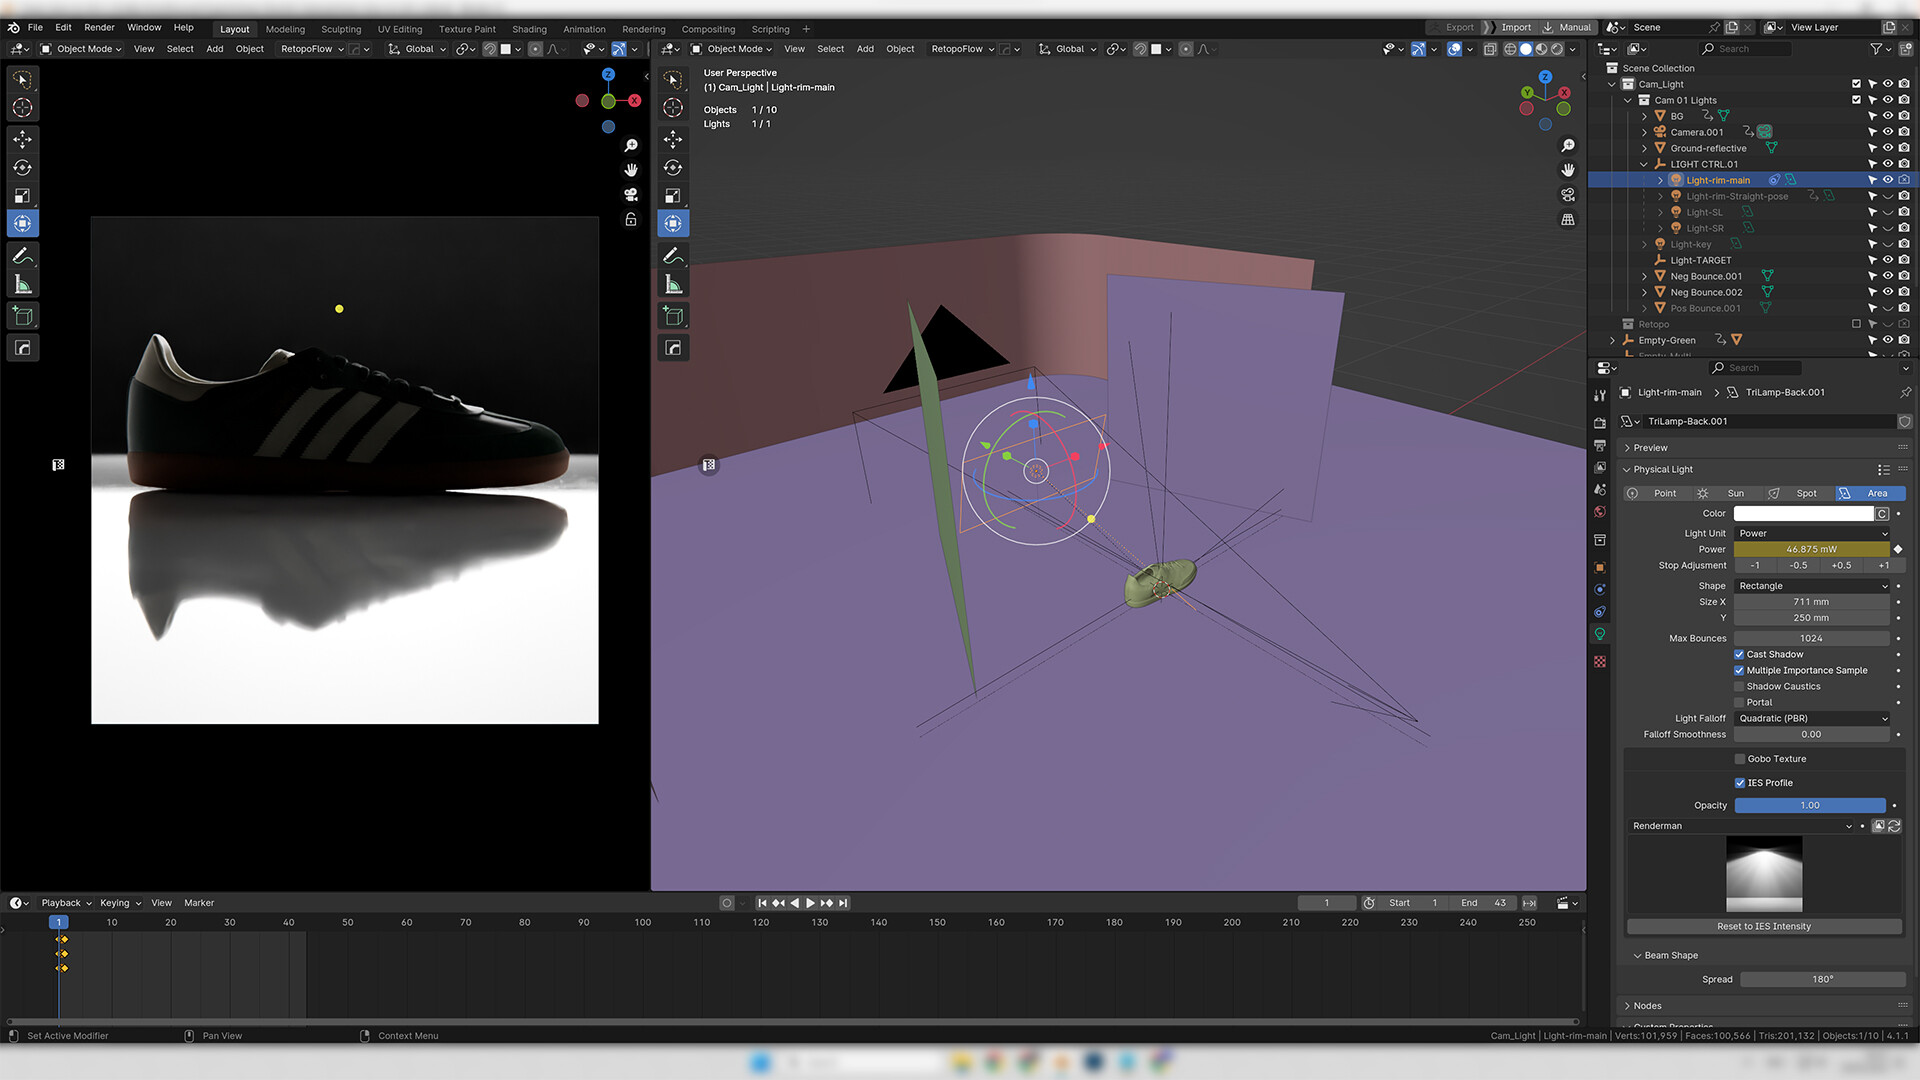
For the front white shot, I added a bit more. The ground is a plane with a grunge map plugged into the roughness to break up the reflectivity. When shooting product I often use a piece of perspex as a plate to get the perfect “white background/product reflection” technique for e-commerce shots. This is a basic reprodtucion of that.
2 area lights behind the subject at 45 degrees to blow out the background. 2 planes with a rough black material on them to act as negative fills and to help reduce spill on to the subject from these lights. Sure, I could have used light linking, but I wanted to set this up as real world as possible. The only light that wouldn’t be physically possible is the rim light as it would have blown out the exposure in real life. Some cheats I can use ![]()
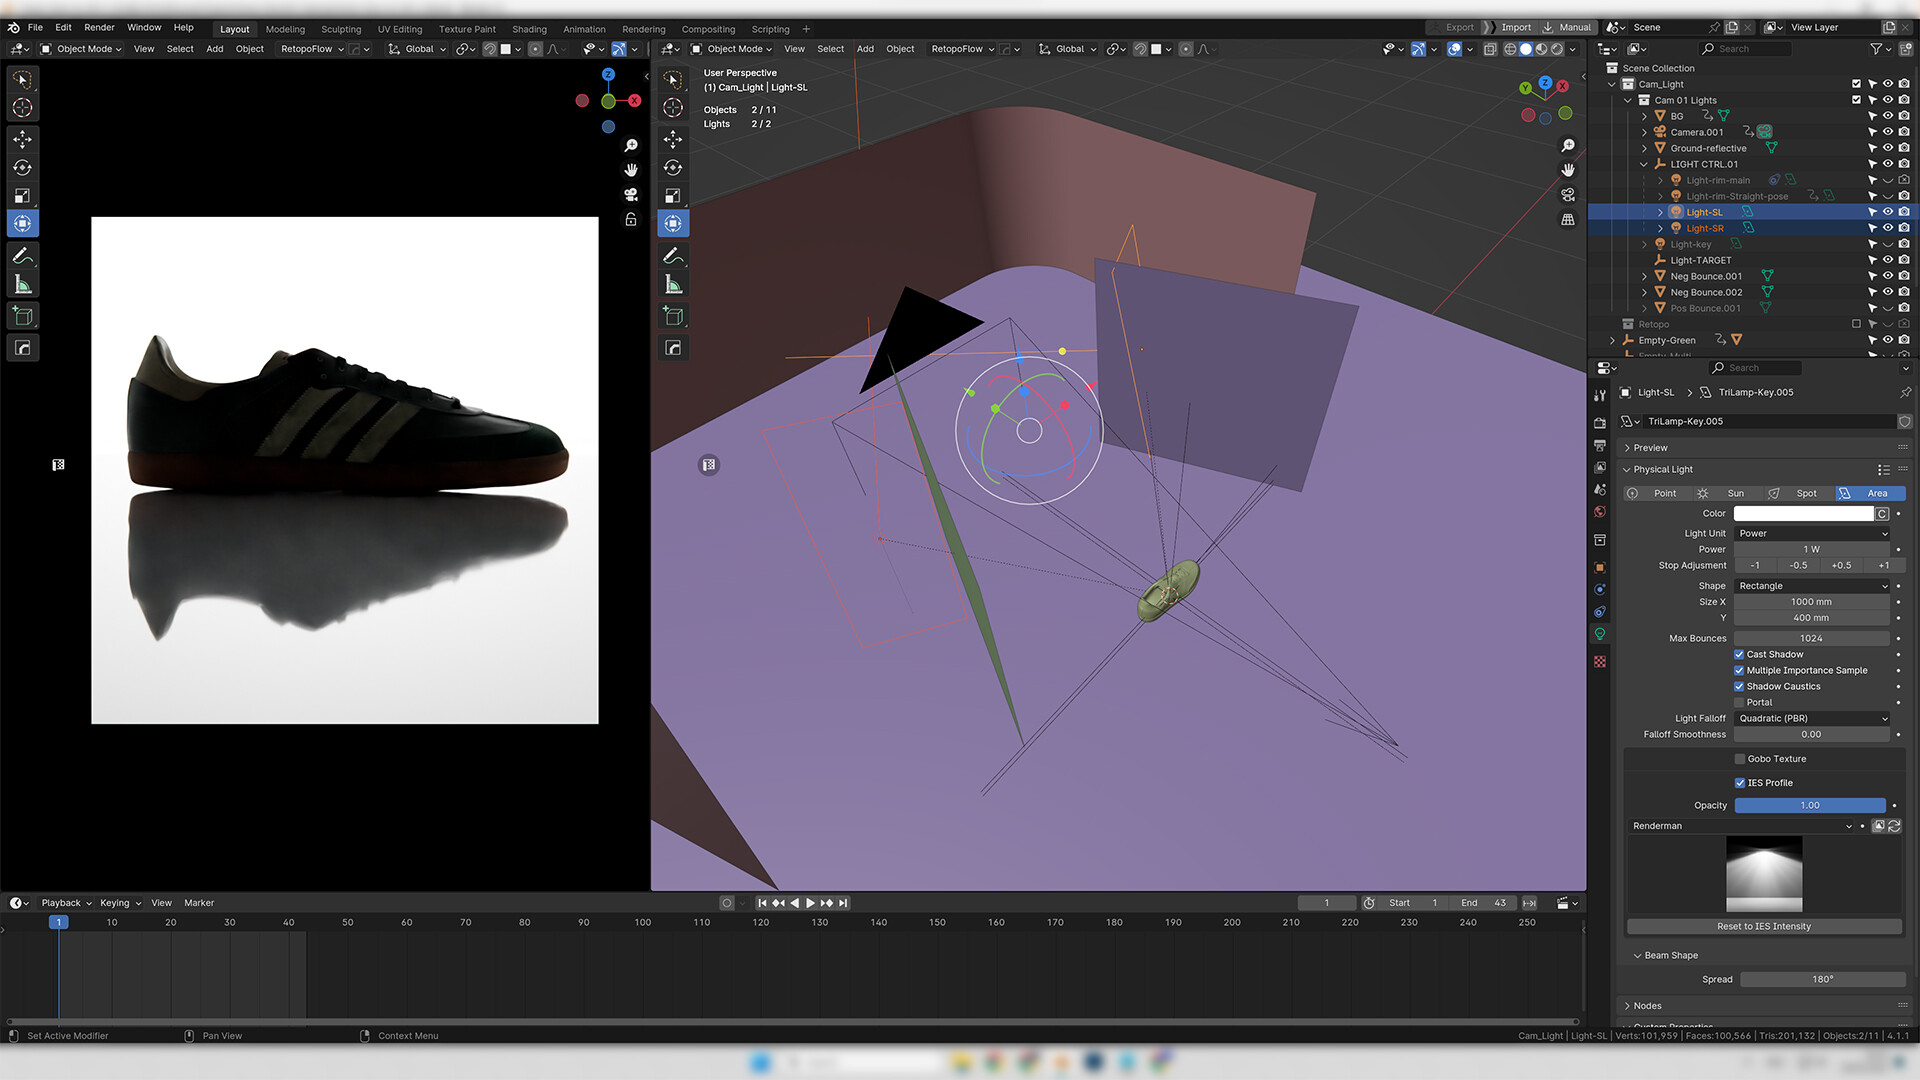
I also have a strip light behind the subject to give a bit of top light on the edging. I’m a sucker for rim lighting. Simple, but beautiful at defining shapes. There is also a simple white plane to act as a bounce on the left hand side to help lift a bit of the darker areas (which I realise I have turned off in these screenshots).
Key light is a large round area light.

All the lights turned on to make the final exposure.
The shots of the shoe standing up are also using this setup but I turned off the back lights and added a different rim light to catch the top of the shoe.
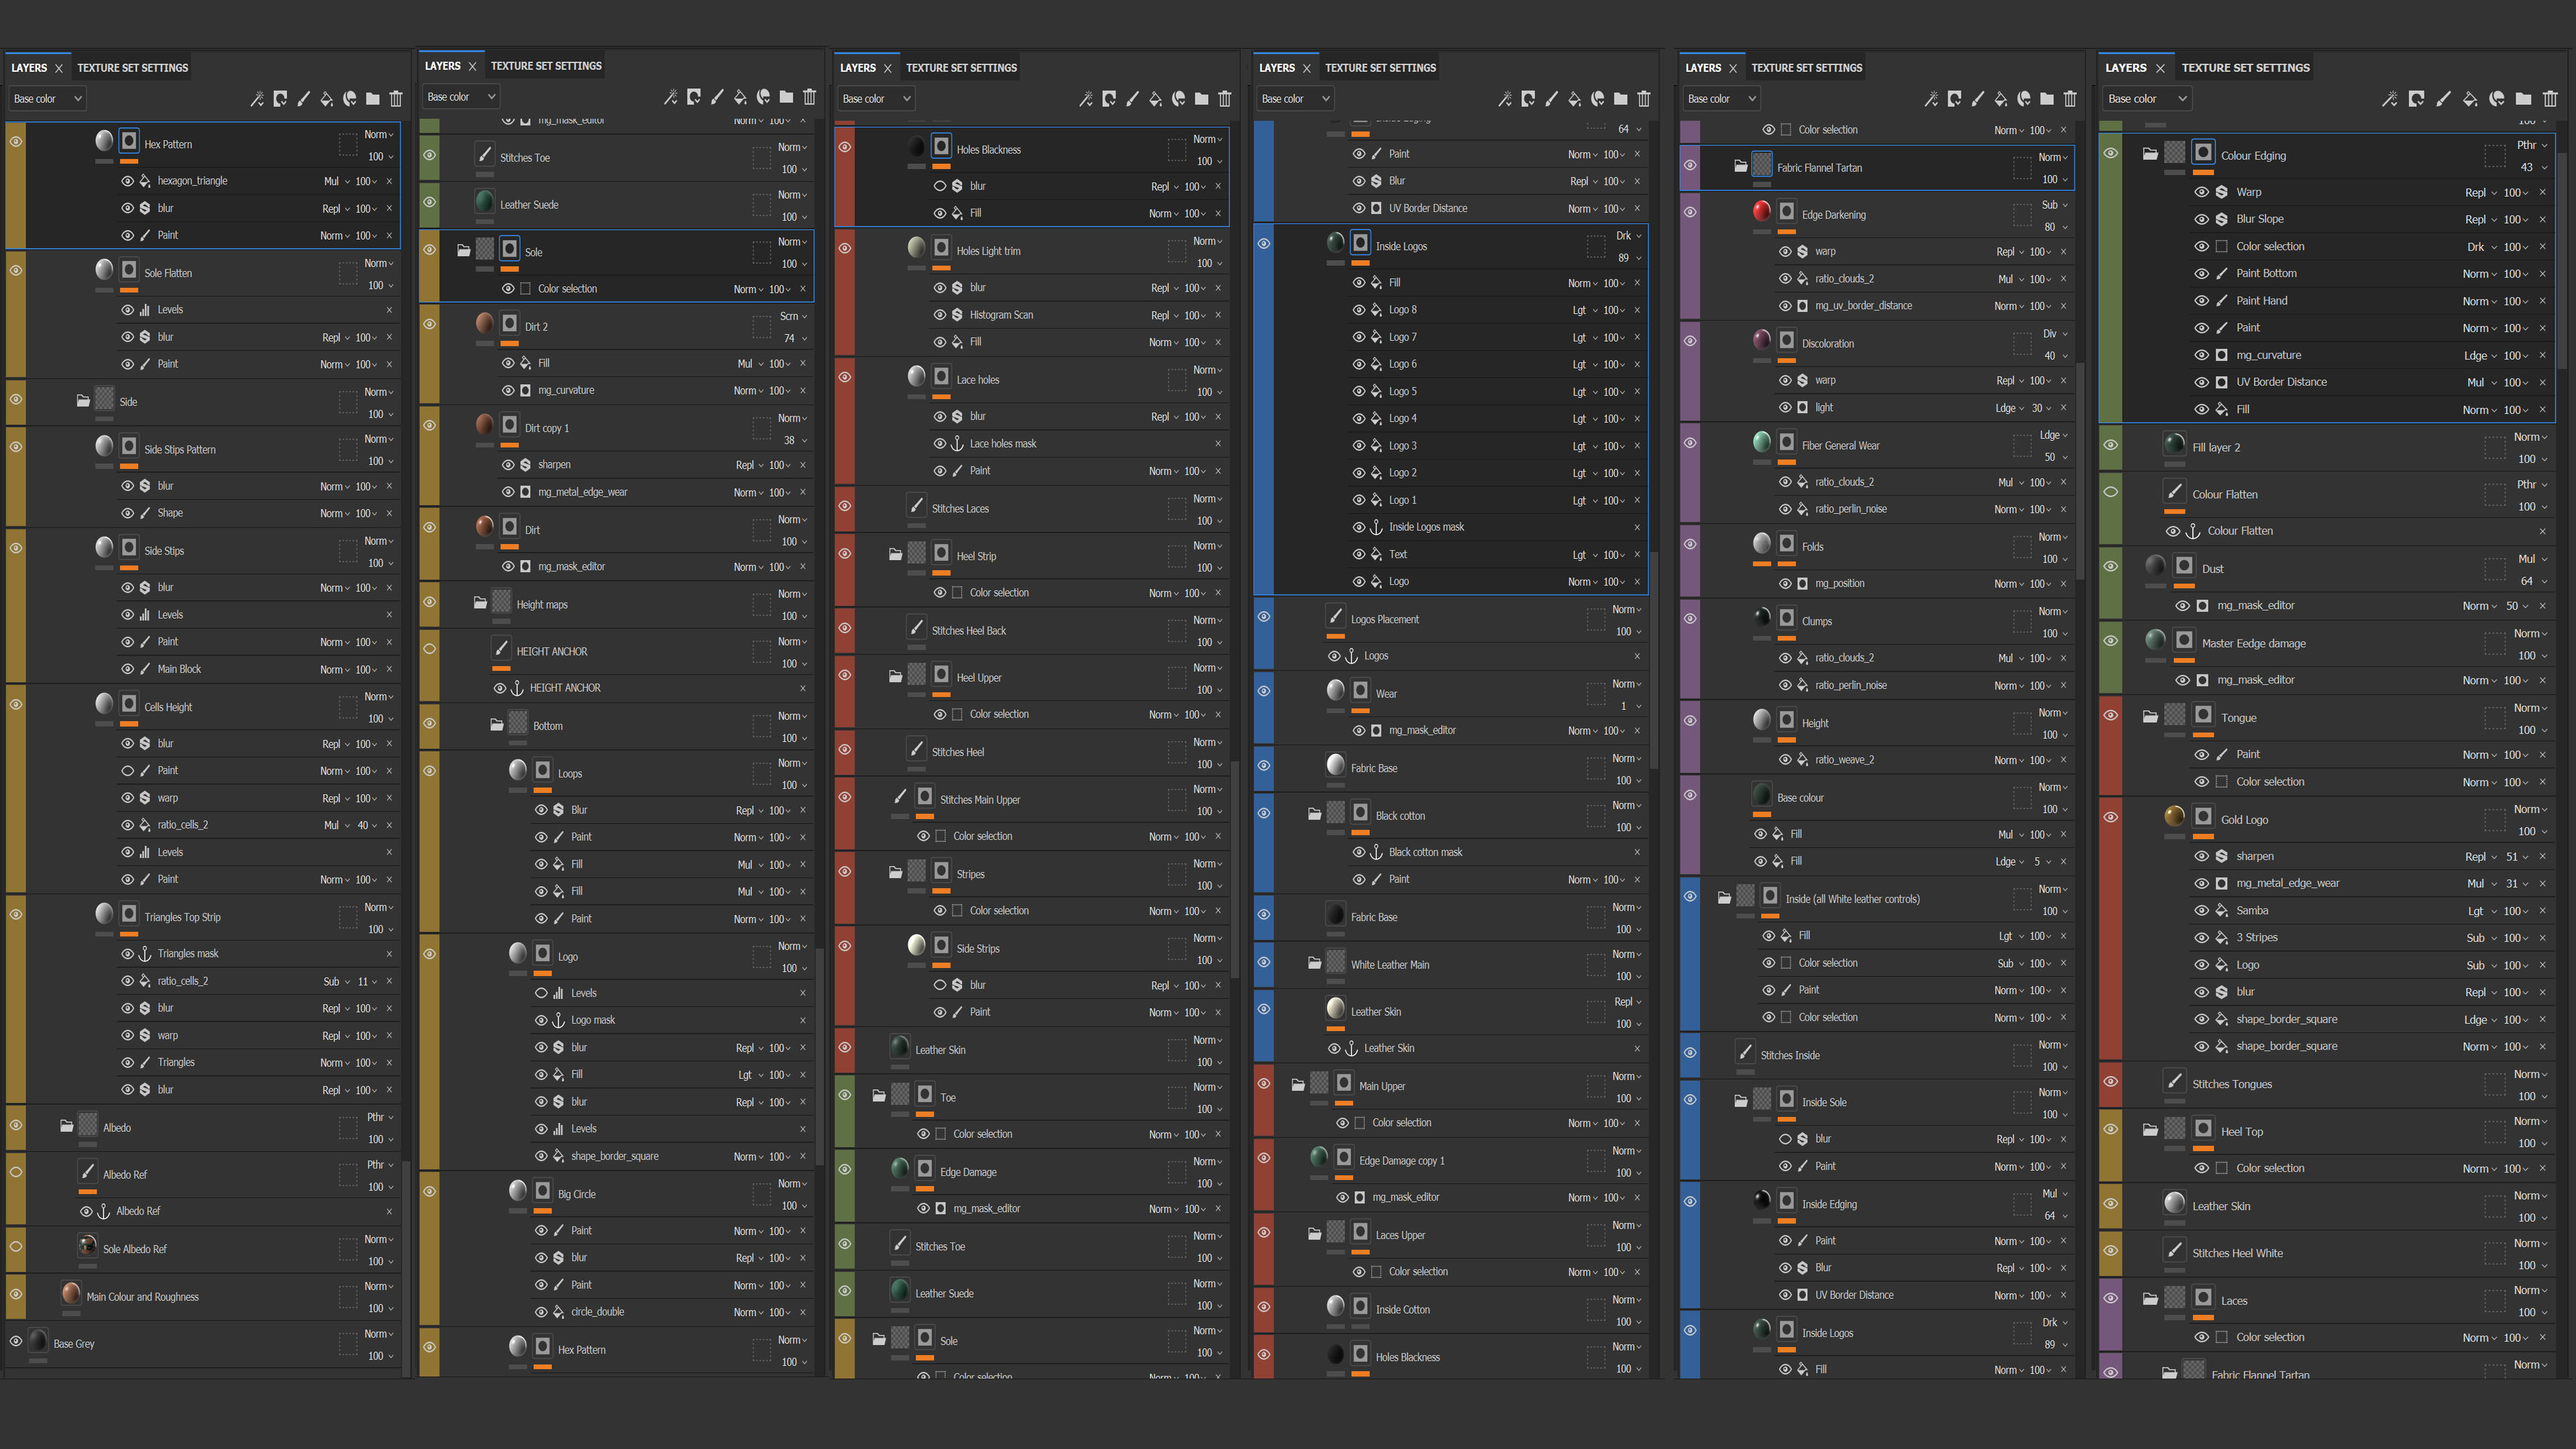
Some Substance breakdowns.

Most of the work here was for the sole. That’s the first 2 columns with the mustard colouring.
Then just a lot of leather and stitching mainly, with the laces being based on the Flannel Shirt smart material (that’s my go to for a lot of rougher fabrics as a starting point), and then some overall roughness and edge break ups on top of everything.
If you made it this far, thank you! This post turned out to be a lot more than I expected ![]()
While a lot of this will be old hat to most here, I hope some of this information will be of use to others.
Oh, and lastly, I cannot thank @MACHIN3 enough for the work that he does. His addons are an absolute must for Blender. Makes the Blender experience infinitely better.

