Alright then! It’s about time you got introduced to the wild wooly world of making textures in proper then. Here’s what you do to make an ambient occlusion map for your UV. Click on the Render button on the right toolbar, and go all the way down to the Bake header. Under the Bake Mode dropdown menu, select (appropriately) Ambient Occlusion. Select your model in edit mode, check the normalize checkbox, set the margin to 2 (so it’ll cover any seams you’ll get from your UV islands), open up your UV window, then hit bake. Wait about 40 seconds or so (maybe a little longer, depending on how fast your comp is), and you’ll get this white, shaded looking…stuff type thing. Congratulations! You just made your first AO bake! Hit the image menu at the bottom, and select “save as image”. Make it a lossless image, like a TGA or PNG file.
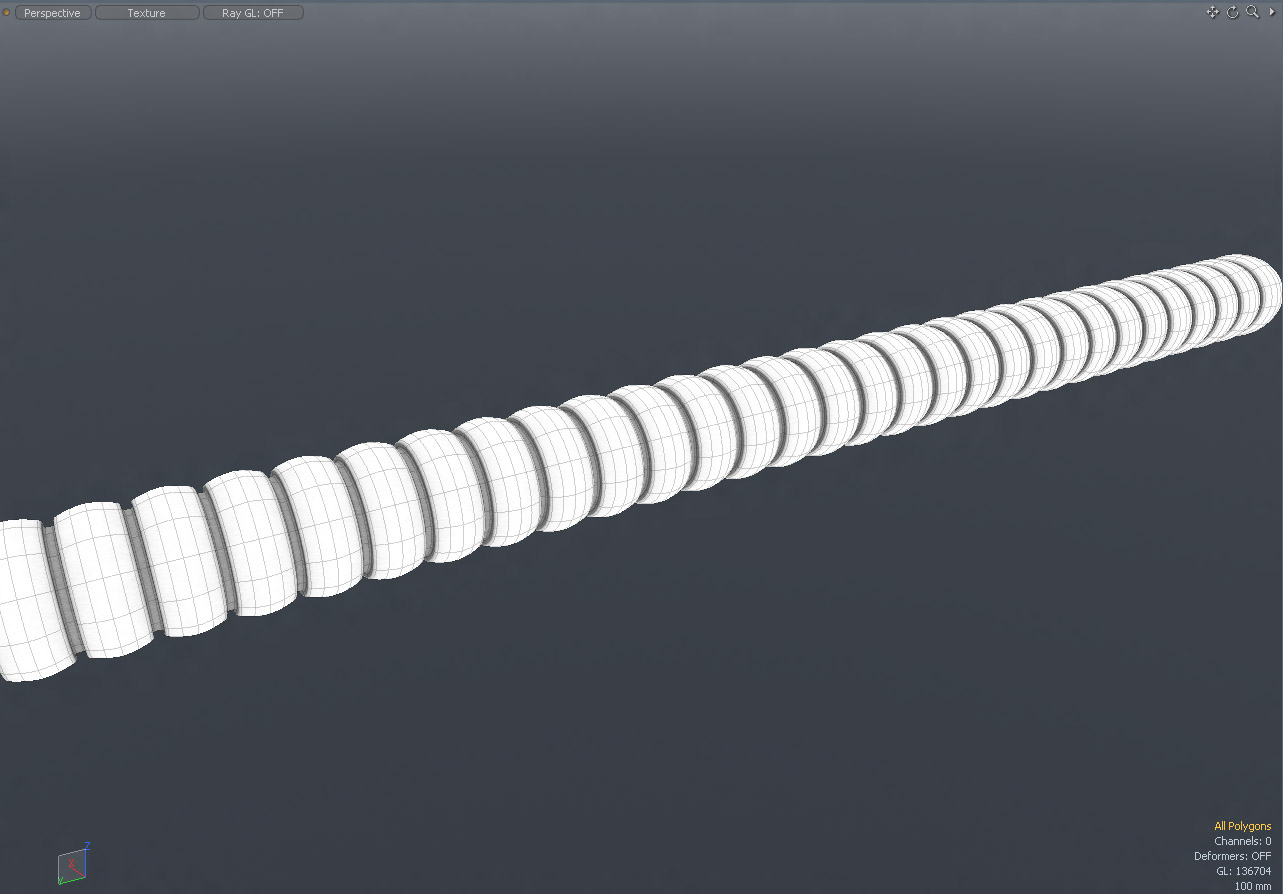
I whipped up a quick example of the staff section on your ax to show you what it’ll look like applied to the model by itself…
Pretty neat. But by itself, it isn’t going to do you much good for making a realistic looking model. We’ll have to go into Photoshop for that.
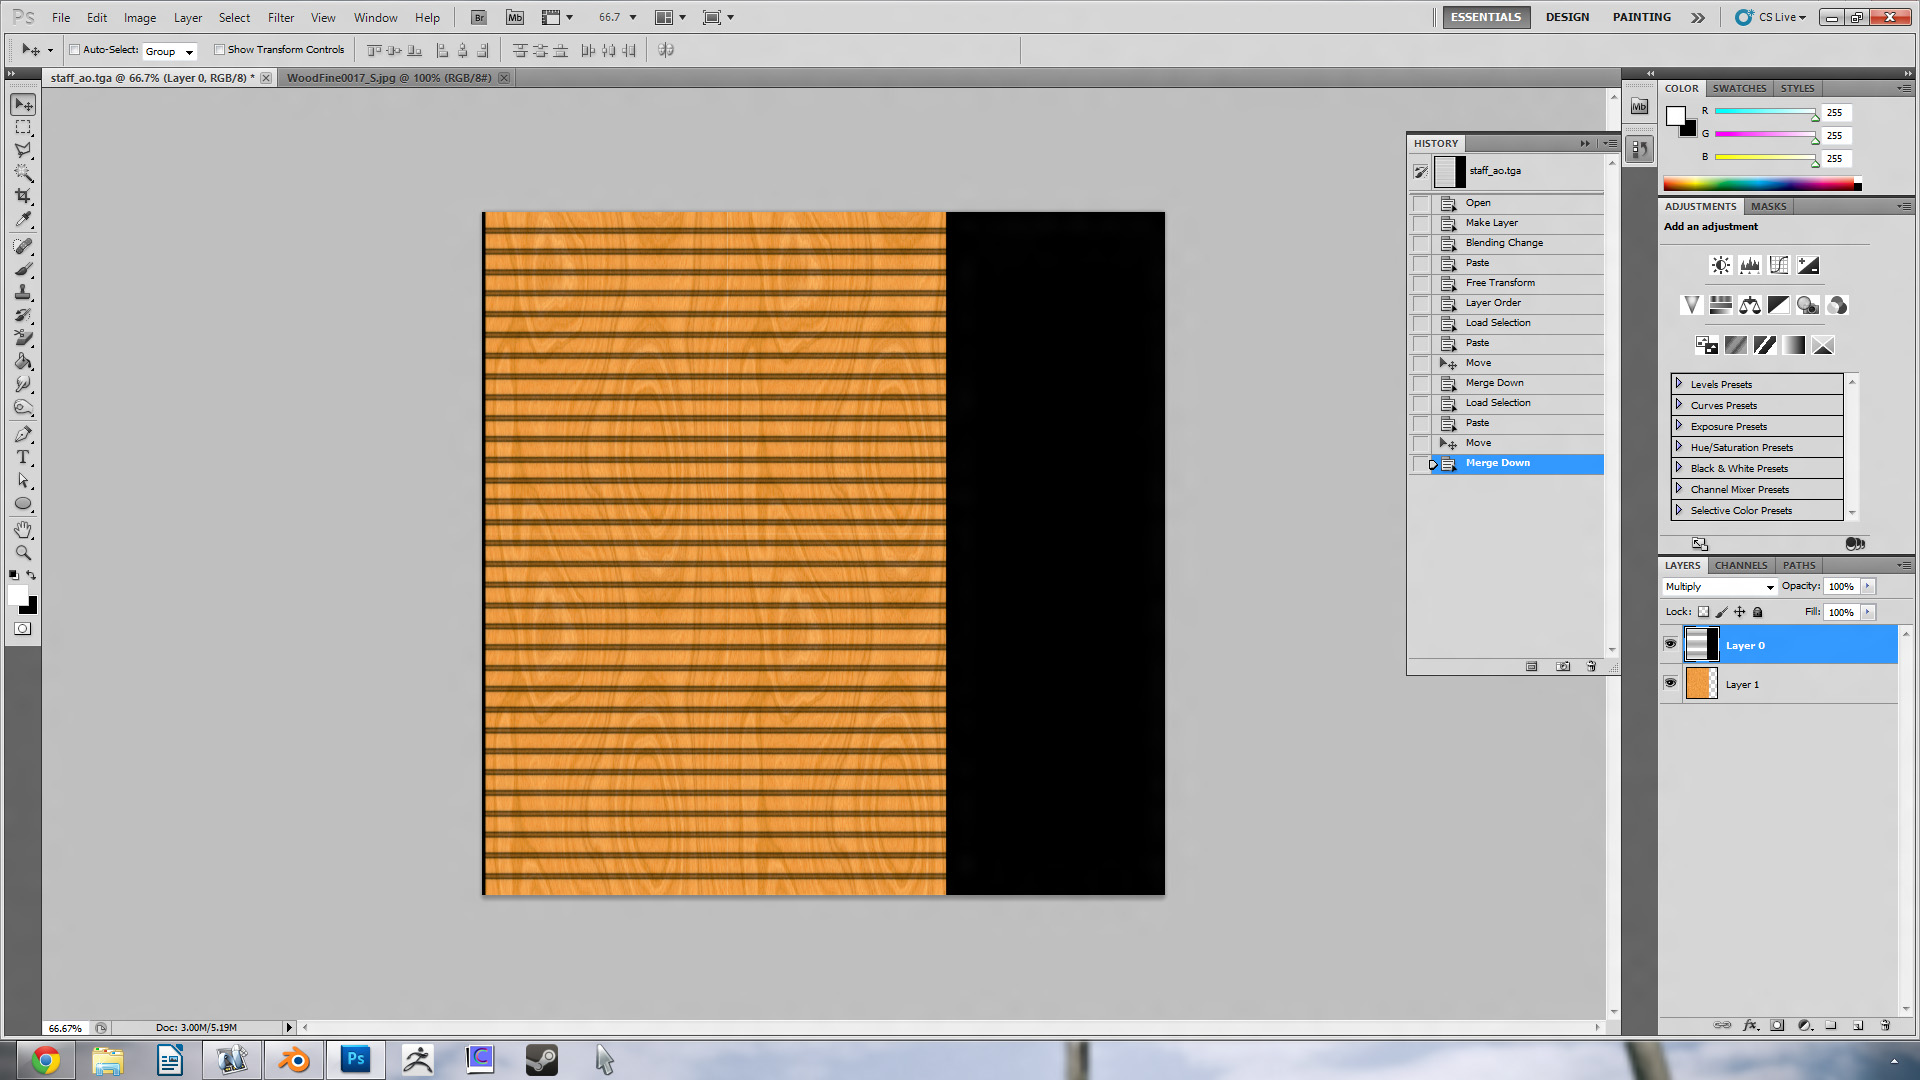
Okay. I’m assuming you’re in Photoshop, and you’ve opened up your new AO image by this point. Here’s what you do. Doubleclick on any blank space on your background layer tab, and you should get a little “new layer” dialog box". Hit okay, and it should rename it as 'Layer 0". Next, go to your filters dropdown menu, and select “multiply”. Your layers box should look something like this…

You’ve now primed your AO map to be applied to any texture you put underneath it. Since I don’t want to go real, real, real indepth with this, I’ll just grab a generic fine wood texture off CGTextures and slap it underneath to show you what it does. It’ll look like this…
You’ve now got an AO’ed up generic smooth wood texture. If you think the shadows are too dark, you can play with the brightness and contrast a bit. Next, save the whole thing out as a TGA file, and apply it to your ax. There you go…woody ax handle!
Since I’m only able to add 3 attachments per post, you’ll have to click here to see the final results.
You can use AO maps for grunge, shadowing, highlights, anything. Experiment with them, they’re versatile things. At the very least, they make for a great guide to design your UV around while in Photoshop.
edit: By doing just a few tweaks, a low level normal, and applying a similar spec map to the one I detailed above, I’ve now got a nice polished wood texture.
Not the best in the world, but still not bad for 5 minutes worth of work.


