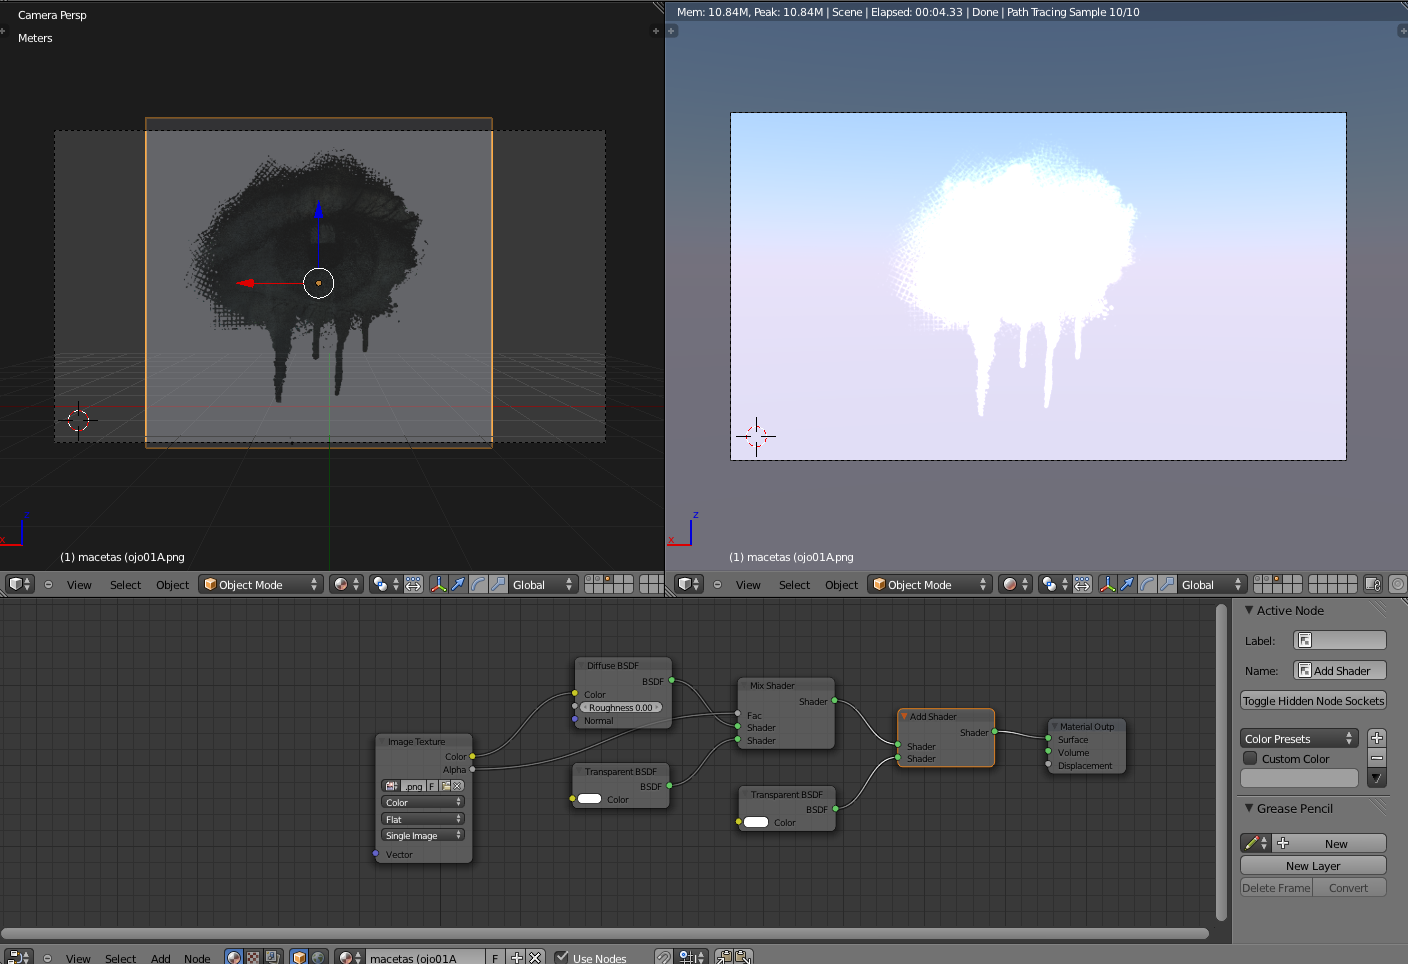
I was trying to put and alpha texture over a wall when… surprise! The alpha part of the alpha png “image to plane” I’d import looks black in rendered mode.
Can someone help me to solve it? What I’ve did wrong? Is something related to this Blender new version?
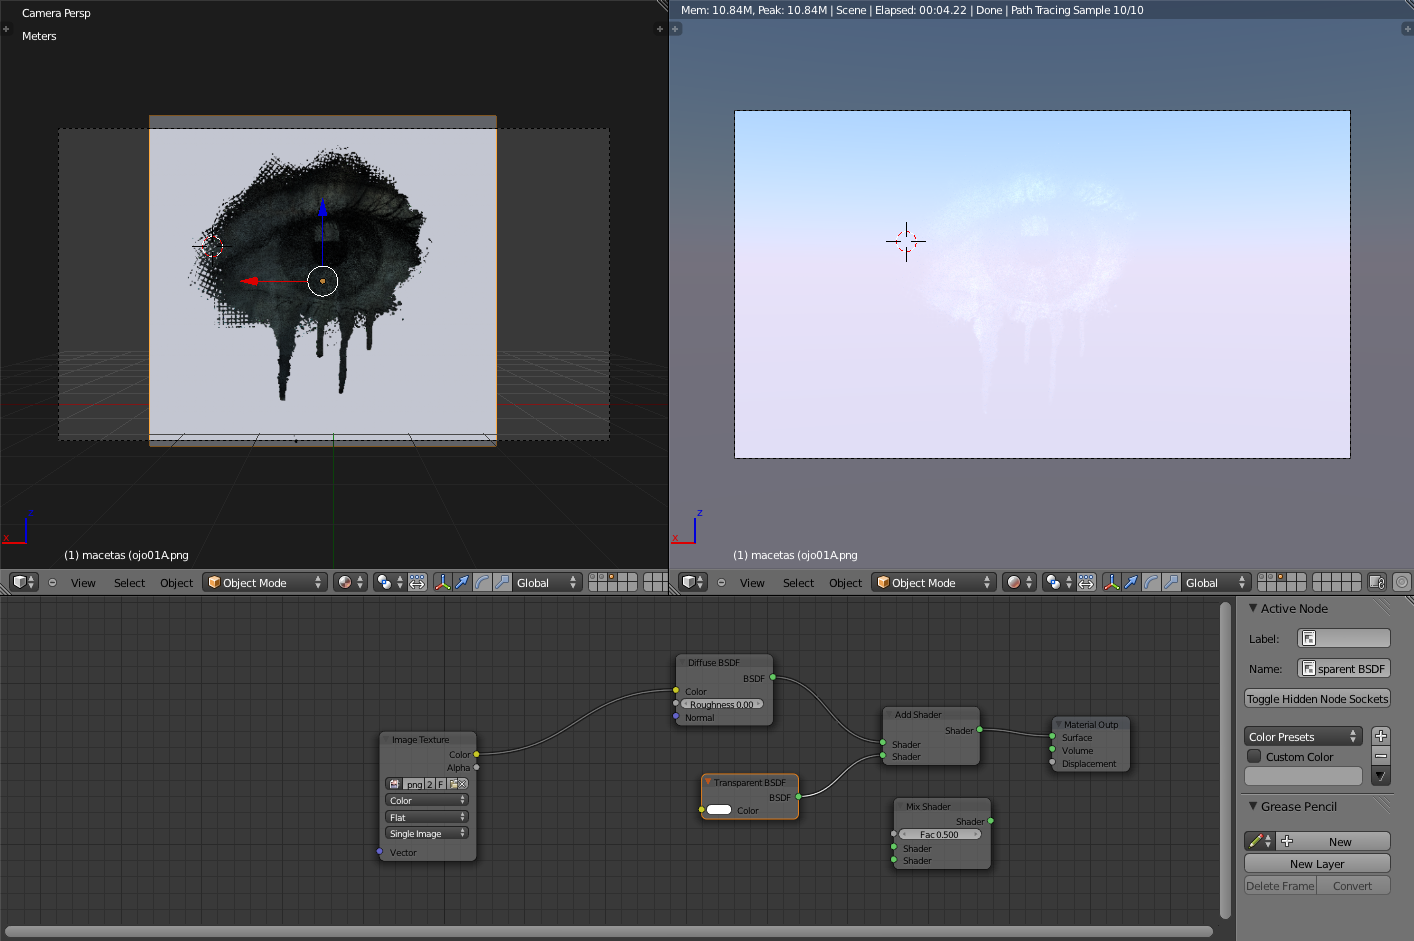
I’ve tried to solve it using a transparent shader in Properties/Materials, doing some changes, but with not luck… I’ve try too to, instead of importing the image as plane, to mapping it over the wall (in Materials, 2 Difuse Shaders: one with the wall image, the second one with the alpha png), but with no luck too!! … At the end, I’ve used Photoshop to put the alpha over the wall, but it’s difficult to fake real focus using defocus in Ph, so I hope someone can help me!
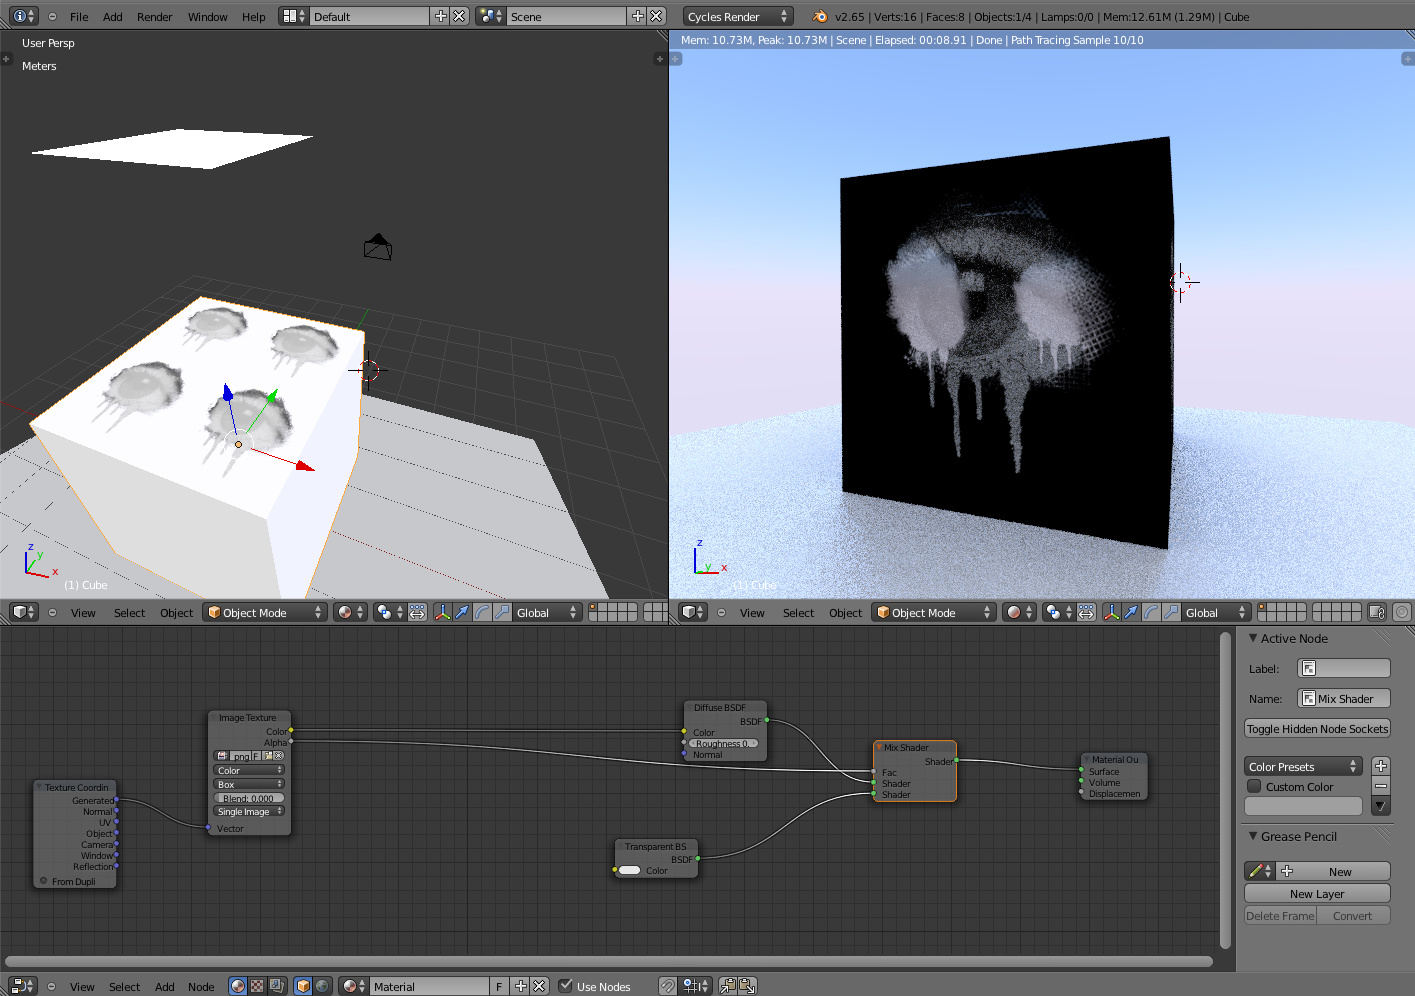
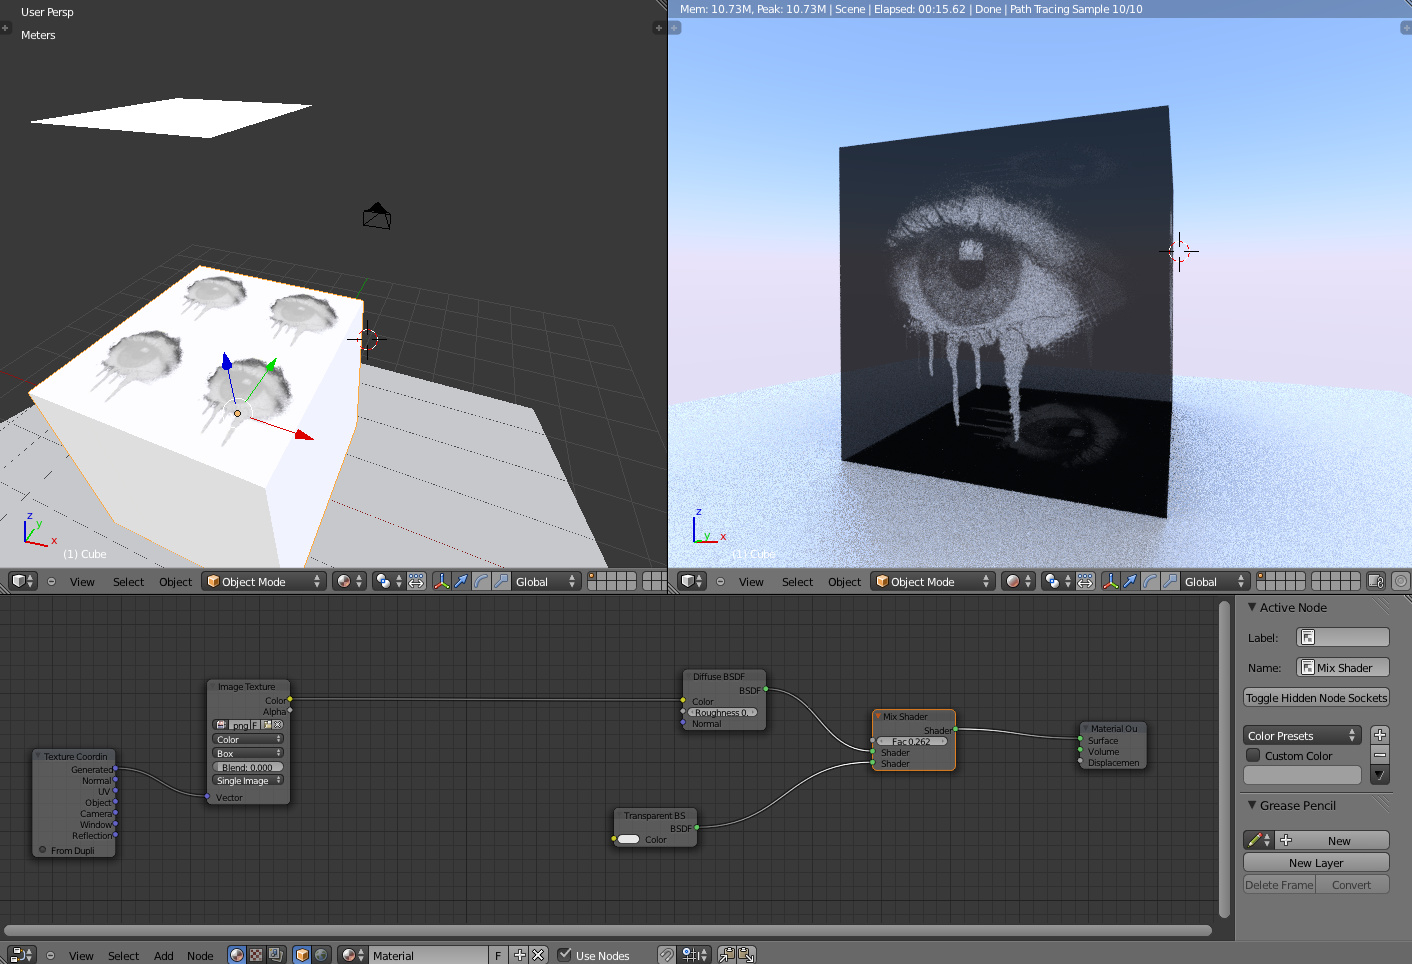
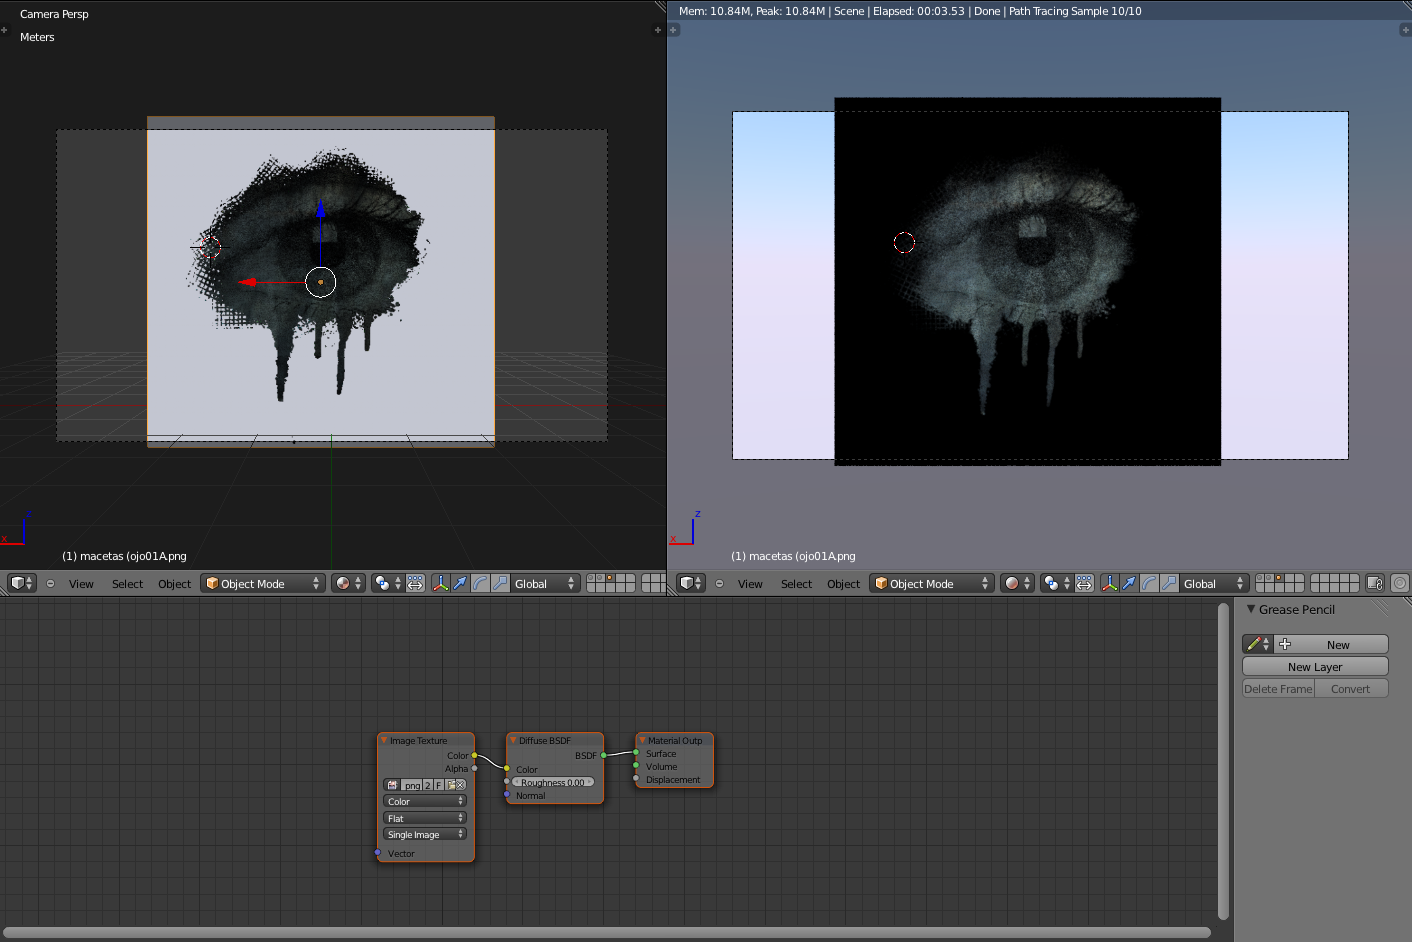
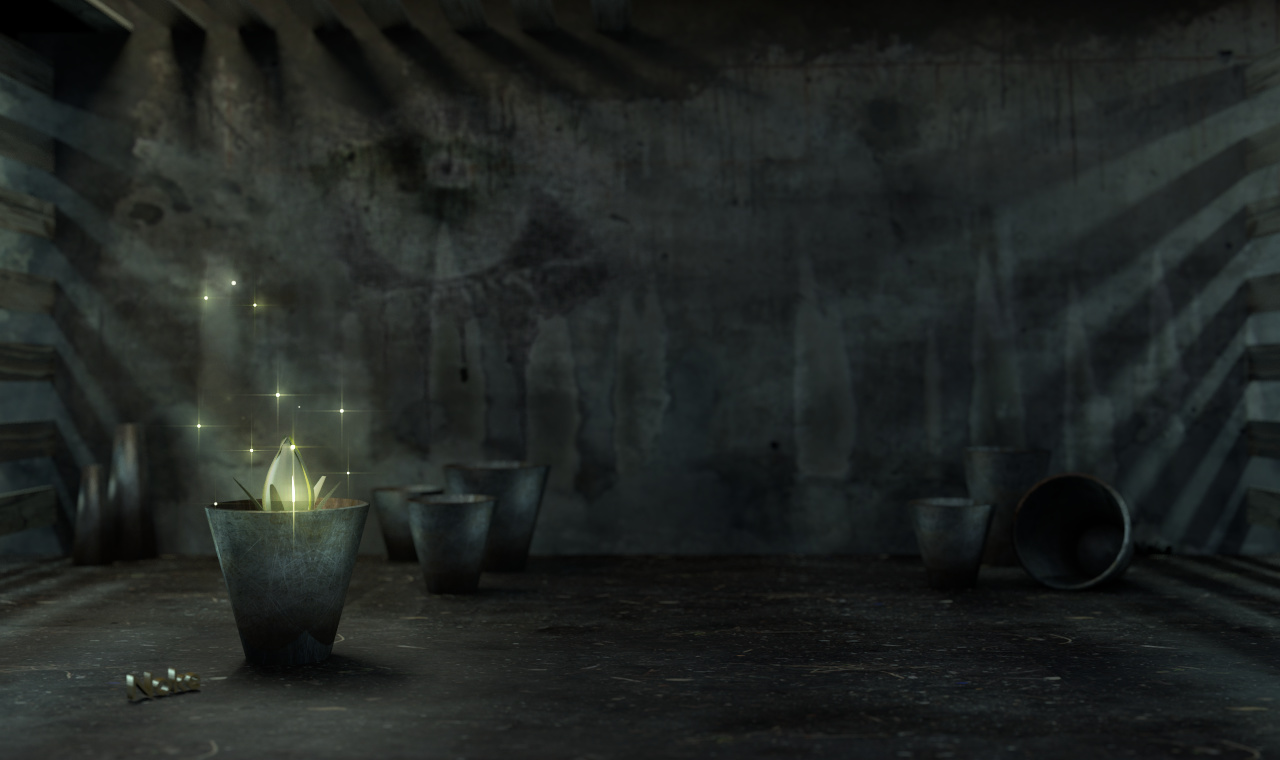
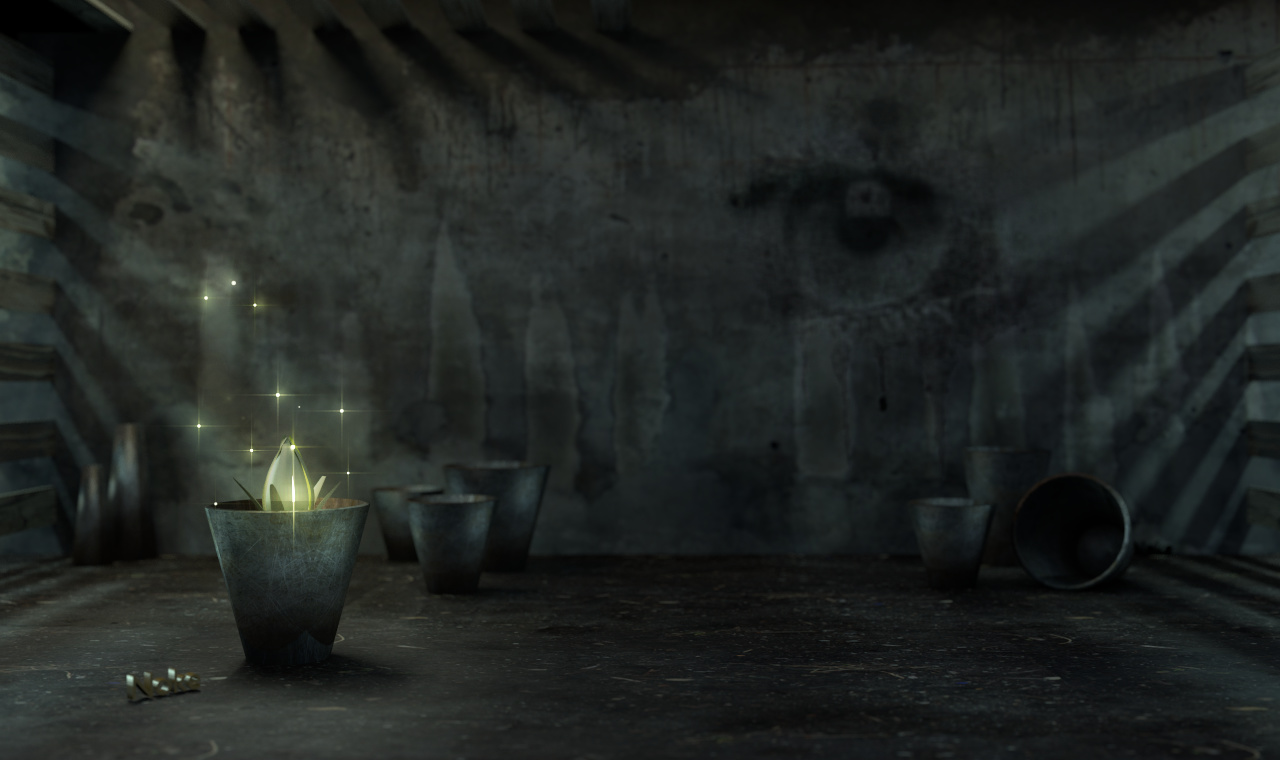
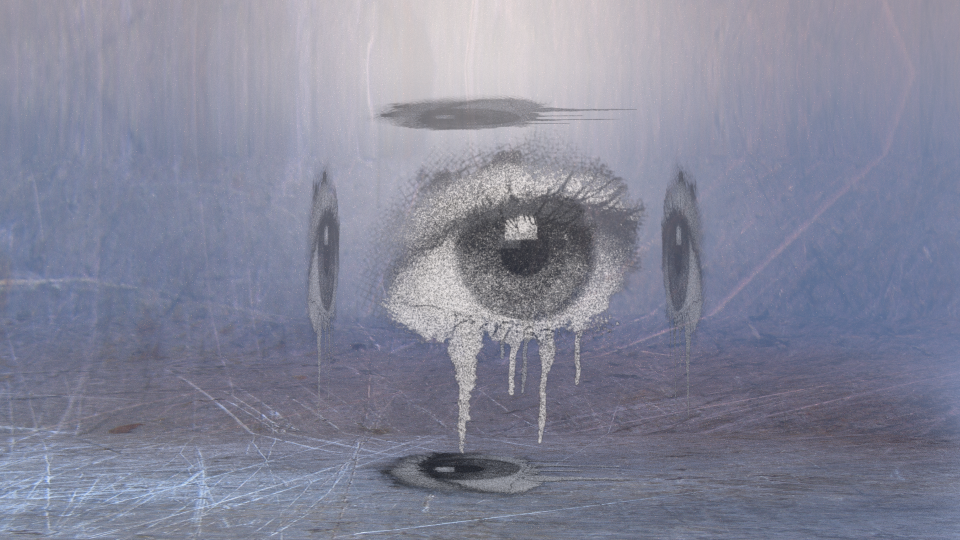
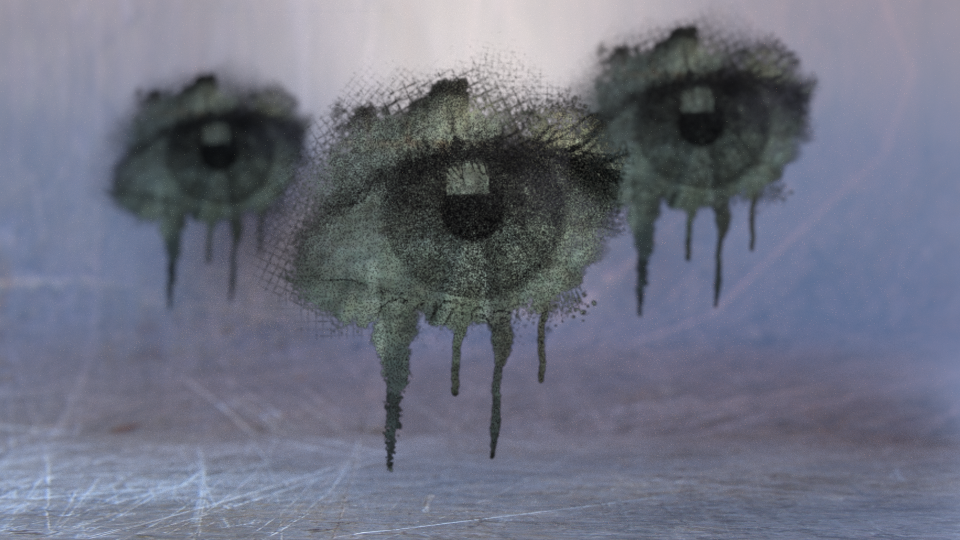
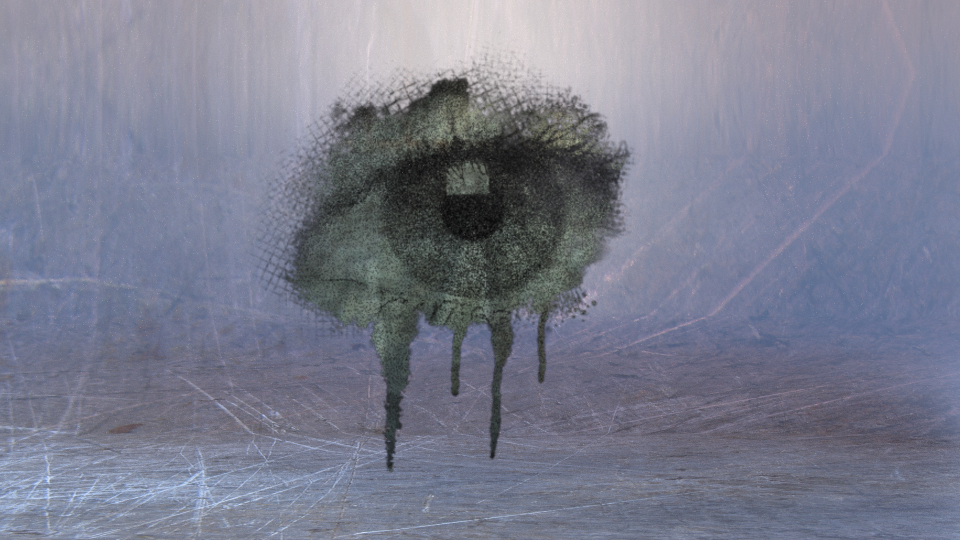
I let you some images with the tries and results, over a plane and a cube, and the scene rendered with the fake focus using Photoshop (so you can see better what I was trying to do). This 3 to start (01 and 02, texture over cube, 03 is imported “image as plane”):
As annoying as it is, Cycles doesn’t automatically acknowledge an alpha channel. It’s annoying but it makes sense. Otherwise the most asked question would be “How to ignore the alpha channel of an image?”
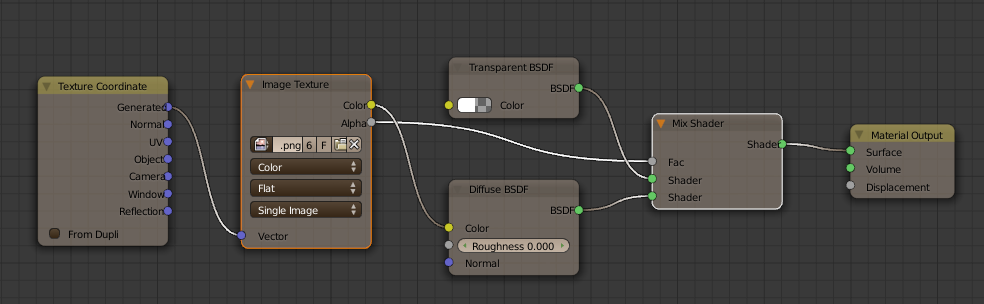
Any way… You must use a mix shader to mask out the part with alpha.
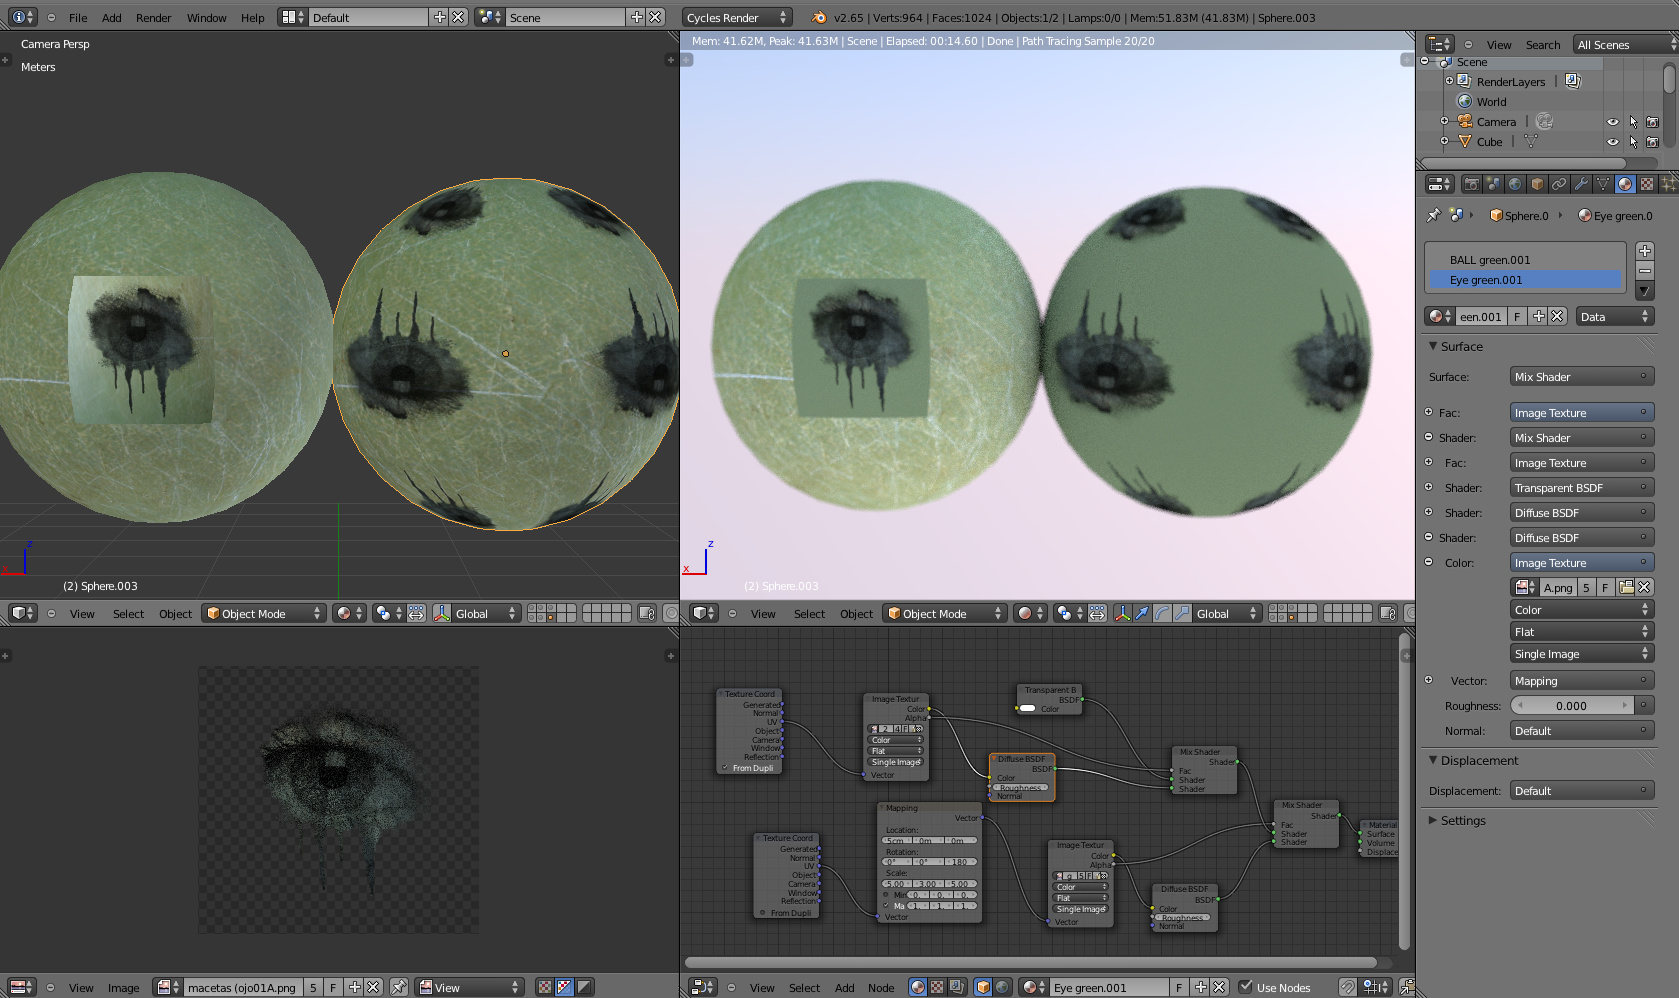
I think I’ve got it, more or less… I’ve put a second dif. shader on the same material and then mapped the alpha texture untill more or less I’ve got it proporcional. Mapping was so tedious, so I’ve try to do it using vertex group, but not luck!
If I understand correctly, you want to use the eye as decal on an object. The easiest way is to use 2 UV maps. One for the material of the object and another one just for the decal.
Since I’m feeling lazy this morning, I googled a bit and I found some interesting stuff:
The second one shows exactly how I would do the UV map for the decal, with all the faces which must stay unaffected shrunk in a fully transparent corner of the decal.
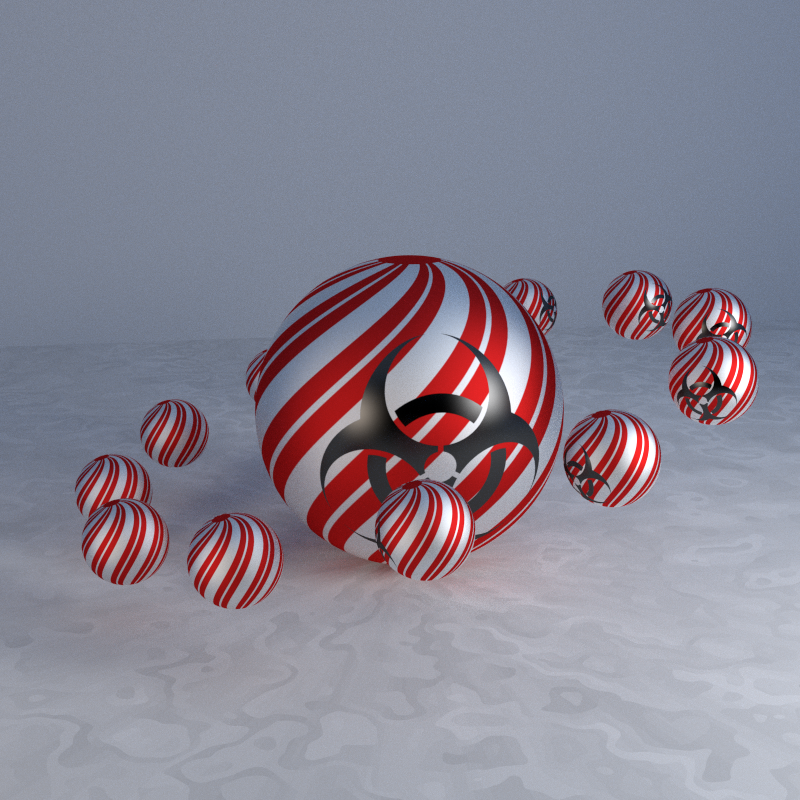
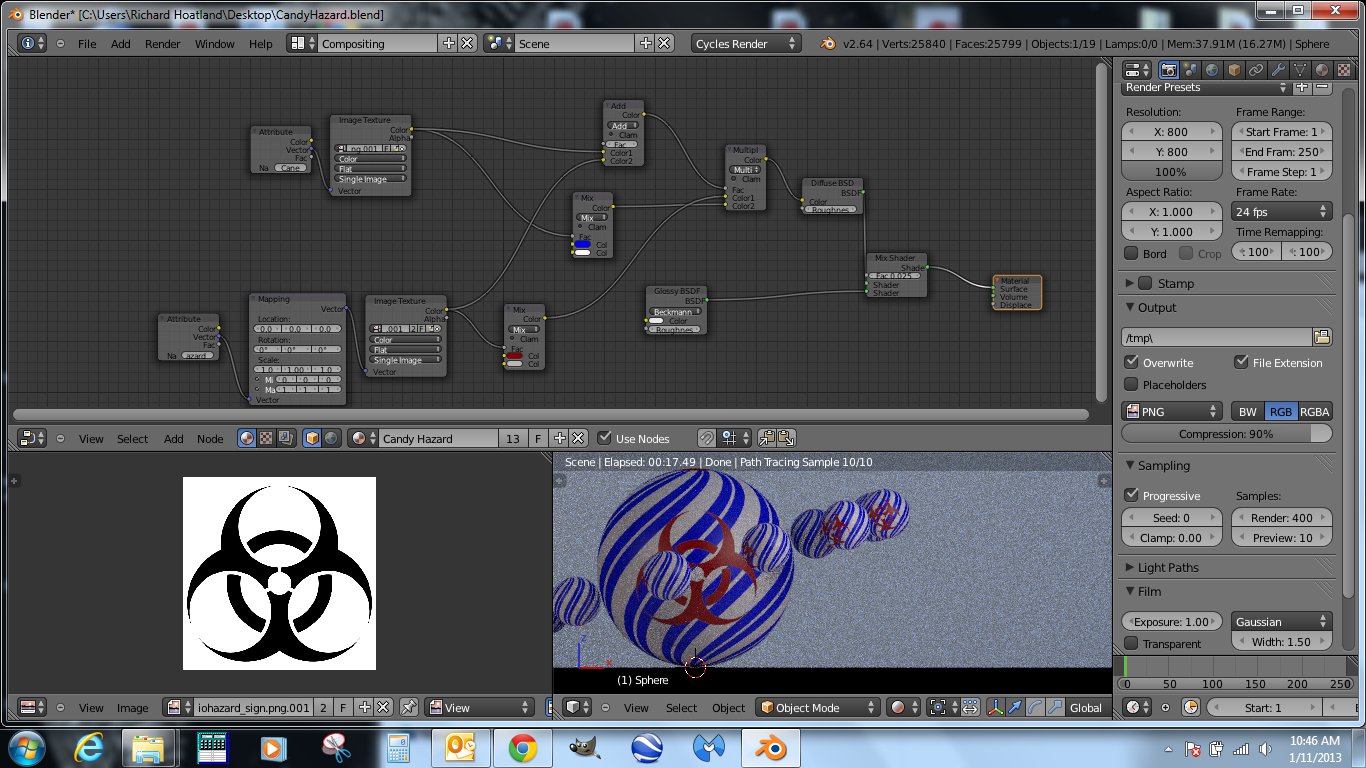
For this picture, I used 2 materials mixed into one, using the alpha of the biohazard sign as factor, but I also included the color-only version of the material in the blend file. (Packed textures are CC0.) I had a little fun with the floor. Don’t look too closely, this is really crazy stuff which makes the rendering time hit the roof.
Note that if you switch the display to Materials, Blender has an attack of Alzheimer and forgets an UV map in the process. The rendering is always correct tho. I guess that’s all that matters.
1 - i can see the seams on uv sphere how did you do the unwrap to get rectangle in UV maps?
2 -what is the difference between using attributes and simple mixing
i have another example using mix shading and transp shader and seems to work but has to have transp background png
1 - Sphere projection from the front orthographic view. [Numpad 1] (But I cheated a bit, I didn’t unwrap the poles.) Then I used “Constrain to Image Bounds” (from the UVs menu) to move and resize the UV to fill the whole image. Once the constrain disabled, you can scale the UV [Not by hand!] by typing “S”, an integer value, [RETURN]. So the seam is always at the edge of the texture.
My way of dealing with the ugly triangles at the poles is to add another loop cut very close from them so that the triangles are microscopic and I unwrap them separately with “Project from View” from the top and bottom views. Then I move the tiny UV islands to the top and bottom, close to where they should be. If they are small enough, they have the right tint, even if they aren’t where they should be.
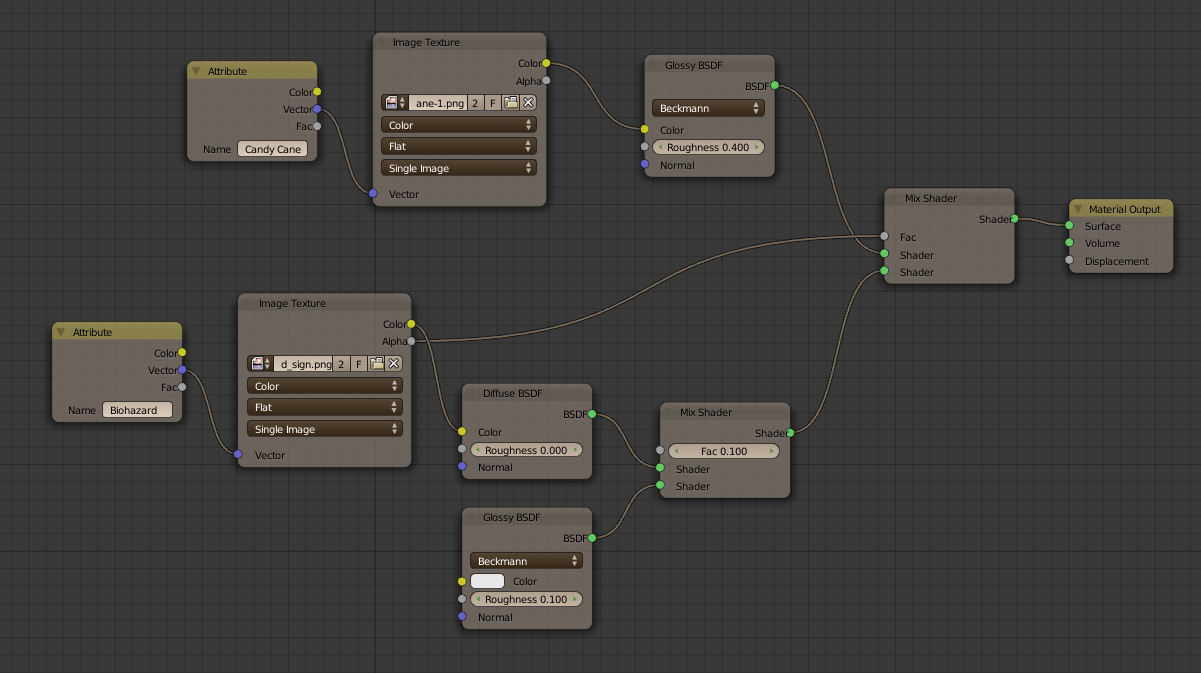
2 - You’re comparing apples and oranges here. The attribute node here is just like the “Texture Coordinates” node, except that you can choose which UV map to use. As for the mixing nodes here, just imagine that full images arrive into their input sockets. (The alpha channel of your decal is just like a greyscale image.) The mix node checks the alpha values of your decal which are mostly 0 or 1 and chooses respectively your background or the decal to make a single image… and everything in between. This works the same way whether you deal with complete materials or just colors.
The transparent node is unnecessary. Simply change the transparent part of the image to a white background and the image part to black. Then you would plug that image into the FAC of a color mix node.
Using that method on teh candy cane ball you can actually control the separate colors with the mix nodes. You could actually plug in image textures instead of colors if you wanted.
one thing here you got in this file 2 uv map
which means 2 unwrap
now how can you find the image associated with unwrap and uvmap?
there is another one other file with several unwrap around 5 or 7 and i cannot find the image and unwrap for each uvmap in object panel!
it’s the example with a ball having some number on it
i cannot find the lilnk for this one file!
But there’s no need to flatten the decal to reproduce your image. You can use the alpha value as well. You just need to invert your colors because the alpha channel of the decal looks more like a white symbol on a black background.
The alpha value seems to cause issues sometimes if it isn’t masked out. Not in every case, but it has caused issues.
In the case of the OP’s image he wanted to use, you would still use the alpha image, but create a separate b/w image to mask out the alpha areas of the photo.
Using a transparent node is definitely not the way to go though.
You can’t know which UV map is associated with which image because there is no connection in the interface. Don’t forget that you can unwrap even without a single image. However, if you look at the node tree, you have the images names and eventually UV maps names if there are several of them.
You select the material in the viewport and the appropriate image in the UV editor. That’s the best you can do to reconnect an UV map with an image.
For the pool ball, I can’t say anything without seeing the blend file…
 … At the end, I’ve used Photoshop to put the alpha over the wall, but it’s difficult to fake real focus using defocus in Ph, so I hope someone can help me!