Here is a little tutorial for an easy way to make a cut gem (like a diamond).
Open Blender (duh)
Delete default cube (X)
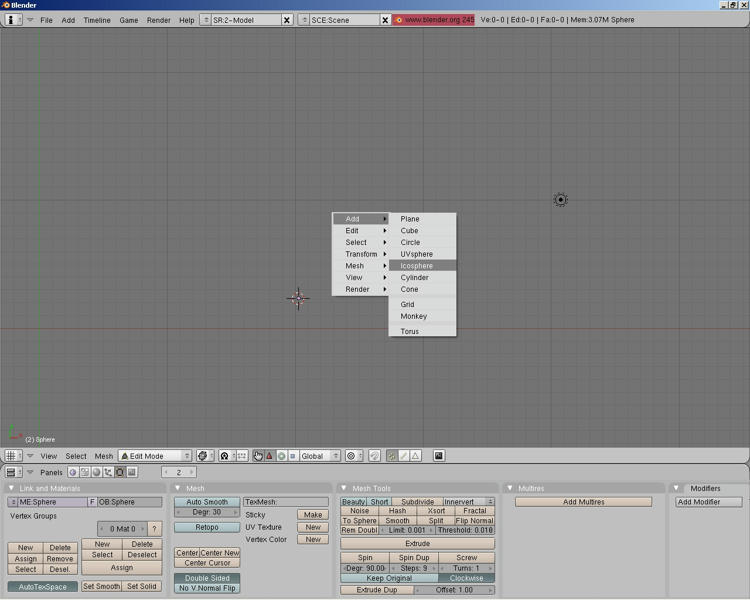
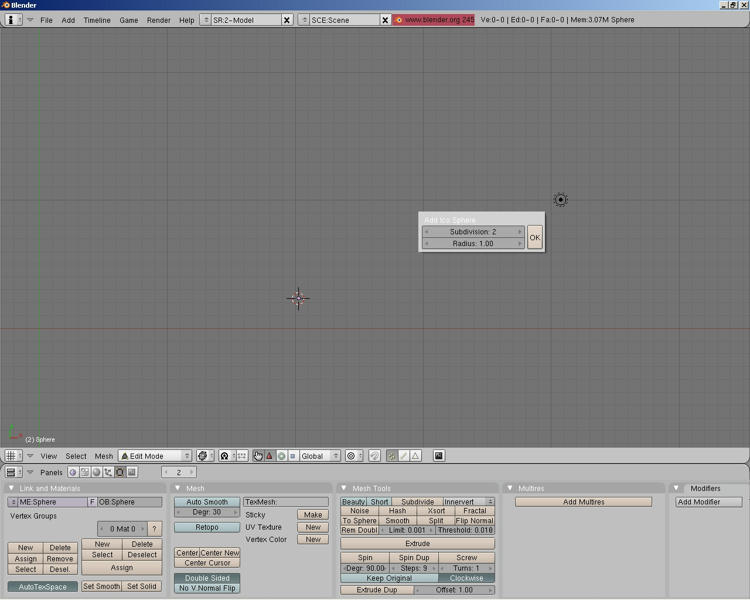
Add an Icosphere (press spacebar and choose it from the list)
Use default settings for the Icosphere
Press “A” to deselect all vertices
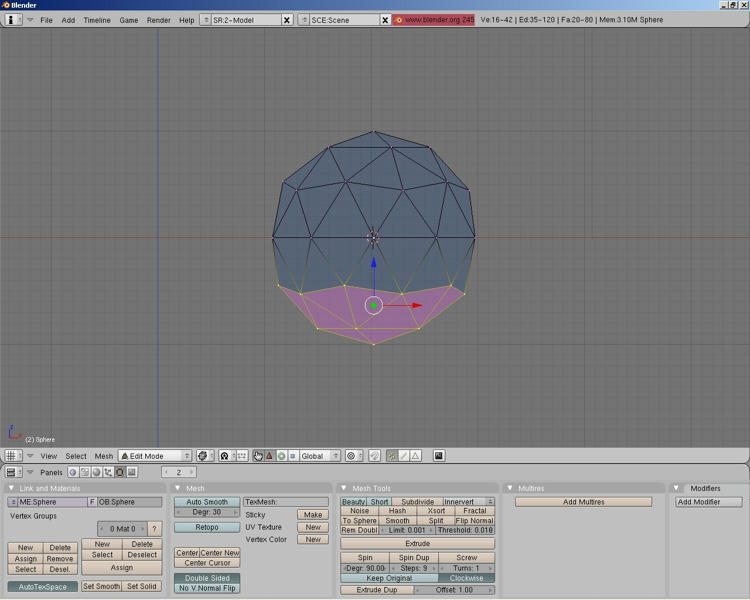
Switch to front view (important!)
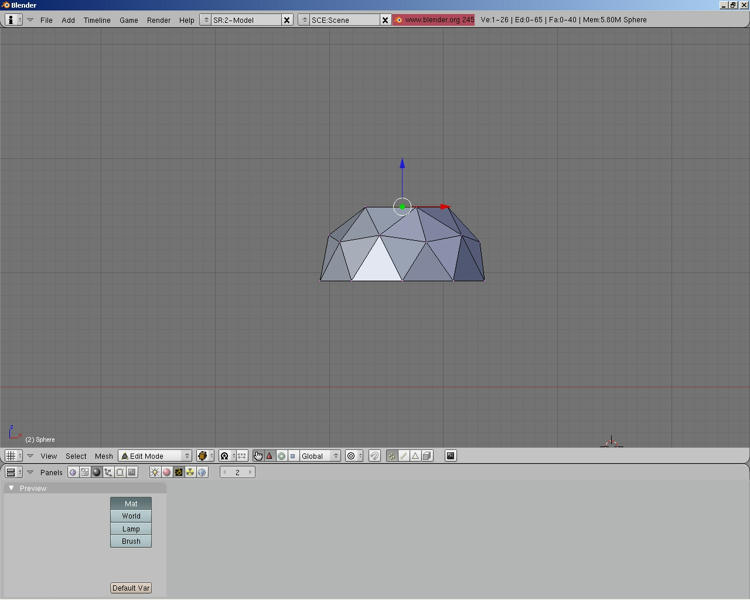
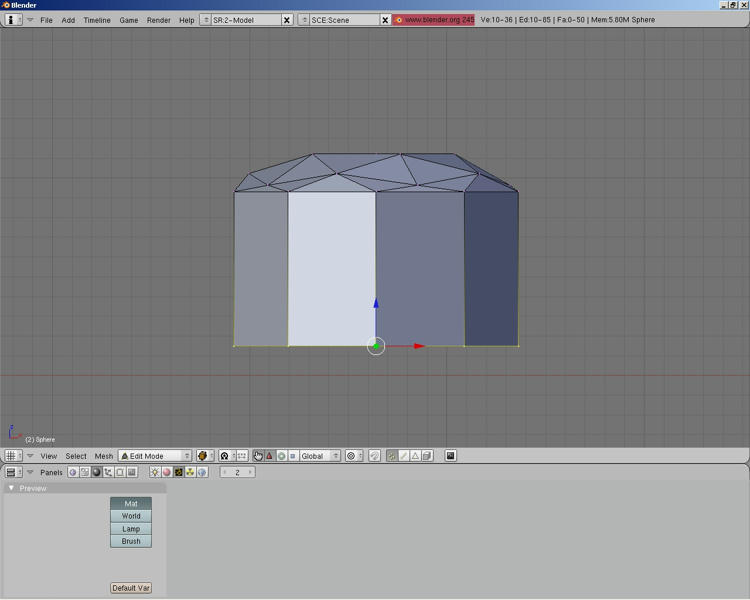
Select the bottom vertices. (See screenshot)
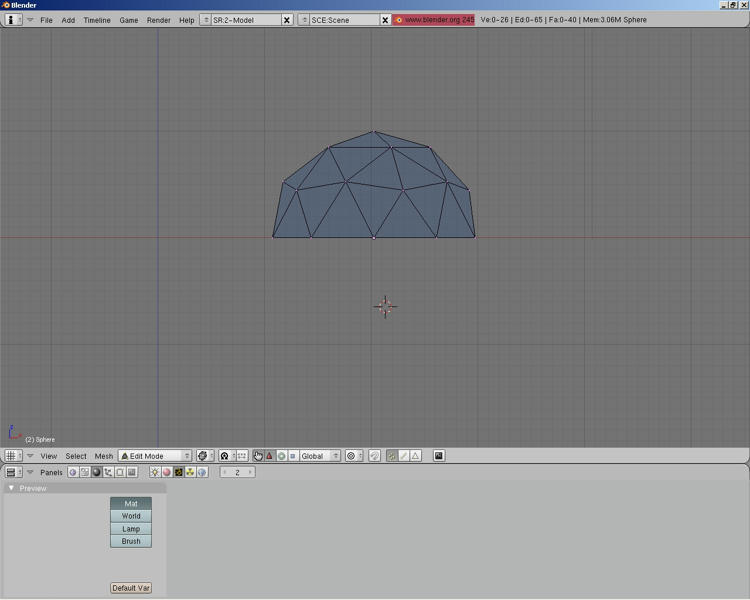
Press “X” to delete selected vertices. It should now look like this:
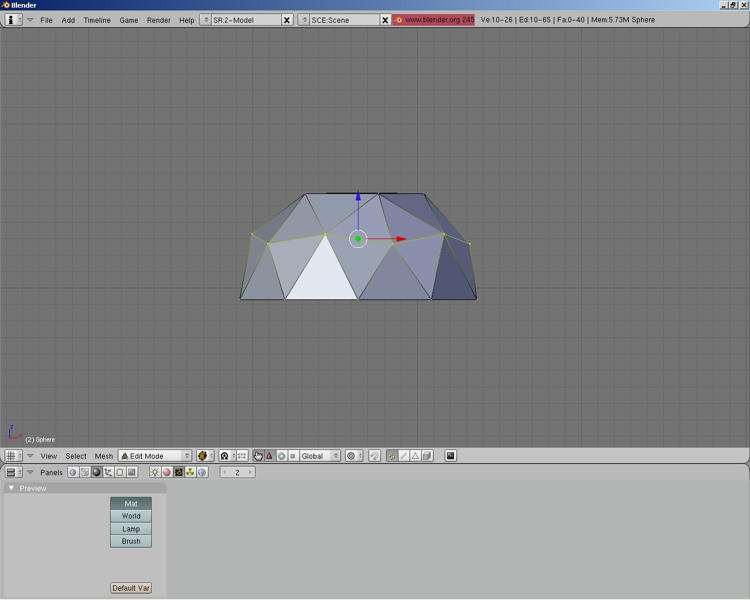
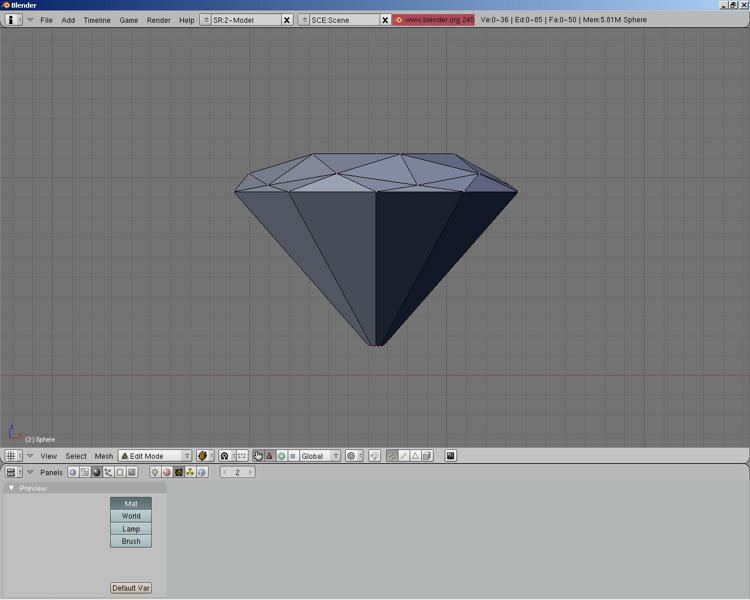
Select the very top vertice and move it down, about even with the lower ones. (See screenshot)
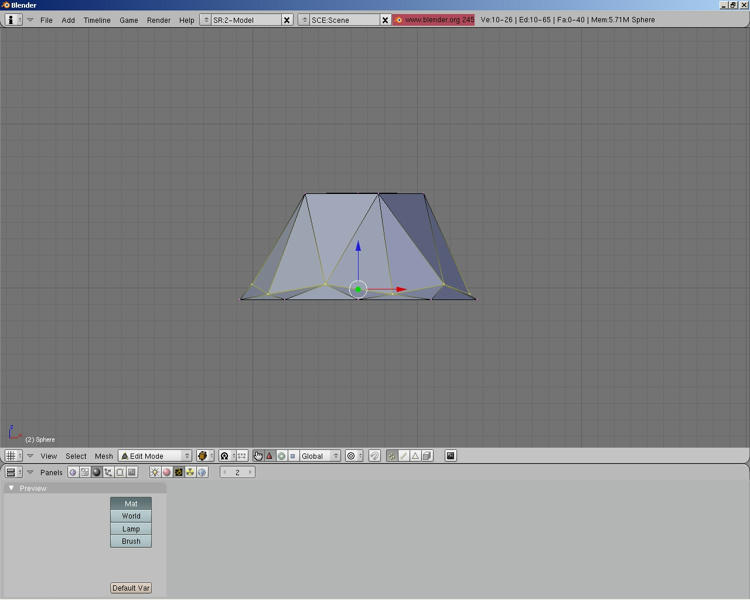
Select middle row of vertices (See screenshot)
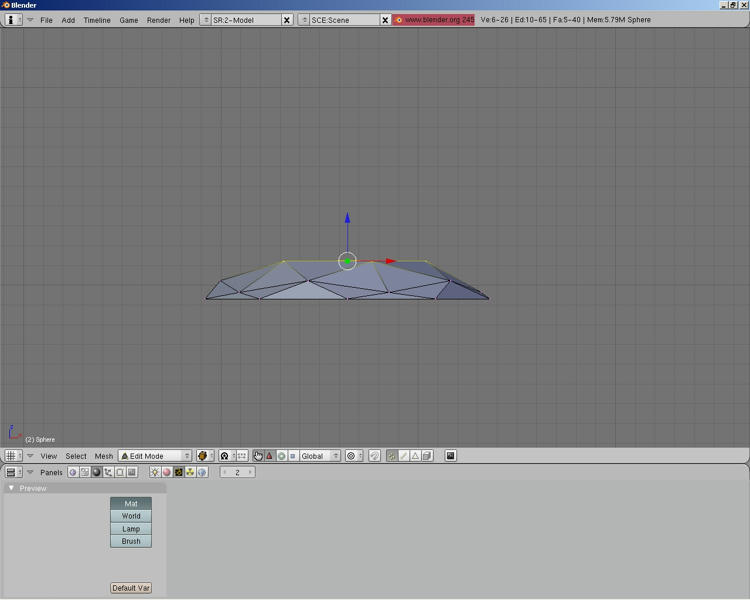
And move them down close to the bottom row. (See screenshot)
Select top row and move them down close to the middle row.
Select the very bottom row, and press “E” to extrude and “Z” so it locks the movement on the Z axis, and move it down a ways.
Then press “S” and scale it down, now it looks like a gem!
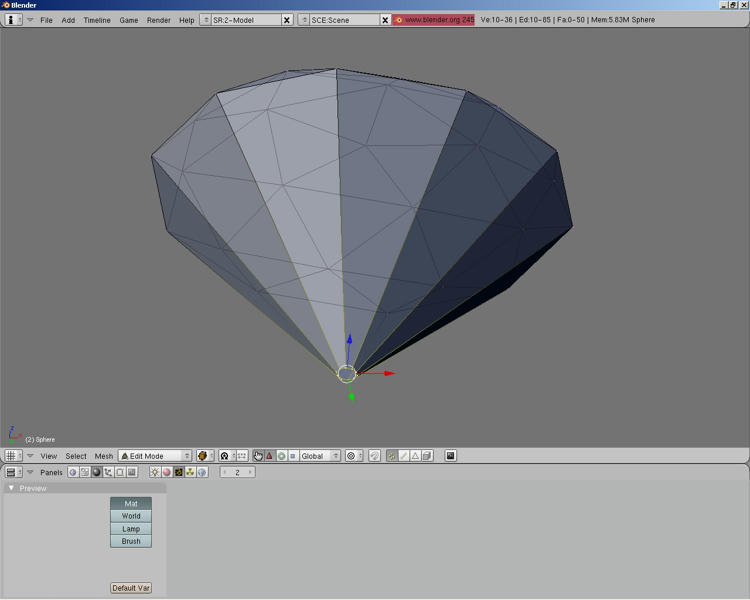
But wait, there is one more step, the bottom row doesn’t have any underside faces. Move the view around and you’ll see, select those vertices (only those).
With those vertices selected press “Shift” and “F” at the same time, and there you go, it has faces!
Ok that’s all for the tutorial, but your welcome to move the vertices how you like and make different shapes, and proportions.
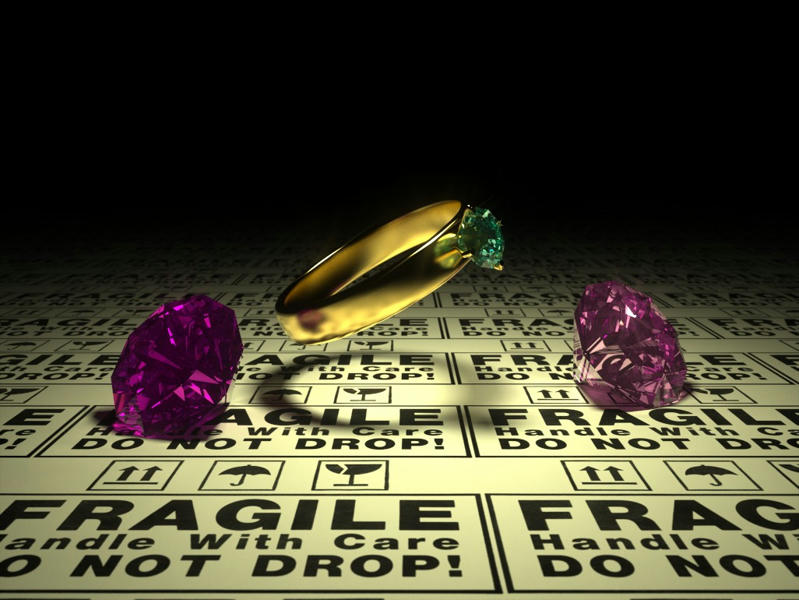
Here is an example of what I did using the same method, but I used Indigo for rendering.
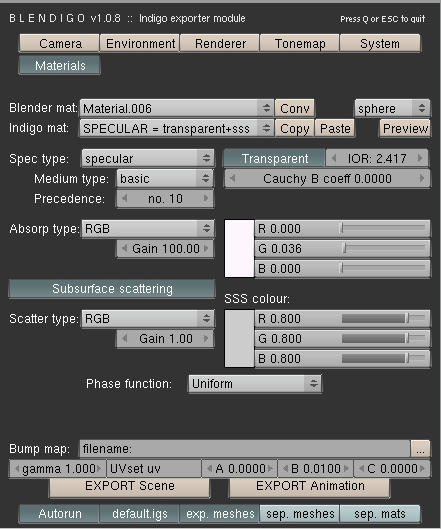
Here is the material set up:
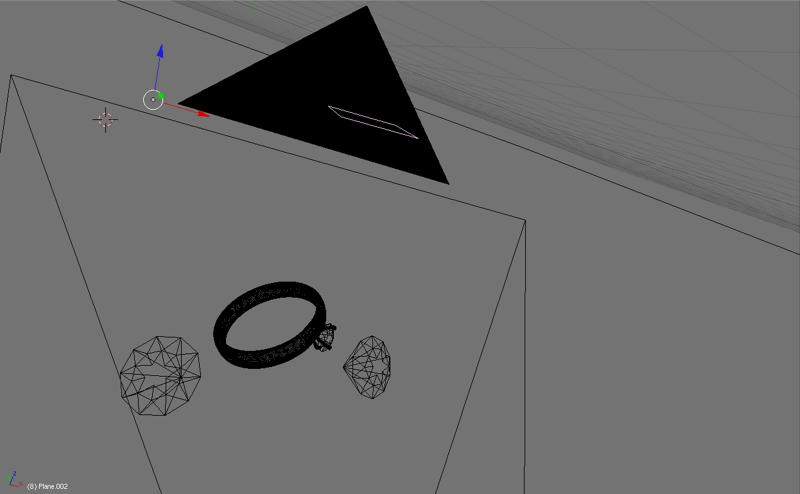
Someone requested the enviroment settings:
It’s actually pretty simple, put a smallish mesh emitter above the the scene (see screenshot)
Set the enviroment to “None (lit by mesh emitters)”
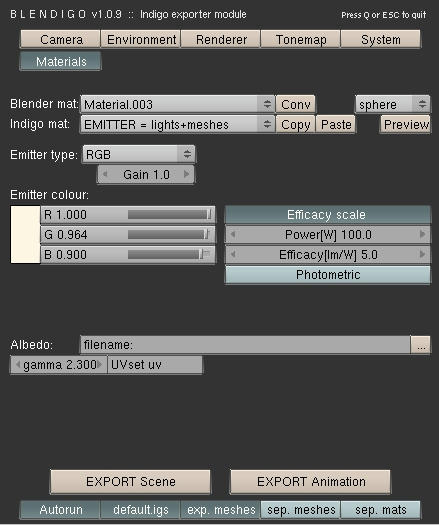
And here is the material setup for the mesh emitter:
And if you don’t want to figure it out that way…
here is the .blend file of the setup! Naturally I removed the gems so you couldn’t just take those;)
Im new to the 3D Rendering World and am trying to get into this stuff…I was just wondering about the the material part because I haven’t used blendigo (and have no idea where or what it is) and i couldn’t figure out to use it on my interface. I know how to color it or make it reflective, but i was wondering how you got the light to transfer like that.
Ok, first of all, if you want to use Indigo, you have to install it first
Click here to download the Indigo folder:
Then put unzip the folder then move it to C:/ Program files.
Then download Blendigo.
Blendigo is just the script to export your scene to Indigo. http://www.mediafire.com/?pm7xvbjmrmn
When you finish downloading, run the installer for Blendigo_v109
Open Blender and open a scene you want to render.
Click on “File” and then “Export” and then find Blendigo_v109.
You can only use a “Sun” lamp for lighting the scene or mesh emitters.
Some helpful links on gemstone modeling: http://www.gemcad.com/ http://www.jewellerycatalogue.co.uk/diamonds/round-brilliant.htm
…just in case you’d like more accurate geometry. (Note that gemcad is shareware and only goes 30 days. But it supports DXF output, so you can at least glean models of all the default meshes + any you can come up with during that time - but then you gotta shell out.)
Thanks for the link that’s helpful.
This tutorial was mostly just for starting out on simple modelling.
Or just to make a gem really easy without to much work.
Haha, now I have to laugh about myself, because I modeled a diamond once and even if your result is probably not as geometrically accurate as mine was it is soooo much easier to achieve. Very clever technique! Thanks for the tutorial!