Mh… it seems it got something to do with the children when they are applied by face. So, the Chinchilla tutorial was not useful here. Problem is… that particle children don’t have their roots on the mesh
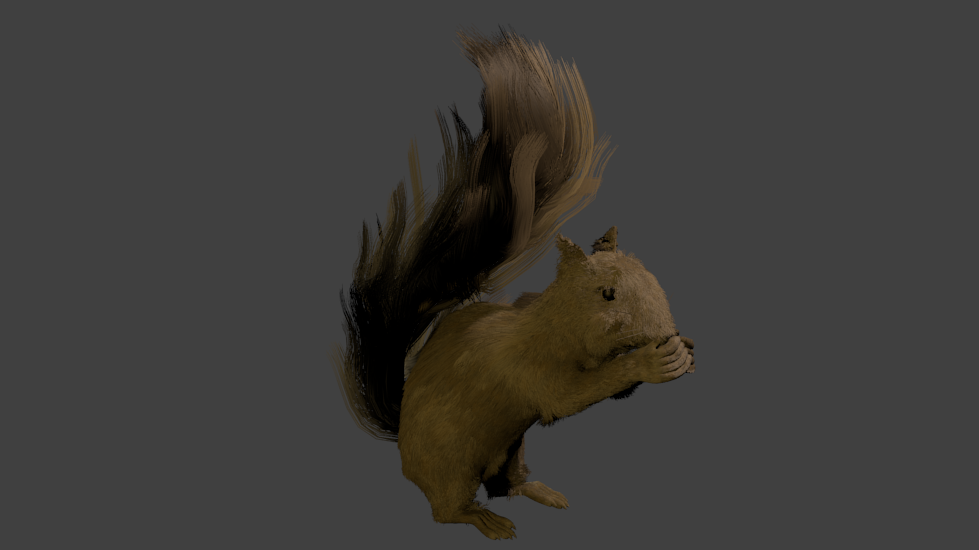
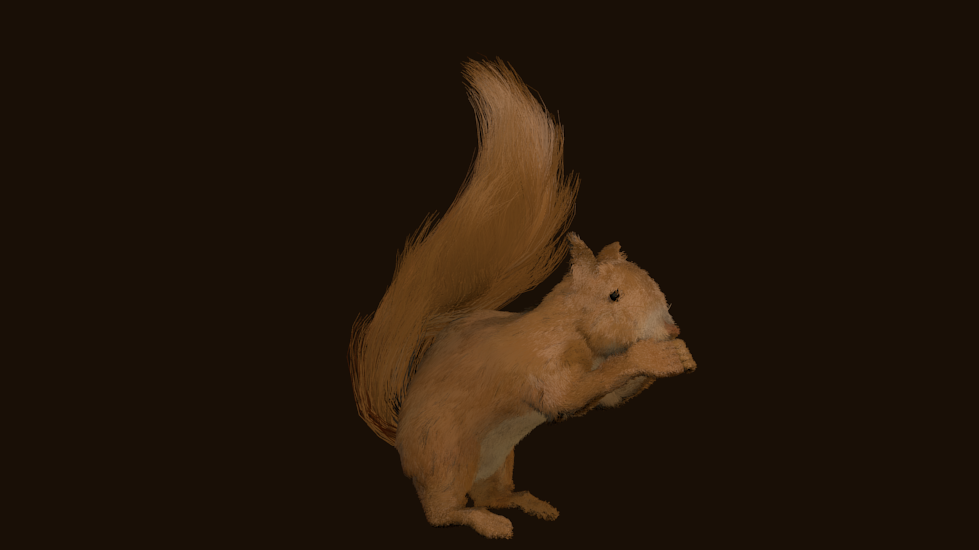
Anyway, here i am. Trying to comb my lion’s hair. This animal looks more like a dog right now… but i’ll manage.
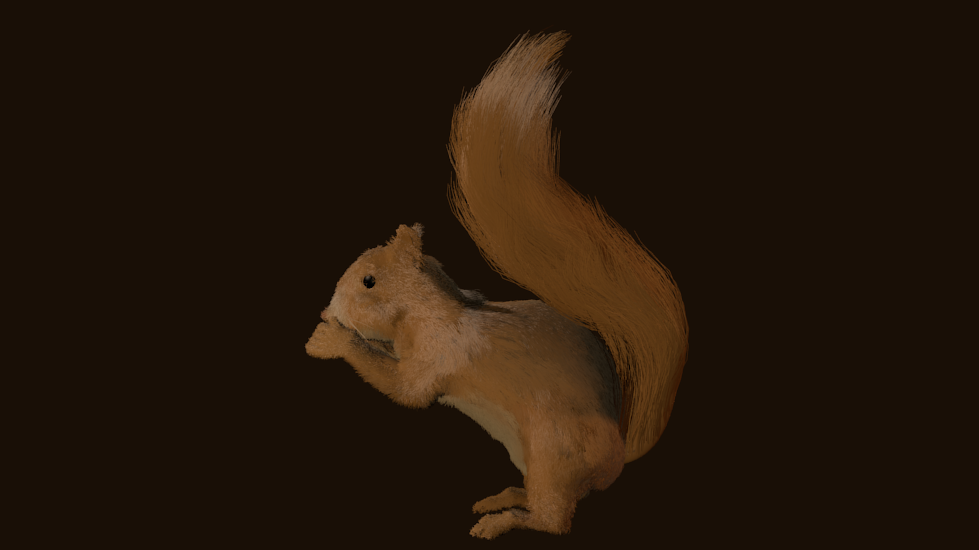
also, as a suggestion, especially on the tail, you can use the strand setting in the materials to have the hair fade out at the ends and give a softer look.
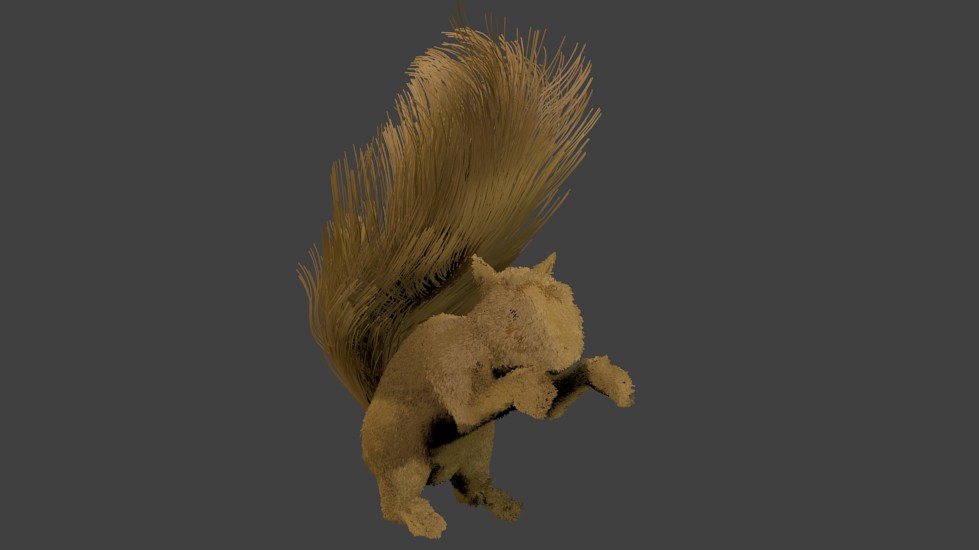
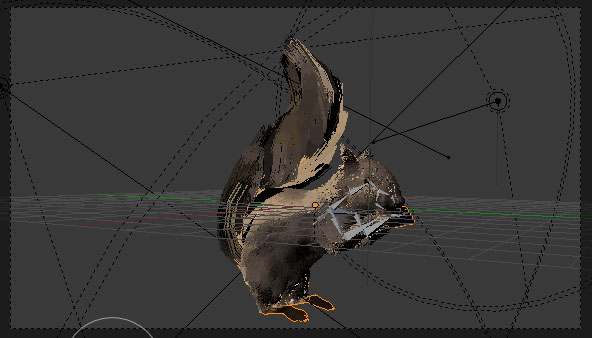
Now, my main question is how puff the hair. In particle mode i’m trying and trying… but maybe not achieving results because i have too many particle systems on. And when i try to puff one, the tool puffs the other.
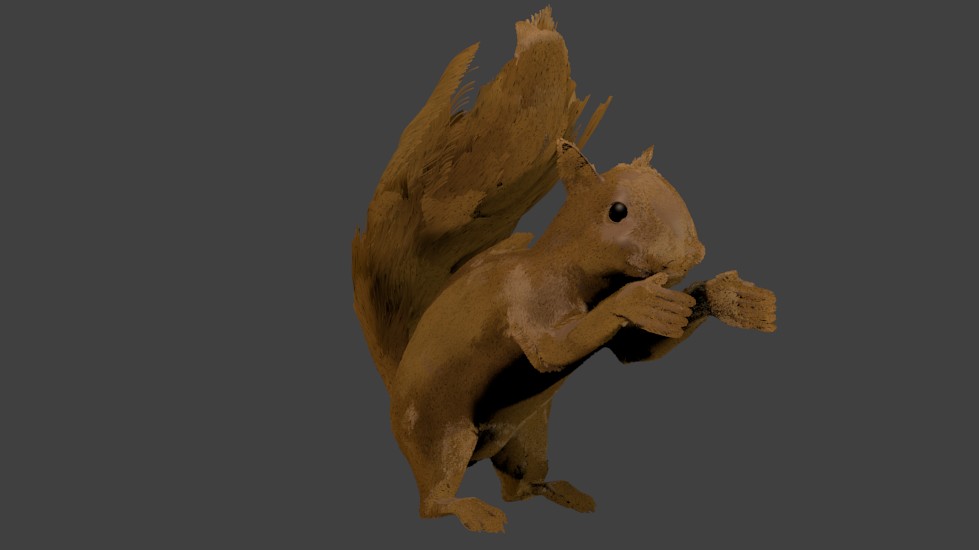
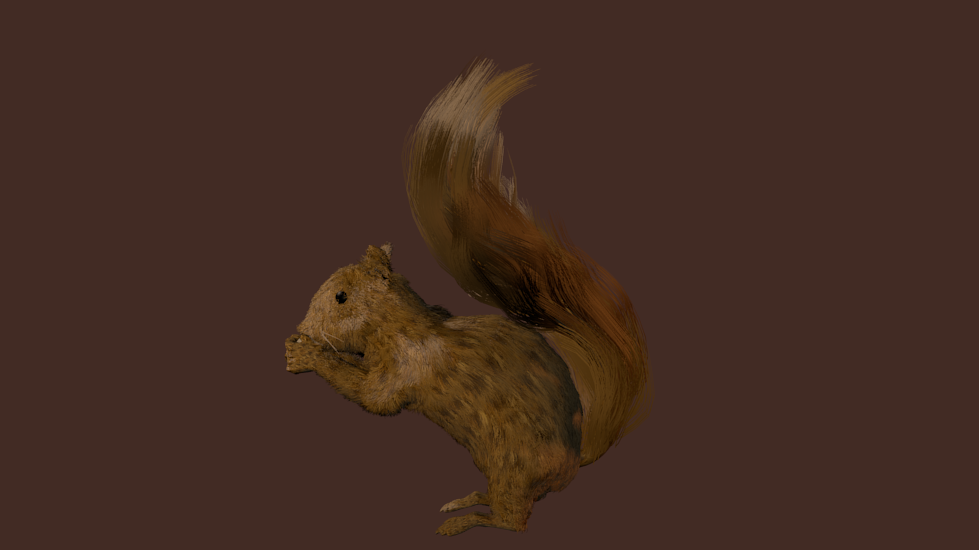
Notice i cannot trust in the viewport image. The render picture is not as the preview is. Look at the tail (just the base lock of hair). I already combed the hair but at render time it just different! Even when my parcicles configuration says:
display: 21
render: 21 (children)
Why this happens?
One other question. How can i make the tail fur look a little bit tousled? There’re too many hairs together.
sorry I was not keeping up. If there is a place where you want no hair, you can do it by weight painting, but the easiest way is to use the grooming tools. I forget what the hotkey for the grooming tools is, but, while you are using them, you can change to vertex display mode with the vertex / edge / face select buttons that are used for mesh editing, and then just select the hairs you want to delete, and delete them with ‘X’. or you can use the brush tool to ‘cut’ them away.
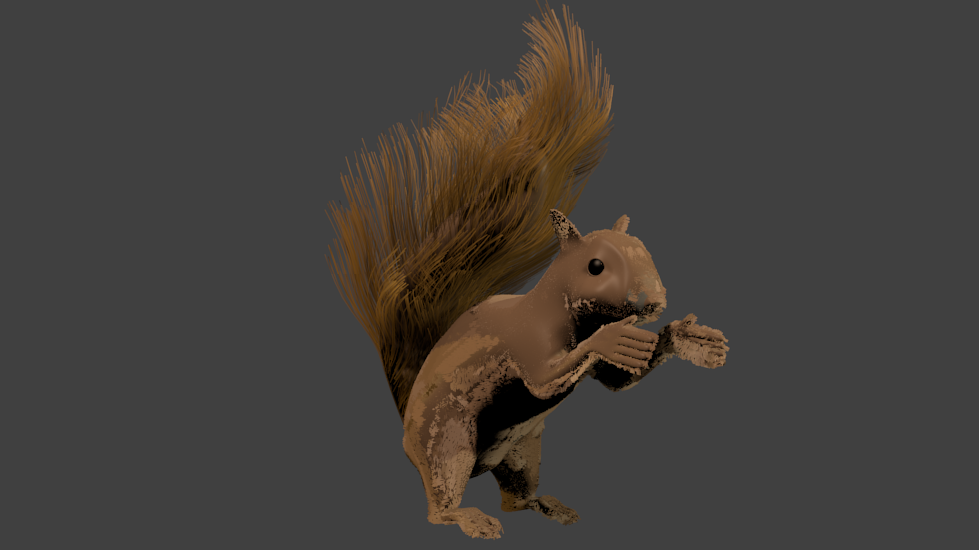
(edit) his tail looks great btw.
(edit) also, one way to get better economy out of your hairs…use multiple emitors for the body…one set to short and rough, and one slightly longer and smoother. and give the longer one a good combing with the grooming tools. If you can find it, 3D world magazine did a tutorial on how the big buck bunny hair was made, and I am pretty sure the BBBunny files are available from blender.org.
(edit) I think the hotkey for the grooming tools is ‘C’ not 100% sure though.
I think i know what you’re talking about. But there’s a cut tool that can erase hair. Anyway, i ended up defining vertex groups for growing the hair (not necessary by weight painting vertex).
My main problem was the lack of fur in some areas. So i used the add tool to fix that. But i’d love to avoid it, and have all the body covered at once. Did you see the ugly pictures i posted up here?
one way to get better economy out of your hairs…use multiple emitors for the body
Do you mean, using hair layers? Or hair for different parts of the body? I’ll look for big buck bunny.
Thanks. Now i’m wondering about good lightening for fur. But the tutorials sometimes explains what to do.
I used to work in a garment factory before, I learned how to cut out sheepskin making them a very nice and expensive fur jackets and i mean really expensive… i learned how to dye them using reducers… i wish i could share it with you guys…they got patterns, carefully putting them to a looks like automatic peeler that peels off they’re whole skin w/o hurting the sheep…and after that they went out of the machine bald and skinny…