Animating An Object Outline On A Path Possible?

Hi guys is it possible to grow the outline on this 9 similar to how it appears in this video?

I have a svg logo of the 9 already bought into Blender with fill mode sent to None… but would like to know if there is a way of animating the polygon of the edge to animate in?

It is possible, I think there are many ways to do this.
The easiest way that occurs to me is to use the build modifier on a curve.

Here is an example: ( hit play )

BuildCurve.blend (140.6 KB)

1 Like

Awesome didn’t think about the build modifier yeah that works what I need :slight_smile: thank you DNorman

Is there anyway with the build mod, to start the effect from a different point of the logo instead from the bottom?

It will start from one end of the curve you can reverse the order in the build modifier.
If you want to start from the middle and go out I would probably split the curve into 2 different curves each with its own build modifier.

Edit
If your curve is cyclic (closed) check this out to change the start point:
https://blender.stackexchange.com/questions/92912/can-i-set-the-start-point-of-a-bezier-curve

I have been thinking of a more elegant way to do this as with the build modifier the faces just suddenly appear. You can get around this by drastically increasing the curve resolution but I do not think it is ideal.

Another way to do it is with a mix shader node mixing the shader of your choice with a transparent shader.
It is more complicated but gives a smoother transition.

This greyed out bit is not really necessary see the edit at the end

First you have to convert your curve to mesh and unwrap it using the follow active quads option.
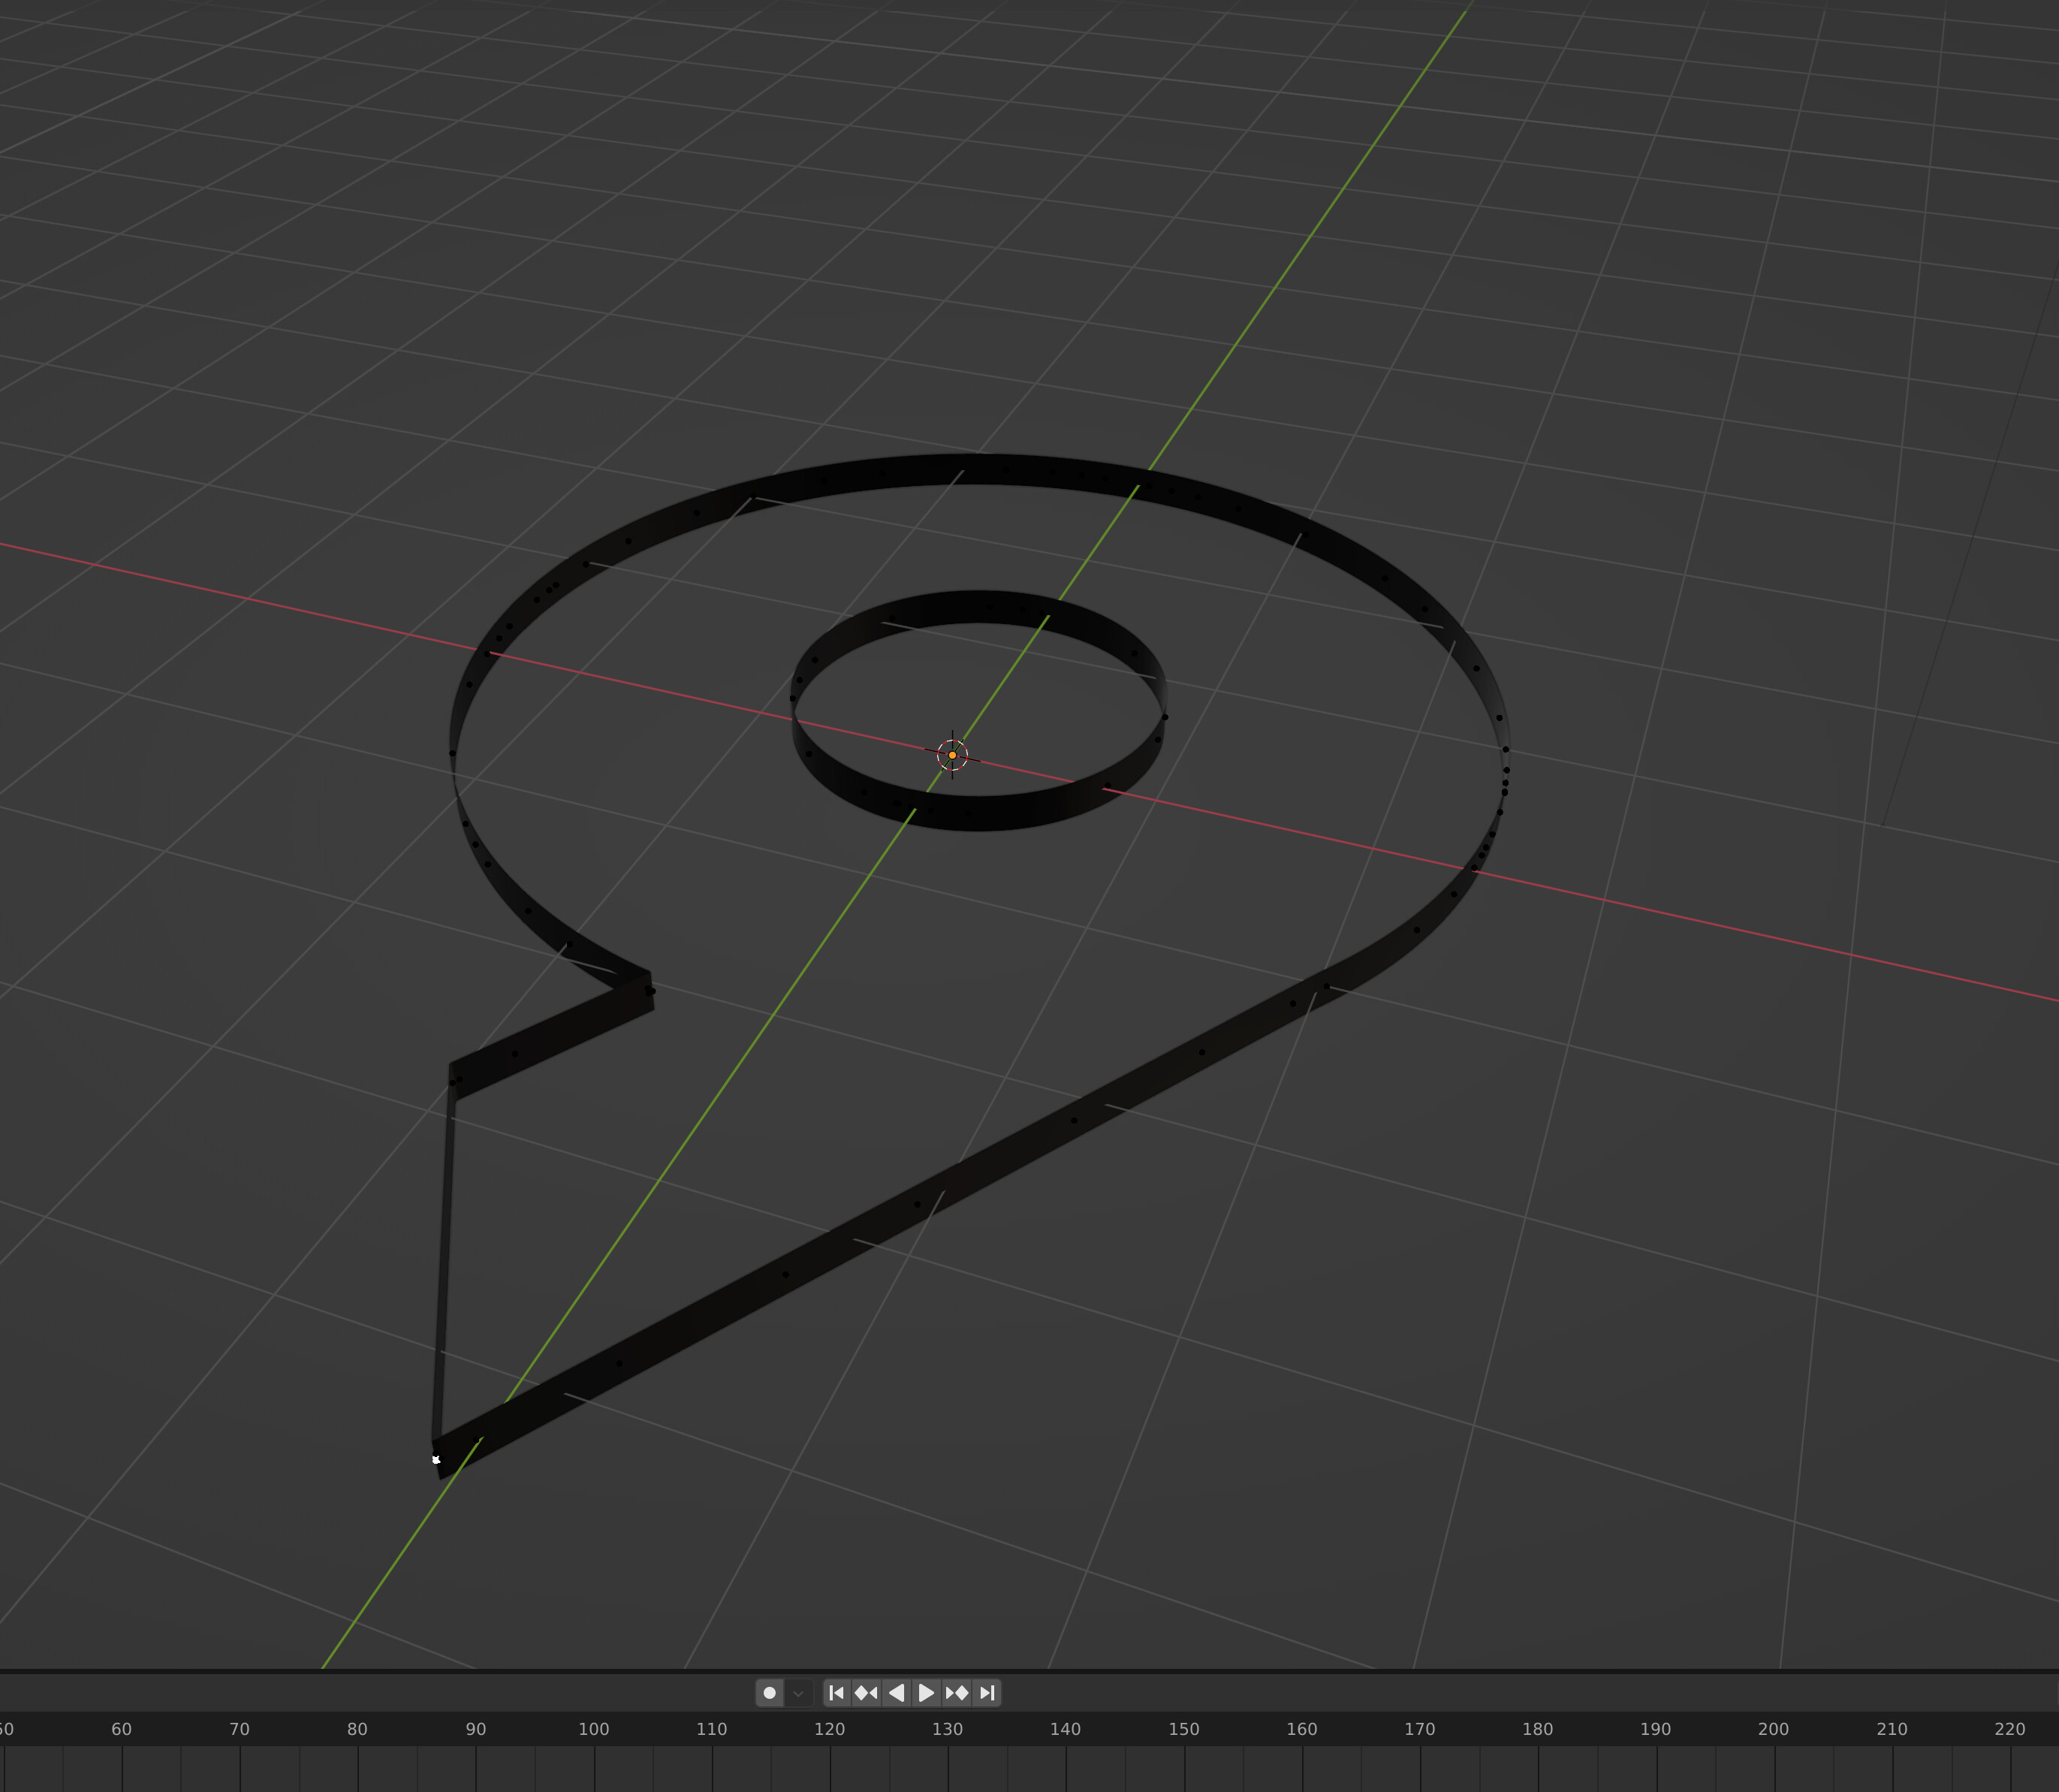
If your curve is closed (it looks like it is)

1 mark a seam in the position you want to start the effect from.

2 select a face next to the seam you want to use to start the animation then select all other faces, so that the first face is the active one.

3 Press U to unwrap and select “reset”

4 Press U again and select the “follow active quads” option.

5 Scale the resulting UV’s to fit the Uv space (the UV Magic addon that comes with blender has a nice “pack UV extension – pack UV” that with do this for you). This step is important so that the start/end frame numbers will be correct in the shader.

Then you can add a texture and mix the transparent texture with the texture you want for the curve. I used a custom node group instead of the colour ramp for the mask, as it has inputs for the position slots.

You can add a value node and type #frame in the value box, this will give you a driver that outputs the frame number. (note the value input that has the driver is pink)
The rest of the setup is like this.

I added the colour ramp to the emission shader just for fun :rofl:

Depending on the orientation of your UV’s you may have to swap the separate xyz from y to x for it to work.

I know this is a lot more complicated but the result is a more pleasing and easy to control.
Here is an example file, I made a unique copy of the material for the circle and the 9 so that I could control the effect separately. You can append my material if you do not want to copy the nodes.
Here is the file:

BuildCurve3.blend (129.2 KB)

EDIT: Silly me, it is not even necessary to convert the curve to mesh or unwrap it, the material setup I posted will work with the default UV’s that curves have assigned to them!
Edit 2
I have updated the file to include a curve that does the same animation with no unwrapping (or curve to mesh) needed.
There are other ways to do all this (not to mention Geonodes).

2 Likes

Awesome I’ll try it, though the original intro is all reflections. I might have to add it as a request feature. But I’m surprised the build mod, doesn’t actually work in reverse building up from the opposite way, without cutting up the curve into parts.

I managed to find a work around with the build mod, building the edge up the opposite way. I reopened the SVG in illustrator. Reflect (Flip) the logo round. Then re imported into Blender… then did a 180 degrees to turn the logo the correct way round. Then applied the build mod, and that done the trick :slight_smile:

I used an emission shader in the example but you can mix any shader with the transparent one, to get those reflections I suggest a principled shader with full metallic and low roughness. You will have to add some lights so that it reflects something!

The shader method gives a nice smooth transition, if you use a closed curve you can change the animations “start” point by changing the start point of the curve.

You have to delete the segment where you want the curve to start and then join the curve up again with “toggle cyclic” as explained in the link to stack exchange.

To reverse the effect select all the verts/points and in the segment menu “switch direction”
Here is a reflective version :slightly_smiling_face:

BuildCurveShinny.blend (132.2 KB)