Good afternoon, I need a suggestion about a character that I am working on:
He has polygon mane as hair and I will be using riggify to rig him but I am not certain what to do with his mane. It is on the back of his head, top and as a beard. It shouldn’t be too movable, just a bit “bouncy” on tips.
Should I setup bones for his mane (it is not overly complex) or is there a modifier that I can use? (It would help if I don’t have to pose every bit of his mane when I animate him so something like cloth simulator could work- I don’t know the full capabilities of Blender yet)
I would use a softbody setup OR a cloth setup, either way you will need to create a vertex group containing the vertices you wish to remain still (in this case the sections of the mane which connect it to the body) then use this as the “pinning” group in cloth physics properties, or the “softbody goal” vertex group option in the softbody phyisics properties.
then you will have to play with the settings to get the right result, (not too bouncy, not too firm)
keep in mind though, a softbody will need to have edges enabled in order to move just right
softbody will probably also need edge collision to be active too… and this can become slow when a lot of collisions are happening
Of the two options I would use a cloth modifier, it seems to bake faster with self collision, and when high “bending constraints” are used (this setting causes softbody simulations slow down a lot, for me at least).
from your description , I would try to avoid using collision on the actual character mesh though, as with high enough bending constraint settings (or stiffness) the mane shouldn’t really collide with the characters body too much. and so would probably be unnoticable…
you should find some tutorials on the cloth physics in order to be clear on how to achieve a good result.
Thank you very much for your extensive answer! I will do that Any recommendations? (I will go look but if you have any tuts in mind I would be thankful)
once you have this set up, pressing play should make the cloth act like cloth, but vertexes in the group will remain “pinned” in their original position, which means…
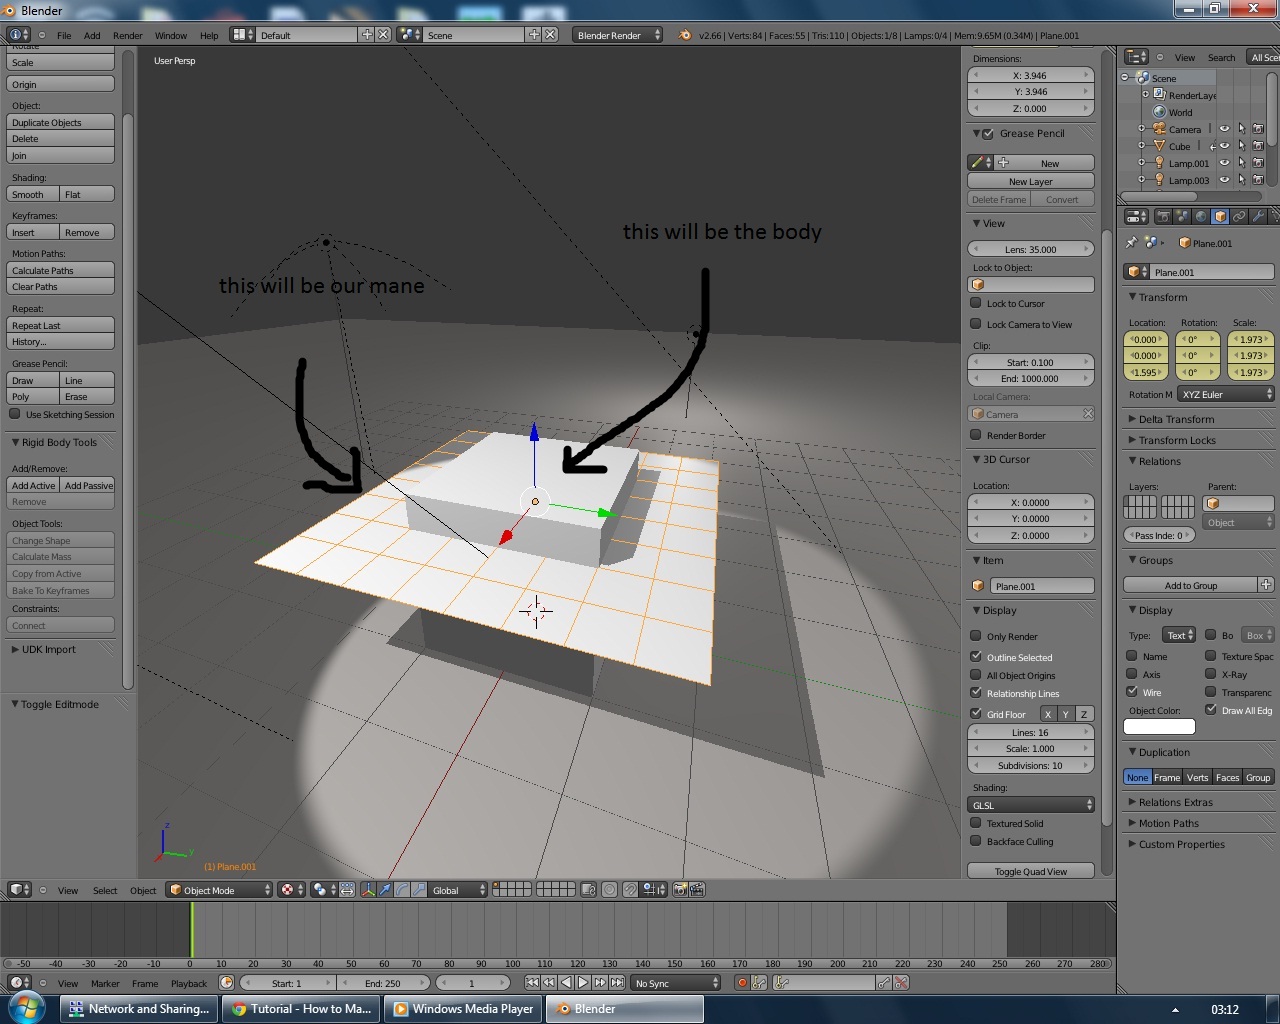
you should also ensure the “cloth” object is parented to either a bone in the armature, or the body itself (as I did in my very crude example) in order to have it follow the body correctly,and in the case of the armature, you need to ensure the modifier stack is in the correct order… with modifiers, order is everything.
you COULD apply collision to the “body” in order to prevent the meshes slipping through each other. but for a lions mane or something similar this could be unnecessary as a high enough stiffness and bending constraint could prevent this problem.
now you should have a rough idea of how the cloth pinning system works, my advice, just experiment with it till you get the right “look” as cloth can sometimes seem rather bouncy, damping and drag are there to reduce this bounce.
this setup can also translate to polygon hair, clothing (of course), and even things like muscular jiggle on more complex rigs.
 Any recommendations? (I will go look but if you have any tuts in mind I would be thankful)