
Animazing is a feature-packed Blender addon that offers a range of animation tools to assist you on your animating journey.
I recommend using Blender 3.0 or later versions.
Gumroad Link: https://fatihpehlevan.gumroad.com/l/animazing
You can check out the YouTube video of it here: https://youtu.be/4aDLzyQEOrU
GRATITUDE GIVEAWAY
If you donated any amount for my previous addon In Placer, regardless of whether it was $1 or more, you’re gonna get Animazing for free. So, if you made a donation, you don’t need to buy it, just check your email and you’ll find the information there to download it for free.
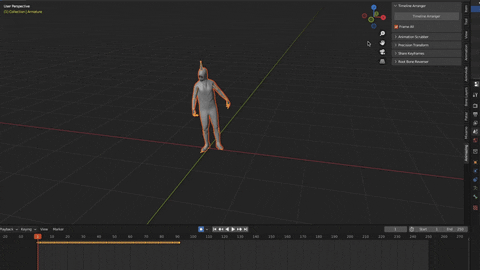
Timeline Arranger
It allows you to organize the timeline according to the length of the selected animation with just a single click. No more manual adjustments needed every time you import a new animation to make it repeat nicely.
It’s called Timeline Arranger, but it also works for the dope sheet editor and graph editor.
The ‘Frame All’ option allows you to choose whether you want to frame all the keyframes or not.
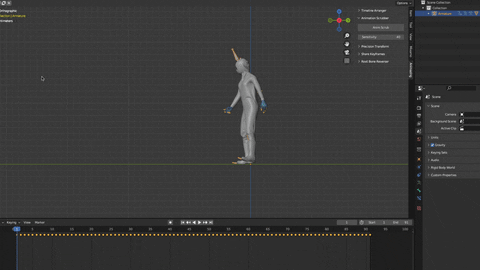
Animation Scrubber
It allows you to control the play head by simply moving your cursor, making it easier going back and forth between keyframes, which is probably the most frequent action while animating.
You also have the flexibility to fine-tune the relationship between cursor movement and play head speed using the ‘Sensitivity’ slider.
Auto Frame
When polishing an animation in Blender, a particular problem arises:
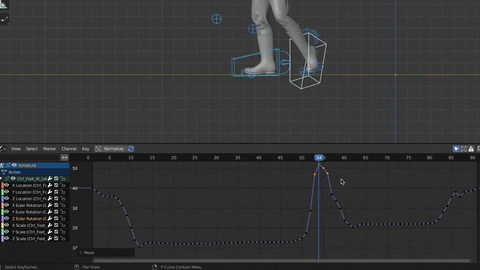
If a curve’s values on the Y axis are significantly different from the previous curve you viewed, you can’t see it directly. This often leads to repeatedly framing the entire curve and zooming in.
There is ‘Normalize’ option in the Graph editor to display the curves in normalized range between -1 to 1. This way, values on the Y axis never change. If you’re okay with normalize functionality, you won’t need Auto Frame most probably.
On the other hand, Auto Frame offers a different approach. It automatically brings the curve into view and zoom into the specific are you’re working on:
‘Frame Range’ option allows you to specify the portion of the curve you want to view. For example, if set to 15, it will display a range of 15 frames to the left and right of the current frame and showing that segment of the curve. If set to 5, it will be more zoomed in, providing a closer view.
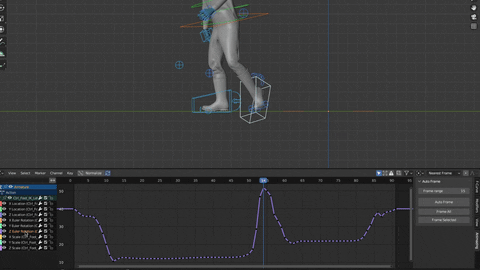
You can use either the pie menu or the side panel menu, both of which include the ‘Frame All’ and ‘Frame Selected’ options for convenience.
The shortcut for the pie menu is ‘F’ and can be changed or disabled under the menu of ‘Graph Editor Generic’ in the Preferences.
Auto Frame does have a notable limitation: It won’t work if there are no keyframes within the selected frame range. That’s similar to choosing no keyframes and trying to use “Frame Selected” option. In most scenarios, you wouldn’t want to zoom into an area that has no keyframes anyway. However, if this limitation affects your workflow, please don’t hesitate to reach out because I believe it’s a solvable problem.
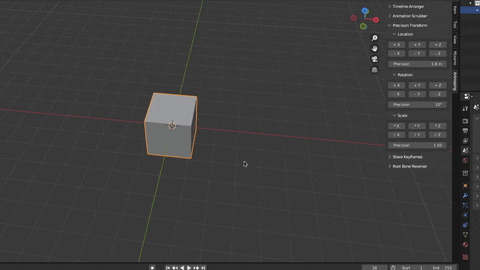
Precision Transform
Precise transform operations are fairly easy in Blender. However, if your workflow demands lots of them on different axes and such, that can result in a considerable amount of typing on the keyboard, which is not that pleasant.
Having dedicated buttons for each scenario could be really handy in that case. And that’s what Precision Transform is about:
Share Keyframes
When you want one bone to have keyframes at the exact frames as another bone, you would typically select both bones and repetitively press the ‘Next Keyframe - Insert Keyframe’ buttons. I’m sure you done that before, just like me.
Share Keyframes automates that process.
Select the bone or bones to which you want to add keyframes, then select the bone with more keyframes last (I call this bone the source bone). Click the button and it will figure out where to add keyframes and add them for you.
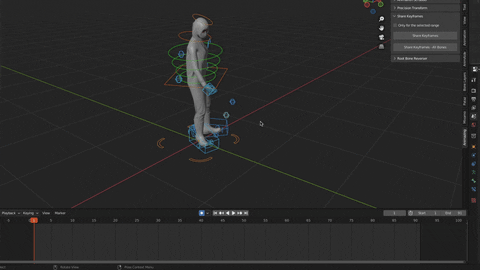
If you want to do that for all the bones, select a single bone and use ‘All Bones’ button instead.
If you want to add keyframes only within a specific range, select a range on your source bone in the timeline and don’t forget to check ‘Only for the selected range’.
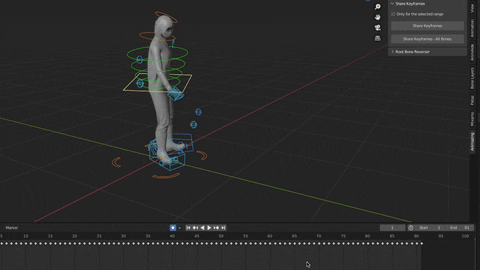
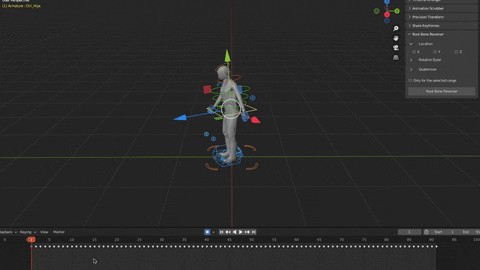
Root Bone Reverser
It simplifies the process of making animations in place with just a few clicks.
Here is how to use it:
Make sure the tranform orientation is set to ‘Local’. Select the main controller that moves your character in space. Figure out in which direction the character moves or rotates. Then select the root bone with pressing shift, it must be selected last. Check the axis in the menu and click the button.
The root bone will be reverse animated automatically, which makes your character stay in place.
If you want to reverse animate the root bone only within a specific range, select a range on the timeline on the source bone and don’t forget to check ‘Only for the selected range’ option. You can even select multiple ranges.
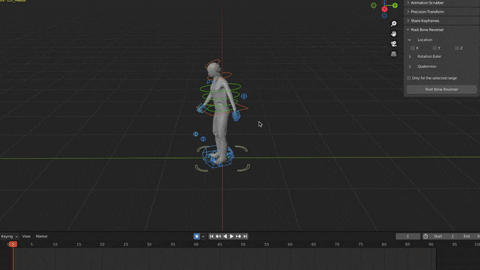
Once you’re happy with the result, you can export the animation using ‘Only Deform Bones’ option. It will be a proper in place animation ready to use in your preferred game engine.
A quick reminder: you can assign shortcuts for any of the buttons of Animazing or add them to your quick favorites.
Also, if you don’t remember the order in which you need to select bones, simply hover over the buttons and see if it helps you to get going.
If you encounter any bugs, have questions, or want to request new features, feel free to send an email. I’m all ears. I would like to add new features to make this addon even better.
Contact: animazing.addon@gmail.com