Hi guys, long time without posting, but had to focus on learning and stuff.
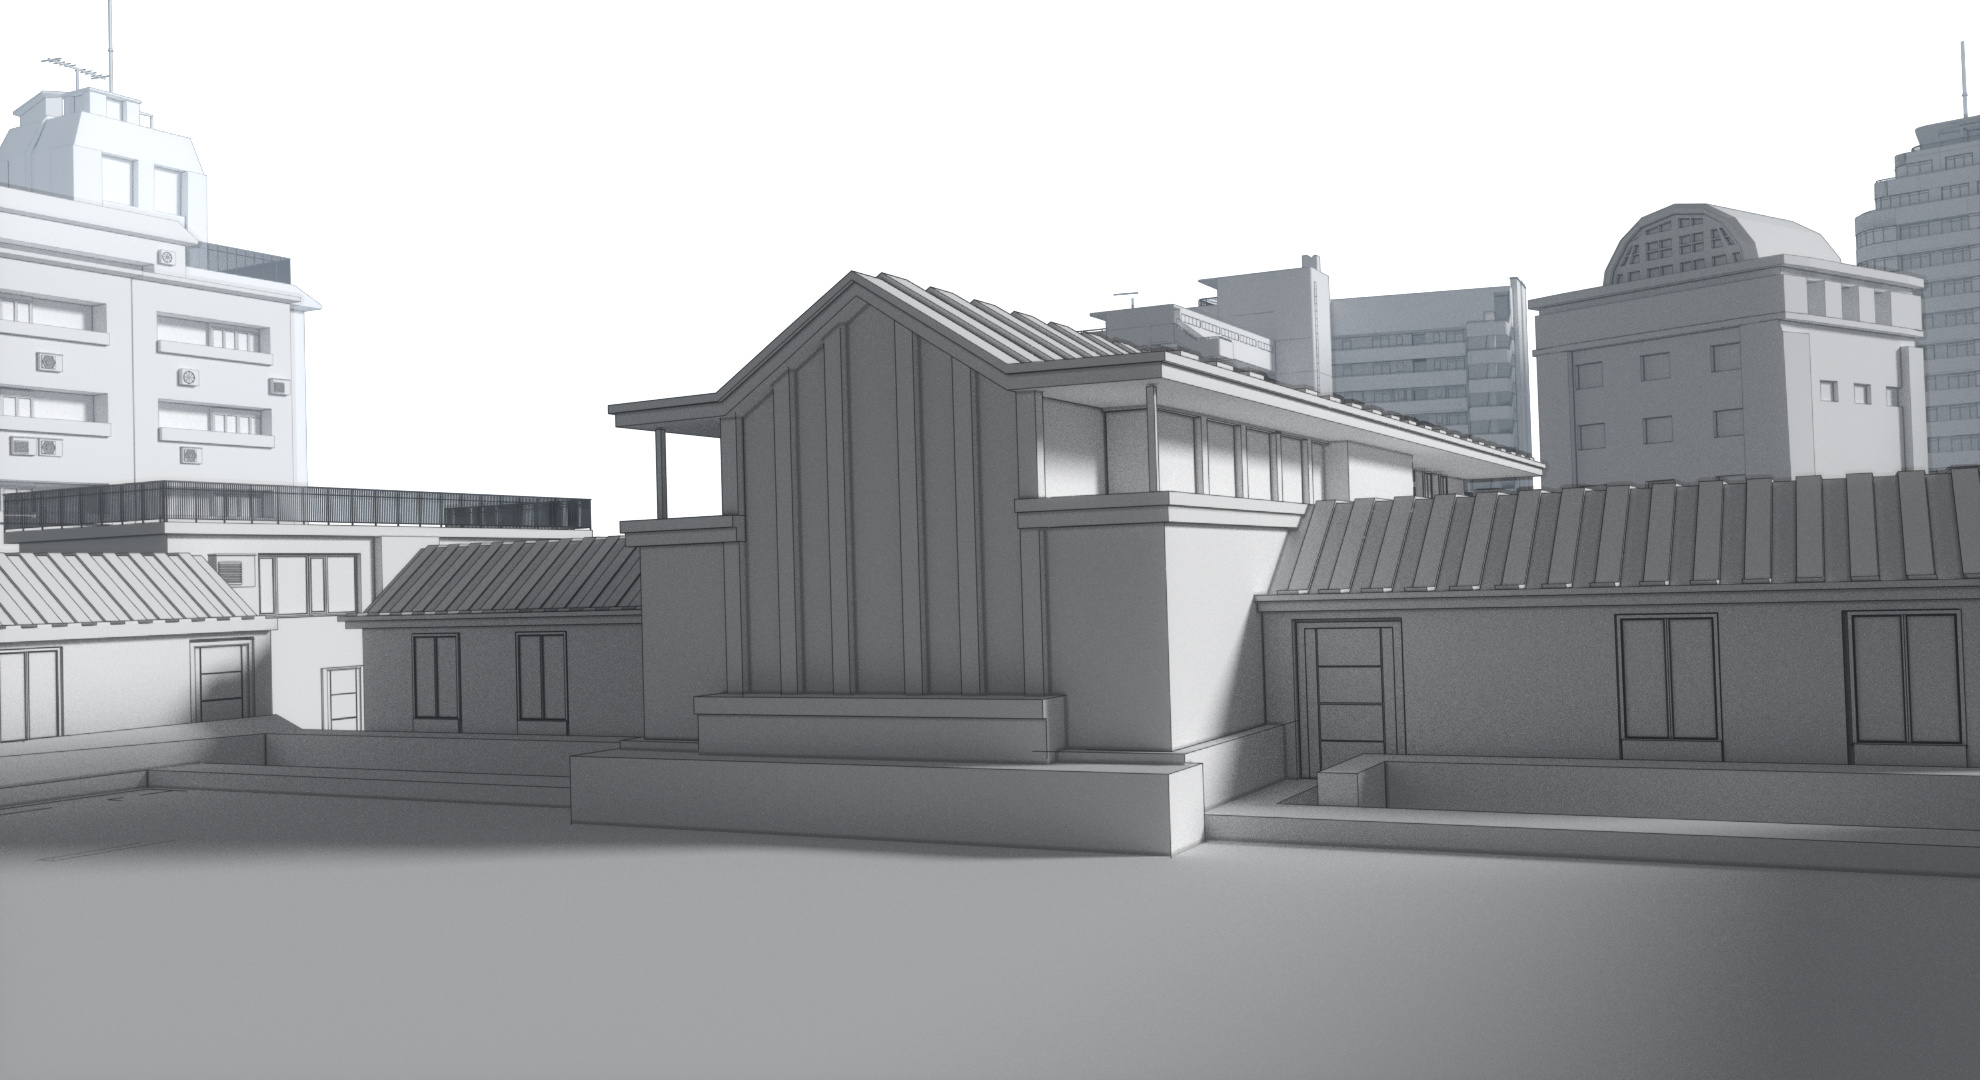
In the last few weeks I’ve tried to establish a workflow for anime style background starting from blender + freestyle ( used 2.79 , don’t know freestyle status on 2.8 ).
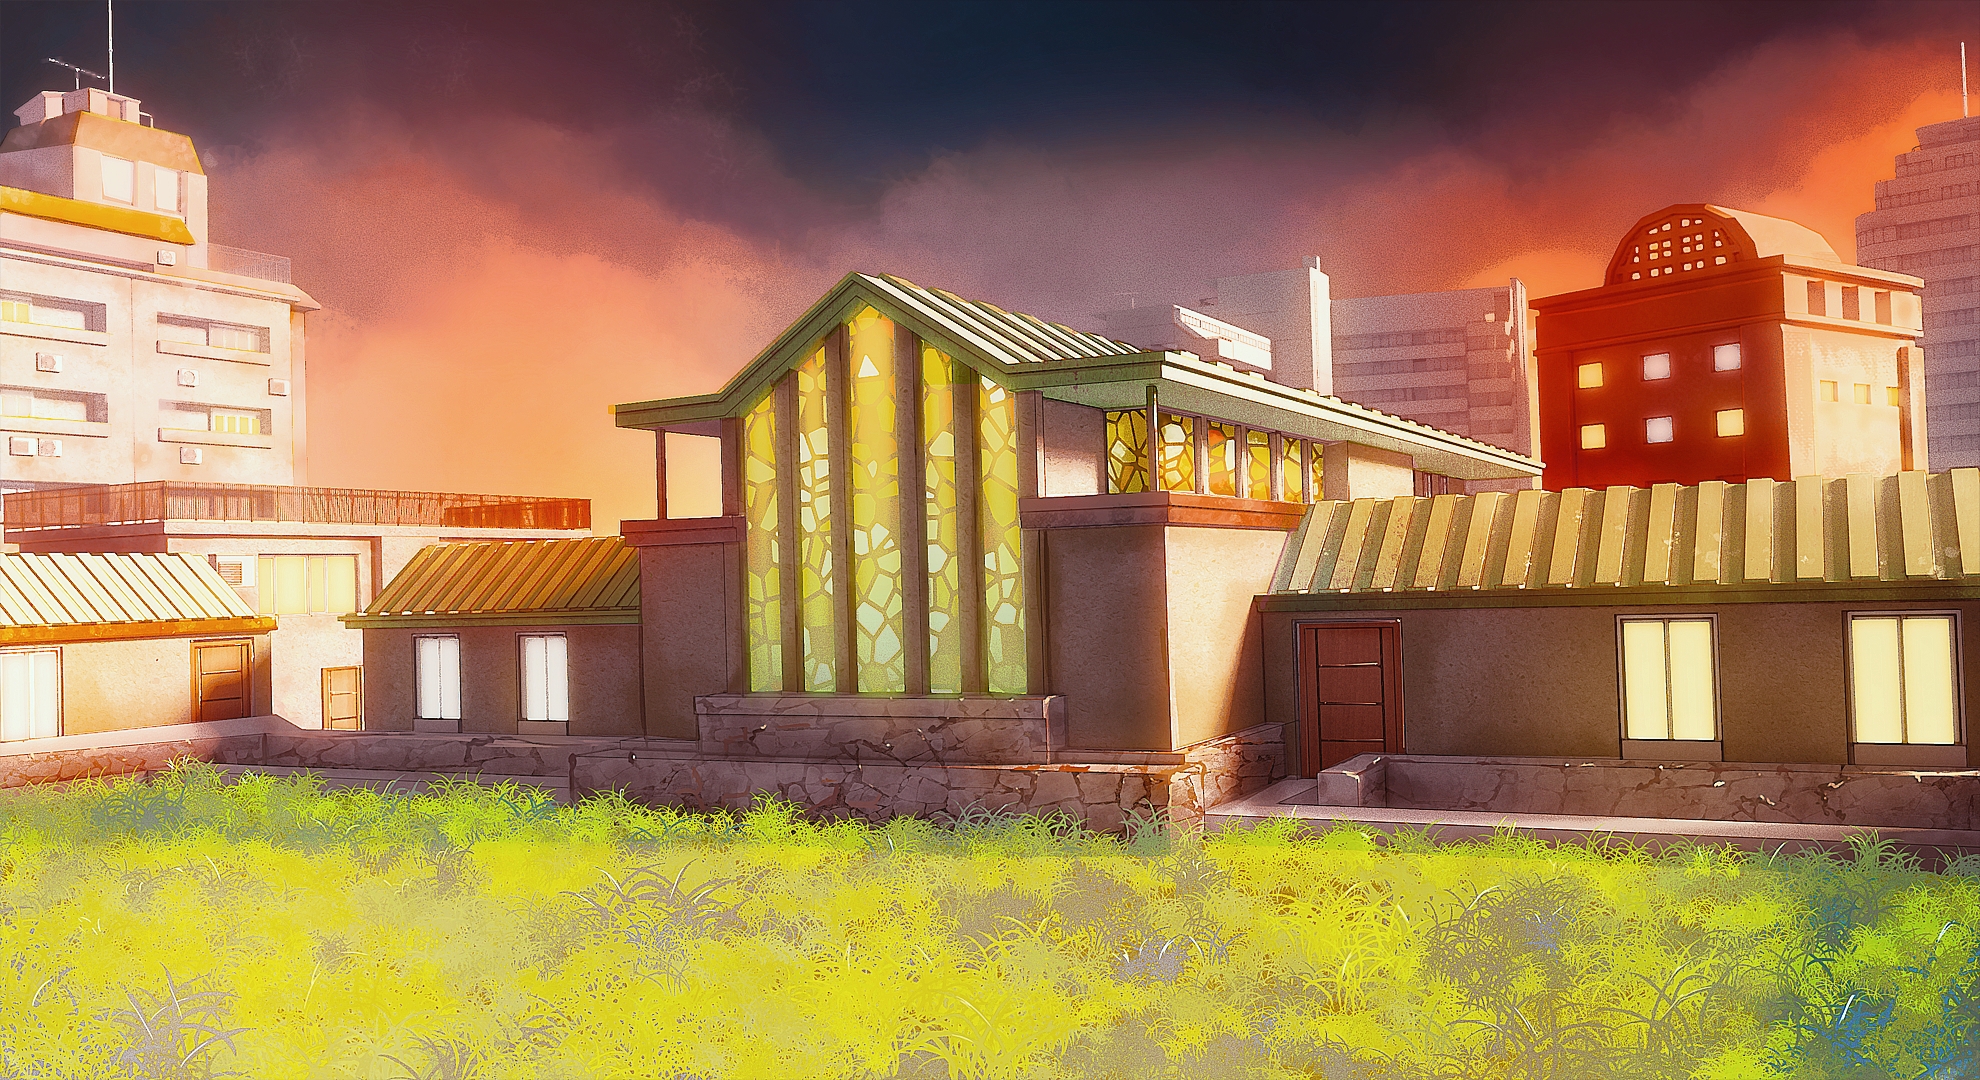
Reference image is jiyu gakuen girls school.
I’ve used blam to get focal length and a composition loosely similar.
In blender I’ve created the buildings ( except for the one on the backgorund on the right, he’s from blend swap by bright on piers https://www.blendswap.com/blends/view/15424 ) and tried to get composition right.
I’ve render a few passes on 4 layers, what I used was:
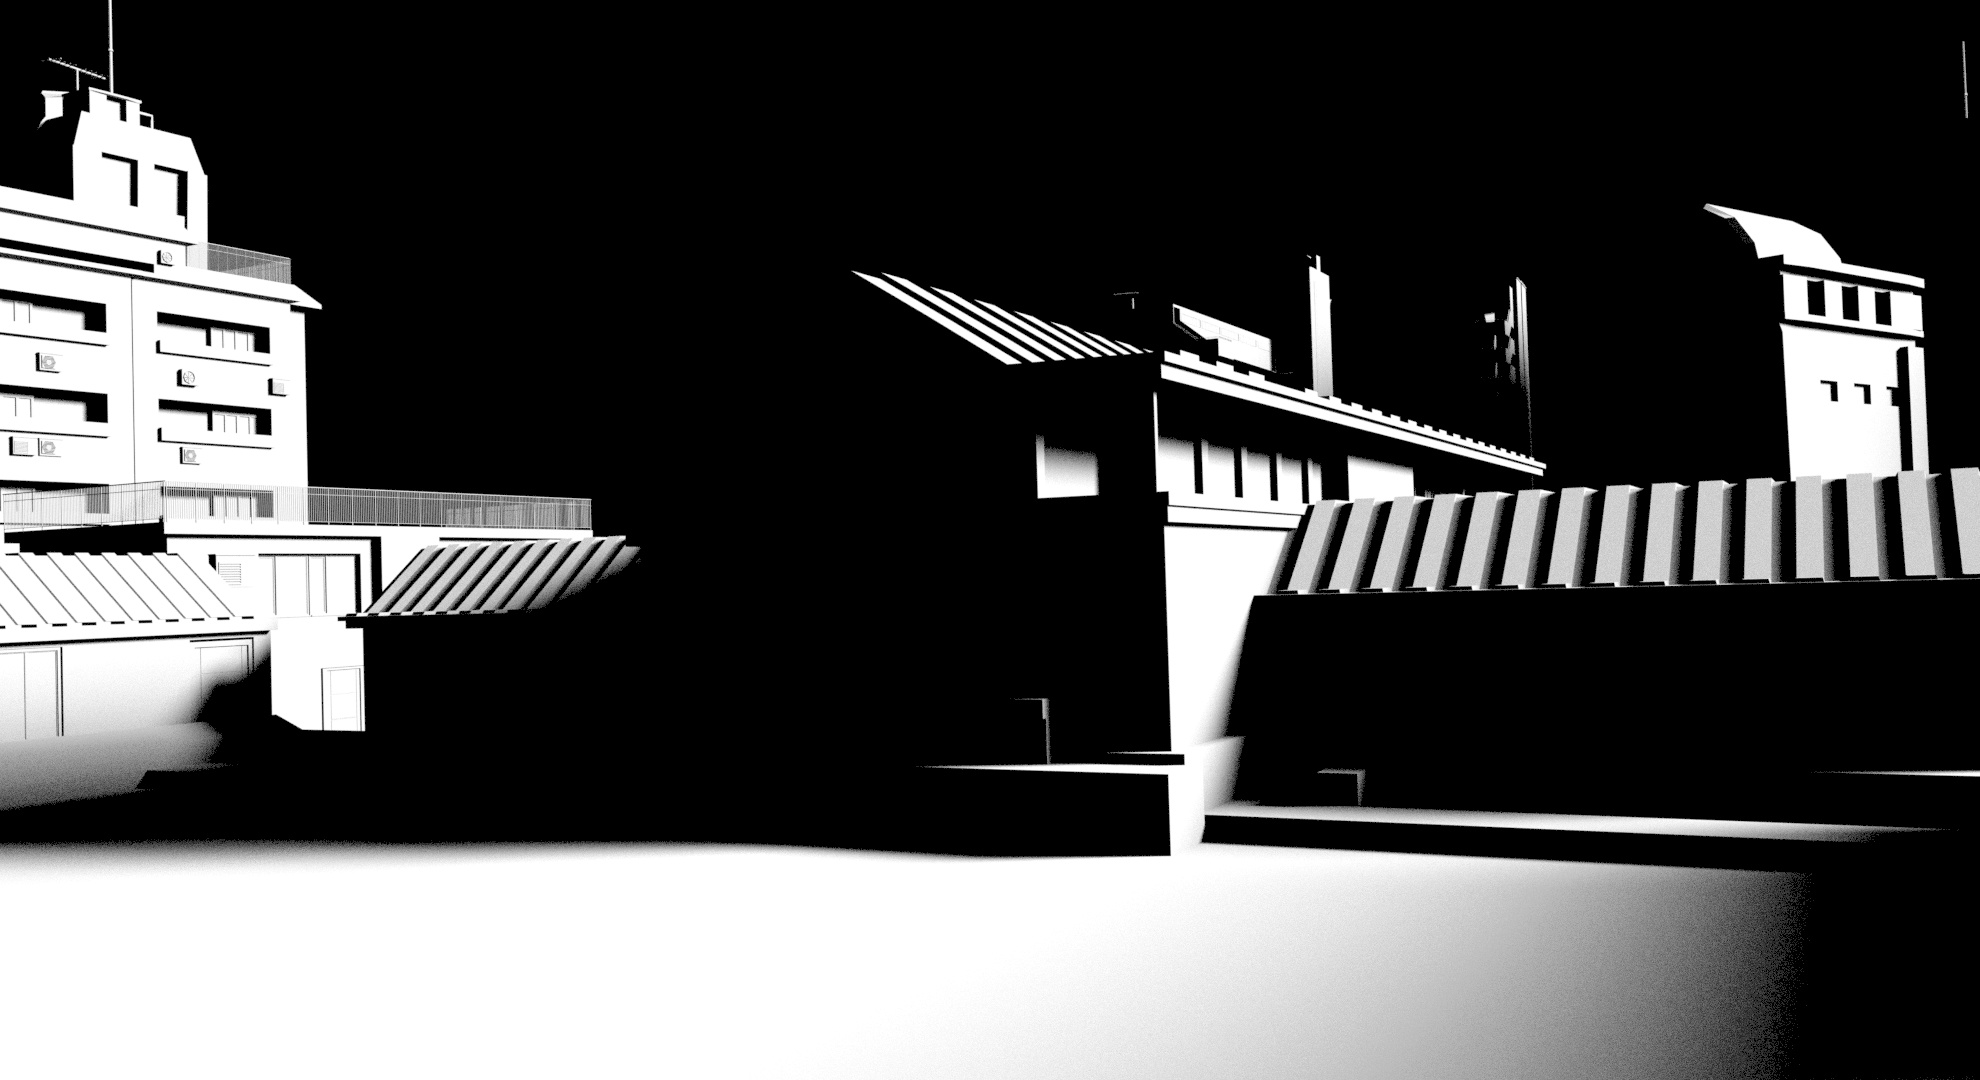
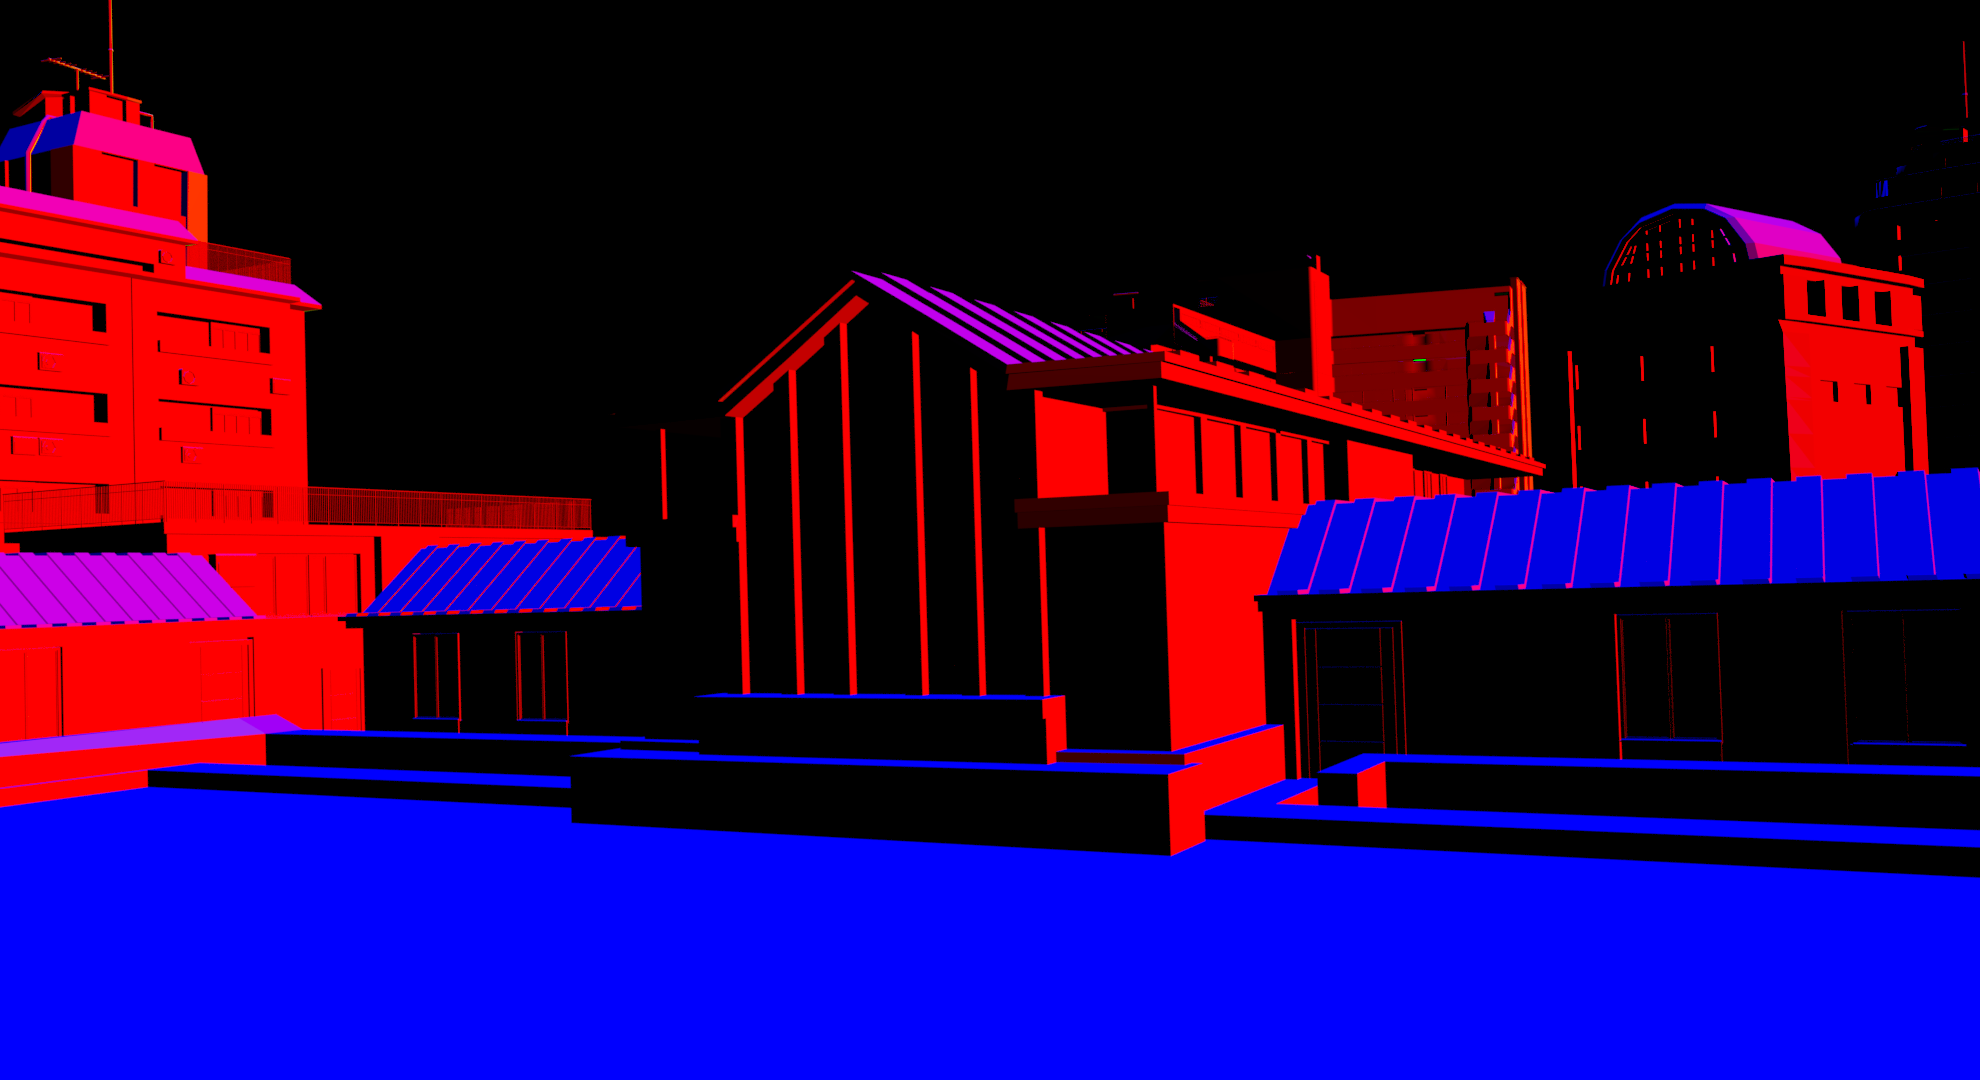
1-Full layer: all models, with Combined to get aerial prospective with Mist, Depth, Normal to use in PS for ligthing ( at the end i did not use it), Shadow to establish light and mood in PS, AO because AO is king, DIFF dir e diff ind but i did not used it. This layer was rendered in 4k at 50 samples with a single diffuse white material overriding everything. Next time i’ll use emission material on everything with different colors to create a clown render and make selection easier in PS.
2 e 3 layer : alpha masks for foreground and background like @10 samples
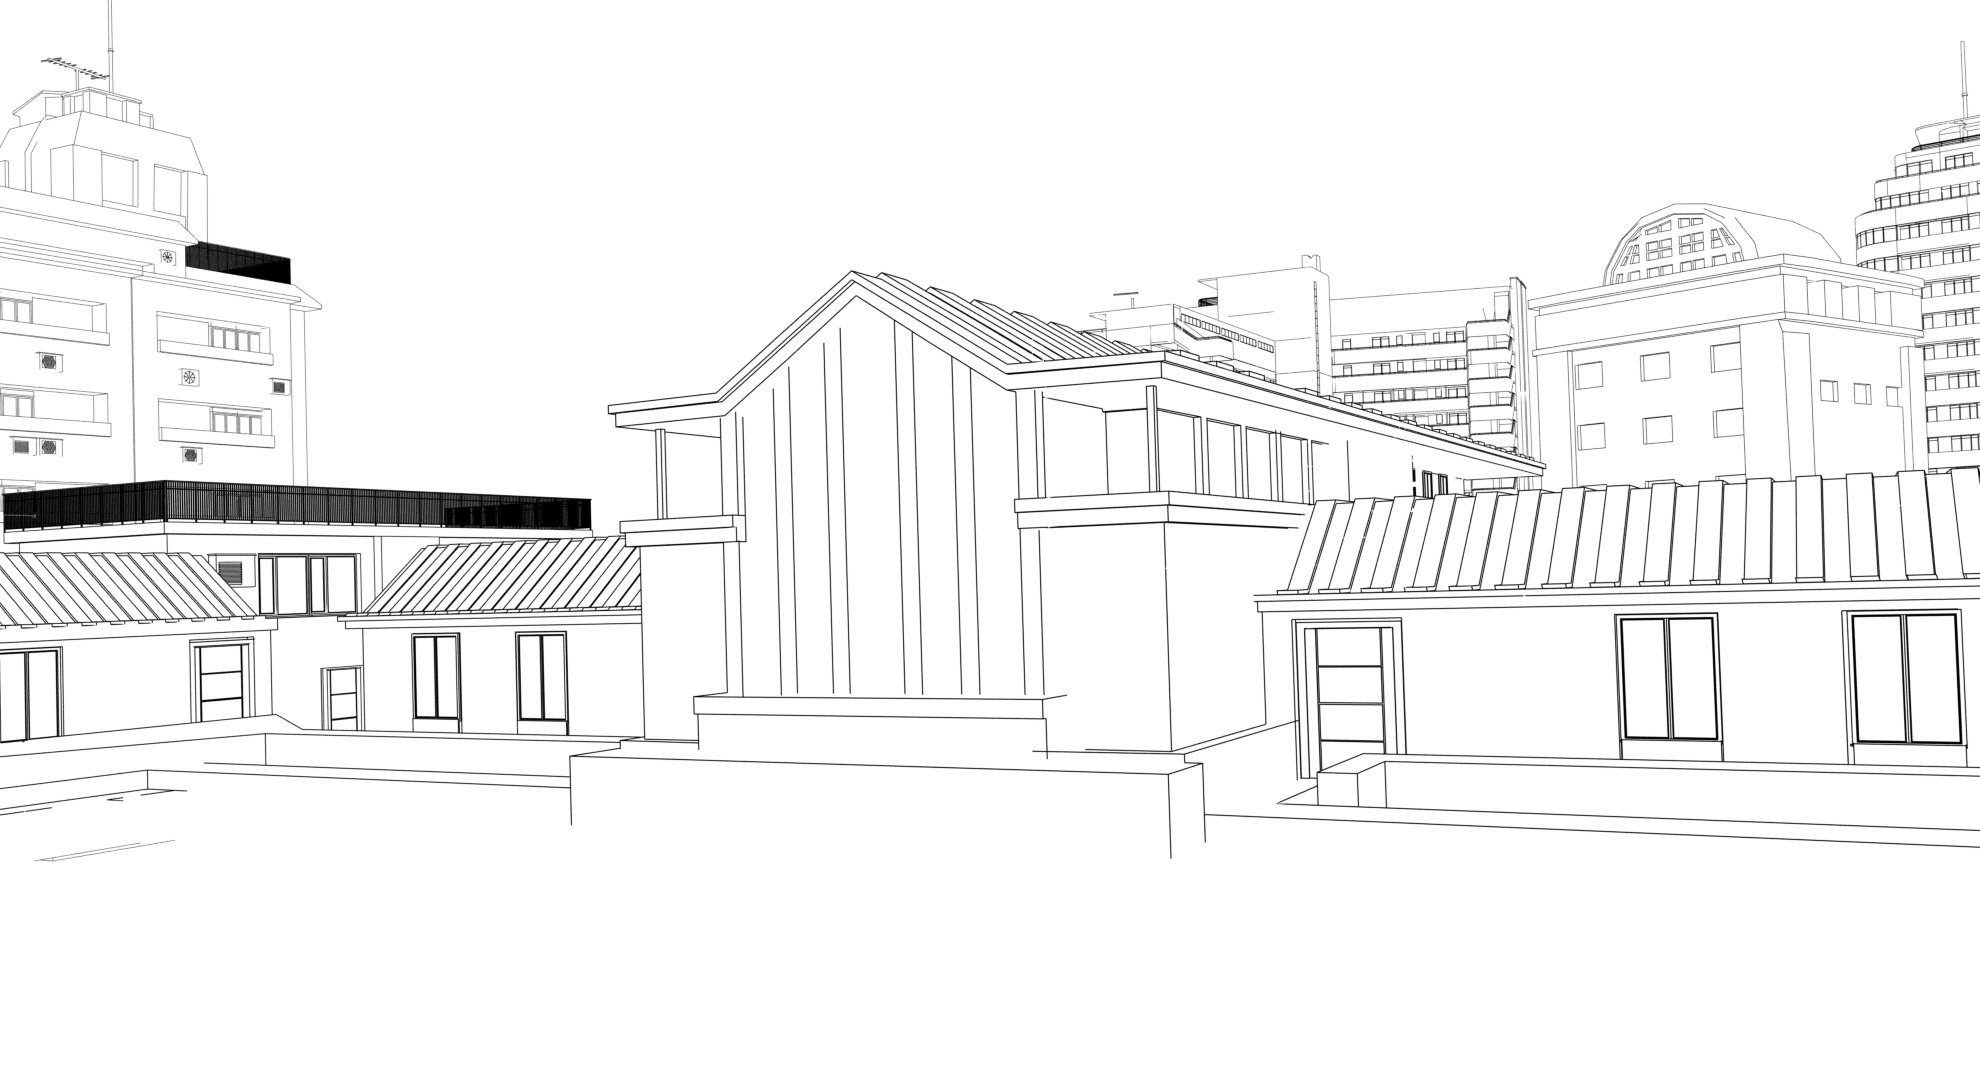
4-Freestyle layer: with a slight camera distance on stroke thickness
In compositor I’ve mixed mist + combined to get aerial perspective. Mist pass is usefull as a mask for lens blur in ps later.
I’ve exported all the stuff on PS and started using shadow pass inverted to establish mood , the started overpainting and final fixing.
Kudos to Mclelun for his sites, really priceless stuff.