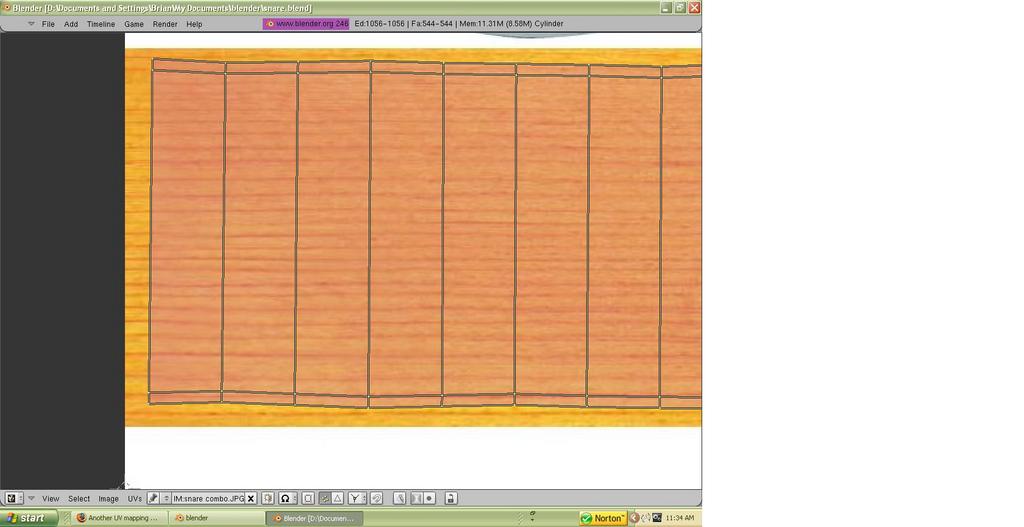
Okay I tweaked the UV map on this snare I’m modeling and screwed myself over. Can anyone tell me why the texture is all weird right in the middle?
Attachments
uvmapproblem.blend (305 KB)
Okay I tweaked the UV map on this snare I’m modeling and screwed myself over. Can anyone tell me why the texture is all weird right in the middle?
It’s hard to see any detail on your UV editor with that image. My guess is that you are looking at the seam, and the verts are not lined up, but are moved in slightly toward the centerline. Check out the corners of the UV map on the wood image.
Yeah that’s probably what’s wrong. What’s the centerline, and how can a fix the verts so that they are lined up correctly?

Zoom in on this and take another screen shot. I’ll mark it up for you.
select two verti, then hit w align x. That will snap them into a straight up and down line. Rinse and repeat.
That’s really cool how you can line them up like that! I never knew you could do that. I didn’t fix the problem, but now the UV unwrap box is all lined up and lookin good. Thanks
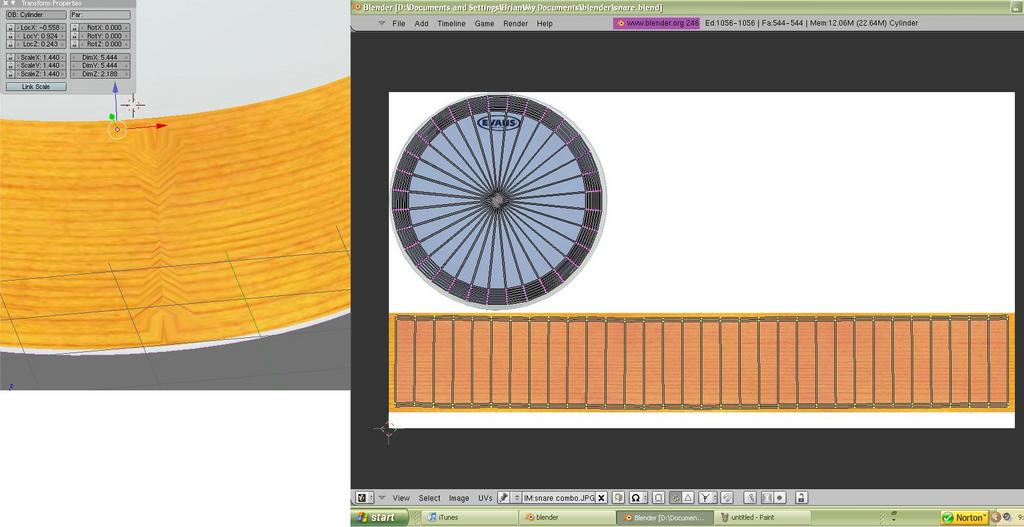
That doesn’t seem to be the problem I thought it was. Looks all nicely lined up. Perhaps there’s a problem with the actual mesh at that point? Have you tried removing doubles?
yeah I tried removing doubles, I don’t think that the mesh is messed up because it’s just a beveled cylinder. I mapped it before where I had marked seams so that the rectangle was just one row instead of the extra two that I have on the top and bottom now. That worked fine, but now I added the two rows and it screwed everything up.
Post the blend? (Include the textures if you do. File>>External Data>>Pack into Blend)
okay I put the blend file in the first entry