Anyone Else Struggling with Lighting in Blender?

Hey folks,

I have been diving deeper into Blender &I keep hitting a wall with lighting. No matter what I do, my renders either come out way too dark or just completely flat. I have tried Also tweaking HDRIs, playing around with area lights and even messing with exposure settings, but I still feel such as I am just guessing half the time.

I have watched a bunch of tutorials but it seems such as everyone already knows what works for their scene. I am mainly doing indoor environments right now & getting that natural, soft lighting look is proving to be harder than I expected.

I picked up Blender while taking [some dumb “blockchain” course] just to mess around with visuals and now I am hooked but still clueless about lighting. :sweat_smile:

If any tips, tricks or examples if you have got 'em. How do you light your scenes without overcomplicating things?

Thank you.:slight_smile:

1 Like

Here are a few general tips I like to start with.

  1. keep it simple. Don’t try to light with too many lights.
  2. Start out completely black. No light. Then add your environment light, then one directional light - your backlight. Not your fill light. Find how your main light source is going to create your rim lights on your dark scene from behind
  3. Then graudally add in your fill lights. Sart with the side that you want to be lit and leaving a shadow on the other site - tradiationally this would be your key light. But I think of it as a fill light.
  4. Then finally your fill light on the front of the subject.
  5. Cheat. If you are rendering a room. Separate the walls. Don’t try to light a completely enclosed space. Render only two or three of the four walls. Remove the cieling if it is not showing. This is an easy way to let the environent light into the scene without having to fill the scene with soft lights.
  6. Look into portal lights for windows
  7. Work in ACES color space to give you more latitude with brights and darks in your scene.
  8. Avoid Point Lights.
  9. Learn Light Linking so you can have more control - especially when you start adding more lights for “just that touch”.
  10. Cheat everything. Don’t be afraid to put a light in the scene to enhance a main light (after you already have things looking ok). Lets say a spot light just behind the subject to kick it up from the background. With light linking you can keep that light only on that object without affecting other things in the scene.
6 Likes

Well, here are my general tips, it’s not always what Richard recommended but different roads can lead to the same place :slight_smile:

I’d say first work with cycles and instead of an interior try a still life, product rendering, or a portrait as it’s likely to be simpler.

I start with the main light source, and each time I add a new light I try to make the most of it. Generally to setup each light you hide everything else, and eventually look how they play together.
Lastly I add an environment with low intensity, just to get more interesting reflections, and fill the remaining lights.
But it’s possible to work the other way around and then the environment might become your main light source… But you’ll have less control…

From there, you can try to light that scene with Eevee if that’s the render engine you want to work with. Or skip that part if you prefer cycles.

Then try an exterior scene, then try the first subject but in an interior scene, and lastly just and interior…

Also while light linking is pretty useful, I tend to think like if I was on a movie set. It’s definitely ok to add extra light to make something pop a bit more or to compose the image… And I would use light linking really as a last resort. To avoid things looking too unnatural or hard to manage… But that’s me :slight_smile:

Finally, unless you have experience in lighting and composition theory, it can help to learn the general theory so you have a battle plan rather than trying things instinctively. This tutorial is more about entertainment lighting but it can sparks some ideas :

And this is a great resource to learn from, probably overkill for a starter but again it’s likely that if you’re patient you’ll grab a ton of useful tricks there !

10 Likes

That!

Is an amazing resource!

Thanks for sharing that.

3 Likes

Start by illuminating the main scene so that everything that you want the audience to be aware of is at least minimally visible: you do not want “opaque shadows.” (Neither “blown-out whites.”)

Now, things like “three-point light.” It still matters.

Build the lighting in this way from the darkness up. Lighting is important in how the human eye will perceive and then take-in the scene “at a glance.”

Plan your shots. If a detail is not going to appear in a particular shot, you don’t care about it at all. Don’t waste your time and energy on anything that you don’t already know will be needed.

“Cheating” is a virtue!" :slight_smile: Use layers to exclude unwanted geometry. Use “light linking” to do what “real” lights could never do. The point is to simplify the problem that you are presenting to the computer. Never ask the computer to compute something that won’t be visible.

"Remember compositing!" A single render does not have to produce the “final result.” It is an input.

“Linked scenes” are a great organizational tool.

“Let’s hear it for Workbench!” This render-engine can let you set up a shot, or a series of shots, while deferring(!) many issues. Then, you can switch to your “final” render engine of choice and work out the remaining details. This can help prevent "details that you don’t need to address yet" from getting in the way . . .

Don’t try to “set up a scene ‘generically’” in anticipation of future possibilities – as a real-world film crew might have to do with a less-than-confident director. Work out the shots, as cheaply as possible, then cheat like hell. (It’s a virtue.)

3 Likes

Those 2 problems are probably the same actually. Your scenes probably suffer from being lit too evenly, everything is in the light.

How many light sources do you use? Do you have a background that emits lots of very even light? Shadows are just as important as light. A few light sources that create interesting gradients and zones of light and dark will look more interesting than a replica of office building lighting, with hundreds of boring white lights covering the ceiling.


In this example, the first image has everything lit evenly. There are a bunch of light sources everywhere, there is light coming from a uniform background. No shadow, everything is the same color.

The second image is an often used “3-point light” setup. I reduced the ambient light so the light sources can have a more visible effect. There are fewer lights and they are placed to make the object’s volume well visible and wrapped in gentle gradients. The light is coming from the sides mostly, with no light coming from behind the camera (that would flatten a scene, like cheap flash photography). The lights have different intensities, radius and colors to create more variation and interest. Also, the materials contribute to the lighting setup, as I used low-roughness materials to create reflections.

–

A similar principle applies in a dark scene. You might think that darkness is made by using weak light sources, but that’s not the case. For a scene to truly feel dark, you need contrast, zones of bright light surrounded by darkness.

Here is a night scene done wrong. I made the lights weak and added blueish ambient light (which lots of artists think would be needed at night). Everything is fully lit, it’s just that the light is weak. This only makes the image hard to see, it doesn’t really feel like night.

Here is a night scene done with bright lights, but leaving zones of darkness and intense shadows where the lights aren’t. The subject itself has dark zones even. There is no ambient light, as that would break the impression of darkness. I used intense colors, as that can evoke artificial lighting, which you would only see at night (more natural gold, white and blue tones would evoke daytime).

7 Likes

I thought a ‘3-point light’ setup was 2 side pointing lights, one being red/orange and the other being a bluish light. And the 3rd light was behind the camera pointing in the direction of the camera. So your 3rd light is the ambient light?

@sozap thanks for the Chris Brejon link! I’ll be bookmarking that on my phone to read thru when I have down time…

Very interested in this subject!

Randy

4 Likes

Don’t forget to use the compositor, that’s where you can make practically any image look good.

3 Likes

It’s nice to see a great thread on Lighting!

You guys are all dropping some great tips!

1 Like

It’s the difference between lighting a natural scene and a studio set up.

Strictly speaking for, let’s say a portrait you’d also have a 4th light trained on the backdrop if there is one.

And this introduces the concept of an environment.

If you were lighting a film, let’s say on a studio set, first you’d have to emulate the light from the environment - if day time.

And that would require more than your three main points of light.

The best experience I got understanding lighting was using no lights at all.

And this is how it was done originally before the studios had electricity and strong enough lights to simulate the sun.

But my experience was shooting indoors and placing my subject usually in front of or at an angle to the main light source coming from the window.

And many times that light was behind them to give a rim light.

Other windows in the house provided the ambient light.

With diffusion on the windows, (the owner had white curtains all over the windows. That interior cloth layer under the main curtain, or, the window glass had diffusion) I was able to achieve a nice look.

I never used any lights.

This is when the …. Ahem… light bulb went off.

I realized that 3 point lighting was just trying to simulate what you could achieve in the real world.

In the real world you get bounce from the walls and environment. This is your fill light.

The strongest light is usually the backlight otherwise your subject is blown out and flat.

But because the sun light coming from all windows is bouncing light all over, if you artificially light a scene, you have to either use a lot of soft lights outside the set walls and pump them in from many angles to add that ambience.

Or use smaller lights inside the scene pointed at the environment.

In CG we have the help of an environment light.

This is why I recommend removing two walls behind the camera to let in the environment light.

You could also try this with portal lights.

So in reality for a CG scene there is not really much use for only 3 lights.

And then… cheating.

You can supplement all of these lights by adding more lights.

And so on…

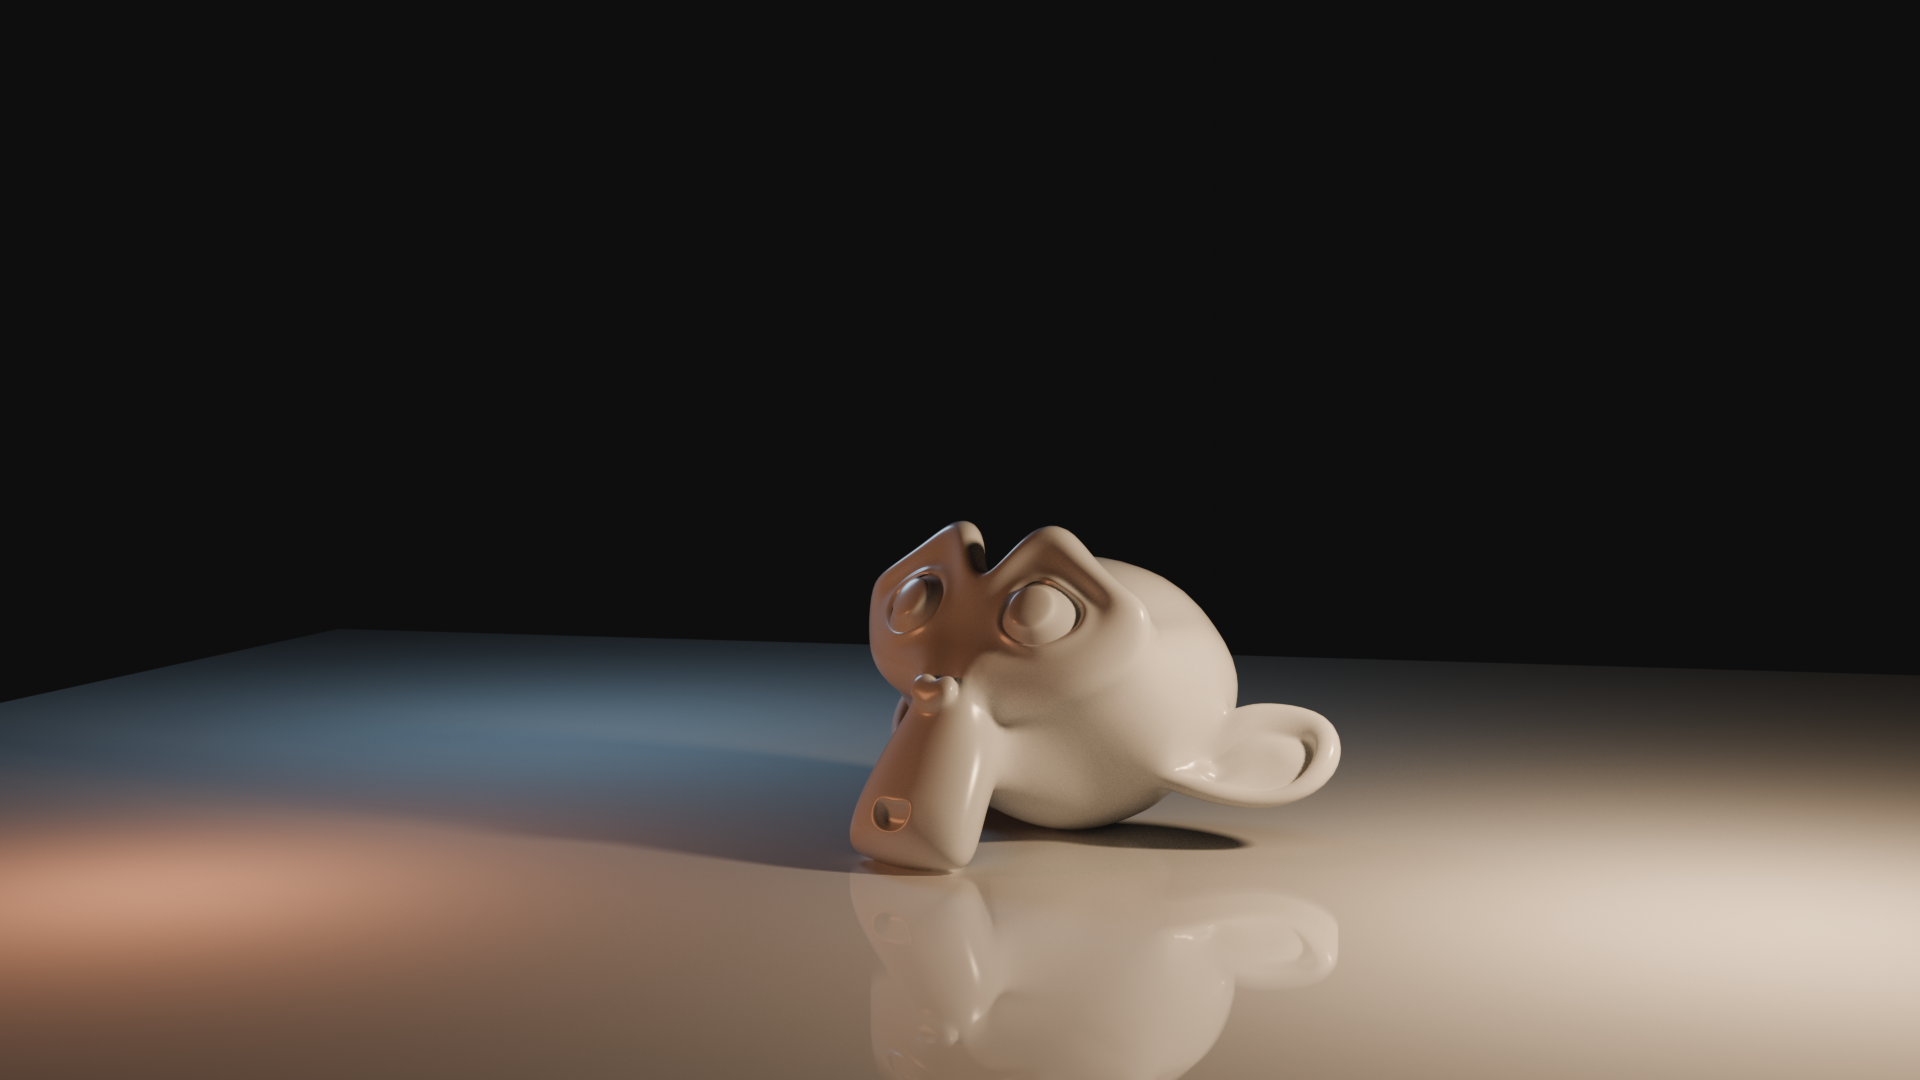
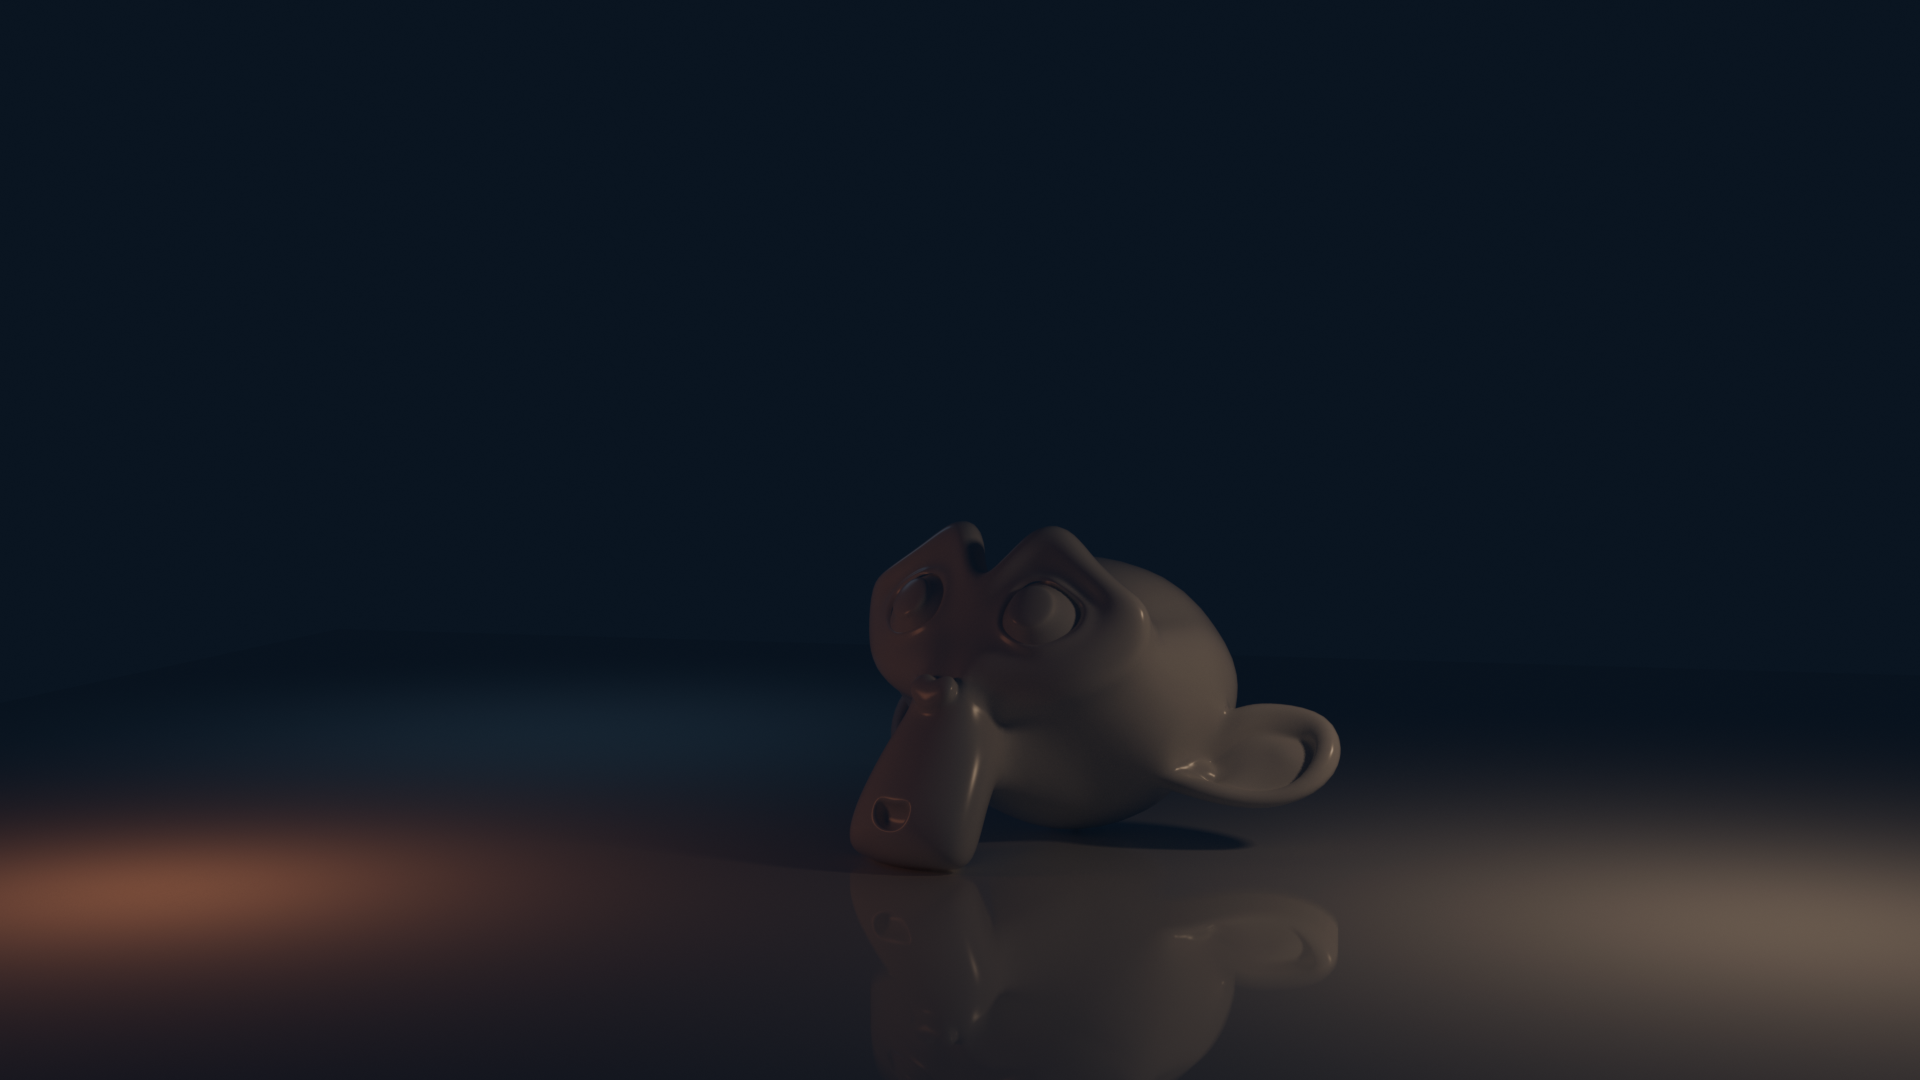
Images from that project:


In daylight scenes I never used any lights.

3 Likes

A new account with only 1 post.

A link to a blockchain course. The non-sensical link between Blender and a blockchain developer course.

The OP’s lack of participation in this thread.

And the text is 100% AI written.

Yeah: spam.

4 Likes

Wow. Brushing off location scouting as the fault of a ‘less-than-confident director’ is quite a statement. :face_with_raised_eyebrow:
I’m pretty sure plenty of very confident and highly acclaimed directors would like to have a word with you. :wink:

greetings, Kologe

1 Like

No. I think they would prefer to simply ignore it and move on….

Kind of like to the next set up while the less than confident crew bickers about what was just shot.

I won’t drag anyone’s name into this conversation, but suffice to say many of the greatest - but not all mind you - completely improvise on the set.

Some don’t at all.

It’s just different approaches to the same problem.

2 Likes

Good catch but…

Nice conversation all the same.

2 Likes

I was about to chime in. And I find that the post was flagged. I’ll have to wait another five years to comment on a post here. :smile:

2 Likes

Cool ! Yeah it takes time to digest but it’s probably the most comprehensive resource on the subject. And it’s filled with great examples from movies, photography, painting … So it’s not just tech stuff :slight_smile:

1 Like

Hahaha we can always keep that interesting conversation running for those who are interested :slight_smile:
At least spammers got good taste on their choice of subjects matters !

2 Likes

Please don’t waste your time pondering what I meant when I referred to “a less-than confident director.” I don’t “think deeply” when borrowing a phrase.

My point is that, in setting up a CG scene, you know (or, should first know …) “exactly what you are lighting for.” (The designers of a movie set can’t, until the Director arrives.)

Hell, you can even vary the lighting from shot to shot! If you want to …

“Lighting” is computationally expensive. Maybe the most expensive thing. Therefore, you should plan your shots in advance, then use every “cheat” at your disposal to simplify that problem without compromising results. Use layers to “switch off” any geometry that is irrelevant. Use “light linking” to eliminate unnecessary computation.

Blender can only, and will, do what you tell it to. The time you save by carefully planning-out the problem will be your own, and it can be very considerable.

2 Likes

Isn’t that the default? I very rarely use the same lighting twice in different shots. As soon as the camera angle is different the light usually needs to change as well.

2 Likes

It’s unflagged now, after I made some slight modifications :wink:

6 Likes