Is there a way to add glass panes on each side or I have to add them with an external object ?
And another question, when you draw windows, if you draw for example 3 windows, the 3 are linked, so if you change a parameter, it applies to the 3. How can I make an other one linked to the previous 3 ?
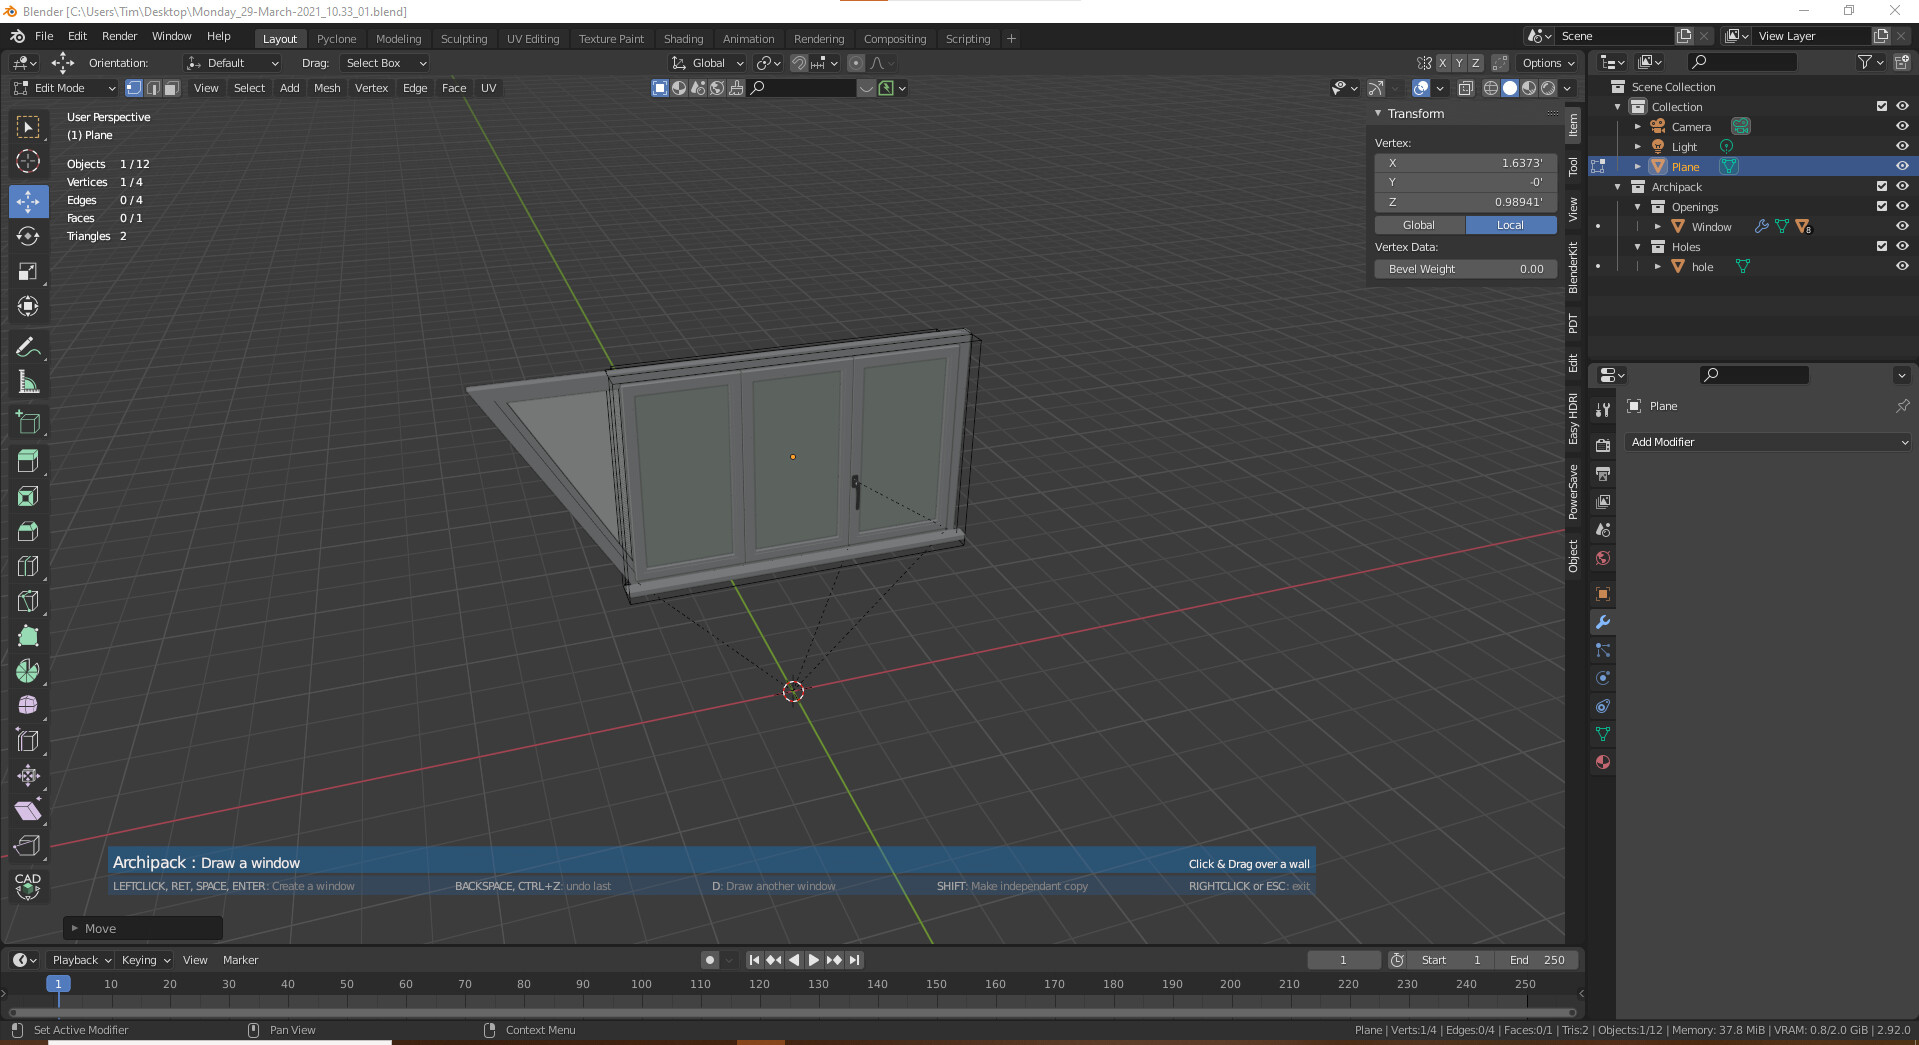
I did this :
draw another window
choose the mesh data from the windows I want
click automatic hole in the window parameter
click auto boolean in the wal parameter (sometimes, it’s not needed)
You are able to draw one more (only one) by selecting the window, hold alt and restart the draw tool.
It is also possible to duplicate the frame (alt+d) and then press “Refresh” button to generate missing parts, and then use autoboolean in wall tools.
Hi
You may actually achieve the stair design with 3 landings and small radius. Take a look at this sample file (you may save the stair as preset for further use). U_Stair_small_radius.blend (169.6 KB)
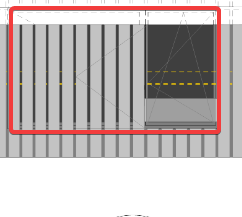
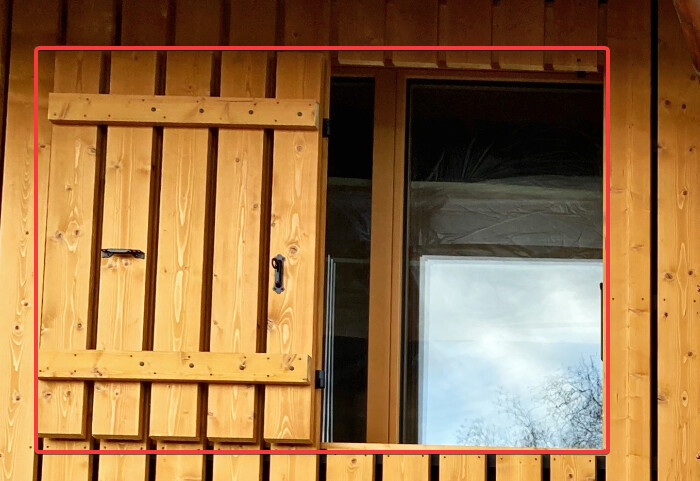
Is it possible to offset vertical boards finish like in the screenshot so there is a space between boards and wall ? I tried options in the Finish panel (Pattern offset) but no luck.
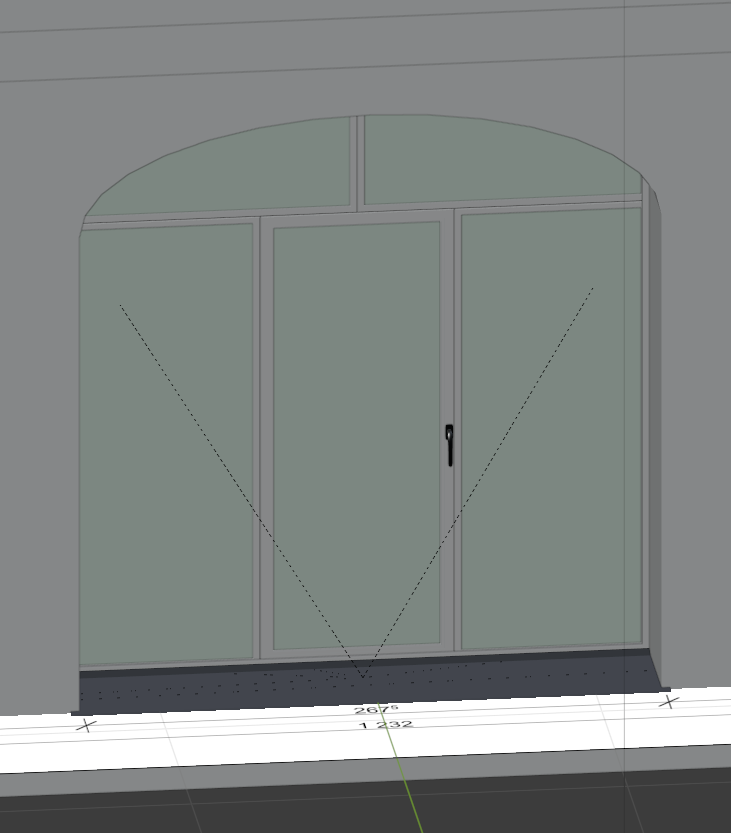
I have finishings on walls and windows. A hole is created throught the walls and finishings, no problem so far but in my particular case, in one case, the window is entirely hidden behind the finishing and in an other case, only one part is hidden. I let you screenshots to better understanding :
Disable “automatic hole” of window, so you are able to provide your own mesh as hole.
Select your mesh and use “Custom hole” so archipack use your mesh as hole automatically.
Hi Tim,
Good question !
Would rely on surface deform modifier. Create a plane on xz plane rougthly the same size than frame, add a surface deform modifier to all windows components (including hole) and then use “bind”. Once done, you may adjust the shape of the window using the plane’s vertex in edit mode.
Thanks Stephen – thats a new one on me – is the plane to be in the same plane as the wall, or should it be sitting out from the wall a bit and is it used just for the deform process?
EDIT : I duplicated the hole for the window, disabled “Automatic hole” and edited the duplicated hole and it worked without using Create “Custom Hole”.
EDIT 2 : sometimes yes, sometimes no in fact but it works at the end.
You are on the right track.
Windows are made of many objects, you have to use the surface deform modifiers on all components, frame, foil, glass and handle (including hole).
In my sample file, i set the deform modifier to the frame, then select all other parts and link the modifier, then i select each part and “unbind” then “bind” again.
Once done i simply edit the vertex of one side of the plane, moving along z axis.
You may use following script to do so.
Go in “Scripting” workspace, select the window frame, and copy / paste in the blender console (below 3d view), press enter ant that’s it, the window will be ready with a plane to edit.
def build_deform_plane(frame):
    me = bpy.data.meshes.new(name="plane")
    d = frame.data.archipack_window[0]
    w = 0.5 * d.x
    z = d.altitude
    h = z + d.z
    me.from_pydata([(-w, 0, z), (w, 0, z), (-w, 0, h), (w, 0, h)], [],[(0,1,3,2)])
    plane = bpy.data.objects.new("Deform plane", me)
    plane.matrix_world = frame.matrix_world.copy()
    frame.users_collection[0].objects.link(plane)
    return plane

def add_deform(obj, target):
    m = obj.modifiers.new("SurfaceDeform", 'SURFACE_DEFORM')
    m.target = plane
    ctx = {}
    ctx['active_object'] = obj
    ctx['object'] = obj
    bpy.ops.object.surfacedeform_bind(ctx, modifier=m.name)
    for c in obj.children:
        add_deform(c, target)


context = C
frame = context.active_object

plane = build_deform_plane(frame)
add_deform(frame, plane)
Hi Danny,
I agree that my english is by far not perfect, but adding subtitles will probably not make it better at all - beside being realy time consumig task.
Also if you encounter any issue, i may provide tailored help through [email protected]