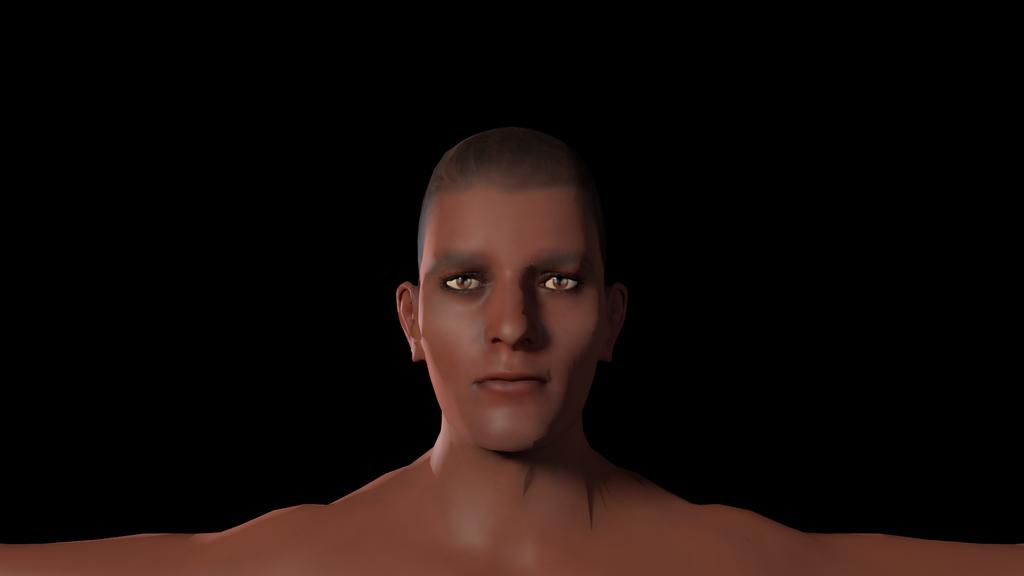
i’m having a problem with what seems like area lights cuasing my characters polygon to show even though they’re on smooth. i’m seeing this mostly on the skin, can anyone tell me how to fix this?
I’m using two area lights one on the front one on the back, both large with a sample size of 8 (or is it 16?). I’m also using a very low energy environment light also with a sample size of 8. The skin has SSS with a scale of .010.
Try rendering the same scene without SSS – I think that may be the culprit, or at least SSS + Area Lights. I’ve seen the same thing on occasion with Neziņa, and in fact, the ghost of a wireframe sometimes shows up in the Materials preview (Sphere)when SSS is active (no Area lights involved, there). Likely a bug, should probably be reported once it’s pinned down to specific circumstances.
Rule of thumb is to have a mainlight, a fill-light, and a backlight in a scene for minimum lighting.
As fill-light an area light is nice, also used in real action shoots, but in Blender if the intensity is too low it causes the terminator problem.
it often works nice if you use a spotlight with softshadows rather than an area light for the fill-light, and make the mainlight an area light instead of a spot.
actually, i don’t have a fill light, i tend to substitute that with environment light. its just two area lights and environment light to fill in the render and add AO,
The fill light isn´t really there to work like environmental lighting as it is still directional. In real life you always have “environmental lighting” yet a fill light is still used, and often enough the fill light is brighter than the mainlight, depending on the mood you want to achive. Often enough the filllight is no light at all, but just a bouncecard or reflector. It´s to augment environmental lighting IMO.
If the scene isn´t too complicated you can completely avoid environmental lighting, which is nice, especially in animations where it costs a huge portion of rendertime. My fast fake setup is to use 3 spotlights with buffer shadows as back, fill and main, and depending on the scene, one or more hemi lights to brighten the shadows and the scene. Fake environmental lighting so to say. It renders lighting fast with very good results.
If the quality needs to be better or I cant achieve what I want with the bufferspot shortcut, the spots become area lights but the backlight, it often stays a spot, like in reallife for instance for a person, you´d use a spot with almost closed shields just illuminating the back of his shoulders and back of his head. With this setup you have to be careful not to set too low values because of the stupid terminator artifacts. And on top of that I put highpass environmental lighting.
Something else that you can sometimes do is to render the various lights separately and then composite the results together. You can use ambient illumination to set the “basic light-level,” then add to it, in separate composite passes, both the highlights and the extra shadows. You are then able to “fine tune” everything in just the same way that a music recording is made “multi-track” and then “mixed down.” Since the process at this point is literally a two-dimensional combining of pixel bitmaps, issues like the terminator-problem no longer apply.
The only thing that you have to be careful of, and you do have to be very careful of it, is that each of these sources (of light or of shadow) must be “pristine and separate.” The base lighting is like foundation-makeup: it has no shadows. Other passes need to pull illumination and shadow/shading information separately. You do pay a bit of a price in having to do planning and maybe setting up some complicated “noodles,” but what you don’t have is long (and frequently-repeated) render times.
