Hello Geeks,
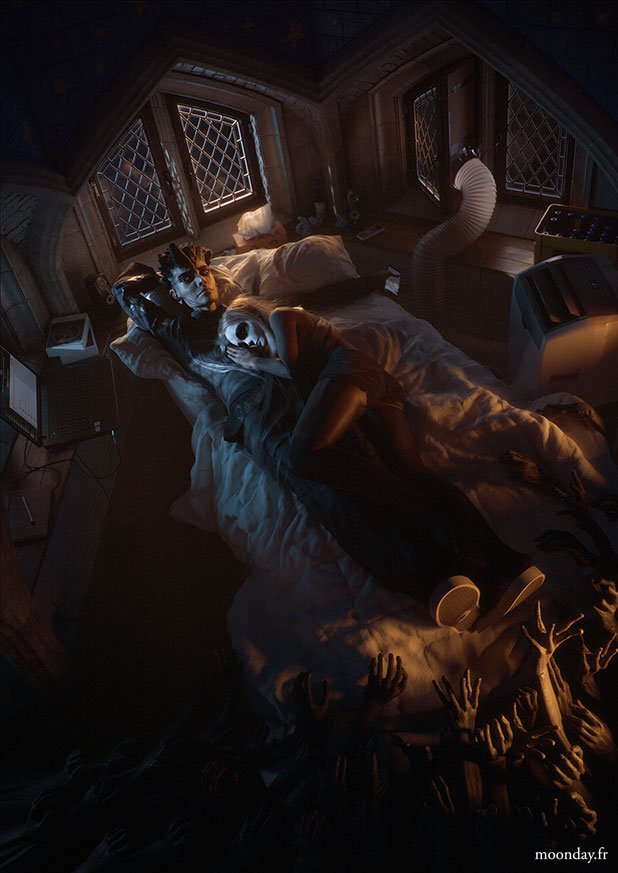
Let me introduce this project I’ve been working on for a few years on my spare time:
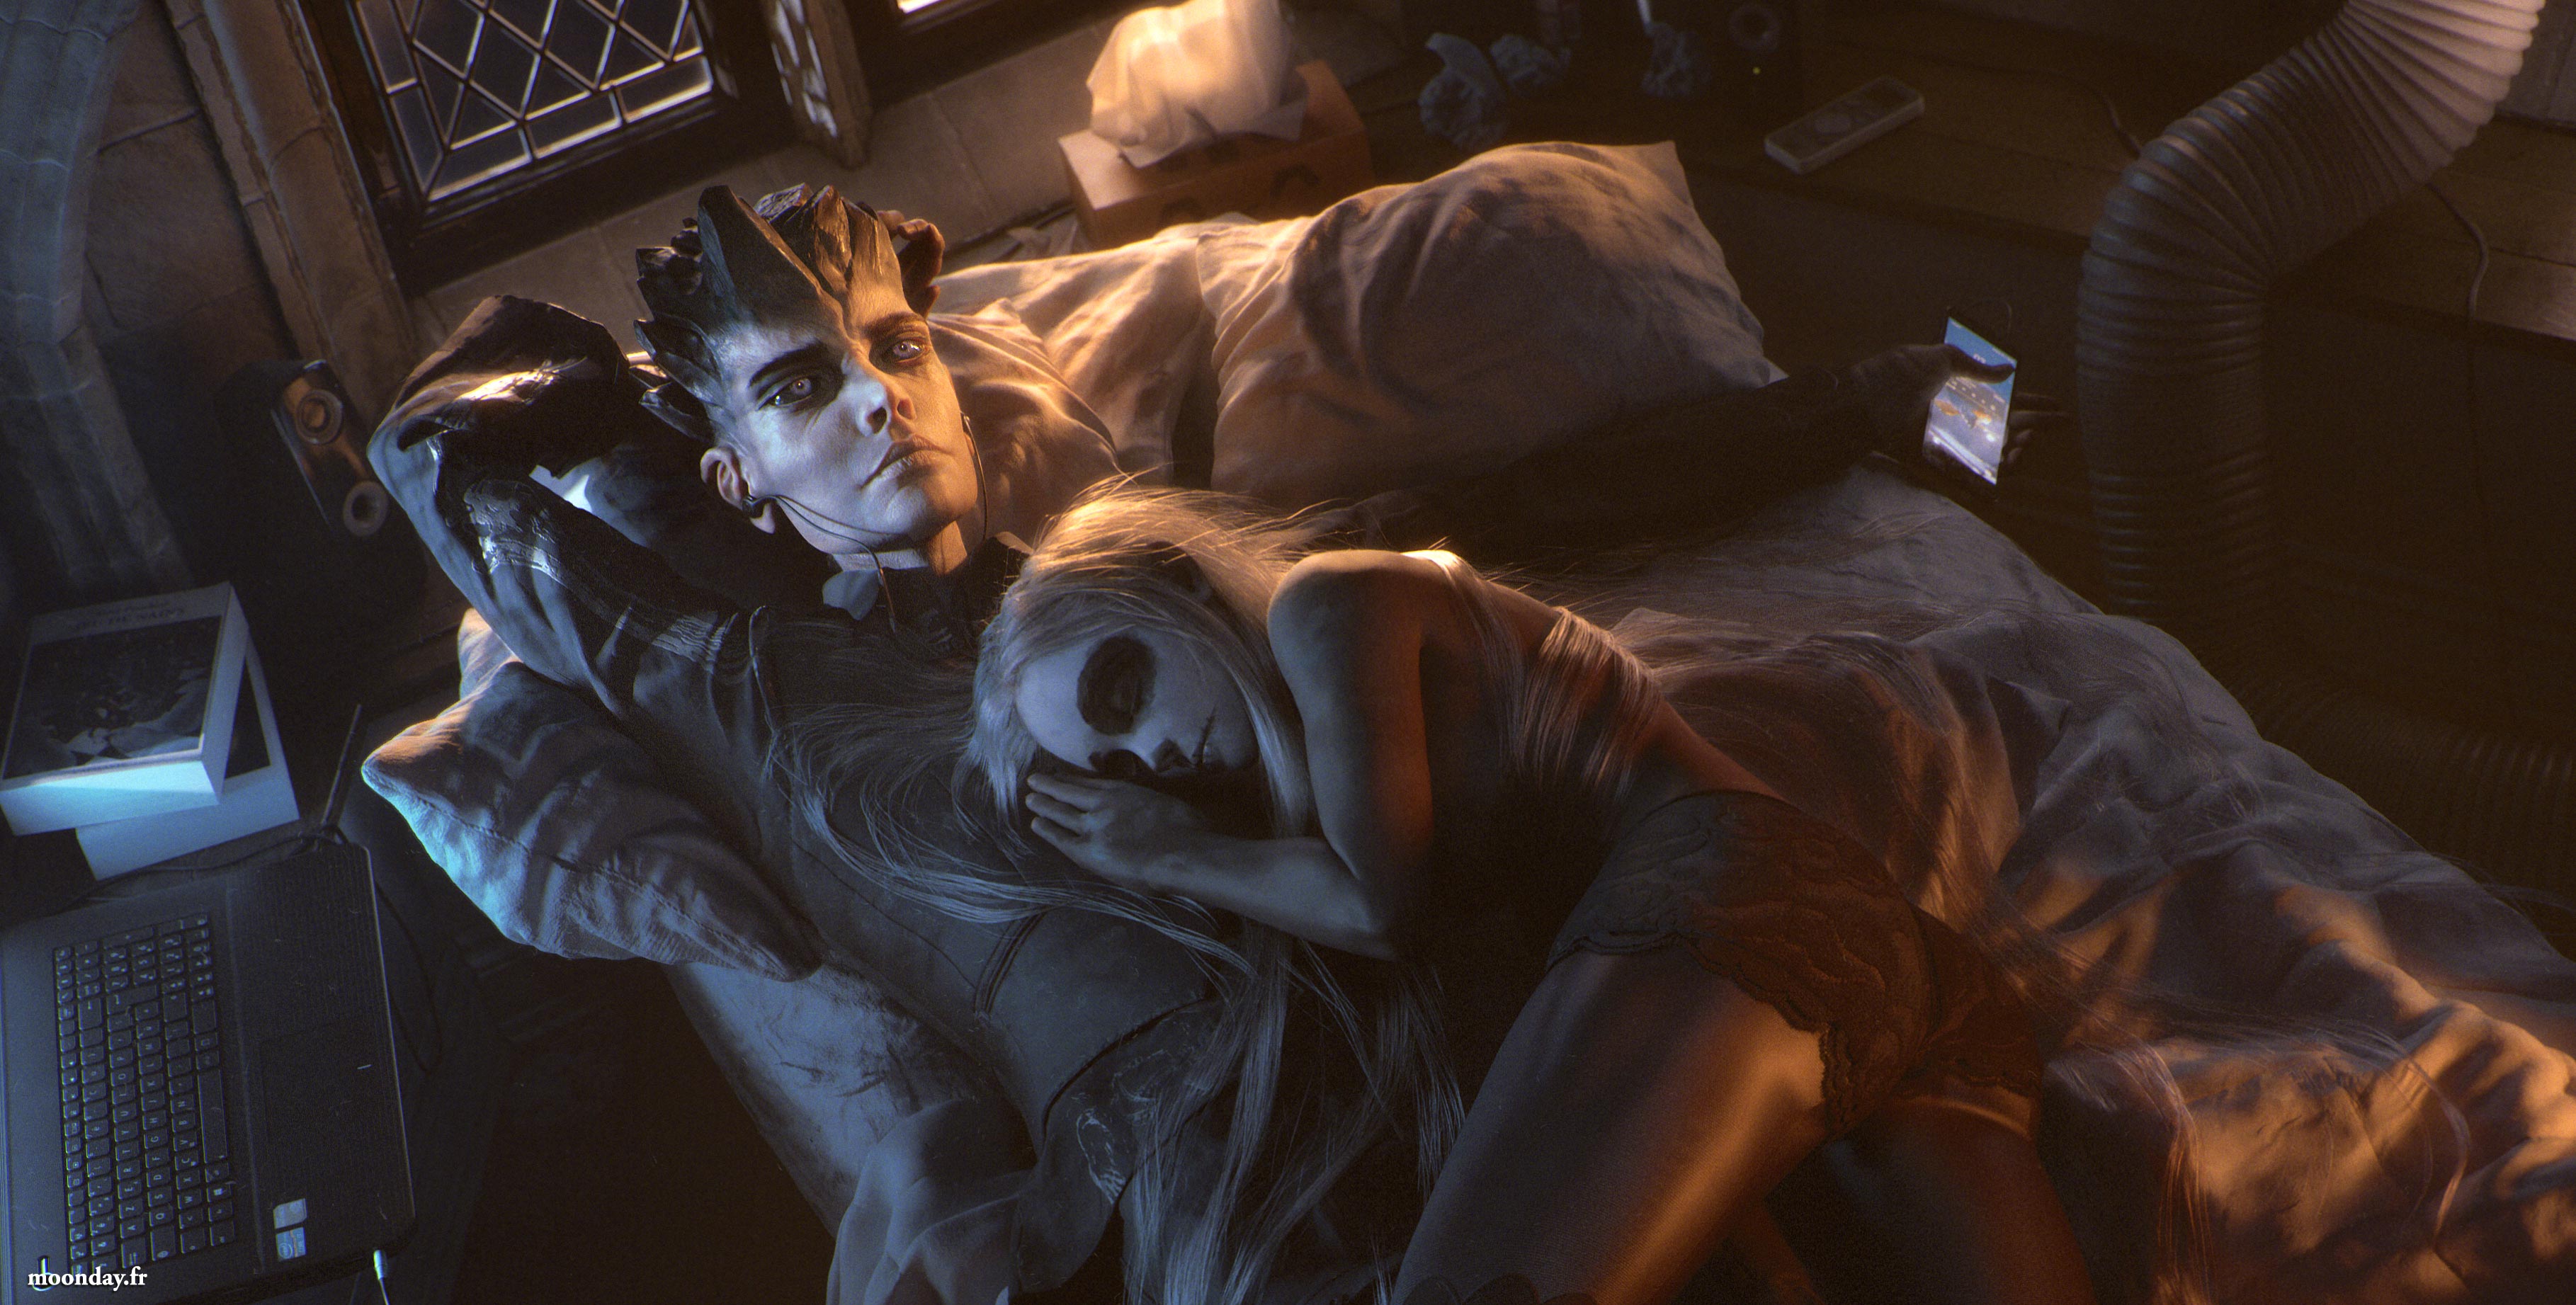
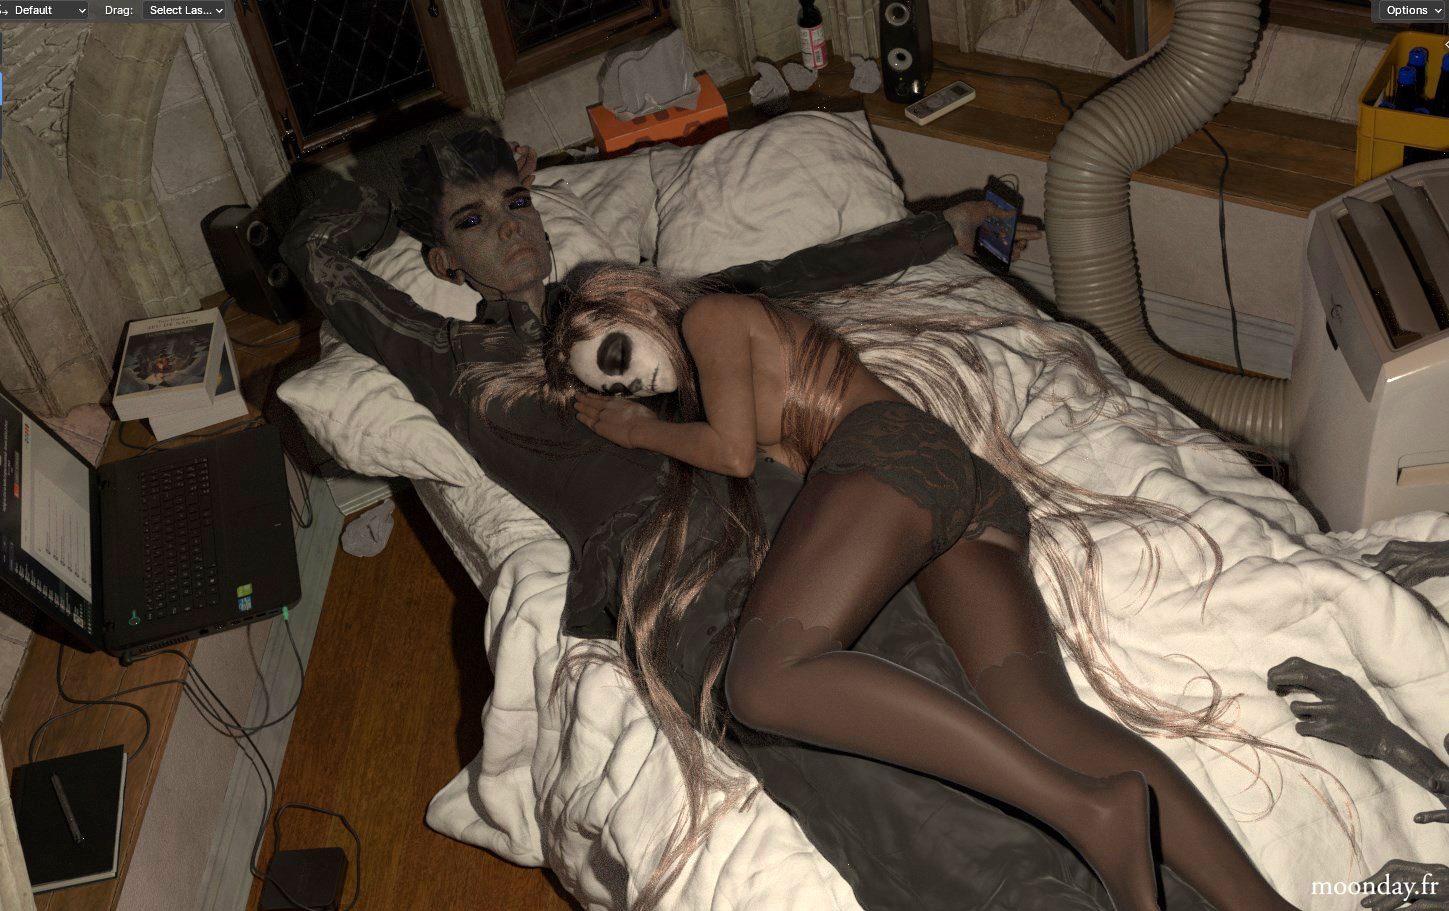
The original idea was to create a scene with characters to improve my 3D skills on modelling, texturing, lighting, etc. I initially started the scene in 3ds Max back in 2015 and I recently moved (early 2024 if I remember well) the whole project in Blender because at the rendering step, despite all the optimization done in the scene, 3ds max x Arnold could not handle the scene.
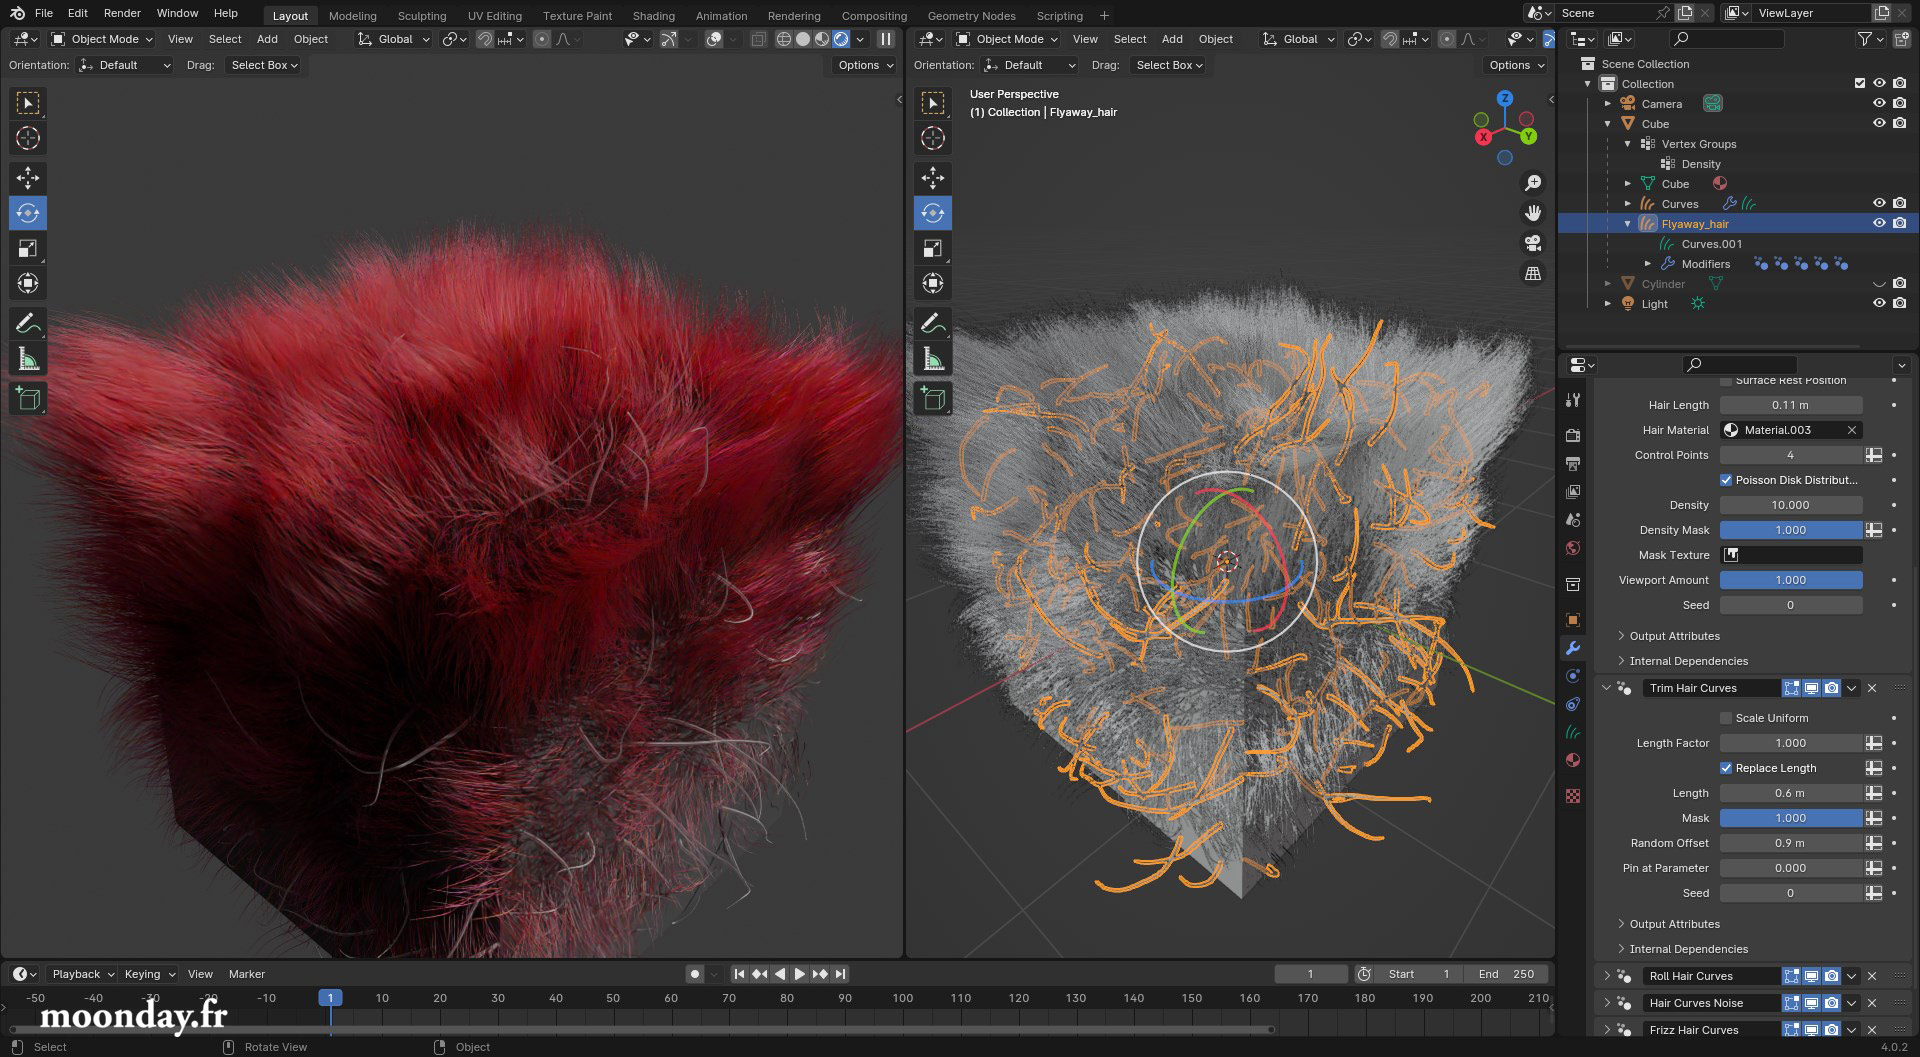
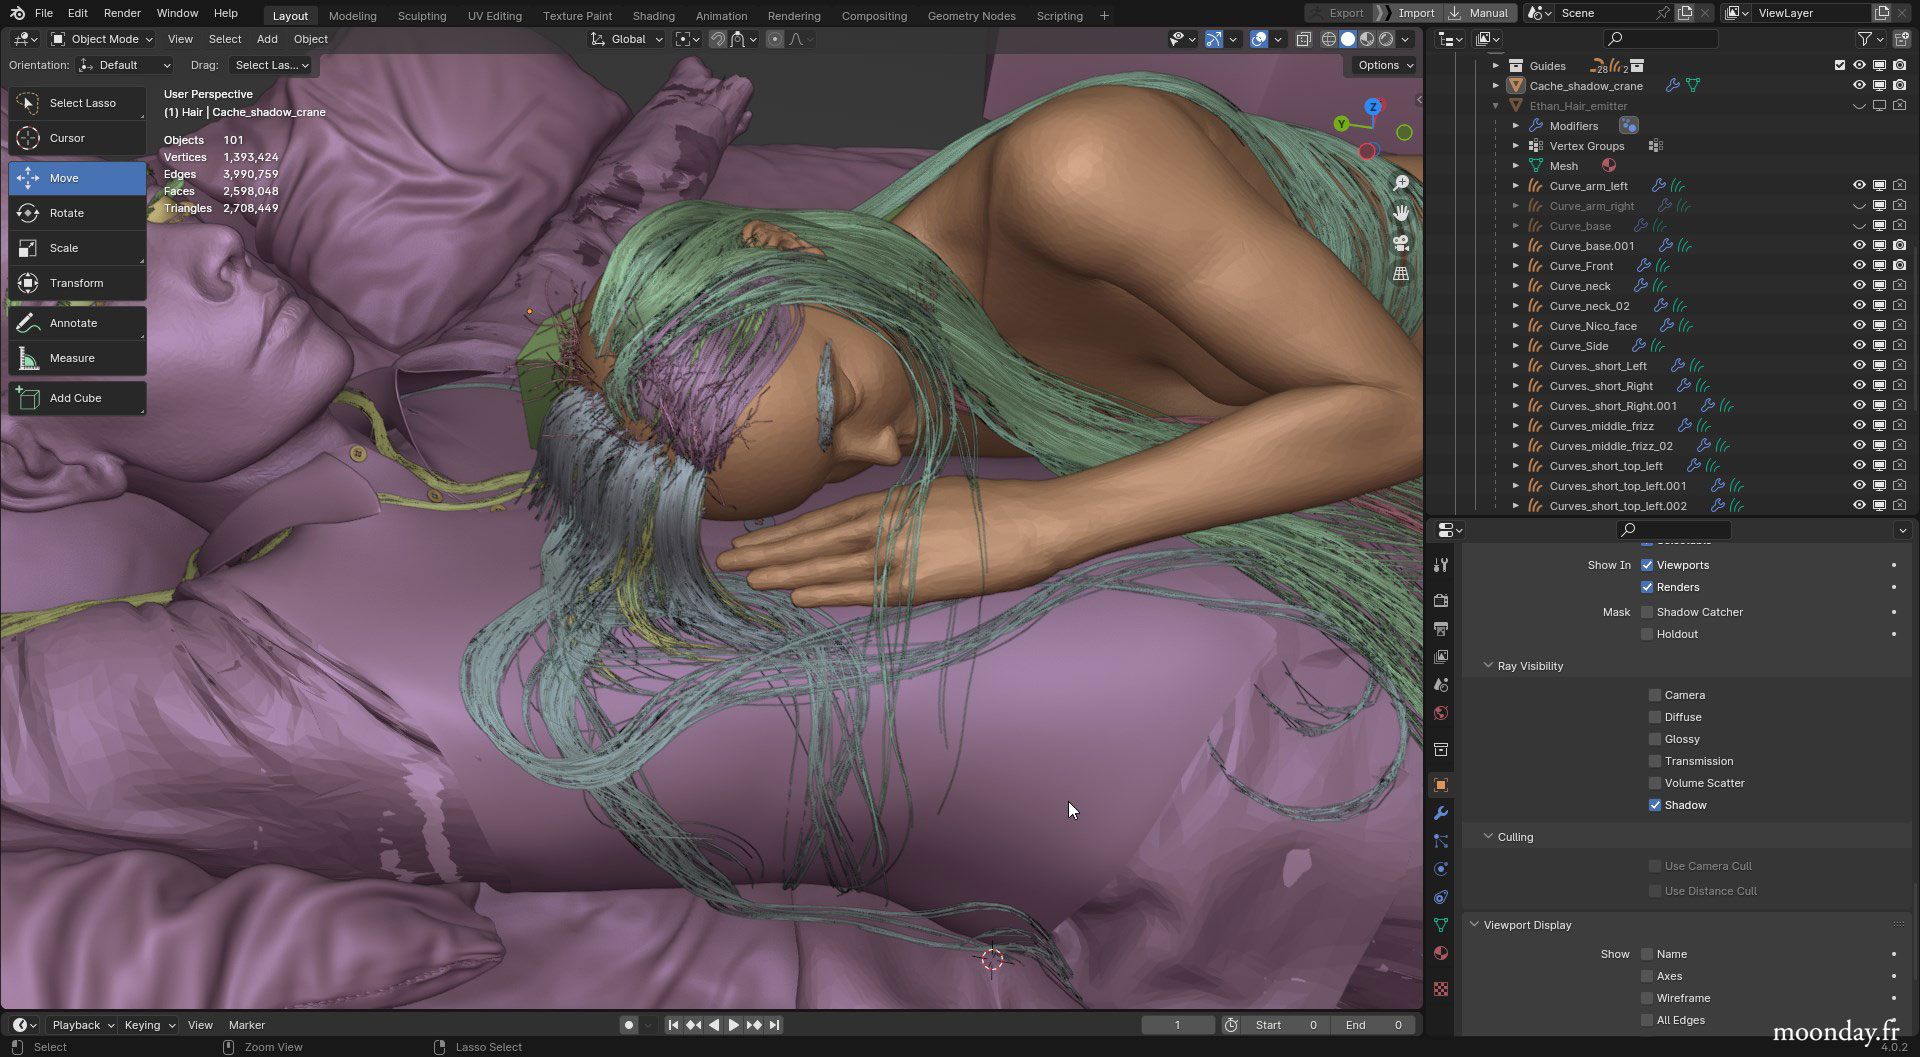
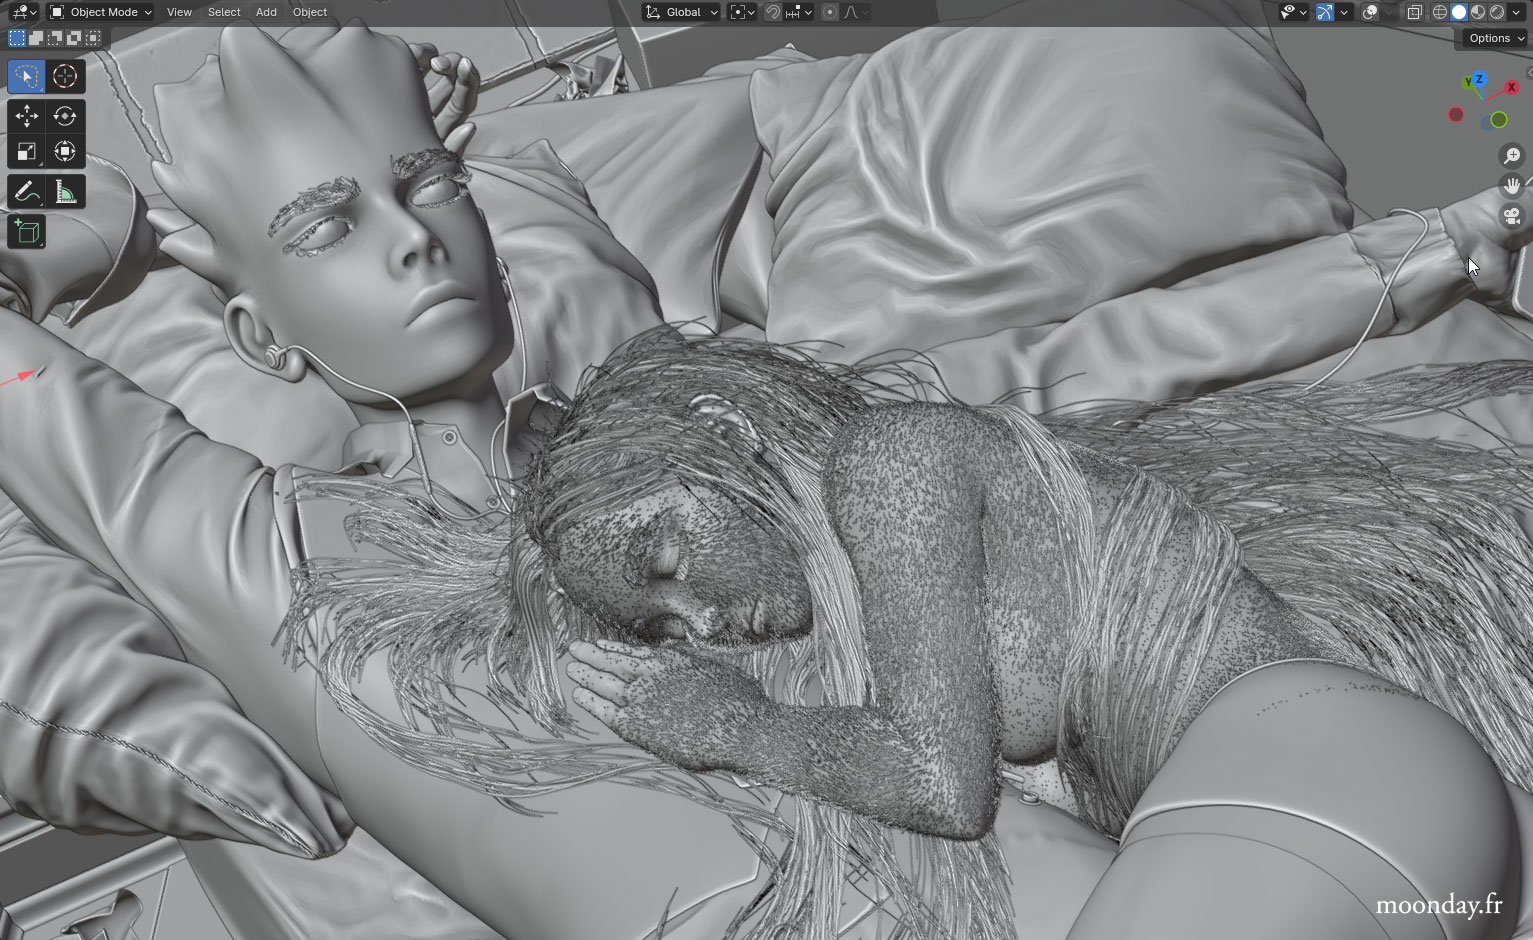
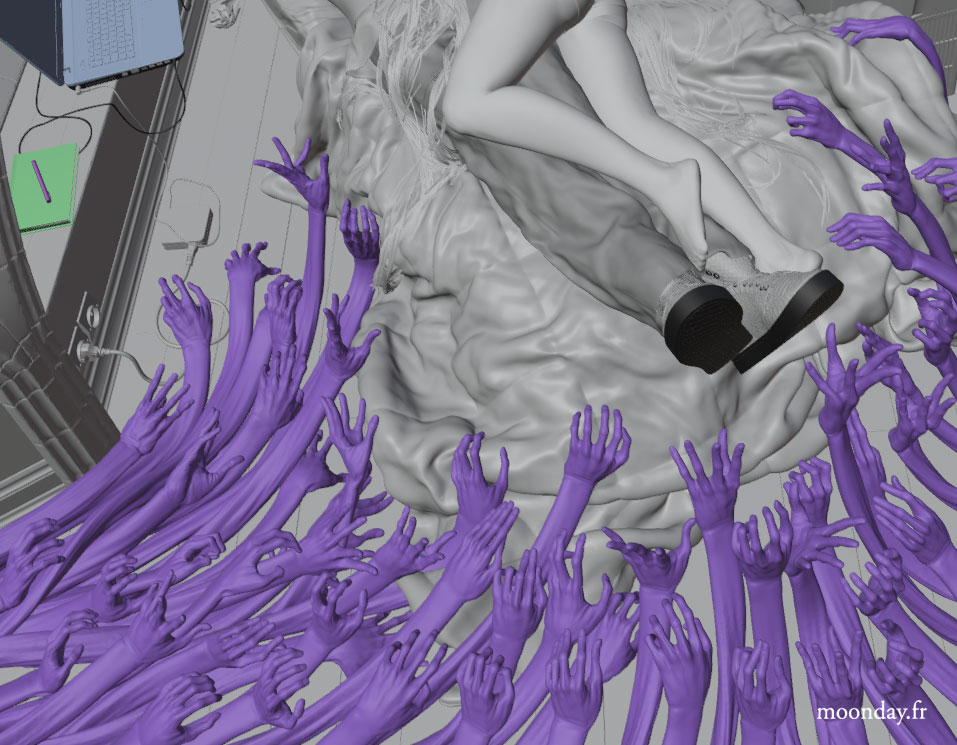
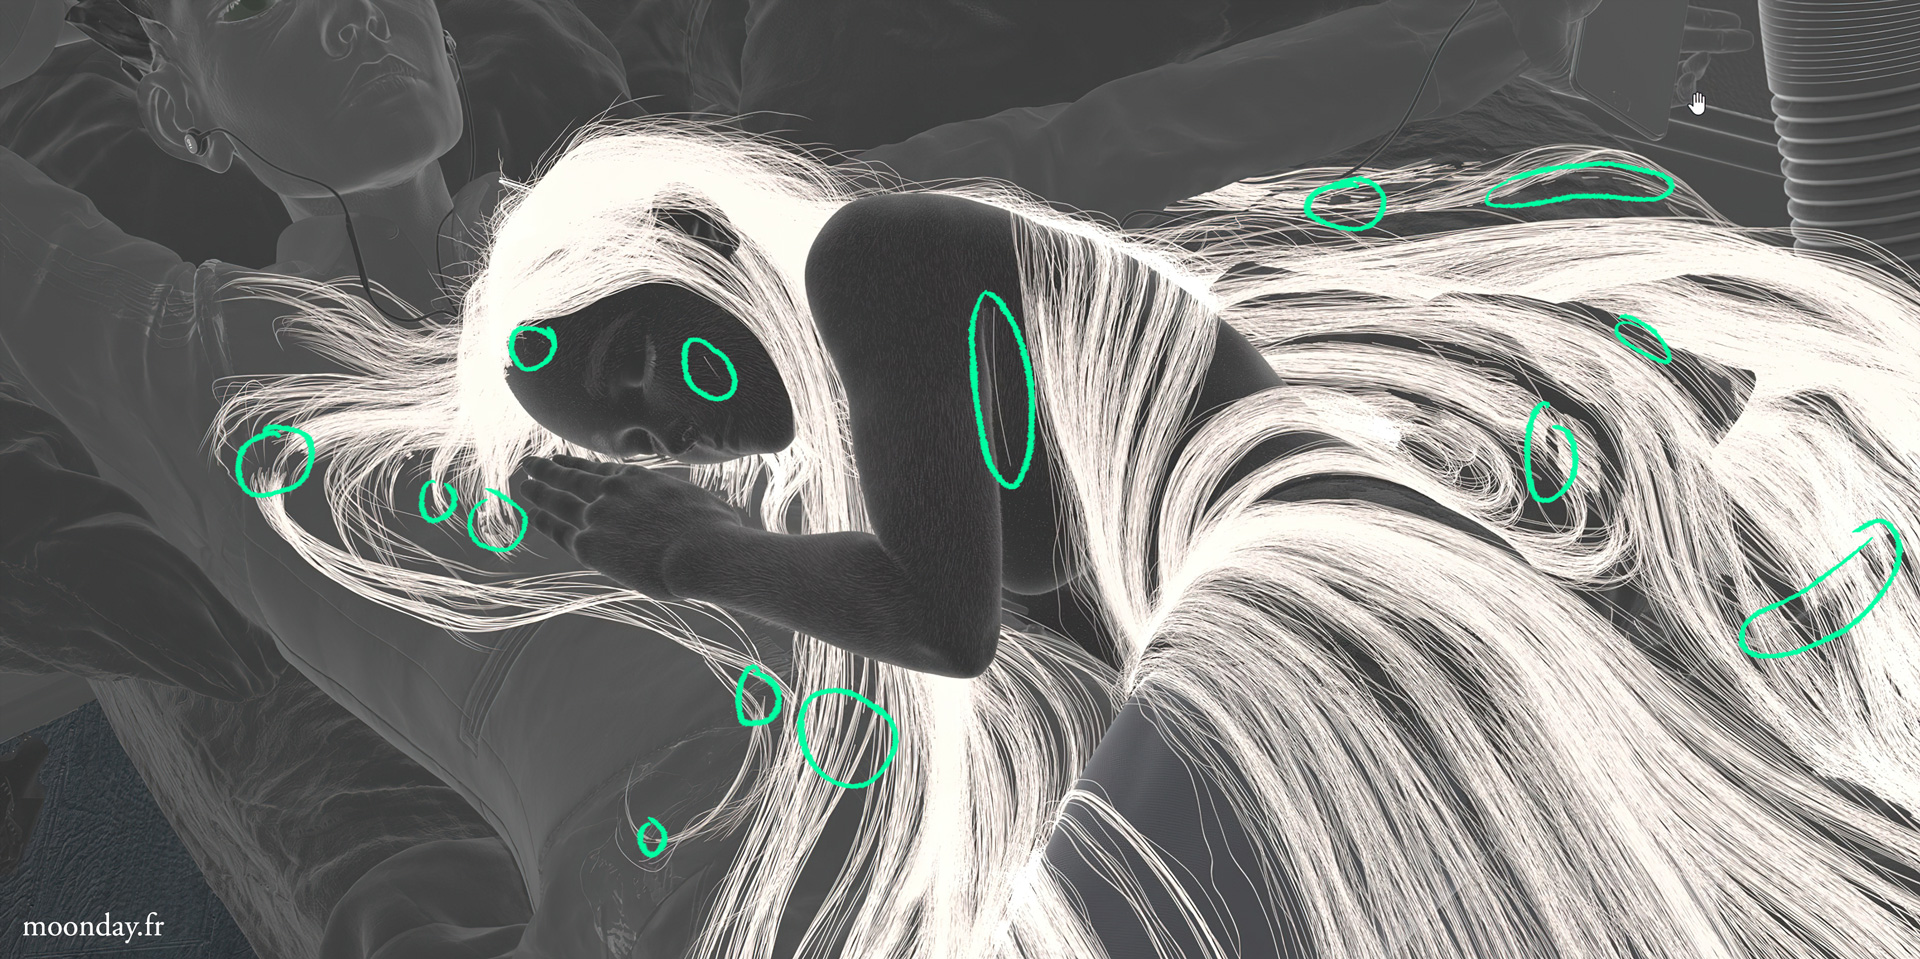
Surprisingly Blender could launch all my render tests (CPU) therefore I decided to finish the work in Blender for this artwork. Taming Cycles, the shader editor, correcting importing elements, it took quite some time but in the end I’m really surprised by some workflow inside Blender. One of the most challenging aspect of the artwork was to work on the female Character long hairs. Here again, it took some times to fnd the correct workflow to create this kind of geometry.
Here are the progress done since the project moved to Blender:
(news copied from a january post on my blog)
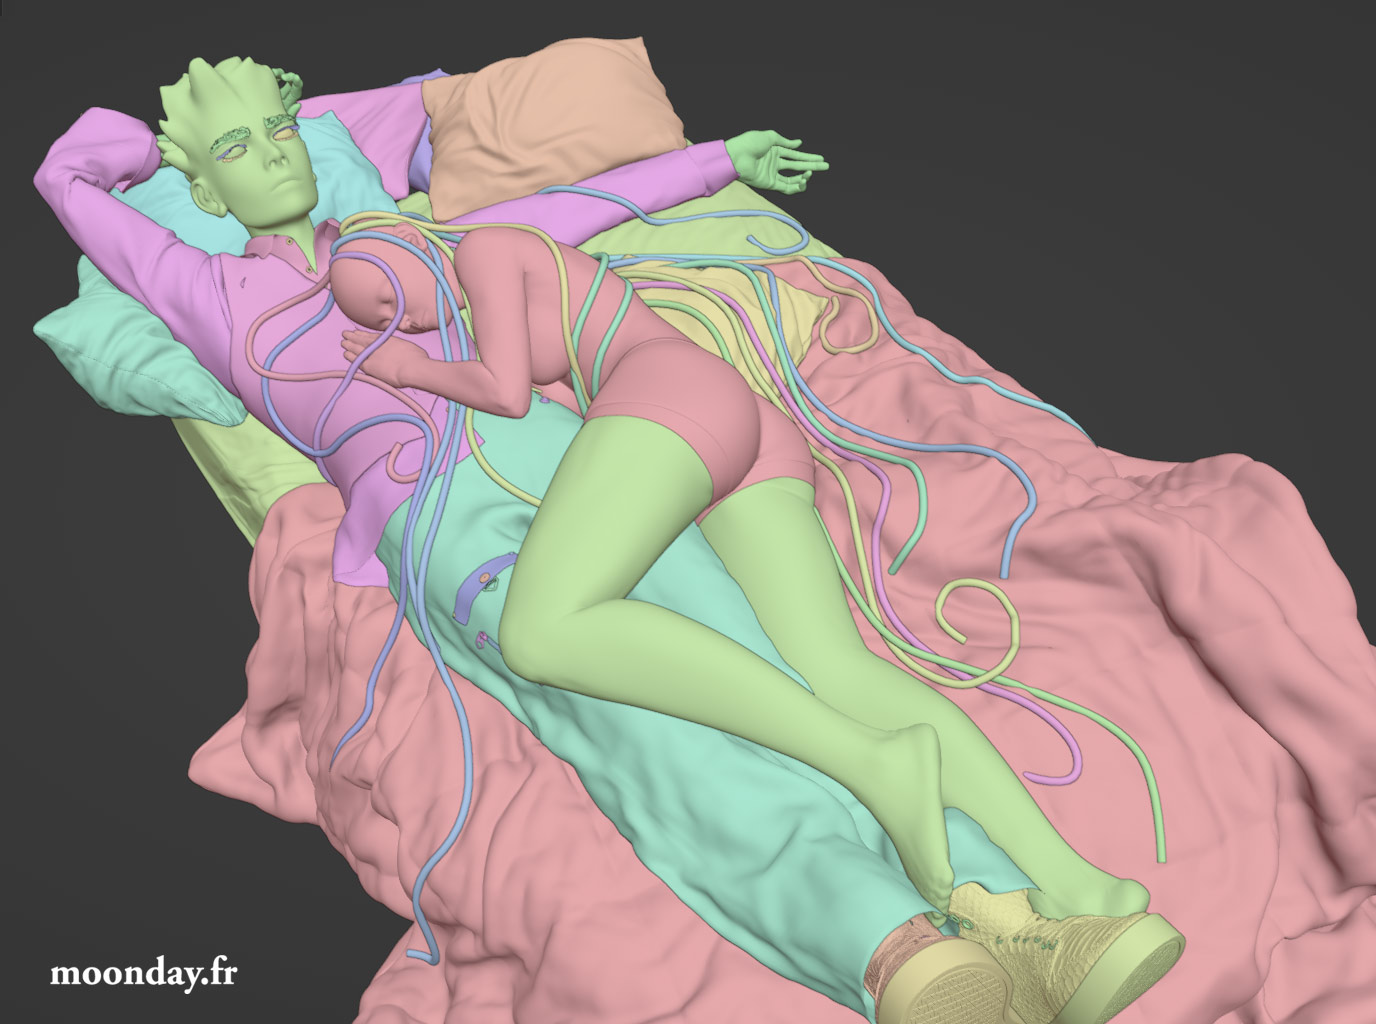
The whole bedroom and the main characters are almost ready. The man even got his eyebrows and eyelashes created by editing curves in a particle system. His two hands are scheduled to be skinned and sculpted for next week!

correct triangulation import on the right

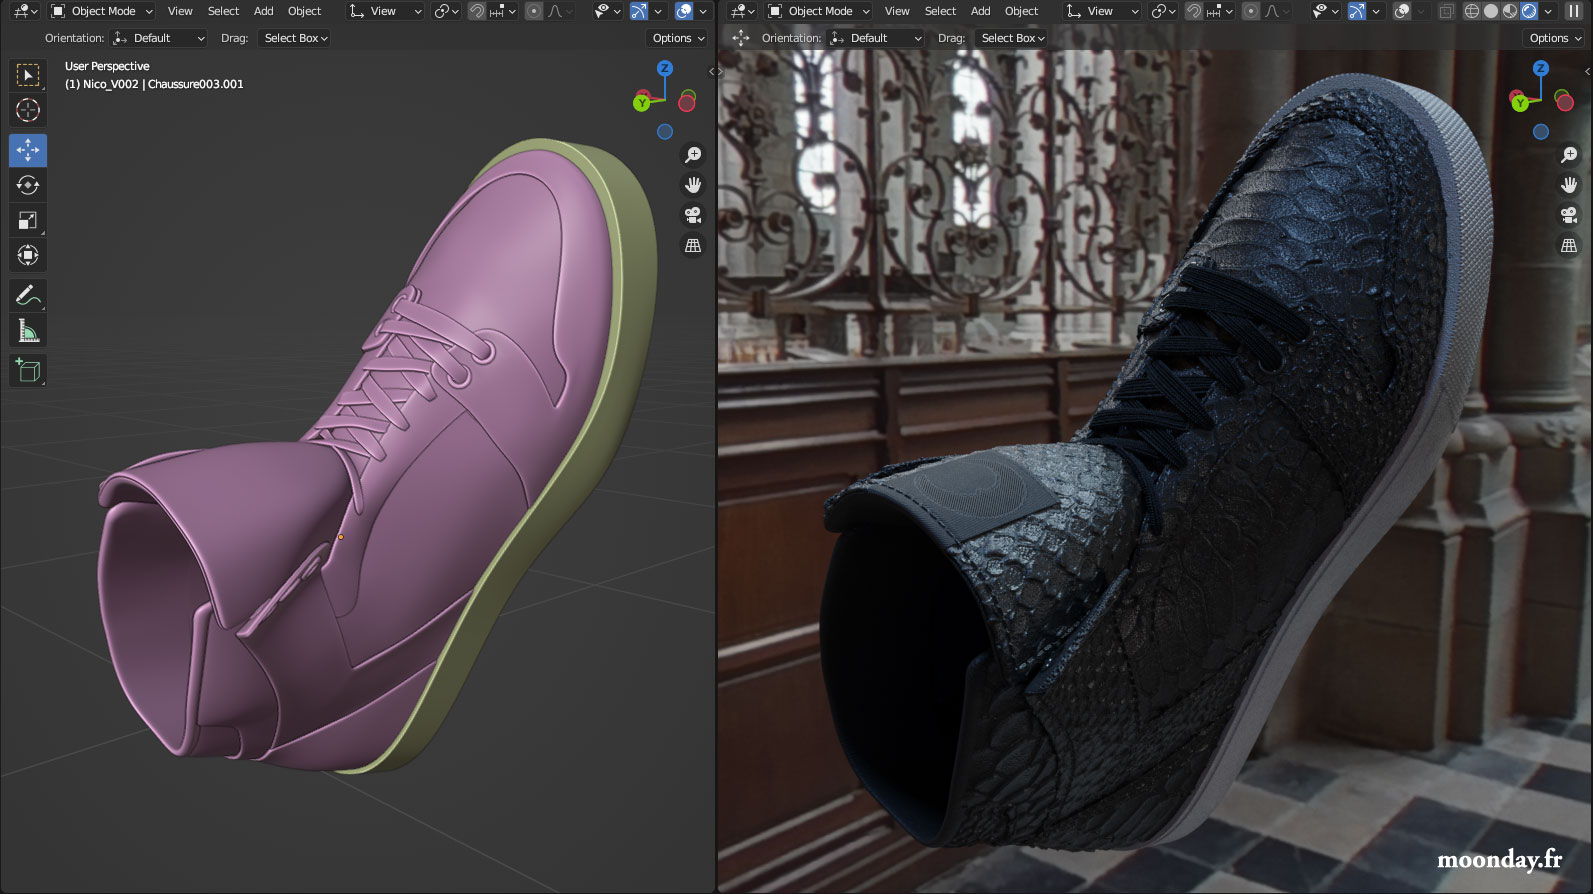
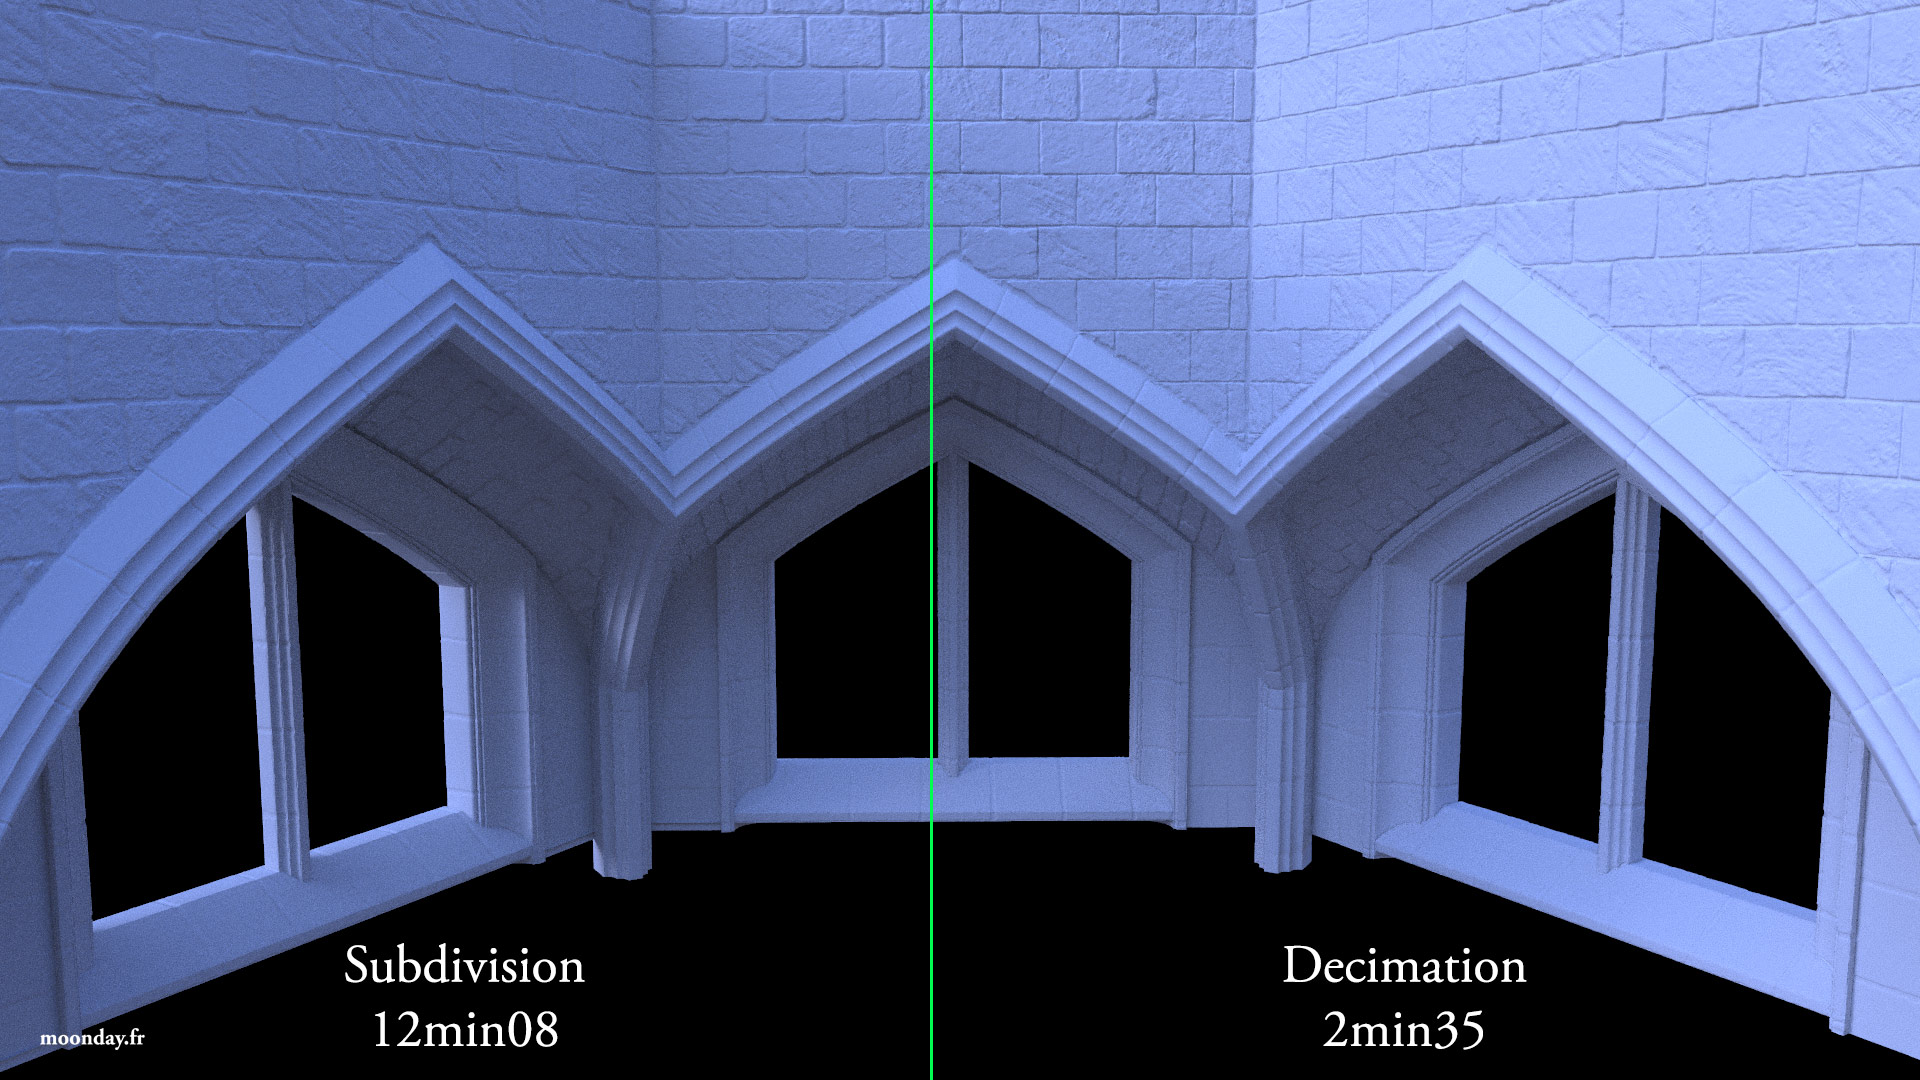
Displacement is working nicely but due to the scene heaviness I may use another workflow based on decimated meshes

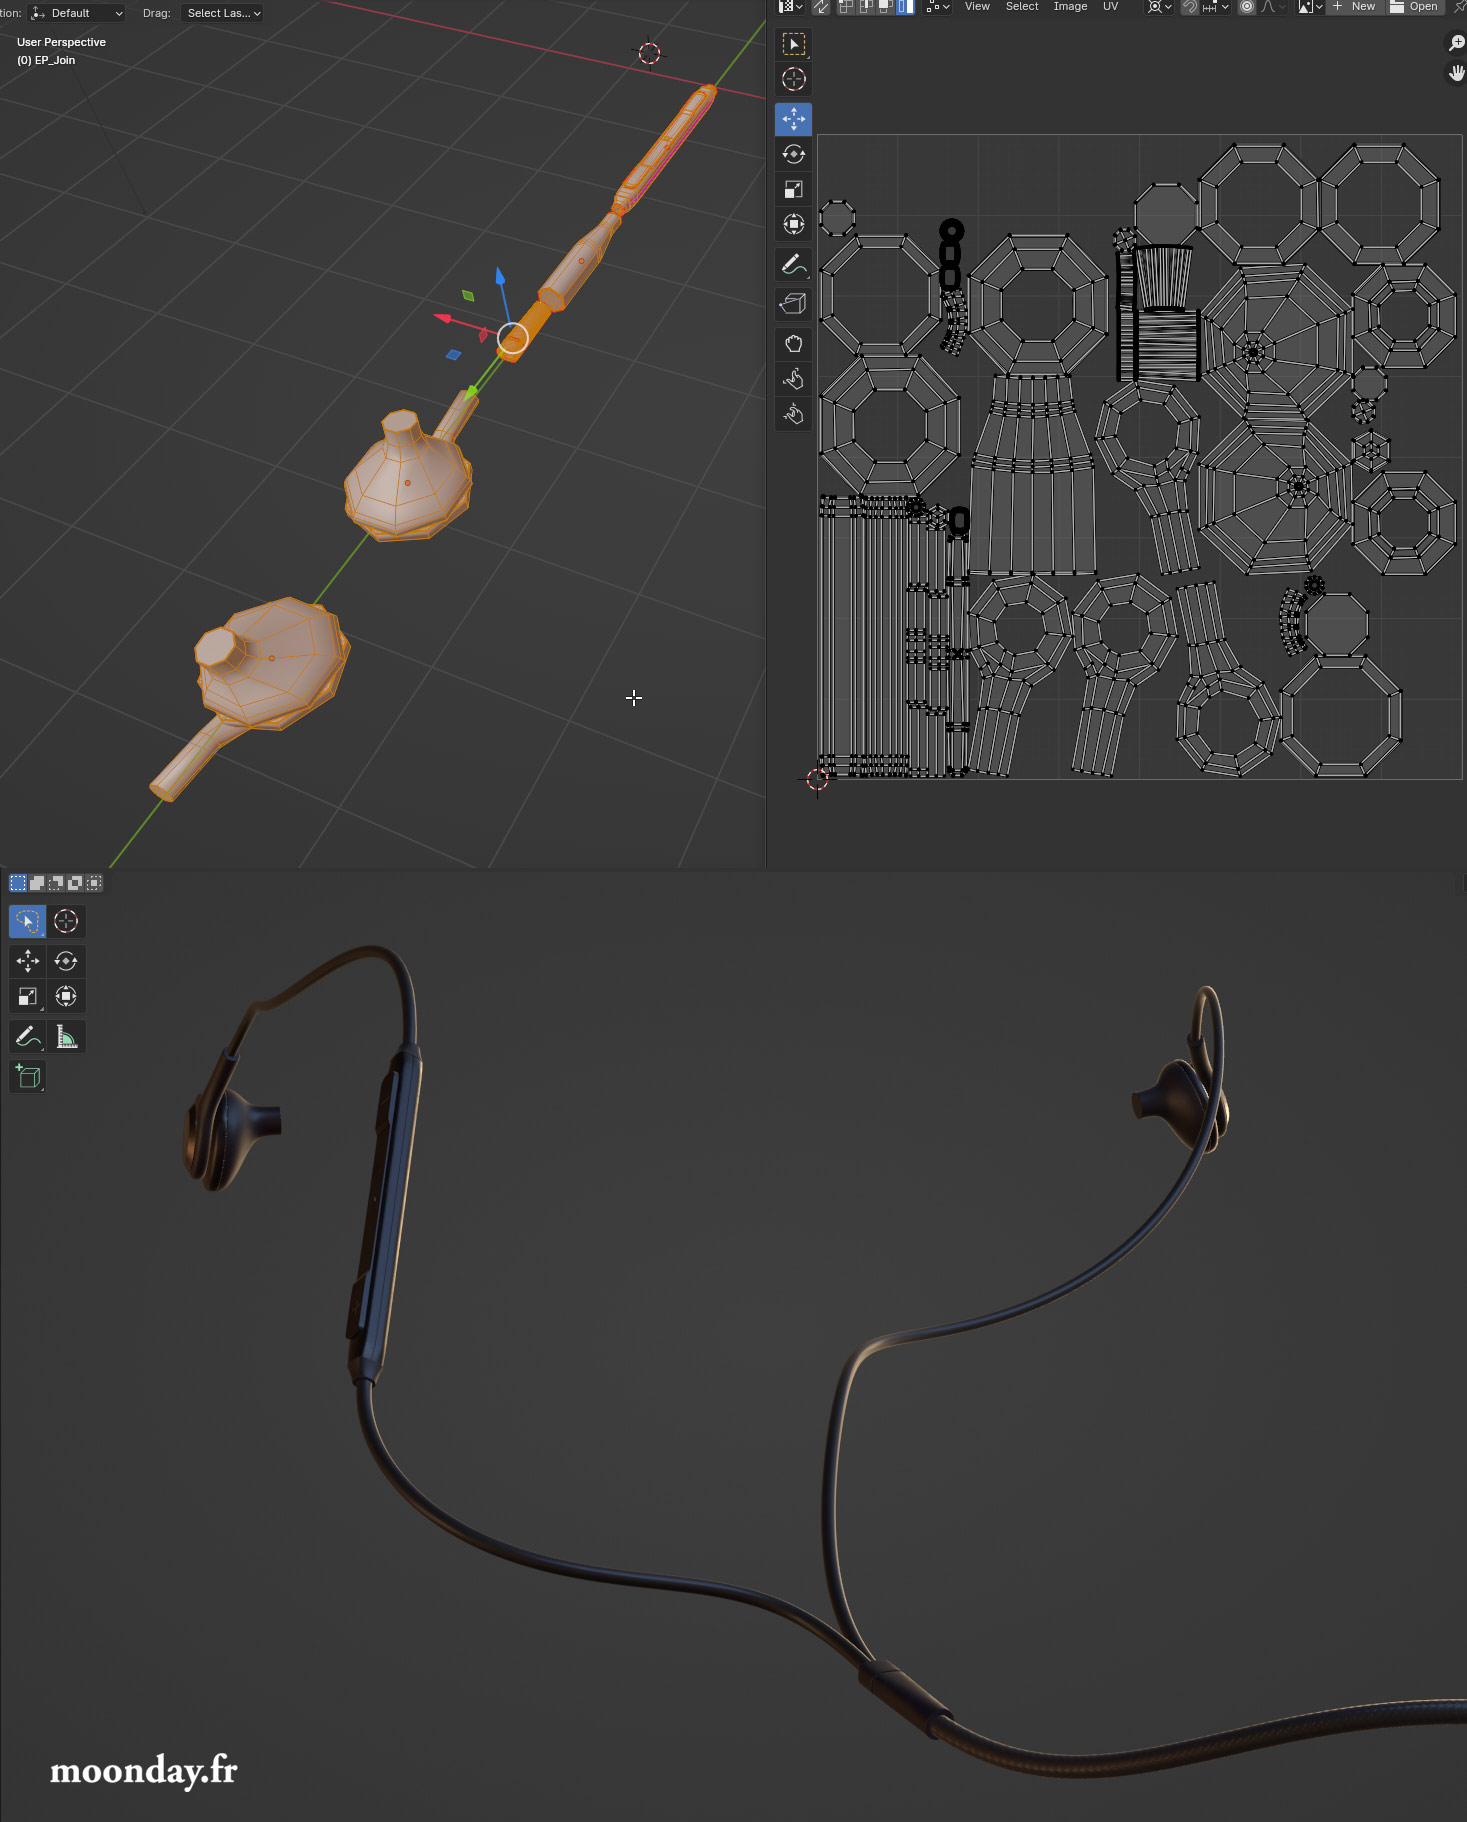
For now I’m only using a couples of modifiers like Solidify, subdivision or Displacement, Curves made in Blender will come on the next project


coming from Arnold workflow, it was a real pain for me to set transparency shadows on windows here

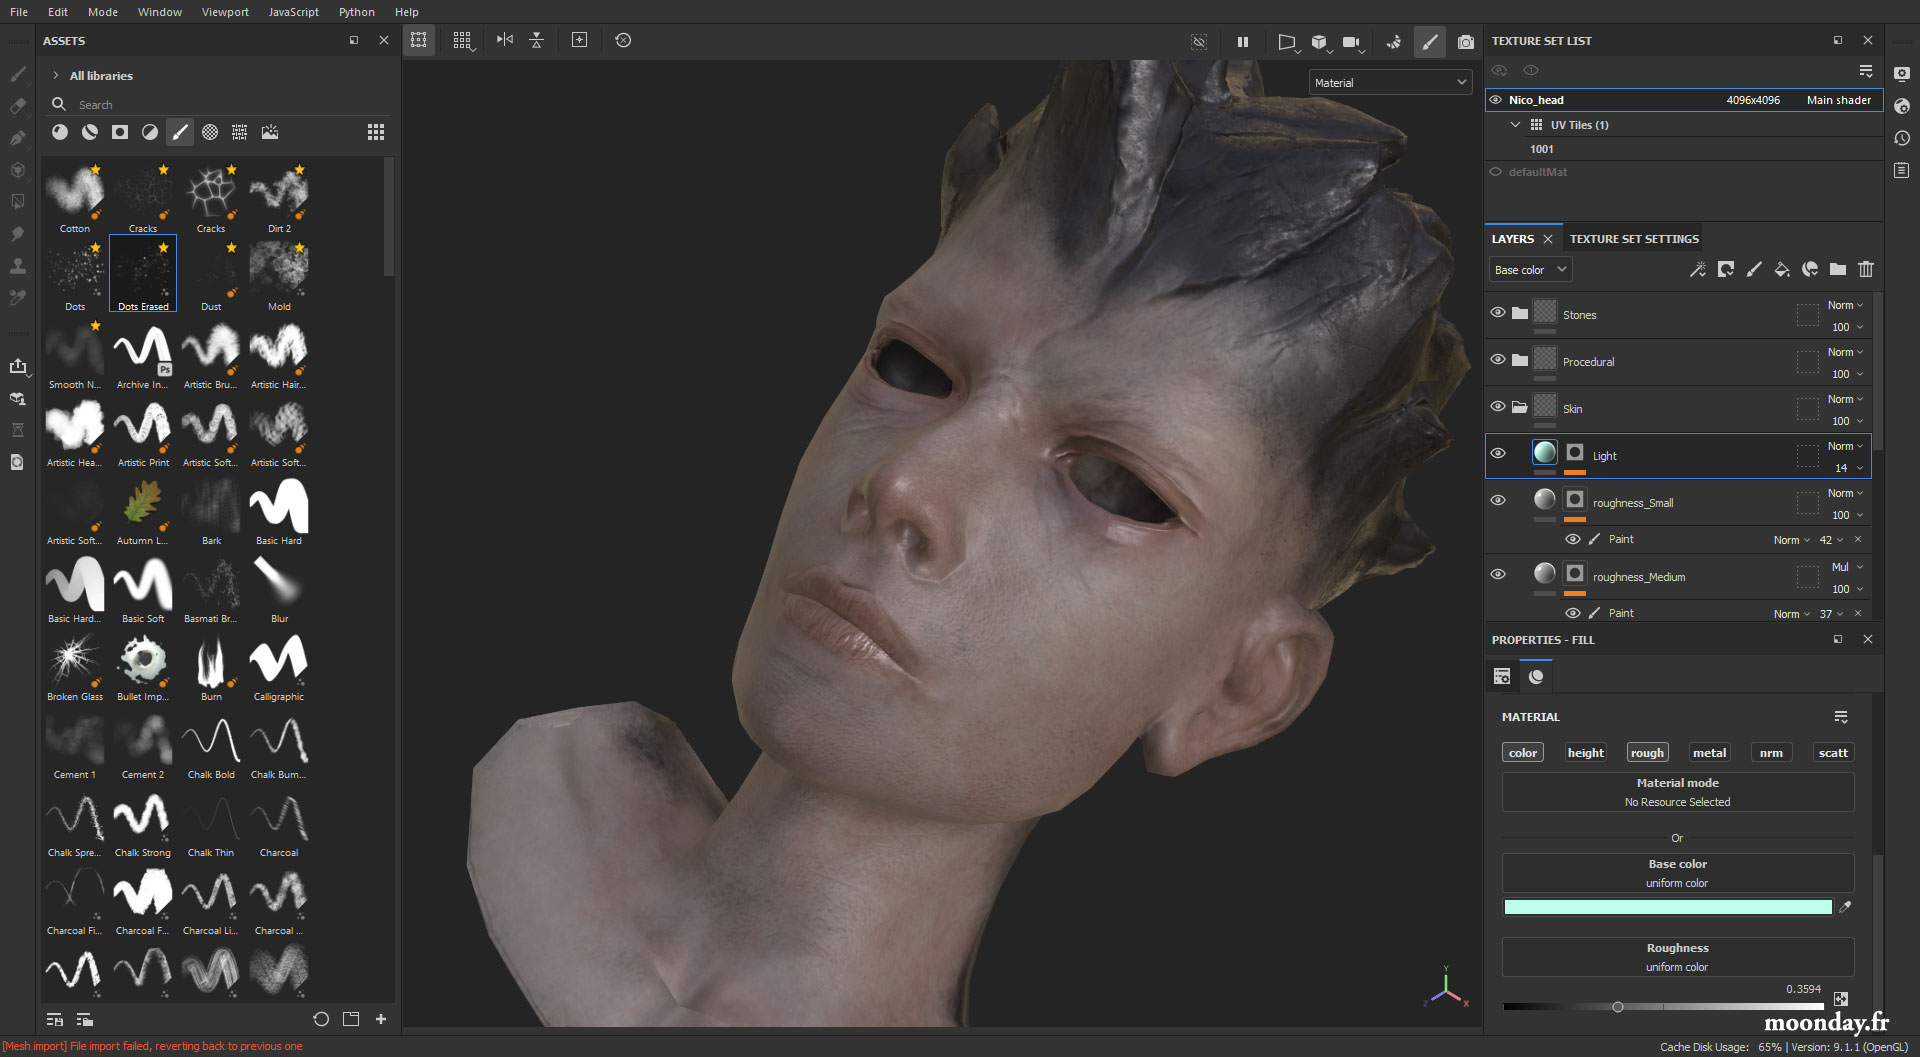
Painting the skin texture of this character took a couple of days. The procedural process, adding grunges and generator here and there used the many textures already created a couple of months ago, Height, normal and cavity.
As the details comes mainly from the high poly version of the mesh, I could focus on the different blood layers + some additional ones to break the overall look. However as Painter and Designer are limited to bake proper displacement maps to be used with Catmull Clark subdivisions applied on models at render time, I may go back in Zbrush to create the Displacement maps using a smart workflow to export UDIM textures for the 2nd character. Indeed, it currently has only 2 levels of subdivisions and it need way more to be able to notice all the details coming from the height map. + we can clearly see the low resolution on the nose area.
As far as the transfert goes, I could replicate many of the 3ds Max + Arnold scene to the Blender + Cycles scene. The Light scenario is similar from the Arnold lights as we can also use temperatures to set up the light color with nodes in Blender. The overall render looks different from Arnold but I’ll have to deal with it.
The complexe Hand + Arms material from Max could be created in Blender Shader editor with a mix of nodes. I could test the Drivers to control similar value between the two shaders.
As said earlier, the fur generation on the first character could be done quite easily (the knowledge from many years of practice and bugs with many fur generators kicked in) and I’d like to focus on long hair generation with Geo nodes next for the woman character.

The tri planar option directly available in the image texture node is pretty smart but it misses a few useful options available in Arnold
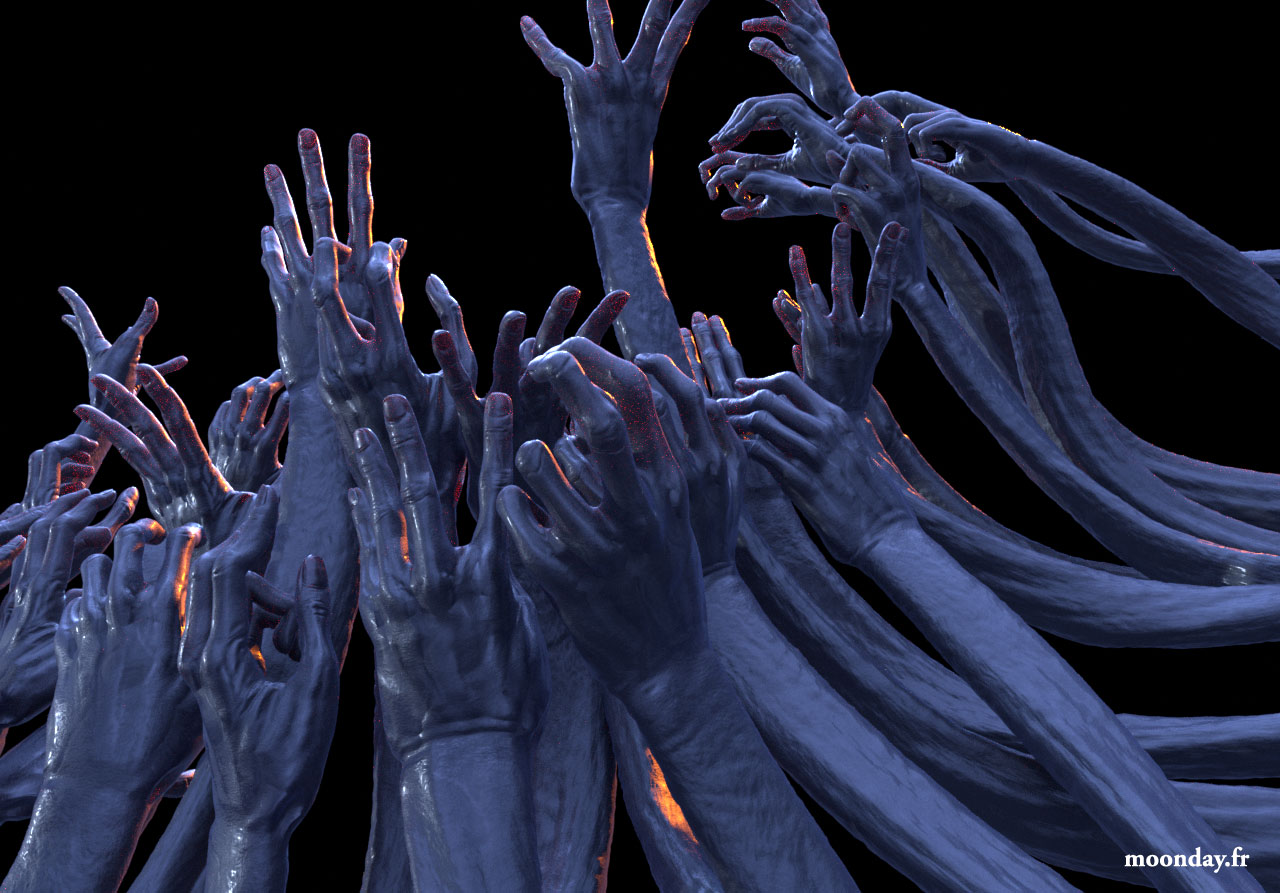
No visible seams between arms (tri planar workflow) and hands materials
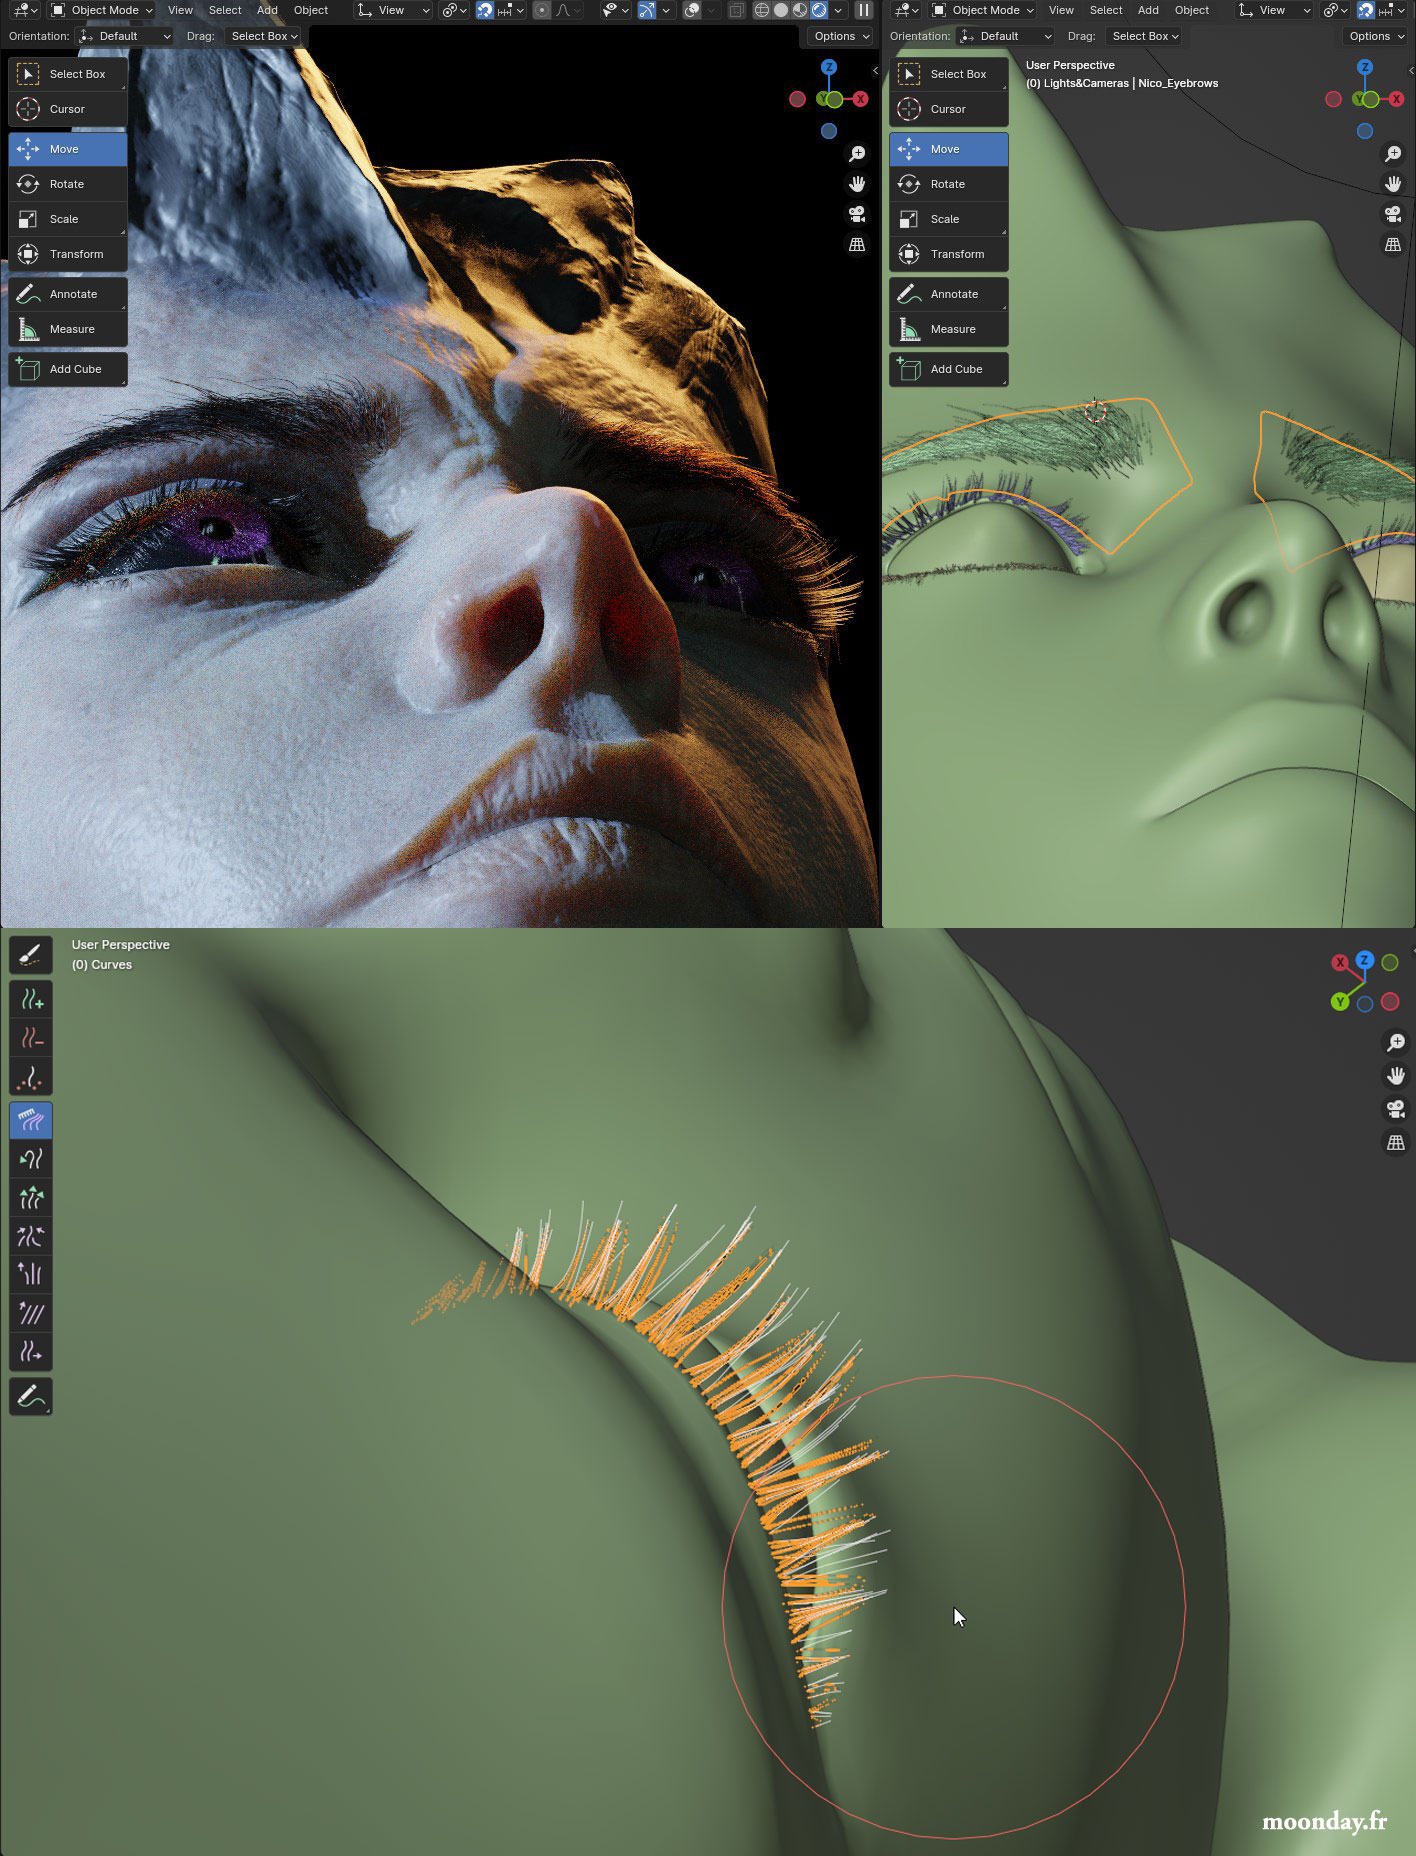
Some full res tests to see if my computer could handle it:


See you in next post!