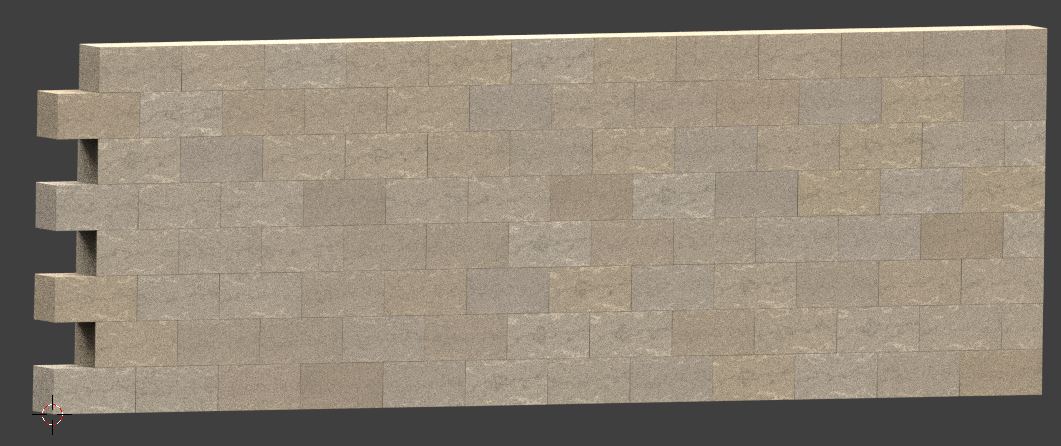
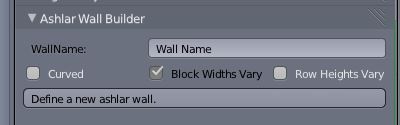
Below are two screen shots of a wall builder script’s panel. And below that is a screen shot of a wall rendered with the settings shown.
The upper SS shows the builder in standby mode. To build a wall begin by entering a name in the provided field, then click the [Define a new ashlar wall.] button. The Panel expands as shown in the lower SS. Below the name field is a list box from which one can select a material. At present “AshlarLimestone 1” is coded-in about line 505 of testScript.py and which script must be manually run by pressing the [Run Script] button. This script depends on materials that have 4 inputs named, Texture, Hue, Saturation, and Roughness, The first three of these parameters are optimized for a value range of 0.0 to 1.0 but may have uses out side that range. The last parameter, Roughness must be kept in that range or something bad may happen (fatal exception etc.) if you go out side it. Ntft Roughness should affect the material so that at 0.0 the material is as simplified as practical so that the rendered material is optimized for producing embossed images suited to making bump maps.
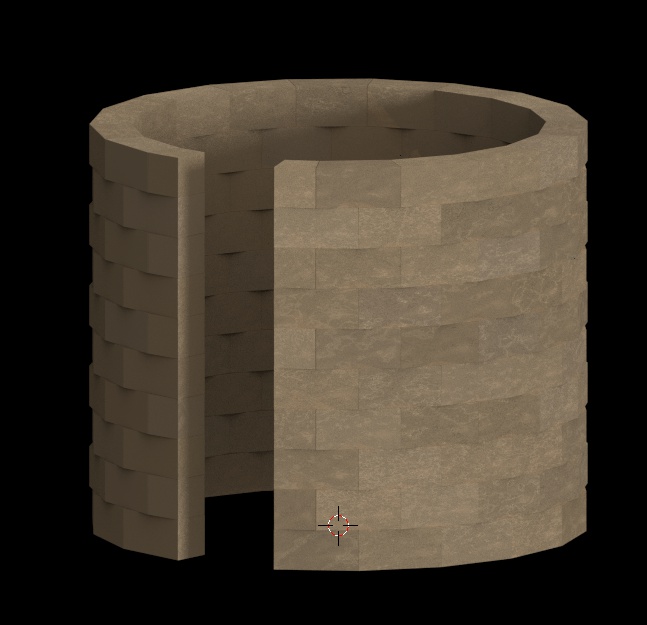
Third item is a list box labeled Offsets Start Row. It has three options, None, Top Row and Second Row. Selecting Top Row offsets the blocks by their depth, allowing two walls with complementary offsets to form perfectly joined right angles. FillLeft, when checked fills the offsets on the left and contrawise FillRight fills offsets on the right.
Jitter specifies a range of absolute dimensional error. I don’t recall what the units are off hand ![]() But 0.8 works well with a bevel of 0.01
But 0.8 works well with a bevel of 0.01
Bevel sets the bevel width. It’s units are kinda like alcoholic proof: 0.02 Width Units evaluates to 1% of the width of the shortest block edge. Bevels have 7 facets coded in. Search for “mod.segments = 7”
Roughness has been explained and Bump Depth is reserved for future use.
Exact wall size is exactly that.
Approximate block size: Every course contains a integral number blocks of the same size. So the blocks are sized to fit that requirement while being as close to the approximate block size as that allows. If there is an offset then there will be gaps or fractional blocks for those gaps as specified by the FillLeft and FillRight check boxes described above.
Next comes three groups of four properties. The groups are labeled, ‘Texture…’, ‘Hue…’, and ‘Saturation…’ The four associated properties describe a “probability distribution of values” for each of the correspondingly named stone material properties. ‘Texture…’, etc… Below the label, the three grouped properties, ‘Low…’, ‘Mode…’, and ‘High…’, describe a triangular distribution of (randomly selected) values. If you are unfamiliar with this distribution, try this: http://www.had2know.com/academics/triangular-distribution-random-variable-generator.html The math is given in simplified algebraic expressions, and the graphics explain it better than a 1000 words and half that many equations.
The fourth parameter pans/segues between the specified triangular distribution and uniform distribution.
This is very much a work in progress though it will not have much automation at all. It’s really focused on being an aleatory brush with which to paint walls artfully. It has a way to go to achieve that and deficiencies are in both the stone materials and the script.
Worth noting, in the present implementation a unique material must be created for every block. Makes the materials list a real pain in the butt. That may or may not change in future versions. The present version represents phase one. When I get to the point that I can’t do without it I will extend the script to UV map the blocks, create bump and spec maps and bake the blocks. That feels like a tall order and if done will be done in parts.
This is my first script and first Python code and I’m a Blender noob. Been doing pure OOP so long I’m a bit flummoxed by Pythons half classedness. I’m sure I’ll get over it. So far I think the best clue I’ve picked up is: “In OOP the class is the basic unit of organization. In Python it is the Module.” In any case I’m writing this little module with no idea as to how it should actually be organized. Summing this up, if you see something that looks strangely stupid, it probably is and I would benefit from hearing about it.
Thanks
Edit:
Someone asked what an Ashlar wall was: