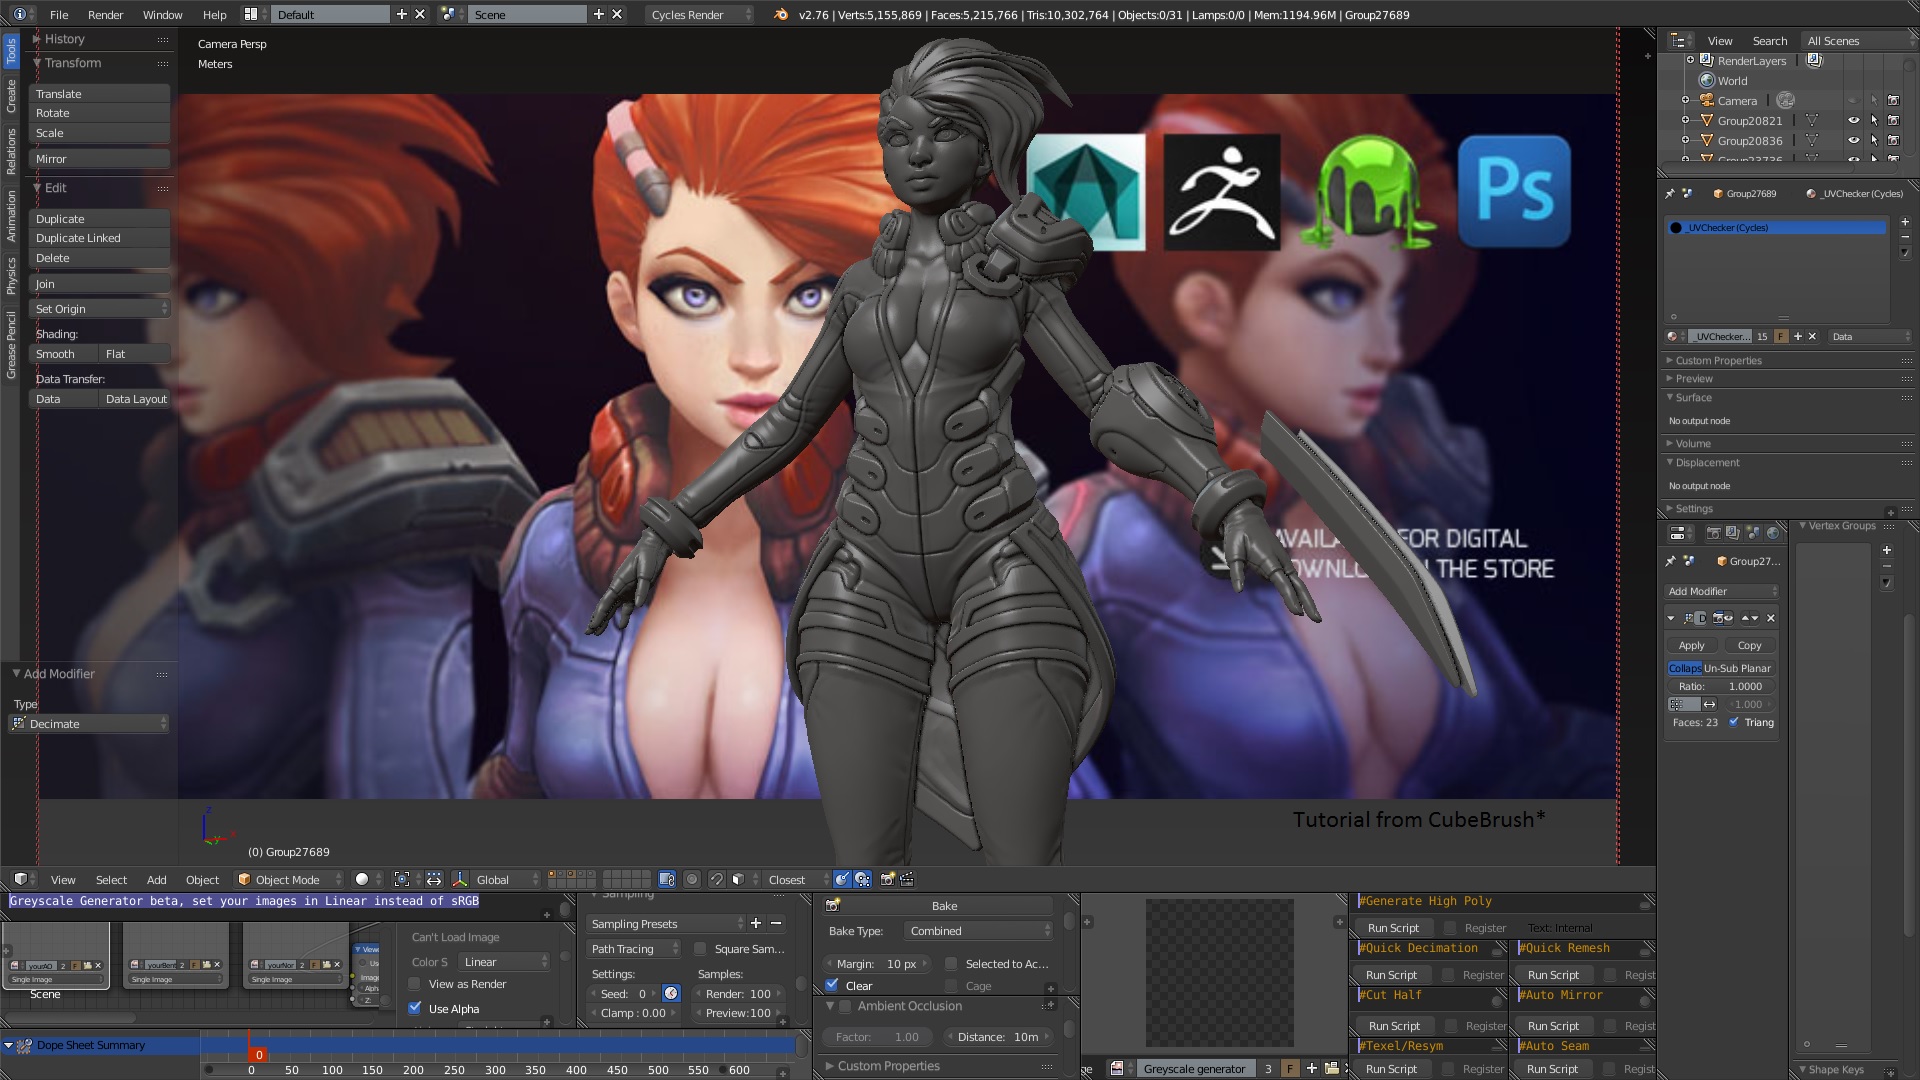
Ok i am learning to create my own python scripts. 
I’ll try this feature, it can be useful for sci-fi panels or military / blocky designs.
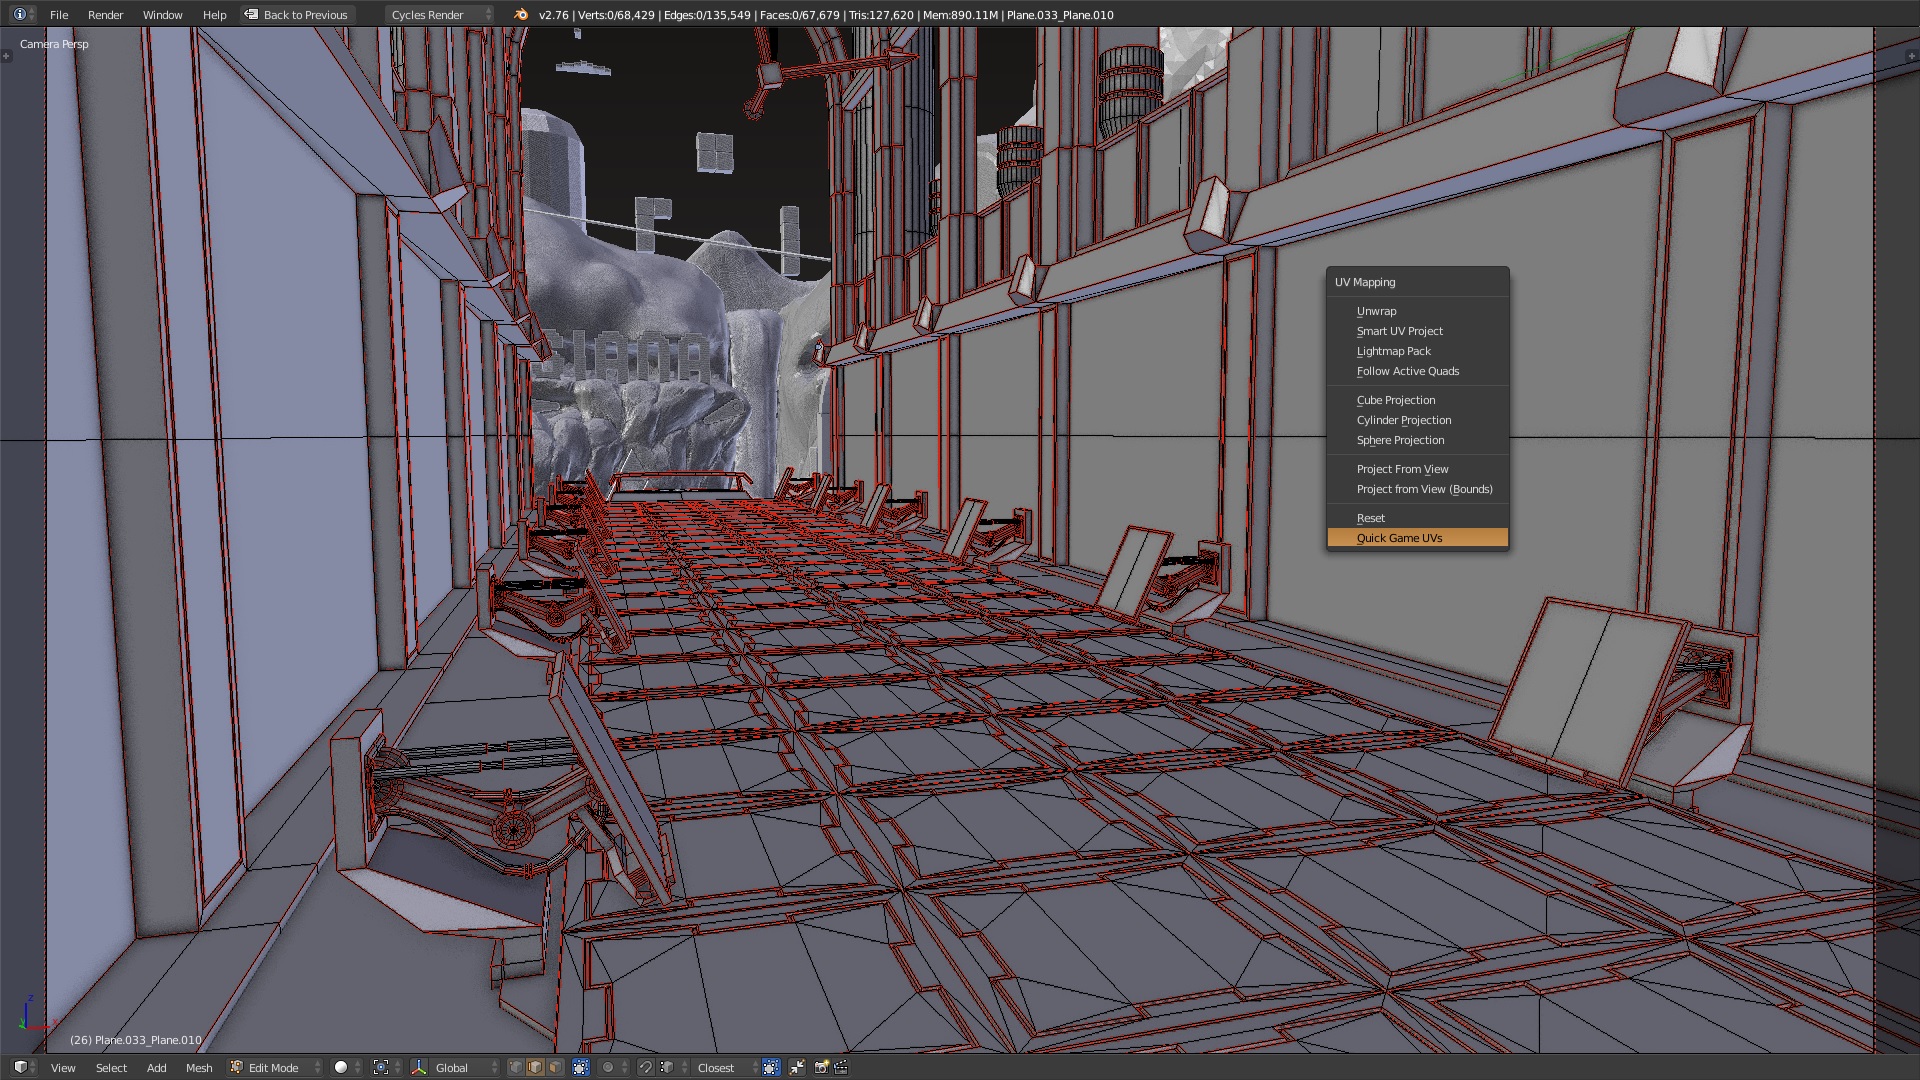
Script that will be added in Dark Blender with a shortcut today or tomorrow.
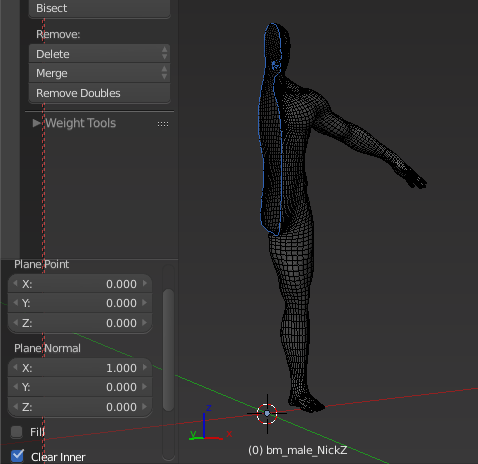
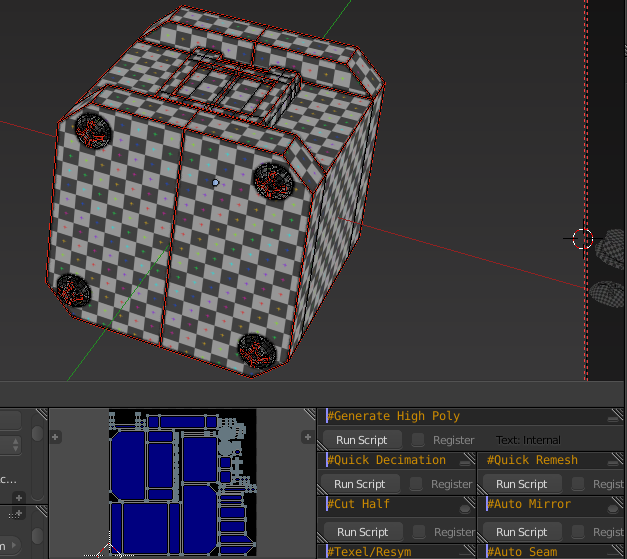
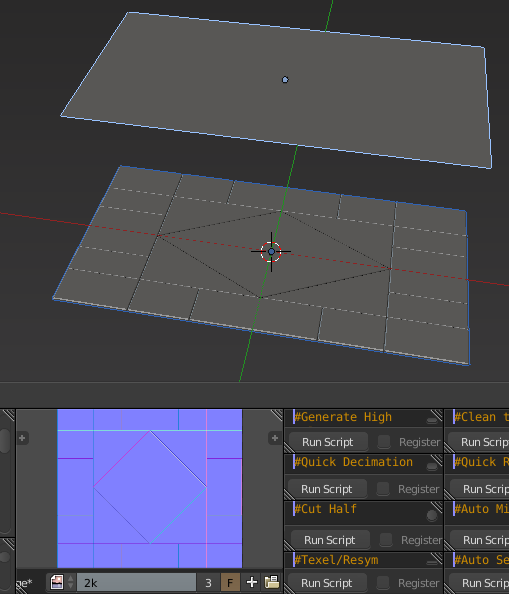
Max UV Texel / Resymetrize (double the texel density in one click, he cuts the model at the center and unwrap one side)
import bpy

bpy.ops.object.mode_set(mode = 'OBJECT')

for obj in bpy.context.selected_objects:

    bpy.context.scene.objects.active = obj

    bpy.ops.object.convert(target='MESH')

    bpy.context.object.location[0] = 0

    bpy.ops.object.transform_apply(location=False, rotation=True, scale=False)
    bpy.ops.object.mode_set(mode = 'EDIT')
    bpy.ops.mesh.select_all(action = 'SELECT')
    bpy.ops.mesh.bisect(plane_co=(0, 0, 0), plane_no=(1, 0, 0), clear_inner=True, clear_outer=False, xstart=376, xend=381, ystart=133, yend=62)

    bpy.ops.mesh.mark_seam(clear=False)
    bpy.ops.mesh.select_all(action = 'SELECT')
    bpy.ops.uv.unwrap(method='ANGLE_BASED', margin=0.02)
    bpy.ops.mesh.select_all(action = 'DESELECT')

    bpy.ops.object.mode_set(mode = 'OBJECT')
    bpy.ops.object.modifier_add(type='MIRROR')
    bpy.context.object.modifiers["Mirror"].use_clip = True
    bpy.ops.object.modifier_apply(apply_as='DATA', modifier="Mirror")
Auto seams
import bpy

bpy.ops.object.mode_set(mode = 'OBJECT')


for obj in bpy.context.selected_objects:


    bpy.context.scene.objects.active = obj

    bpy.ops.object.mode_set(mode = 'EDIT')
    bpy.ops.mesh.select_mode(type="EDGE")
    bpy.ops.mesh.select_all(action = 'DESELECT')
    bpy.ops.mesh.edges_select_sharp(sharpness=0.525344)
    bpy.ops.mesh.mark_seam(clear=False)
    bpy.ops.mesh.select_all(action = 'SELECT')

    bpy.ops.mesh.remove_doubles()


    bpy.ops.uv.unwrap(method='ANGLE_BASED', margin=0.02)
    bpy.ops.mesh.select_all(action = 'DESELECT')
    bpy.ops.object.mode_set(mode = 'OBJECT')
Cut half
import bpy

bpy.ops.object.mode_set(mode = 'OBJECT')

for obj in bpy.context.selected_objects:

    bpy.context.scene.objects.active = obj

    bpy.context.object.location[0] = 0

    bpy.ops.object.transform_apply(location=False, rotation=True, scale=False)
    bpy.ops.object.mode_set(mode = 'EDIT')
    bpy.ops.mesh.select_all(action = 'SELECT')
    bpy.ops.mesh.bisect(plane_co=(0, 0, 0), plane_no=(1, 0, 0), clear_inner=True, clear_outer=False, xstart=376, xend=381, ystart=133, yend=62)

    bpy.ops.object.mode_set(mode = 'OBJECT')
Auto Mirror
import bpy

bpy.ops.object.mode_set(mode = 'OBJECT')

for obj in bpy.context.selected_objects:

    bpy.context.scene.objects.active = obj

    bpy.ops.object.transform_apply(location=True, rotation=True, scale=False)

    bpy.ops.object.modifier_add(type='MIRROR')
    bpy.context.object.modifiers["Mirror"].use_clip = True
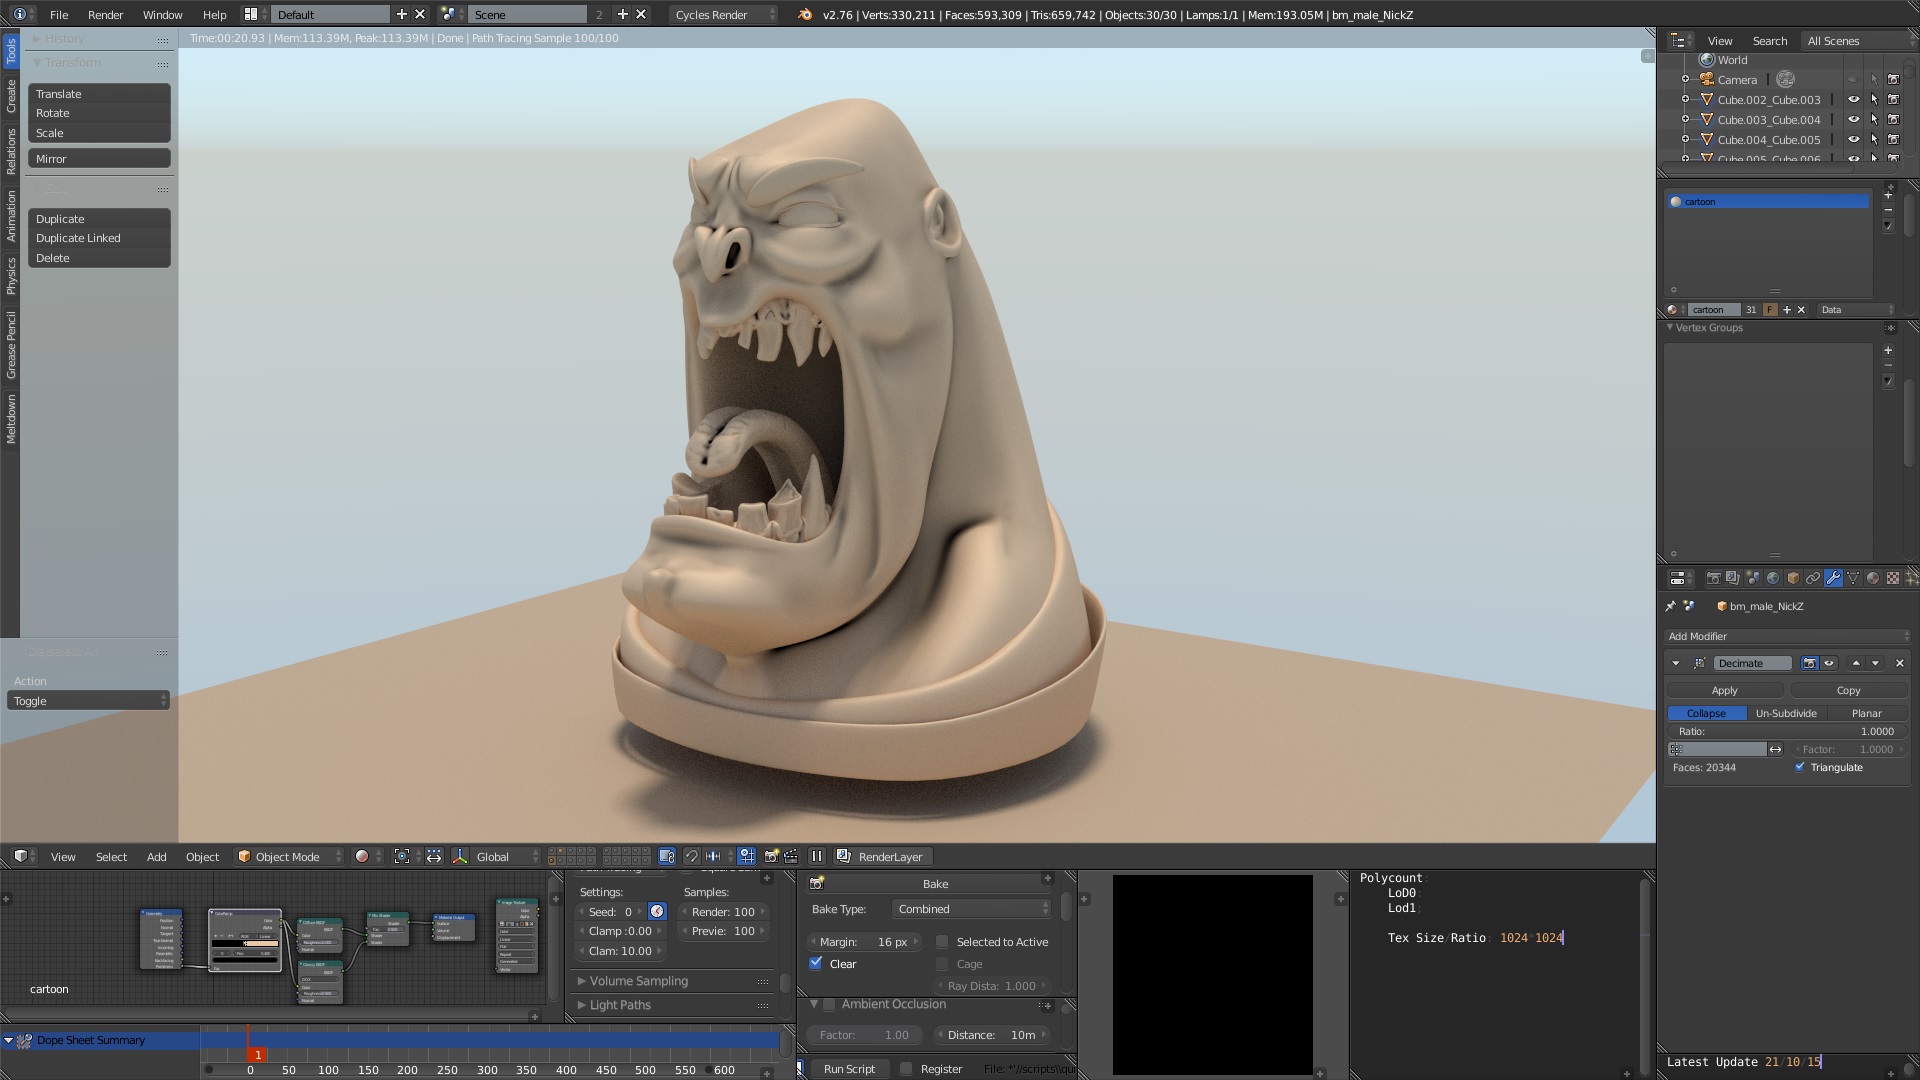
Incremental Decimation
import bpy

bpy.ops.object.mode_set(mode = 'OBJECT')

for obj in bpy.context.selected_objects:

    bpy.context.scene.objects.active = obj

    bpy.ops.object.modifier_add(type='DECIMATE')
    bpy.context.object.modifiers["Decimate"].ratio = 0.8
    bpy.context.object.modifiers["Decimate"].use_collapse_triangulate = True
    bpy.ops.object.modifier_apply(apply_as='DATA', modifier="Decimate")
Generate High Poly
import bpy

bpy.ops.object.mode_set(mode = 'OBJECT')


for obj in bpy.context.selected_objects:

    bpy.context.scene.objects.active = obj

    bpy.ops.object.mode_set(mode = 'EDIT')
    bpy.ops.mesh.select_all(action = 'DESELECT')
    bpy.ops.mesh.edges_select_sharp(sharpness=0.525344)
    bpy.ops.mesh.bevel(offset=0.05, segments=2, profile=1, vertex_only=False)
    bpy.ops.mesh.select_all(action = 'DESELECT')
    bpy.ops.object.mode_set(mode = 'OBJECT')
    bpy.ops.object.subdivision_set(level=3)
    bpy.ops.object.shade_smooth()
    bpy.ops.object.mode_set(mode = 'OBJECT')
Quick Remesh (use it to merge polygons and to fix bugs)
import bpy

bpy.ops.object.mode_set(mode = 'OBJECT')


for obj in bpy.context.selected_objects:


    bpy.context.scene.objects.active = obj

    bpy.ops.object.modifier_remove(modifier="Remesh")
    bpy.ops.object.modifier_add(type='REMESH')
    bpy.context.object.modifiers["Remesh"].mode = 'SMOOTH'
    bpy.context.object.modifiers["Remesh"].octree_depth = 6
    bpy.ops.object.modifier_apply(apply_as='DATA', modifier="Remesh")