cant figure out how to assign vertex points to a bone in an armature rig. One picture shows bone group with add and remove, the other screenshot shows the vertex group but no add or remove buttons. I am watching a tutorial at this URL at 17min in (http://www.blenderguru.com/tutorials/introduction-to-rigging/). cant figure out where the heck he is clicking, VIMEO distroys the quality, its all blurry.

I think you go back and forth between the mesh and the armature. I need help understanding the workflow. select the points, go the bone or armature, and assign them to that bone…something like that I think.
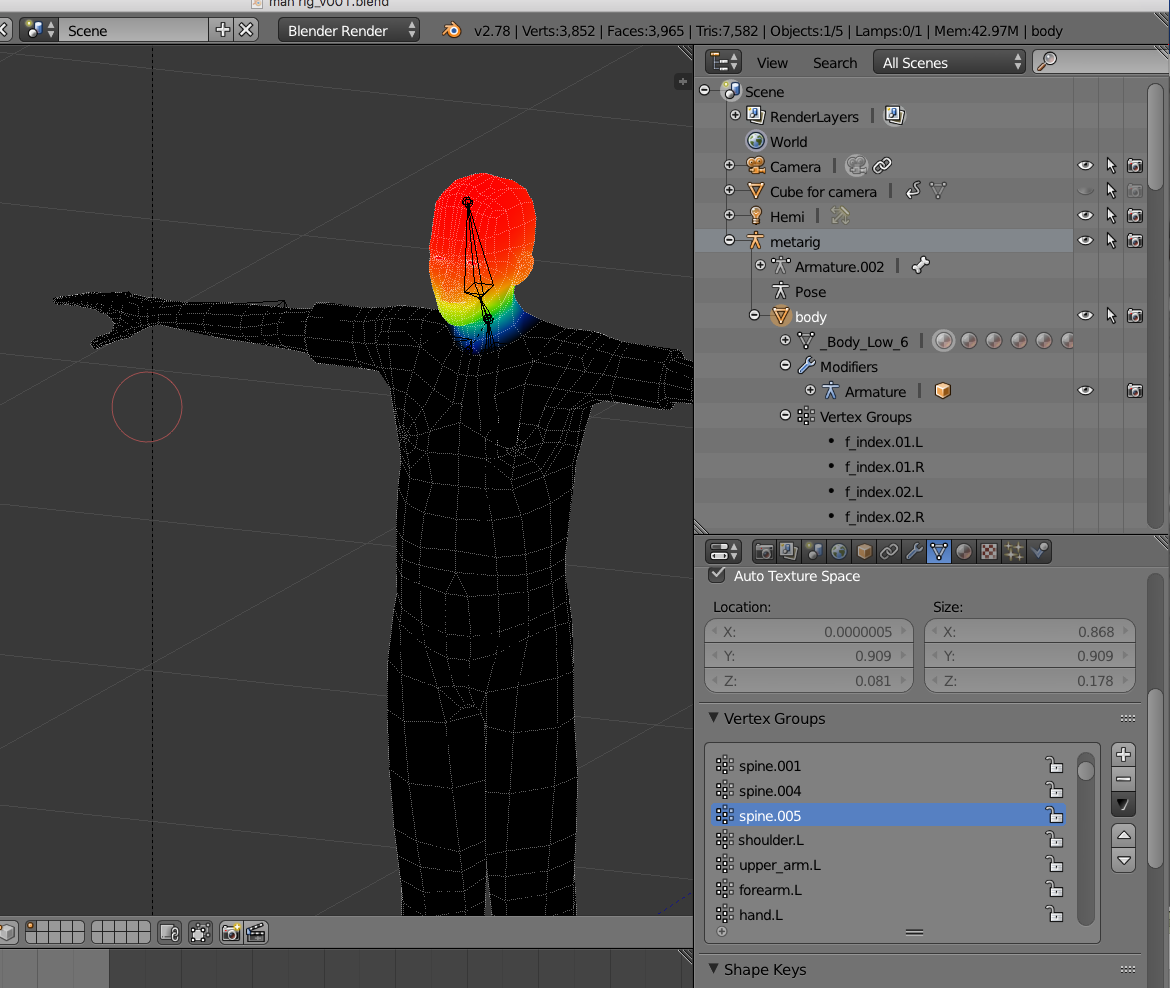
also what is the difference between red, green and blue vertex.
The colours show the weight assigned to the bone.
You really should do an Automatic parent FIRST - then use Weight Paint to clean it up. Weight painting is a “black art”, a little like witchcraft maybe and something for the experienced user to do as a first option. So try this:
Remove the Armature Modifier, Delete all vertex groups from the mesh, delete the Parent setting.
Select the mesh, SHIFT+Select the Armature, Key CTRL+P => “Automatic Weights” and then see how it moves when you manipulate the bones.
Once you have done that post some images of the mesh posed and we can tell you where to look at tweaking the weight paint.
Cheers, Clock.
thanks, I did the automatic weights as directed in the tutorial. He went back and forth from bones to mesh and added and deleted vertex points as needed. I was looking for the keystrokes. At one point I hit OPTION while clicking on my Mac and a window popped up that had Armature and Body in the window, cant figure out what I did to make that happen.
the bottom line to weighting vertices to bones is simply this…
(assuming you already have the Armature modifier in the modifier stack)
1st Select your Rigg and name all your bones something recognizable to yourself… (if your using Rigify they may already have names)
Then Select your model > Tab into Edit mode > select some Vertices > goto the ‘Properties Panel’ (which is the bottom right hand panel in your pictures above) > click on the Tab that says ‘Object Data’ (the little triangle icon) > in that menu find “Vertex Groups” panel > hit the ‘+’(plus key) > to add a vertex group > hit the ‘assign’ button to ‘assign’ your selected vertices to that group… now…
(and this is very important) …
name that vertex group the same as the bone you want controlling those vertices…
each vertex can be in several vertex groups…
thus allowing several bones to have control over that vertex…
now once you have done this … you will be able to see a new menu item in your Right hand tool bar when you have your Object Mesh selected AND it is in Edit mode… (otherwise you will not see this menu) called 'Vertex Weights"…
in that Vertex weight panel you will see all the bones that that individual vertex is linked too and the percentage of influence each bone has over it…
now… finally…
what clockmender is saying by
Select the mesh, SHIFT+Select the Armature, Key CTRL+P => “Automatic Weights”
is that this is the quick and easy way to do what I discribed above…
but basically you need to understand…
select some vertices… place them in a vertex group… name the group after the bone you want controling them… blender does the rest…
Weight painting does the same thing… you selecting a bone… and you paint all the vertices you want to be connected to that bone… via assigning them to a vertex group and giving setting the percentage of influence as you paint… Red is alot of influence… Blue is next to ‘No’ influence… and Green… is in between…
…
norvman, thank you so much.
norvman, thank you so much.
it is deceptively simple to use… complicated to get it to work right… (‘right’ being quite a subjective idea…)