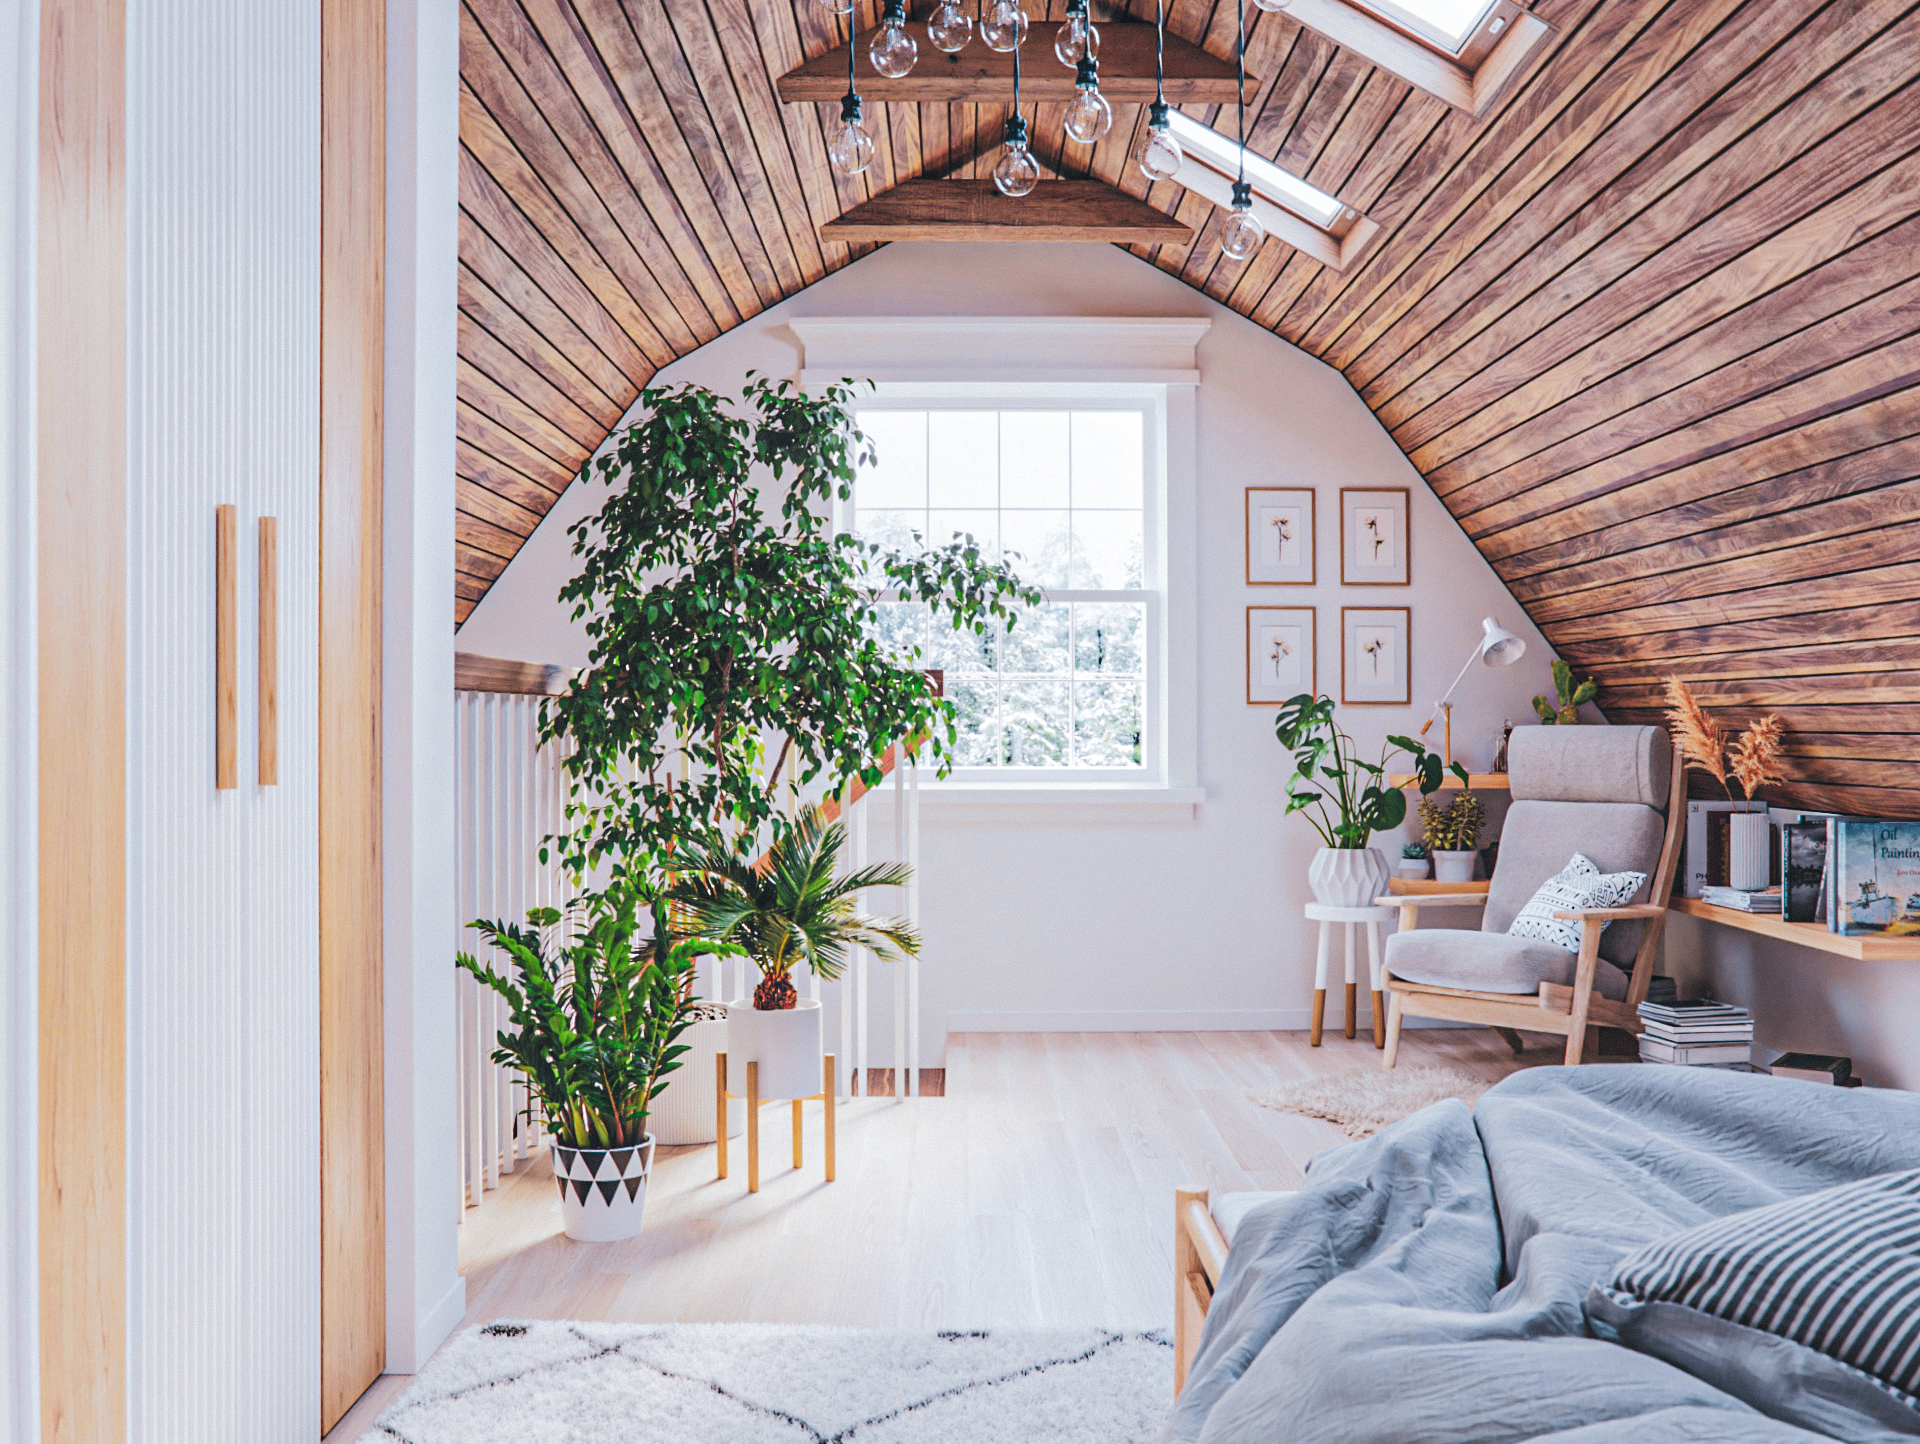
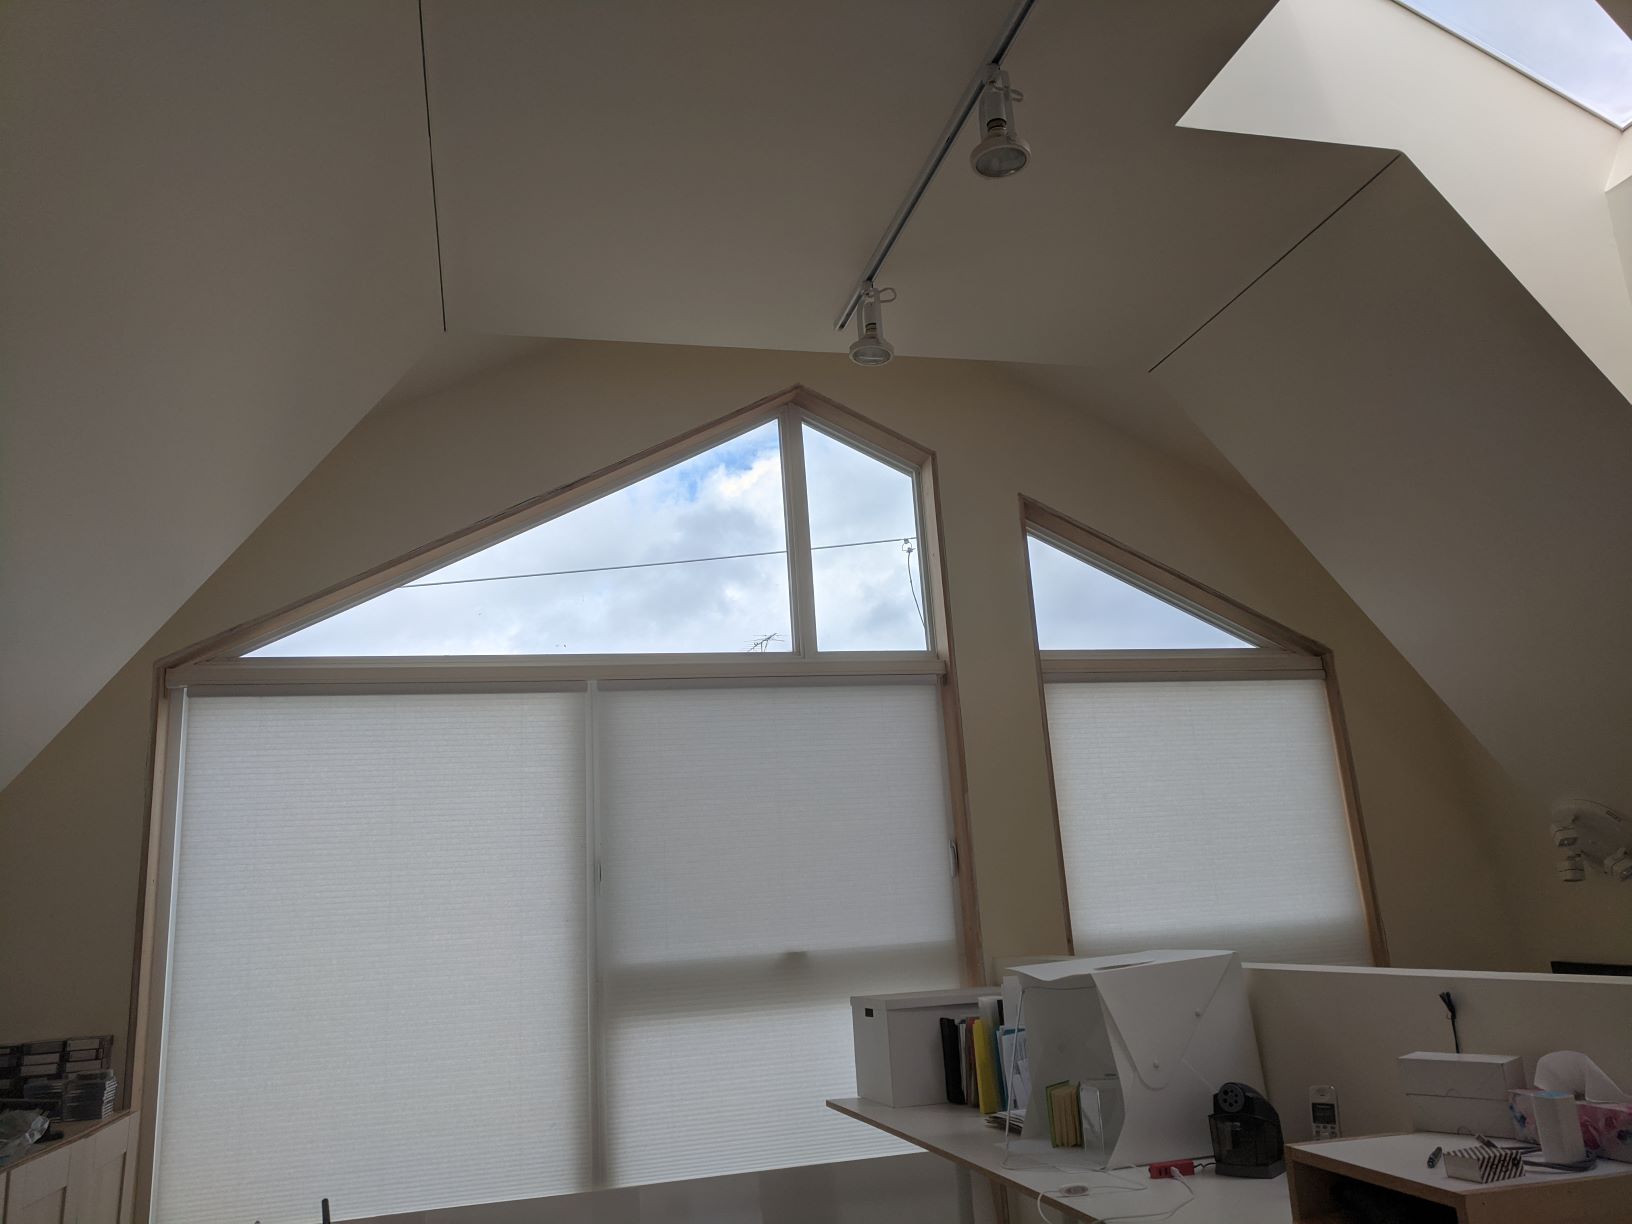
Hi guys, I wanted to share my latest commissioned project for Backyard ADUs. Made with Blender/Cycles, 4000 samples.
https://www.artstation.com/artwork/68NRqV
Hi guys, I wanted to share my latest commissioned project for Backyard ADUs. Made with Blender/Cycles, 4000 samples.
https://www.artstation.com/artwork/68NRqV
Looks bloody great!!!
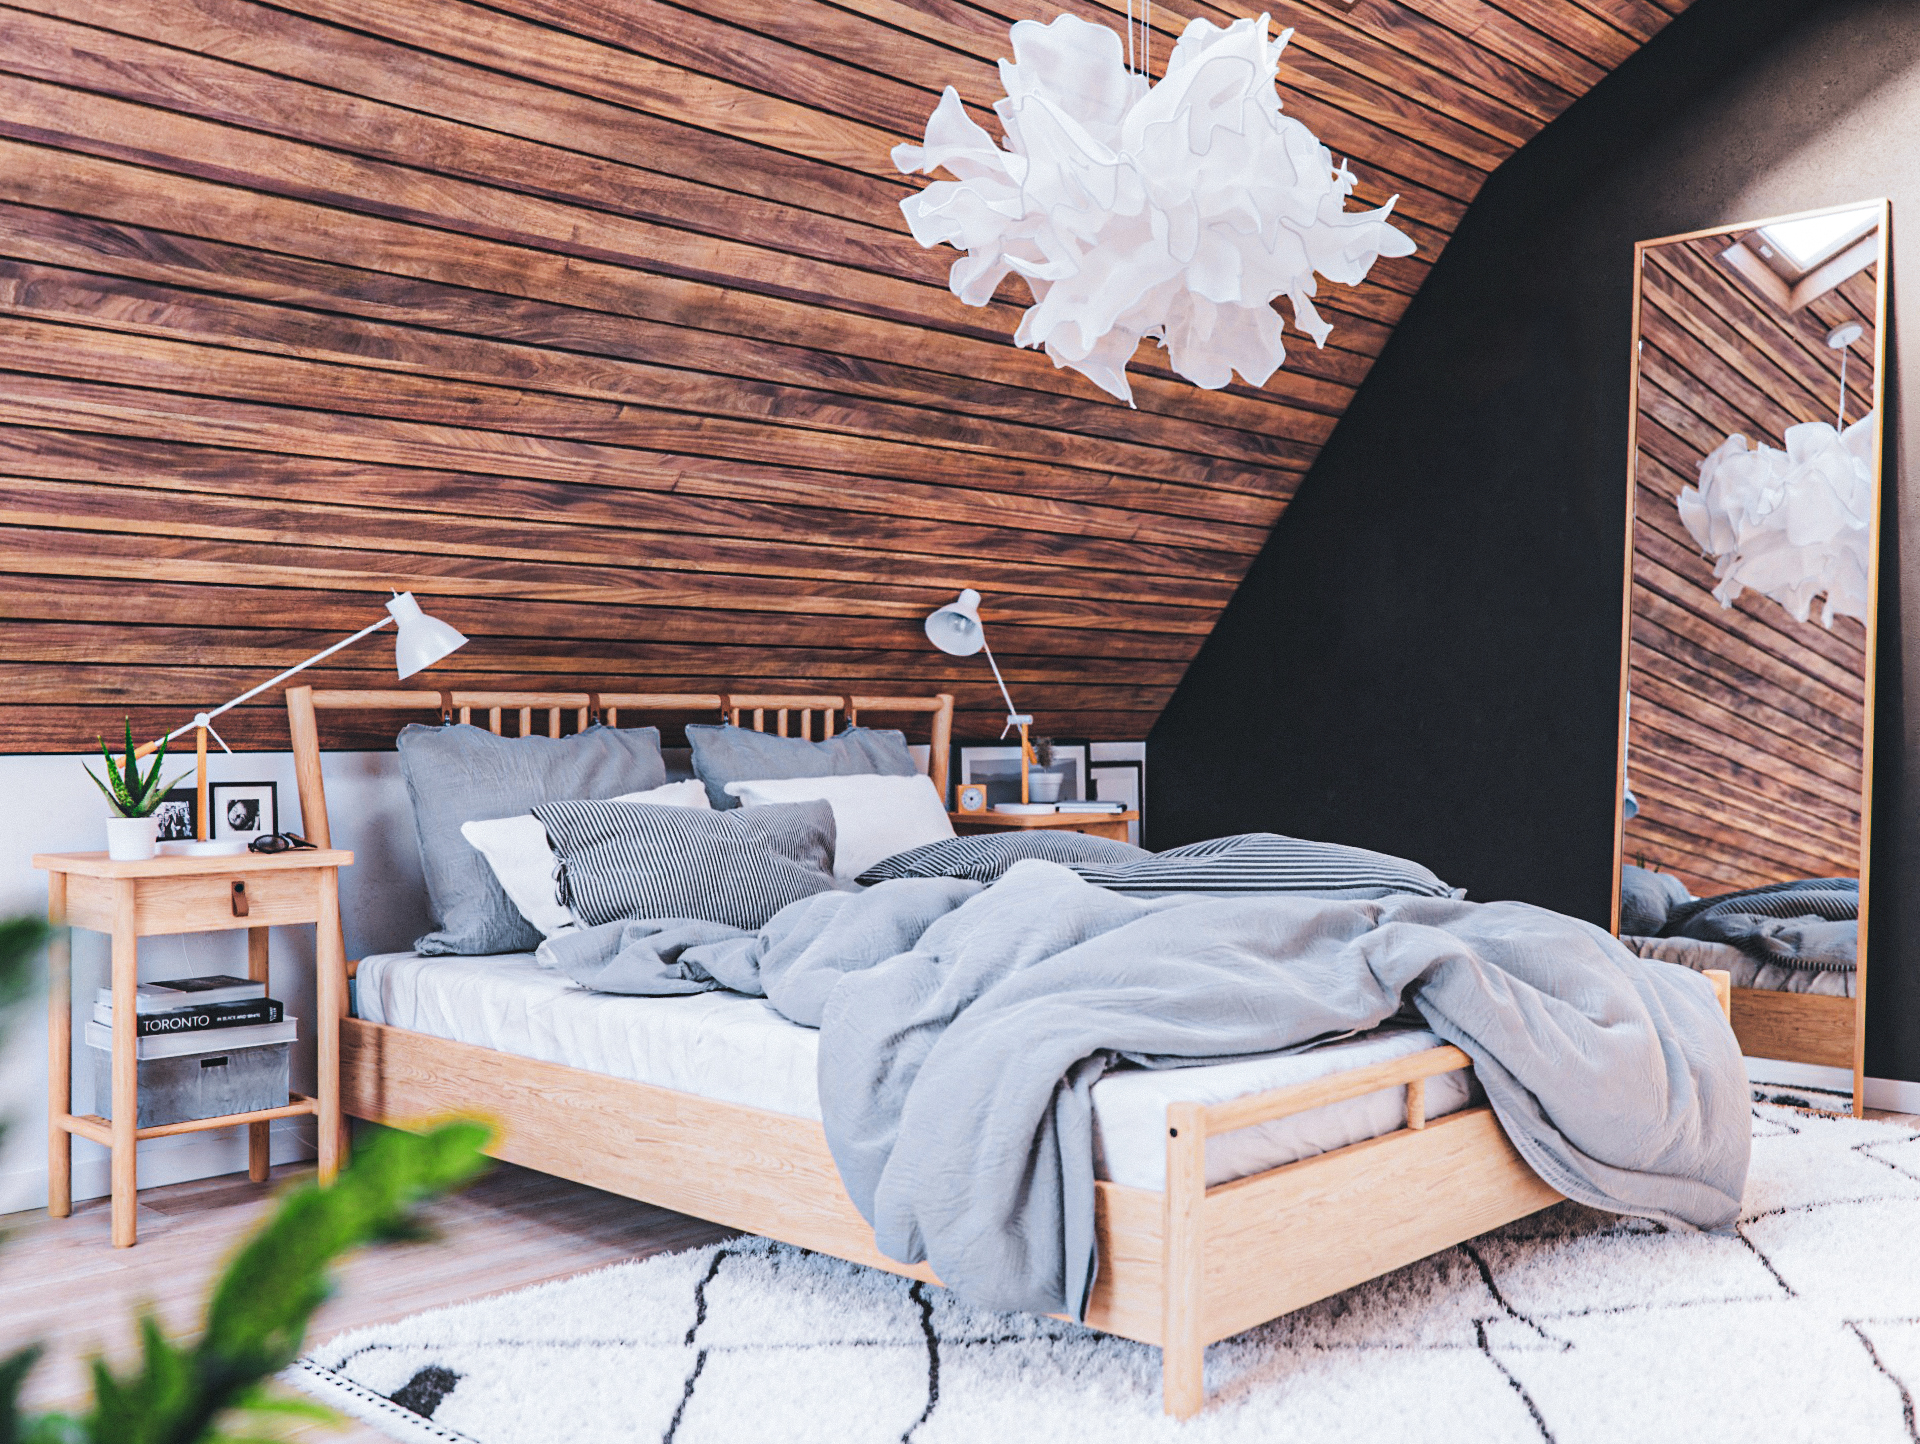
The bed and all models and cloth Done in Blender?
Love the colors!
The wrinkles on fabric are awesome.
Have some questions, if you don’t mind 
Are images rendered with depth of field on or it is added in post-processing?
Are you upscaling images? Can’t figure out what makes them so soft, photo-like, not like standard sharp render result.
@C_G Thank you! I got the bed from 3Dsky so I assume it was made using Marvellous Designer.
@eelh Thank you so much, Kate!
I always try to simulate the behaviour of a real-life camera which means there has to be some depth of field enabled. Though nothing too high for wider angles. Around f/7.1 is usually enough.
I don’t upscale my images but when I do my post-processing in Photoshop, I use lens correction and add some chromatic aberration with the tool that’s supposed to remove it from photos (how twisted). It slightly distorts it too which makes it less render-sharp. Then I do my usual shenanigans with the Camera Raw filter which is different for every project but 99% of the time I increase the clarity and texture.
Thanks! I got it from 3dsky and assume it was made in MD.
I featured you on BlenderNation. Enjoy the weekend! o/
Thank you, Bart! Have a good one too.
I’m always amazed by yours renders - you’ve achieved Corona Renderer realism level with Cycles and only thing that is missing is better lens effects in Blender Compositor 
I have some questions about your approach to ligthing and other things.
I guess trees behind window are photo with Shadows in Ray Visiblity turn to off and everything is illuminated by HDRI, is that correct?
I had always problems with even lighting on whole scene, there’s always too dark places or too bright/overexposured areas. How do you managed this, by adding artificial ligthing behind camera?
Also, are you making those wood texture and other things from scratch in Substance Designer or you have your private textures or are they from texture stock?
Last thing - high sample value. Isn’t better to lower samples and have some kind of photographic noise, instead of adding it in post pro?
@bartv Thank you so much, I’m honored!
@Kena Thanks! You should definitely add some plants there. That much light can’t be wasted!
@jacek007g Thank you, I really appreciate it. I’m post-processing my images using Corona Image Editor so that probably adds to the final result.
Trees are a photo but I’m not using an HDRI, just a plain blackbody 15000K sky and a warmer, soft sun.
When it comes to dark areas in your renders, remember that Blender uses filmic color management and allows for some crazy sun and sky values without burning white holes in your images. That’s why you can increase the brightness of your sky/sun and that will allow for brighter bounce lighting. Take a photo of your window while setting your exposure to capture the room - it’s crazy bright outside and that’s why our interiors are lit fairly evenly. Of course, there have to be some darker and brighter areas in your renders or it will look flat and uninteresting but just try to match the real world.
I’m using texture stocks because I’m a Substance newbie without enough skill (and time) to make everything myself.
I always denoise my images and the high sample value is to get as much detail from my textures and models as possible. I wouldn’t be able to do that if I used a lower sample because the denoiser would blur everything that I want to keep. Also, there’s a huge difference between render noise and photographic noise and therefore, I take my pure, smooth images to camera raw filter in Photoshop and I add that noise to somewhat match the levels I get in my DSLR photos. Remember this: if you want realism, treat your renders like photos.
Wow! Your renders are amazing !
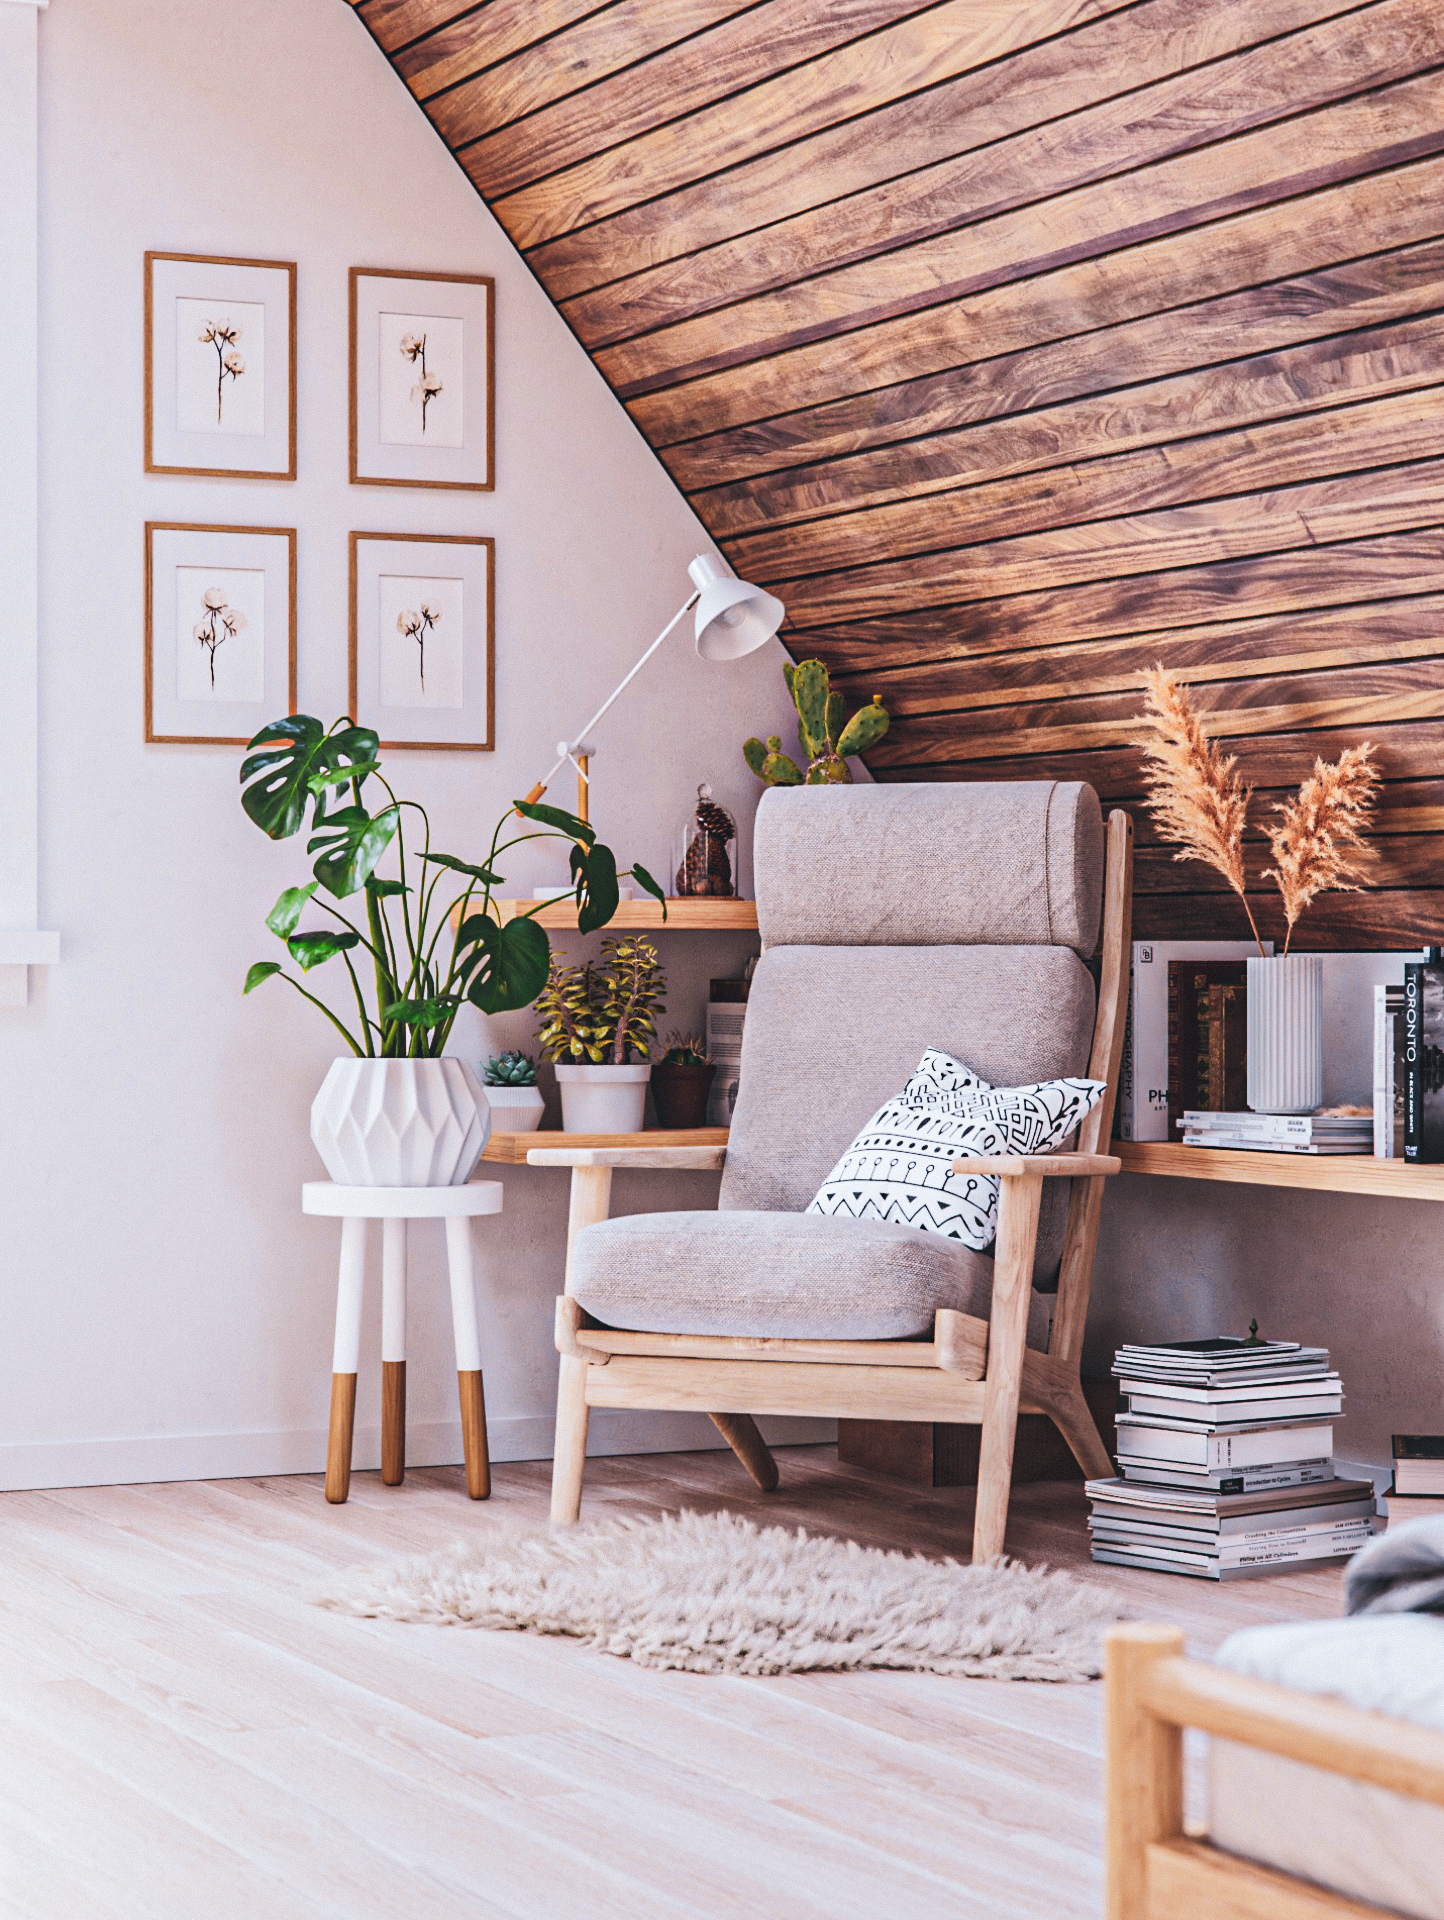
I really like the room you created, and all the details!
Looks awesome! Bright scenes always give this nice warm atmosphere.
You didn’t have problems with color splashing with this much brightness? Have you tweaked the materials in some way to bypass it?
@C-Design Thank you, glad you like it!
@rashomon Thanks a lot! I think it’s not a problem when you find the right balance with sky and sunlight intensity. I didn’t use any tricks for that reason. I also like to increase exposure in post so initially, it wasn’t as bright as you can see in the final renders.
MashaALLAH Great Photoreal renders as always. What I love about your renders is the contrasty exposure setup. Every material seems to be of high detail.
Whenever I see your renders I cant help myself but to ask some questions so that I can achieve this level of quality in my renders. Hope you don’t mind answering them.
Can you please explain how do you achieve such detail level in the renders? Because when I do interior renders the materials seems to sort of fade away with the lighting (I don’t know any other way to describe it  )
)
Do you utilize the adaptive subdivision method for materials which are mainly dependant on the displacement map? (i.e When only normal maps doesn’t seem to add to the realism)
The default filmic output is quite low contrast allowing for further post processing. Can you explain the post processing in brief.
Are there features exclusive to Corona Image Editor that Photoshop doesn’t have?
Whenever I use the HDRI maps to light the scene especially the exteriors, I find myself lacking control on the lighting as the HDRI lights the scene through its every pixel. Also the shadows are harder to control except when using Sun along with the sun position add-on. What approach do you recommend for exterior lighting?
BTW the use of Blackbody and Sun to light the interiors is the best advice you gave to me. I saw drastic improvements in the interior renders with this approach.
Sorry for the long list of queries. Hope to see more of these amazing renders from you in the near future. Thank You.
Thank you so much, I appreciate your support! I’m glad that tip worked out for you.
I know what you mean because that’s been a big problem for me as well. All those high detail Corona or Vray images made me wonder how they do it and it turns out there are a couple of things to consider. You don’t want to overexpose your stuff (or at least use highlight compression in Corona Image Editor that I use for post) and sometimes it’s better to crank up the normal map strength (reasonably though). Lastly, work on that in Photoshop. Camera Raw filter has 2 awesome sliders that help a lot - clarity and texture. You don’t want to overdo it though or it will look cheap.
Sometimes I do but not too often, to be honest. In this project, I didn’t use that at all.
The first step is taking EXR from Blender to Corona Image Editor (free with standalone release) and you can do whatever you want with it there. It’s probably the answer to most of your problems. And then photoshop where I use the Camera Raw filter for my photo routine post.
It adds bloom and glare that look a lot better than those from Blender’s compositor. It’s made to work with EXR (32bit) images so it allows for a ton of options that photoshop might be able to do but it’s probably easier to do it in Corona Image Editor.
Always add sky in post with Photoshop. Save 2 EXR renders (sky and your scene) and just glue them together saving them as EXR for further post. Also, use sun position but instead of HDRI use a jpg and crank up the scale or if that’s not looking too great, take the color output from the HDR image and plug it into the strength input via math node that you set to inverse square root. It seems to even out most of the HDRI images, almost like deleting the sun from it.
Hmmm, weird. It didn’t work for me last time I tried. I loaded OpenEXR format into Corona Image Editor (full float). What passes are needed for it to work properly?
That’s weird indeed. I save mine with zip compression but I don’t think that really matters. Please send a screenshot of how that looks for you.
I am not sure the screenshot will help. As soon as I enable blur with slider (>0) the image turns black and I mean solid black. It occurred to me just now that this may be connected to the fact that I’m running the Editor on a Virtual machine…