-
The custom shape of the “c_arm_fk” bone is by default set to the “arm_twist” bone, so it follows its rotation around the Y axis. It’s just a visual thing, this does not actually rotate the controller. You can change that however, bone panel > Viewport display> Custom Shape Transform. Set it to “arm_stretch” instead for example.
-
Can you share an example blend file so that I can try to replicate the problem here?
I sent it, thx
Hi.
So playing around with the free “Mike” character rig feels very nice. But i wonder if there is an option in Auto-rig pro to add more controls to the face?.., specifically to the sides of the nose…, and even better if it softly moves when the mouth controls moves like the rigify rig.
1 Like
You could probably use Blenders standard rigging tools to add more controls to the face. After auto rig has rigged the character, essentially adding more bones
Yes, i suppose that would be one way.
Lol, thats the only way. Unless Lucky makes changes to the addon code base or you do.
I found a small, bug? in the rig. Might be just some inconsistency. hand.r has inherit rotation from parent while hand.l doesn’t. This actually might not cause any problem in your setup, but I used a different twist constrain method and took me some time to figure out why the left and right hand doesn’t behave the same :).
@yolao: Nostrils controllers could indeed be added later.
@mzprox: Ah, nicely spotted! It’s indeed an inconsistency, however not a bug since it does not lead to any other side effects, this bone rotation is actually overridden by constraints.

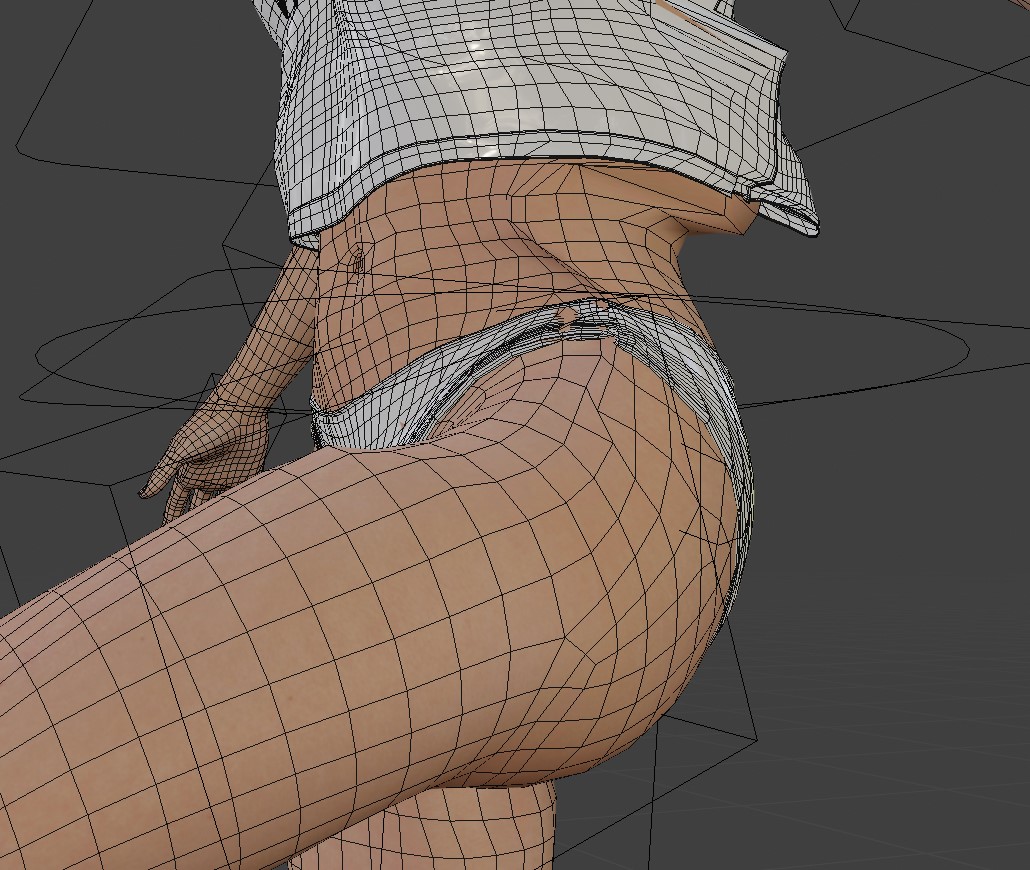
New user here, I’ve very little experience with rigging, (I rig for posing, at the moment, not for animation) and Auto Rig helped a lot solving a few headaches I had with rigging my models.
I don’t understand but the basic functions yet, but so far I love this add-on!
There is something perplexing though; as there are a few actions that affect part of the mesh that are far from them, like the rotation of the head affecting part of the chest.
It is slight and realistic, as far as I know, but in case the object is composed by many meshes, it can generate some clipping.
When I try to weight paint away the problem, however, the main bone (in this case the head, shows no relation to the affected area, (everything is dark blue).
Can I have some insight as to how go around the problem? Thanks!
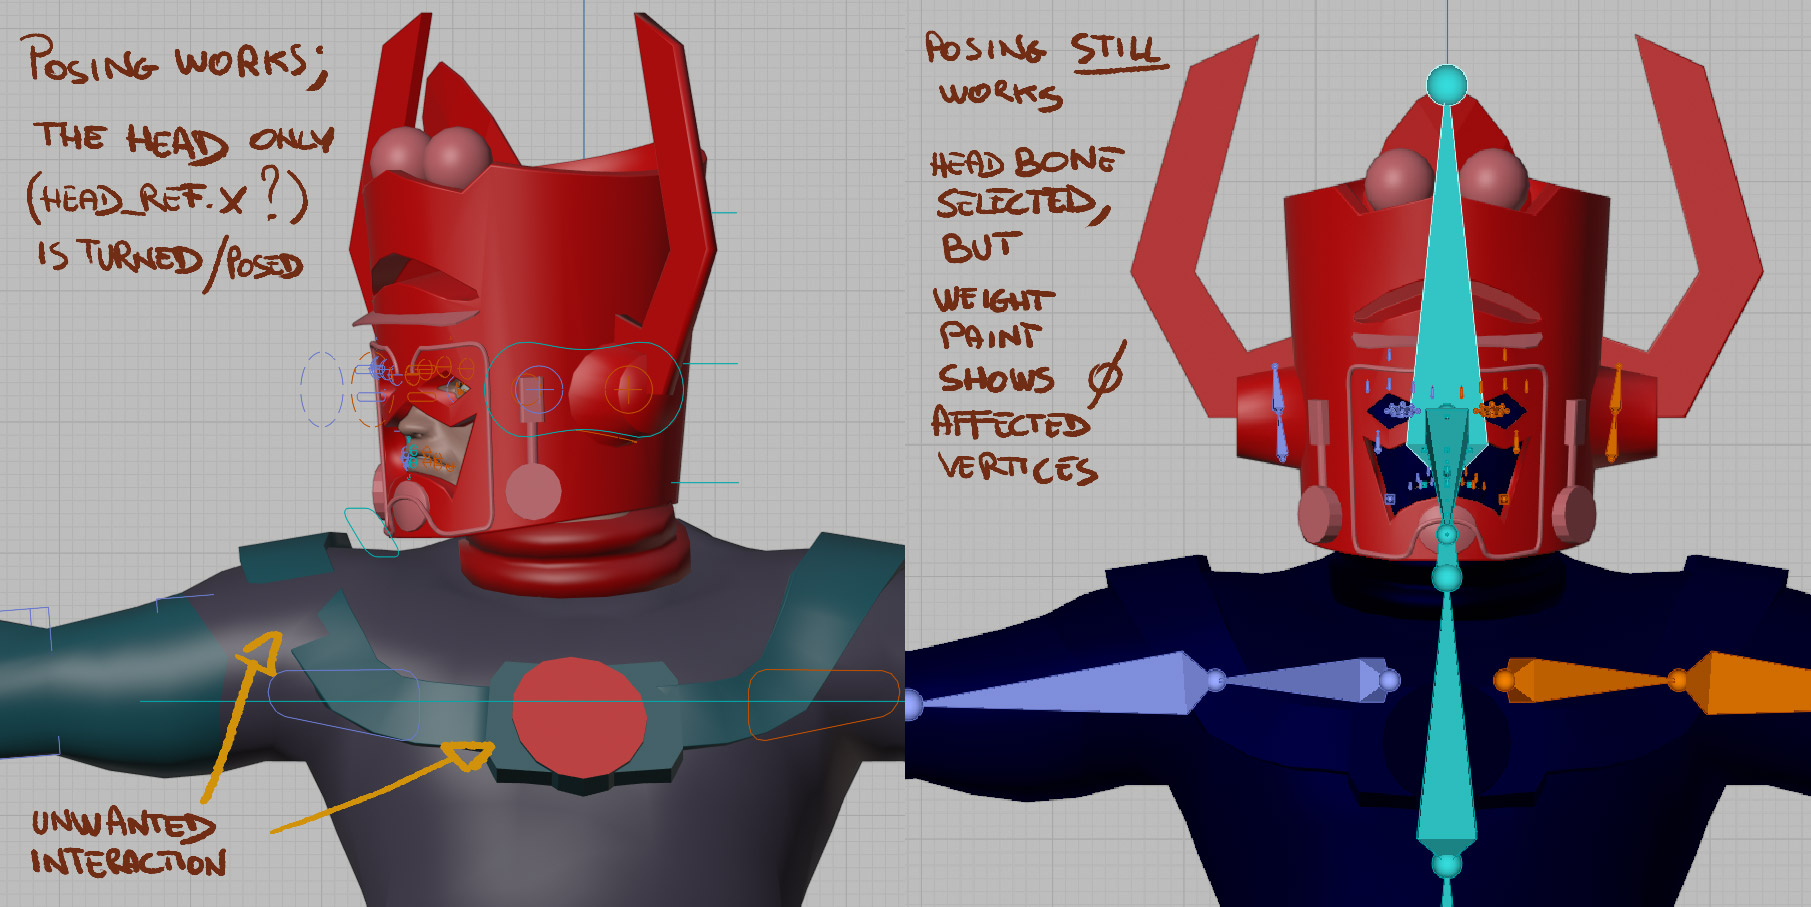
Sidenote: if I enter weight painting mode by first selecting the bones, then the object and then clicking on weight paint mode, the whole mesh looks affected slightly; but if I then shift click a bone, to select the area of affection, the whole mesh becomes dark, and whenever I try again, back from object mode to weight paint, it remains dark (however, the posing still works: I don’t understand what is that. A glitch?)
just a tip: in edit mode select a vertex that seem to be moving (only a single vertex at a time) On the N panel below item you can see which group that vertex belong to
2 Likes
Ahh, I get it; thanks @mzprox!
A single vertex can (of course) be part of many groups, and affected by many drivers; I found odd that none of the face vertices, nor the ones deformed in the shoulder in the image above, are deformed by the head bone, but only by bones parented to it.
Probably it makes sense, I just should play a bit with the values in the N panel instead using weight paint, correct?
Beside that, I just would like to confirm whether the thing mentioned in my sidenote above (about the first time you select a bone in weight paint mode) is correct, so that I did not add problems in the rig.
[edit] Everything works, it just took a bit to understand it. I love it!
I’m not sure i understand your question, but a few notes:
If you indeed see that any bone that is parented to the head is affecting the shoulder area you must remove it. The easiest way to do it is: first in the overlays menu in weigth paint mode change the zero weigths to active, this way the really zero weigth will be black, anything above is blue. Then select either the bones or the vertex group and substract those weigths which shouldnt be there. It’s recommended to use symmetry or mirroring but sometimes it doesn’t work for me as it should…
Anyway, about selecting: if you first select the armature then the mesh then you can keep deforming the bones during weigth painting, which is good, and the way it should be used. Then you can shift + right click on an area to select vertex groups from a list or ctrl+click on a bone to select it (so you can rotate)
1 Like
This is indeed not pretty, is this the result of the auto-skinning?
I’ve just published a new version (3.46.13) which improves the thigh weights by restraining weights near the root.
However the weird deformations in the rib cage area are more surprising. Please check the skinning FAQ, it may be related to these causes.
I’d guess the affected vertices are not colored because they have very low values assigned to the head, close to the dark blue that represent null weights.
When painting weights, you can shift+click an area to show the groups linked to it.
If the separate mesh parts like the blue/green part on the shoulders is moving while the main body mesh stays still, it’s probably due to the “Split Parts” skinning method. You can try the new “Voxelized” option which performs volume computation instead:
http://lucky3d.fr/auto-rig-pro/doc/auto_rig.html#binding
Or use the “Voxel Heat Diffuse Skinning” addon, which is even more efficient.
2 Likes
Thanks again @mzprox and @lucky; I managed to solve my weight paint problems + now I’m more clear on how the process works.
I only have to be very careful with mistakes, as “undo” sometimes unbinds the skin while posing or weight painting; while sometimes, in the latter mode, just doesn’t work.
I’m not sure this is add-on related or a Blender problem, however.
I will investigate more on a simple manual rig + weight paint, to see if it happens there too.
But that’s very minor.
Overall, Auto-rig does exactly what I needed it for, and more. Thanks! 
1 Like
Hey @lucky ,
So I recently upgraded to Blender 2.8 along with Autorig v3.46_13 and I’m having trouble exporting my animations to unity. The action files that I exported from blender are present in Unity but when applying them to the character, the character remains in T-pose even though the animator controller tells me that its playing the animation on unity.
To make things easier to debug, here’s what I’m doing right now to export the “walk” action that is already present on the 2.8 version of the “mike” character:
- I select the armature and then click on the “Export FBX” button present under “Auto-Rig Pro: Export”
- I choose Unity and Humaniod
- Under the “Rig” attribute, I only select “Unit is x100”
- Under the Animations attribute, I’m selecting “Bake Actions” and “Export Humanoid Actions Only”
- Under Misc, I have “Fix FBX Bone Rotation” and “Fix Bones Matrix” selected
- I click on the export button, import it on unity, set the rig to humanoid there, add the action “Walk” to the animator controller and assign the animator controller to the character.
This ideally should result in the character playing the walk animation but for some reason it remains on T-Pose. Is there something that I’m forgetting to do here? I’ve spent an enire day trying to figure out the issue but I still cant figure out on where am I going wrong. Any help would be greatly appreciated.
Hi, first time posting here and I’m having an issue with ARP here. Whenever I hit “match to rig”, I keep getting the following error:
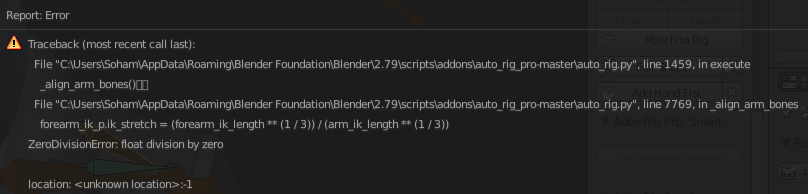
I have no idea what to do now, this worked for 2 other characters I wanted rigged but suddently it keeps throwing me this error and I don’t know what I did wrong. Any help is very very, appreciated.
Could anyone help on this as I’m still not able to figure this out. Maybe its my workflow but I’m unable to bake the animations that I created through this rig for unity or any other software in general. The whole point of buying this tool was for this purpose so I feel kinda lost.
Hey guys … I usually don’t rig so this question might sound ridiculous to some of you … 
Is is possible to do the following:
- rig and skin the character
- pose the character
- change the proportions of the character
and finally match the rig to the character with the pose/skinning still working?