Is it me of the new weight paint system of 3.2 is just hell ?
no bone selection, no auto paint… only getting back to pose mode, select the bones, back to paint on mesh…
this sounds absolutely dumb to me !
I’m sure i missed something !
What i did is removing 3 fingers on my rig and only kept the middle finger. Now i want to retarget the orphan fingers in the mesh to the existing finger.
I’m close to give up^^ so i’m sure i’m on the wrong way… could anyone please help ?
Not perfectly sure what you mean-- I think you mean that want to drop existing weights onto a different bone? Like, it was weighted to ringFinger3, but now you want it weighted to middle3? I wouldn’t use weight painting at all for that.
More than one way to do it: vertex weight mix modifier, assignment and renormalization, or geometry nodes. I think geo nodes is easiest. Just string a noodle from a free input to a free output, then type the old weight name in the input and the new weight name in the ouput fields on the modifier. (If you have intersecting weights, it would technically be better to add the old bone weight to the new bone weight.) Apply the modifier. Then, your choice of any or all of delete the old bone, delete the old vertex group, set the old VG to 0, and/or disable deform on the old bone. If you want to set the VG to 0, you can do that in the same geo node you were already using. Reuse the the same node as needed for other fingers etc.
I don’t have any trouble weight painting in 3.2+, but I don’t use the bones to select the group I’m painting, I do it by selecting a group from the sidebar or from the properties view. Not sure what “auto paint” is but if you mean auto normalization, I don’t really recommend using that, although tastes vary. Auto normalization is too blunt an instrument for anything except verts with only 2 weights, and there are other ways to handle those anyways. (And, more importantly, it’s never worked with linear or radial gradients, which are the way to weight paint, hands down.)
What i’m speaking of is what i remember when i was doing weight painting in 2.79.
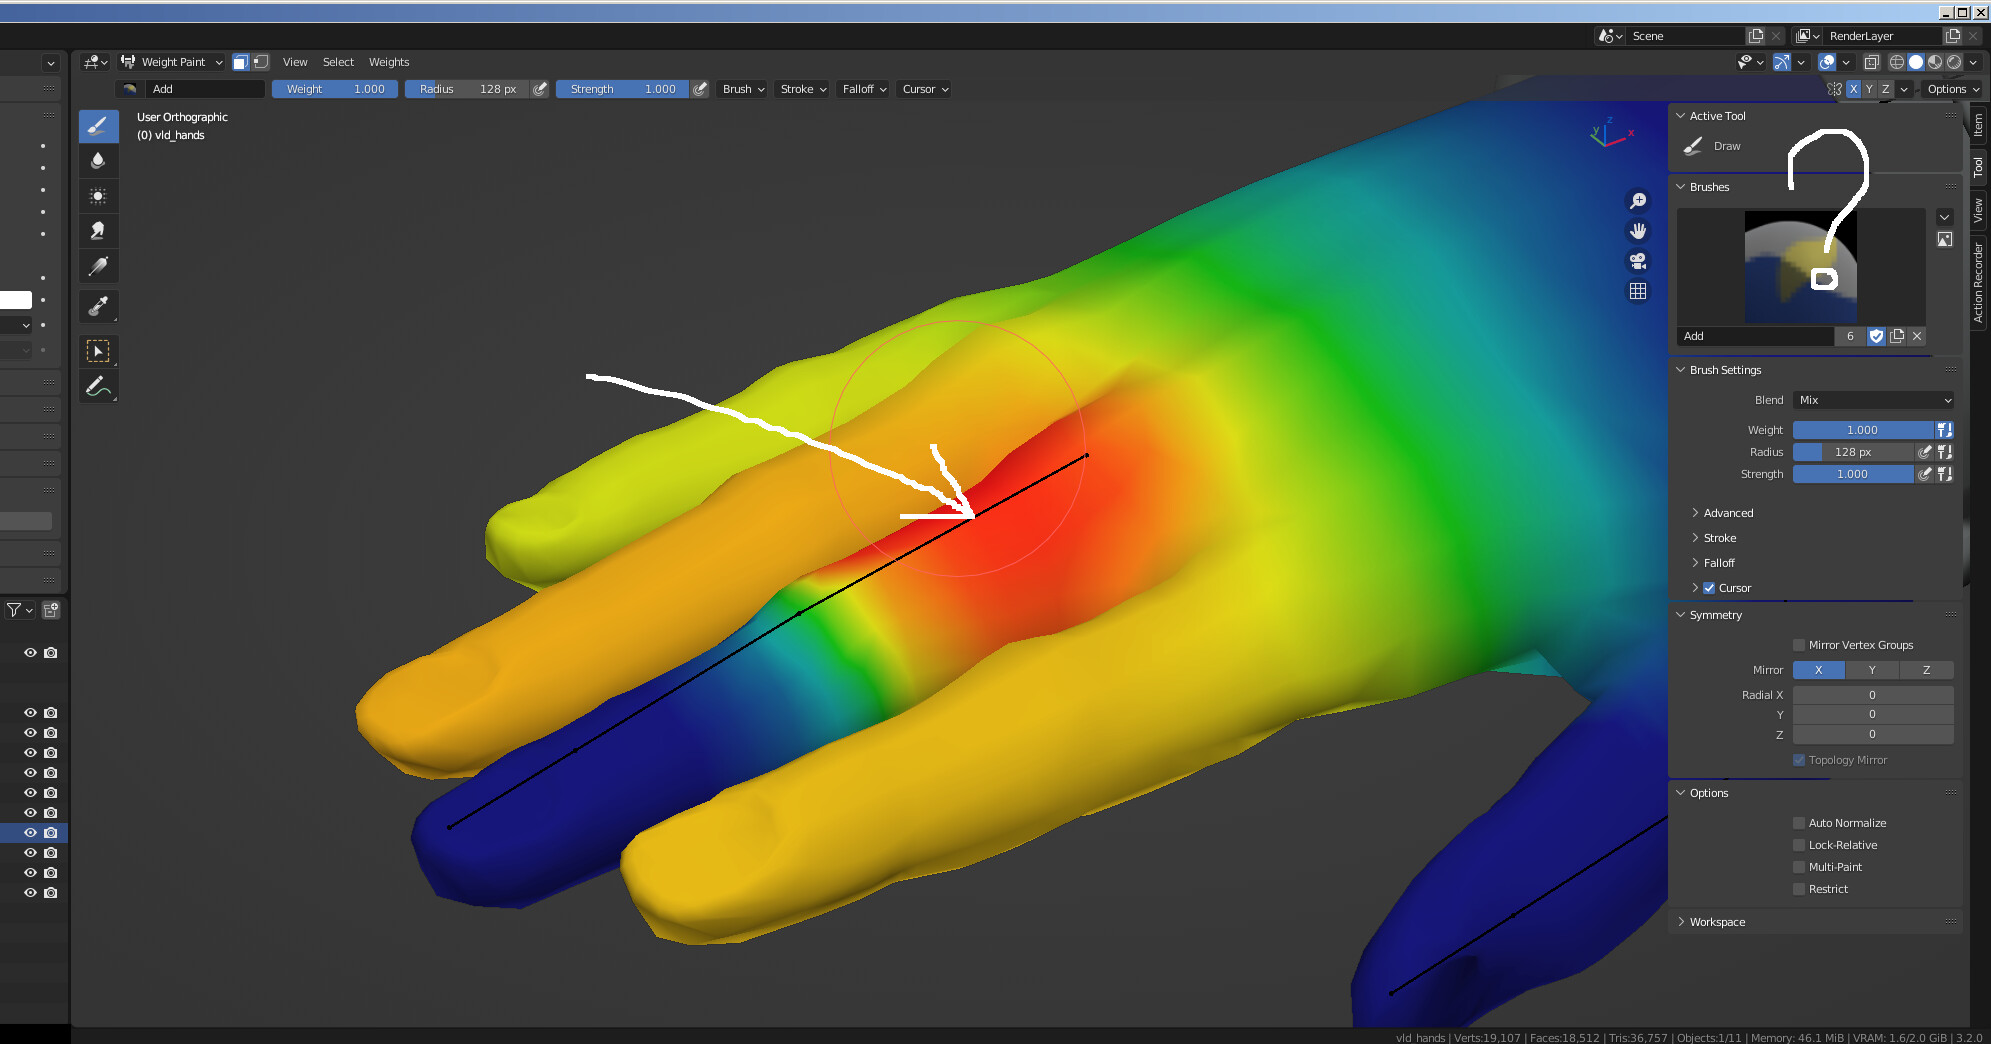
In weight paint mode of a mesh, i could select a bone and this selection showed the vertex weight colors and i could change them with painting.
Now i found no way to select bones in weight paint mode !
I have to go back to object mode, select armature, go in pose mode, select the bone, select the mesh and go back to paint mode, and paint.
This is a terribly heavy workflow IMHO !
About the fingers retargetting, i’m okay with taking time on painting. But with this workflow it is almost unachievable…
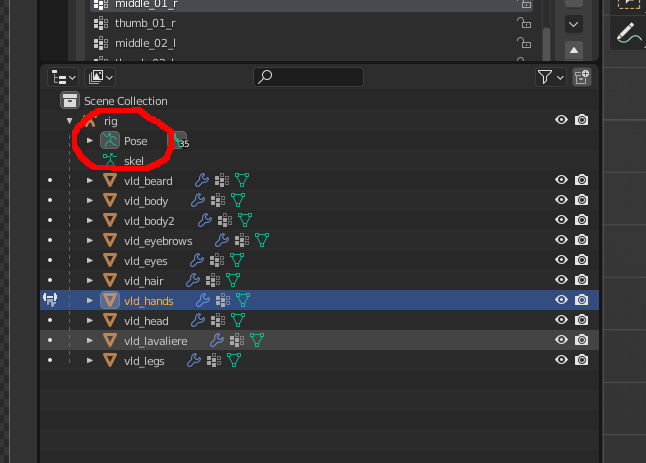
You can select the bone by turning off “lock object modes” in the main Edit menu. Then, select armature, shift select mesh, enter weight paint mode. You can now select the bones if you want, although how you select them probably depends on your initial interface choices and your selected tool (and, possibly, the vertex/face masking mode.)
You can select vertex groups in properties/object data/vertex groups. The vertex group with the same name as the bone is the one assigned to that bone. With an actively selected vertex (perhaps from weight paint vertex masking), you can also select any groups that vertex is assigned to from sidebar/item/vertex weights.
You are in “face masking”, the button directly to the right of the mode selection when in weight paint mode. In this mode, your selections are being interpreted as face selections, not bone selections. I’m not sure why this mode exists for weight paint; it seems, like most of weight paint, to be something that just got copied/pasted from vertex paint mode, where it is meaningful (because vertex color is face-corner data, but weights are just vertex data.)