pretty straightforward, I made a high poly tire and a low poly tired and I’m trying to bake high onto low in substance painter. I already did it once, the second tire absolutely refuses and behaves like there is no information in the high poly. I made the models in blender and so I assume I made a mistake there somewhere. What would I have missed? I’ve triple checked everything I can think of, origin, applying transformations, vertex paint. Appreciate any help.
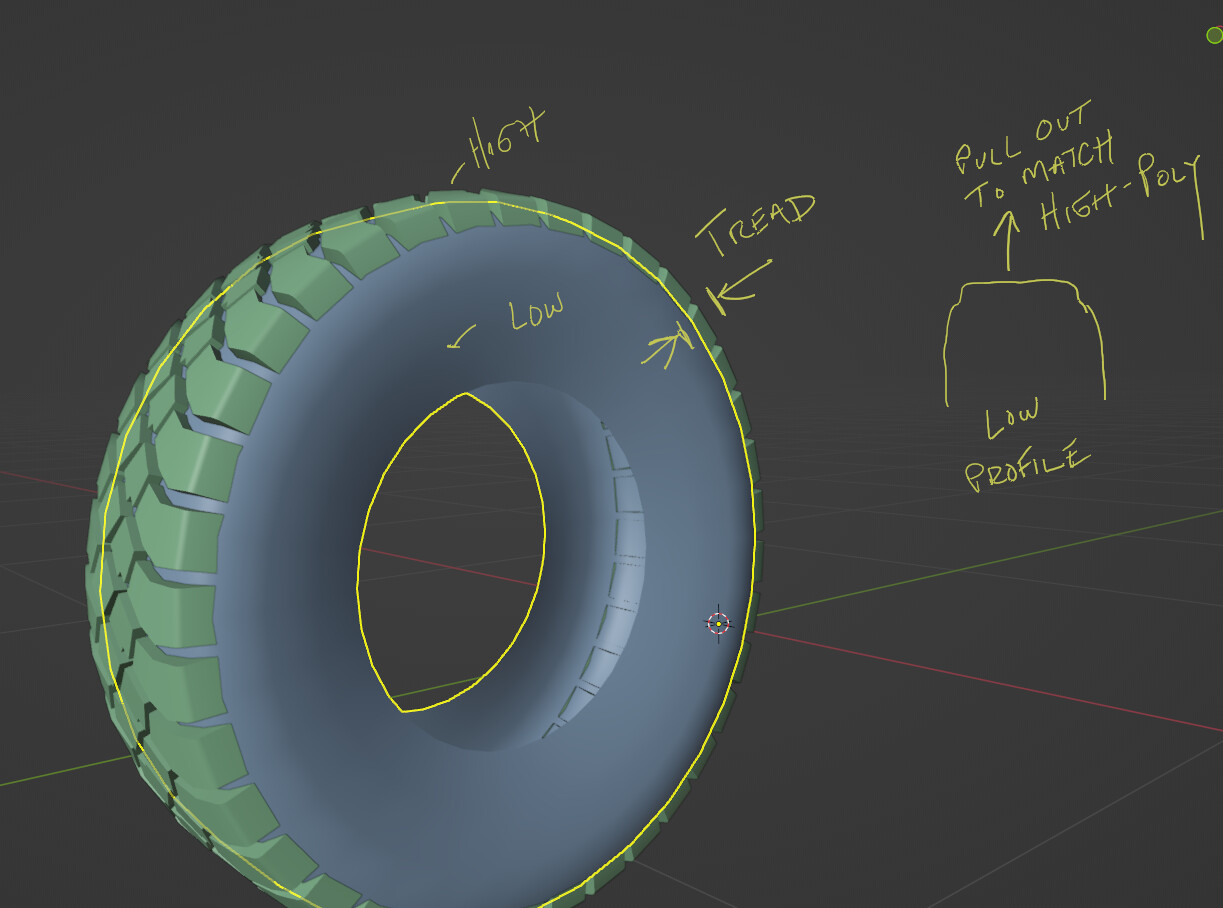
I mean you should bump out the section of the Low-poly so that it fits the tread as well as the wheel…I doubt if it adds much in the way of polygons if you use proportional editing…
You shouldn’t need to add anything or only a small amount if needed…If you just MOVE the outer tread surface on the LOW Poly to cover the area of the HIGH Poly ( Like on the Low over High Tier …bluish in my image then the HIGH can be Baked Down to the LOW…
Right now it is TOO far away to be Baked Properly…I am of course referring to the Normals for the Tread…
If I get a chance I’ll work with it later today, just to make sure that is the only problem…
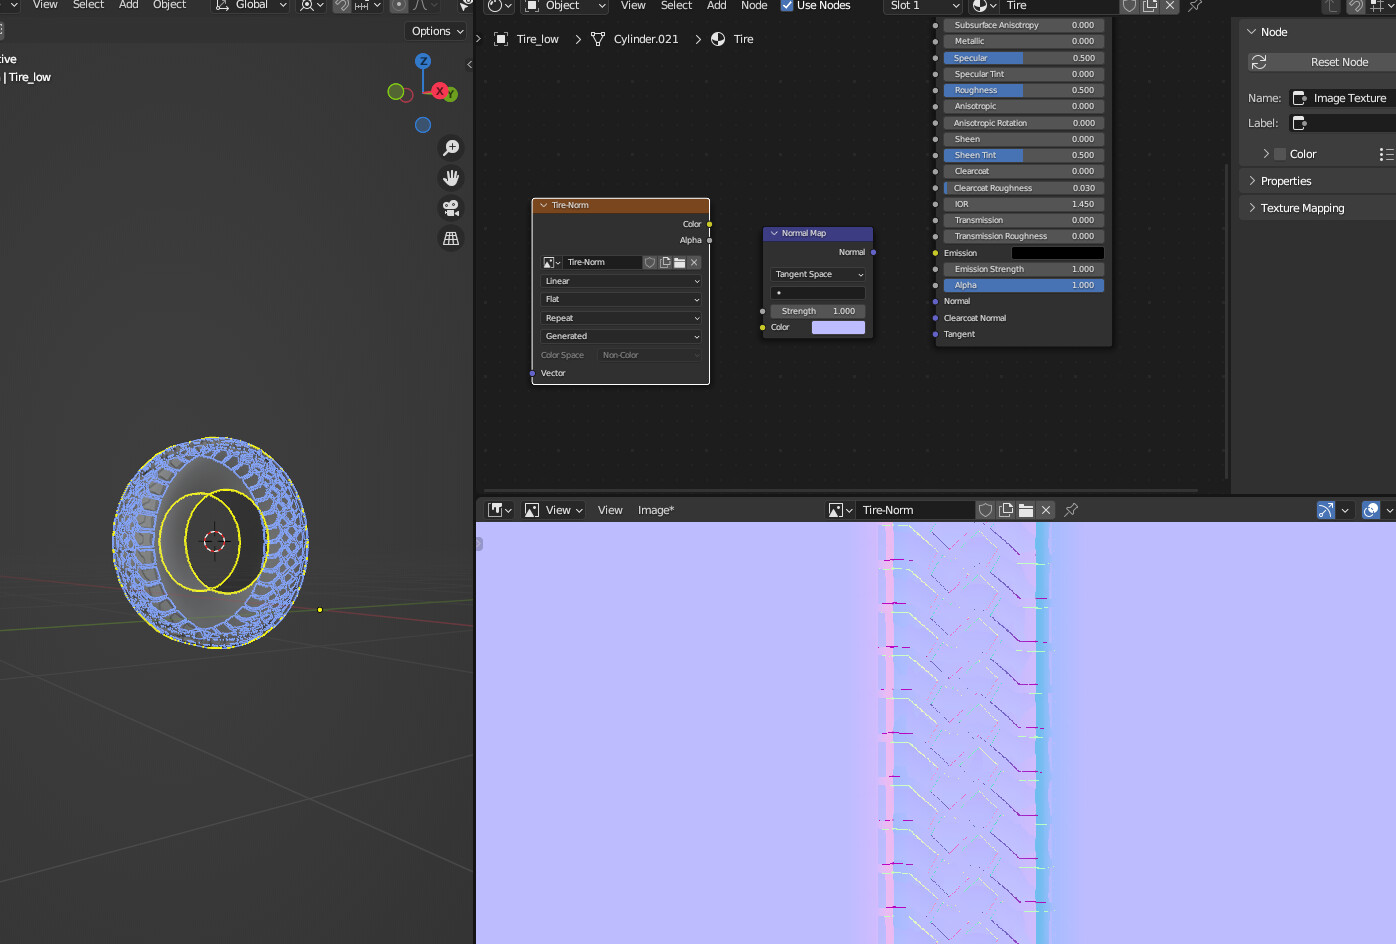
Ok, that’s kind of what I thought, and just tried it too. The low poly surface is almost on the treads, baking in substance still acts like there is nothing there. Whats weird is that I baked the first tire the way it appears on the image you posted, and it worked fine. I have no idea where the problem is coming from now.
Thanks for trying it. Nice to know it works somewhere… I’m fairly new to SP but the UI I find really nonsensical compared to the older SP videos I’m seeing. Seems like nobody is happy with the sale lol
I wonder if it’s possible to import the normals from blender… lol. Life could be simple.
Sure, even on my copy there is an option to import your normal map,then you would only have to bake out the diffuse , roughness and any others you might want…