It’s because you can bake on which direction ray hitting UV is hitting your mesh, but you can’t tell how high is it in regard to… right, what?
To bake displacement you have to unwrap your model so it’s completly flat, position it on 0x0x0, set shader to emission with strength of 1 with no light falloff, set bounces to 0, camera to ortographic view, position it on top of that and connect texture to gradient, scale it so max value is white and min value is black. Then you can render image and use it as displacement map.
I’ve done this with my meadow scene, check out here:
Related to the original model, (granted it must have the same vertices/faces) for example to bake the normal map you select the two models, and the result is the difference between the two.
With your scene it’s quite easy to bake the displacement.
The trick is:
Bake the Object_coordinates from the lowres into a file (32b Float).
On the hires object, subtract the baked texture from the object coordinates with a vector math node.
For vector displacement: just bake the result subtraction.
For float displacement, plug the subtracted vector into both inputs of a vector math node, set it to Dot operation, and bake the square root of the Value output (with a math node, op=power, second input set to 0.5).
Hey. I was looking for the same answer and reaching this thread too. But now I came up another working method. So I would like to share it with everyone.
So, If the case is your model is not lay down on the floor. You have two model that have almost the same shape but different topology, Totally different model. But you need to bake a displacement map of the high poly model shape into the low poly nice topology with UV one.
So first, Since you can still bake displacement map from multires, Add Multires modifier to your low poly model
Then, Add Shrinkwrap modifier after the Multires. Set your high poly model as the target. And set mode to Target Normal Project so the vertex are not slide but projecting along the normal direction.
Next, Hide your high poly model and hit subdivide in Multires as many time as possible until you satisfy with the detail. And then apply the Shrinkwarp modifier.
Finally, Reduce Preview level of Multires to 0 and do the multires displacement bake.
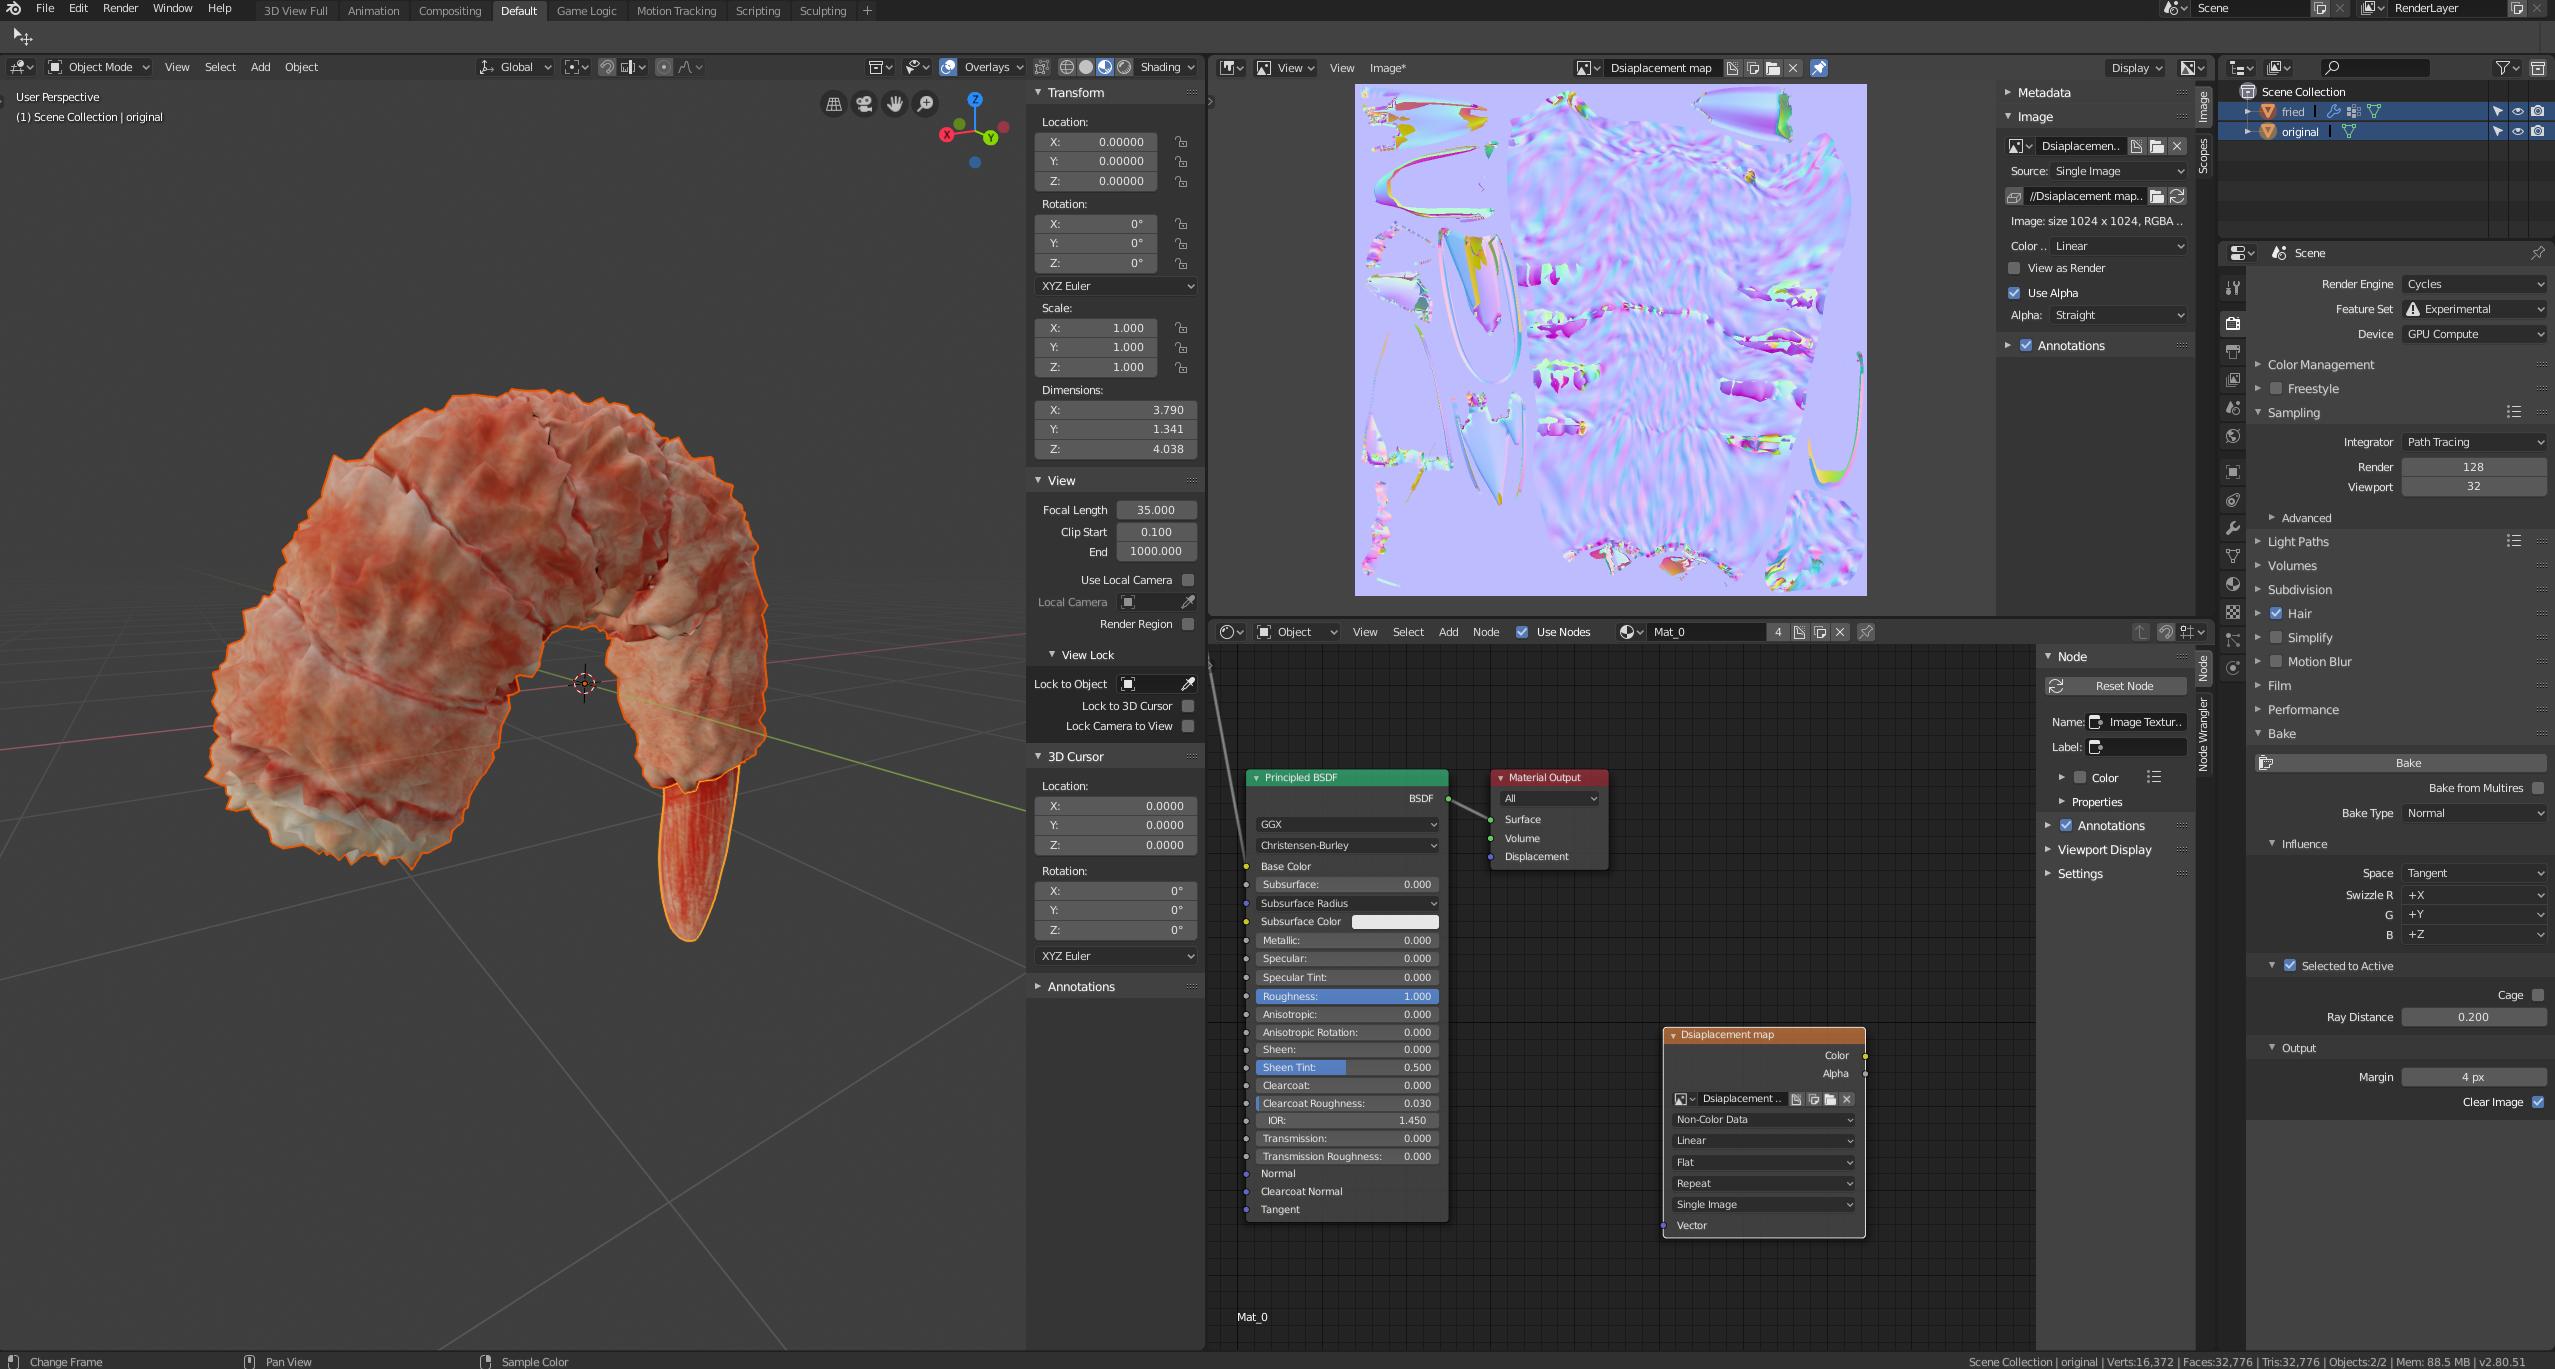
(Go to bake section in cycles rendering property, Check the Bake from Multires check box, Set bake type as displacement, Make sure you create the output texture in the node editor and select it correctly. Then hit Bake)
Now you can remove the Multires modifier if you don’t think you’d use it later.
I notice that this is very fast to bake. But the result might not look perfectly match the high poly model if you can’t subdivide it enough of time. But if you gonna use the displacement in Cycles that require the subdivision modifier, You couldn’t get any more detail in the render result than the baked texture anyway. It’s most likely to be use with the experimental adaptive subdiv that you still have the same limit of subdivision numbers as you do in Multires. So It’s better to use displacement map as displacement only. And use normal from baked normal map that could get you more detailed shading result.