Okidoki - thanks for all your help and ideas so far. Your time and effort are appreciated.
I wanted to answer yesterday but apparently as a new user I was flagged as a spam bot lol. Anyway, I discovered that by increasing the contrast the detail definitely increases, what I realized then is that maybe I just used a too little depth for the pores, therefore the image texture file that comes out of it is just very subtle, what intesity were you using for your pore brush?
George the spam bot,
I don’t think pore brush intensity is the problem as I did the same thing with Suzanne in a new file and it worked ok … using about an 0.5 strength. But if you use a tablet, then pen pressure makes a difference of course. I think the bake should be picking up the pore detail we both have - the large face topology isn’t even registering correctly. Everything is simply too low contrast, as if the bake was using multi res level zero against multires level one, instead of level six.
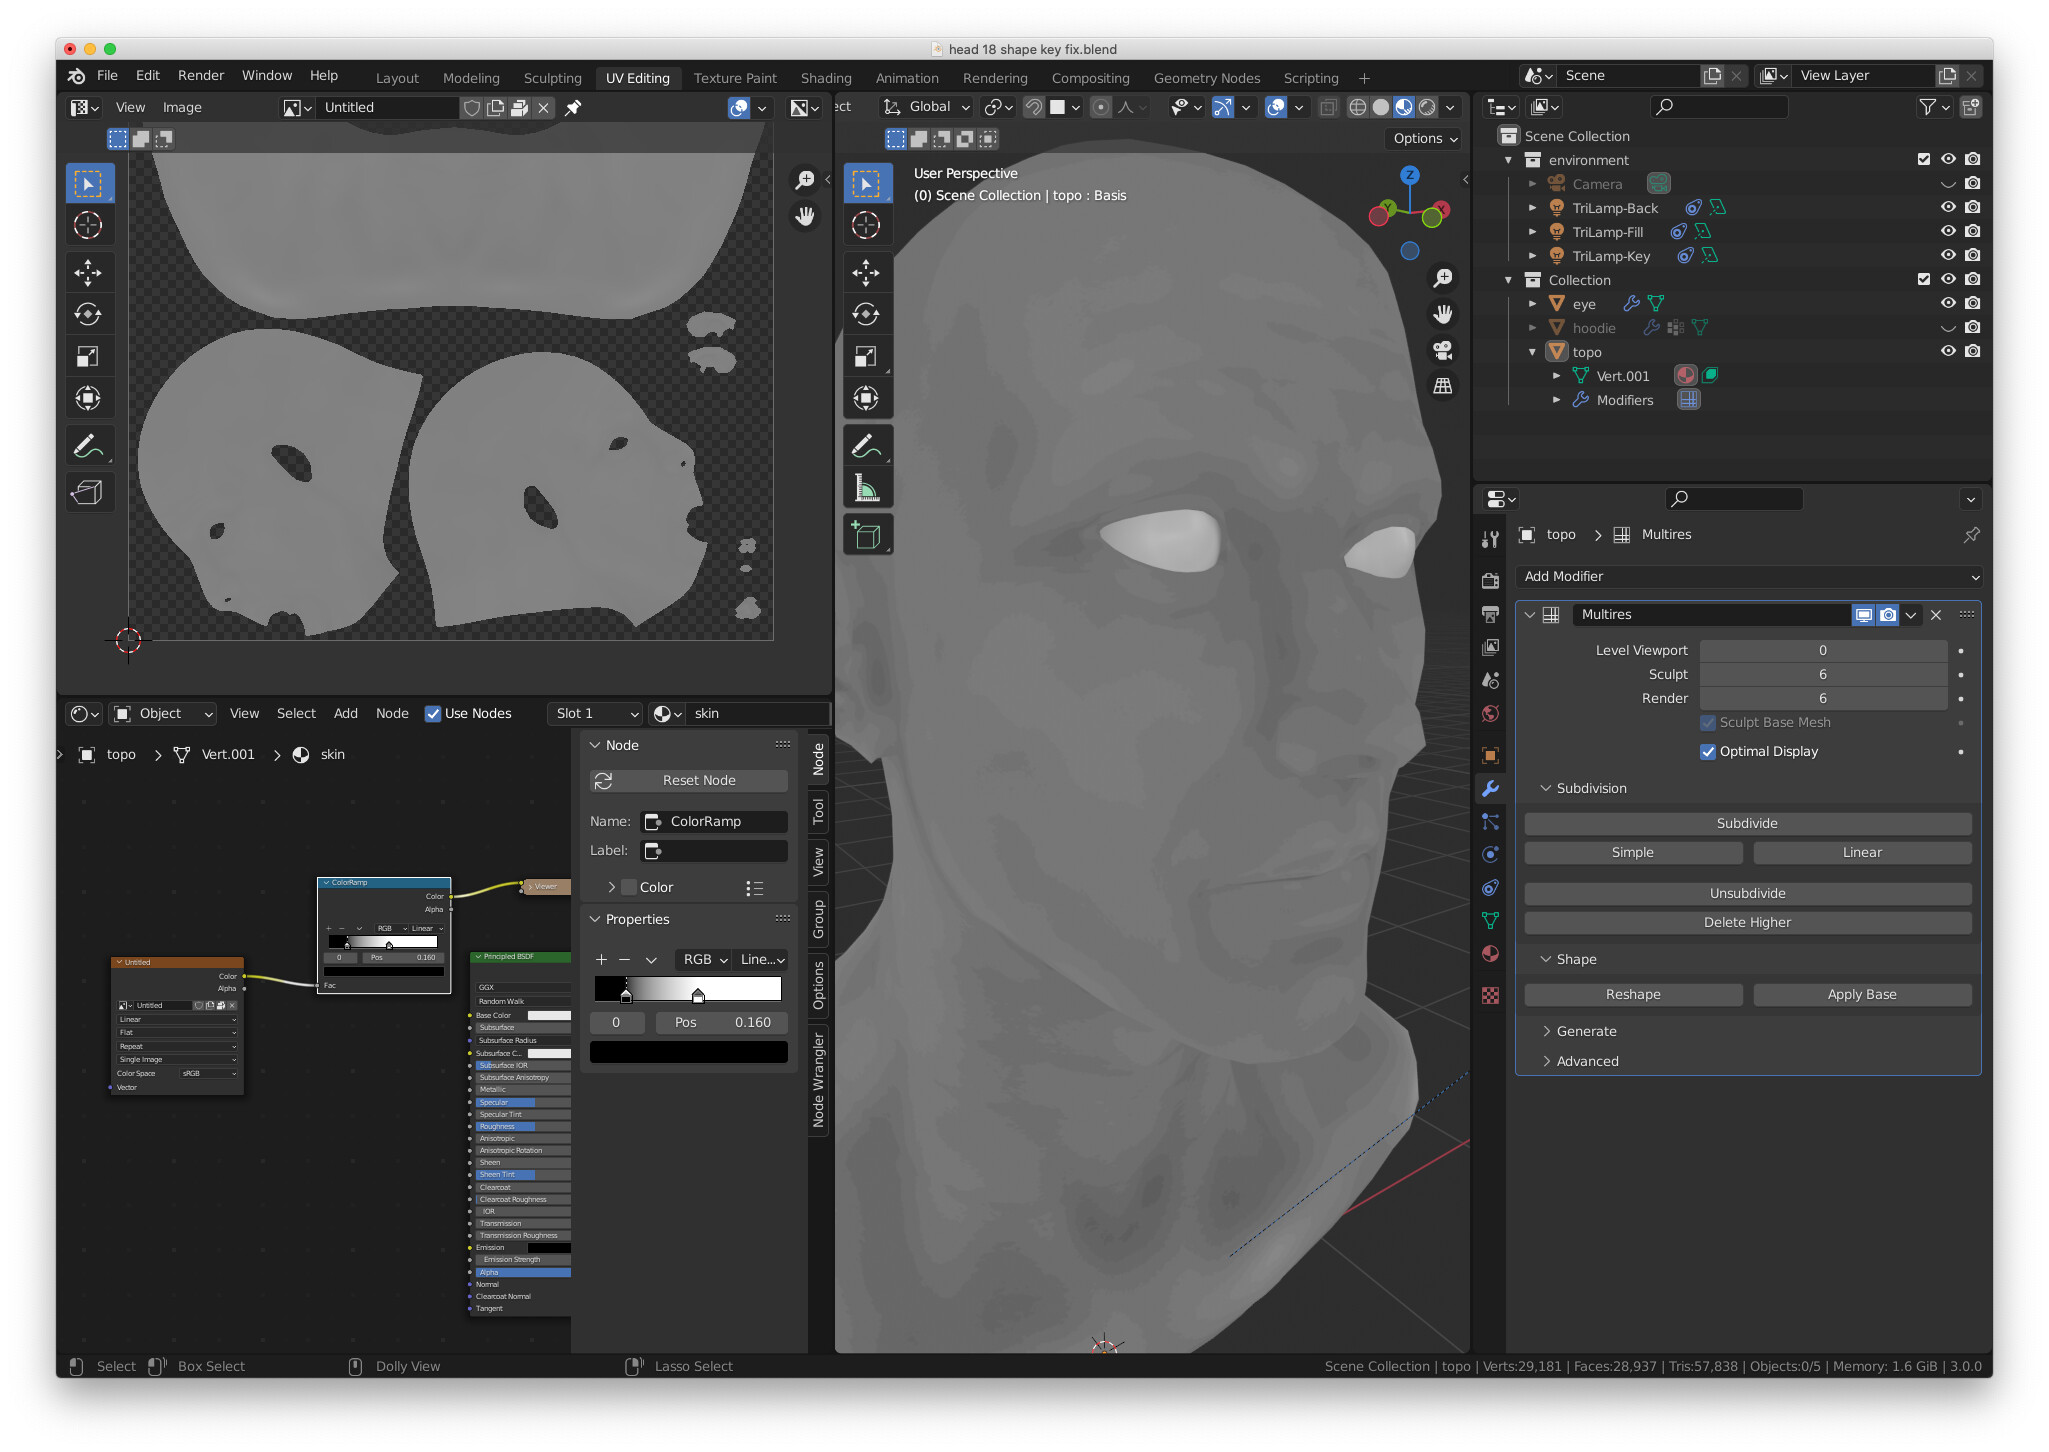
George - How many vertices does your model have? I am wondering if there is an upper limit for displacement baking.
Hi @tomabe - I’ve seen one other case similar to this. After lots of troubleshooting their file, I also determined something was corrupt within the multires data itself. You also seem to have discovered this:
So … that means there is something wrong with the particular head file George and I have. Just not sure what.
My recommendation was to “reset” the multires data in a way which solved this other person’s baking issue.
Method 1: Apply the multires data at the highest level. This will slow down your scene tremendously so be patient and methodical. Once applied, add a fresh multires modifier and click “Rebuild Subdivisions” under the Generate tab of the modifier UI.
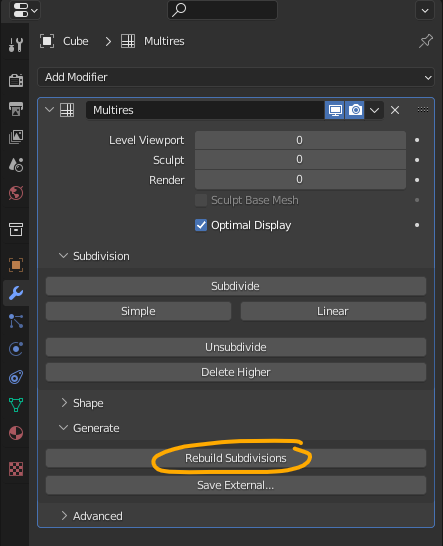
This will create all your lower levels of subdivision back down to the base (when it can’t mathematically unsubdivide any more). This will take a long time given the high polycount. I’ve seen it take 10, 30, 60+ minutes. But once it finishes try baking again as usual. Hopefully this “refresh” solves it.
Method 1b: If the above doesn’t work, sometimes I will export the mesh and re-import it as an additional measure of “refreshing”. So it’s the same process as above except I will export as an .OBJ file after applying the original multires modifier. I.e. export your highest resolution sculpt. Of course be patient with this as well. Once it’s exported, re-import it into your scene and continue with the fresh multires + rebuild subdiv process.
Hi @theLuthier - thanks for taking the time to write a detailed solution. Unfortunately, both methods still produced a grey displacement map. I am using a CPU with 48Gb RAM and a video card with 3 Gb RAM. I wonder if the file with 14,700,000 vertices is simply too complex for this configuration. But I did try Multires on level 4 and 5 with the same results. Very odd.
I have the same problem. Is there any solution if the above doesn’t work?
Hi Eiznik,
I did finally have success, though I am not 100% sure what the problem was.
I had the original high resolution sculpt hidden and forgotten. Maybe for some obscure reason Blender was ‘confused’ and was using the high resolution sculpt as Multires level zero and the retopology as Multires level six. Because when I discovered I still had the high res original sculpt and deleted it, Multires displacement bake then worked, though my result was still a little on the grey side. I saved the bake and cranked it a bit in Photoshop to match the instructor’s version.
One more thing I tried that worked - though it involved a LOT of re-doing - was going back to my saved file BEFORE Multires. On the file that did not work, I had used ‘method 2’ to transition from Modifiers to Multires in video C02L07 starting at 9:02. This time I used method 1. But it meant I had to re-do all the skin pore detail, asymmetry and wrinkles. I’m not sure if this was a fix, or it was merely getting around a corrupt file.
All this to mean, I don’t think this is a user ‘Blender settings’ problem. I have a suspicion it is due to back end corruption or Blender confusion about what data it is supposed to use to create the Displacement map. Sort of like what is happening when you have to use the ‘silly’ fix’; Blender is not handling the data properly.
Hi Tomabe
I tried your method, went back to the pre-multires file, and without adding such exact details, tried to use the baking option. Unfortunately, the image is still gray. The second option of retopology (rebuilding subdivisions) does not work - “Not valid subdivisions found to rebuild lower levels” :(. Thank you for your help and for describing a potentially helpful walkthrough.
Edit: Hey, is there a way to skip this proces?
Hi Eiznik,
You can skip the step - but it’s actually TWO steps because you make a second Multires displacement bake with a raised viewport level to 3 to generate a second separate map. So you will be missing two of the texture maps to make realistic skin.
Are you using Mac or a PC?
Ha! I did it! Alright, so:
I selected my model, removed all shape keys, vertex, and UV maps (object data properties, green triangle), turned on the subdivie surface to slow down my program as much as possible (it had a crash several times, so I wanted to delay it as much as possible to see what processes are going on and cause an error), ended with 60 million faces. I changed all multiply layers from 6 to 5 (viewport, sculpt, render), transform all object properties back to 0 (rotation, scale, etc.), and duplicated it on the X axis. I deleted the multires and subdivisions from the duplicate and left it on topology. Then I disabled subdivisions on the original mesh and applyed multires at all levles 5 (still on the original mesh). After that, I simply bring by using multires my duplicated object back to 5 (without applying it!), And then reshape (duplicated object, by using multires option) with original (applyied multires one) mesh selected. Then I went into the UV editor and hit the bake option. End up getting fine.
Now all that’s left is to turn on level 6 multires again and add these details again (but I already have the shape and deepening the pores will not be difficult), actually i already did it and everything works as it should
I’m not sure what was causing the problem and describe the process in as much detail as I can, it took me fifteen hours to get there, and in the meantime I’ve tried multiple times to duplicate the mesh and apply multires to reshape again but in different order and without the subdivie surface modifier.
I am so glad that I managed to do it, because I spent several dozen hours sketching, viewing and looking for photos, creating a model, to recreate the actress as well as possible. I hope that my solution can help someone with his problem, after finishing work I will go back to the damaged file, I will try to find and post a more precise and detailed walkthrough on the forum, because I do not know what is the cause of this error. Have a nice day, and thaks for your help!
Hi Eiznik - I can’t follow what you did as you wrote it.
I am not sure where you are starting from.
Not sure what the first part of your message is about - making 60 million faces? How does that fit into the following description?
It also reads like you have Multires and Subdivision modifiers at the same time on the same model - which you are not supposed to do?
When you refer to ‘multiply’ are you meaning Multires?
=================
I worked on this yesterday as well and discovered the trouble occurs when transferring Subdivision Modifier levels to Multires Modifier levels. In the video course, this is Subdivision level 3. The instructor even says to remember what level the Subdivision modifier was at and then later we rebuilt those three levels ‘automatically’ in the Multires Modifier. Then we subdivided three more levels using the Multires modifier to ensure our skin stamps had enough geometry.
For some reason, in our case --and-- only for Multires baking of a Displacement map, the Multires modifier doesn’t recognize the first three levels that came from the Subdivision Modifier’s three levels. I think the Multires Modifier is therefore baking level four against level six. That is why we are getting a grey Displacement map - there isn’t enough difference.
Why this is happening … I dunno.
It does not. 60 million faces and subdivision were created only in my attempts to fix it.
When you refer to ‘multiply’ are you meaning Multires? - Yes
Why this is happening … I dunno. - I’m curious why, I don’t think we made a mistake in the process
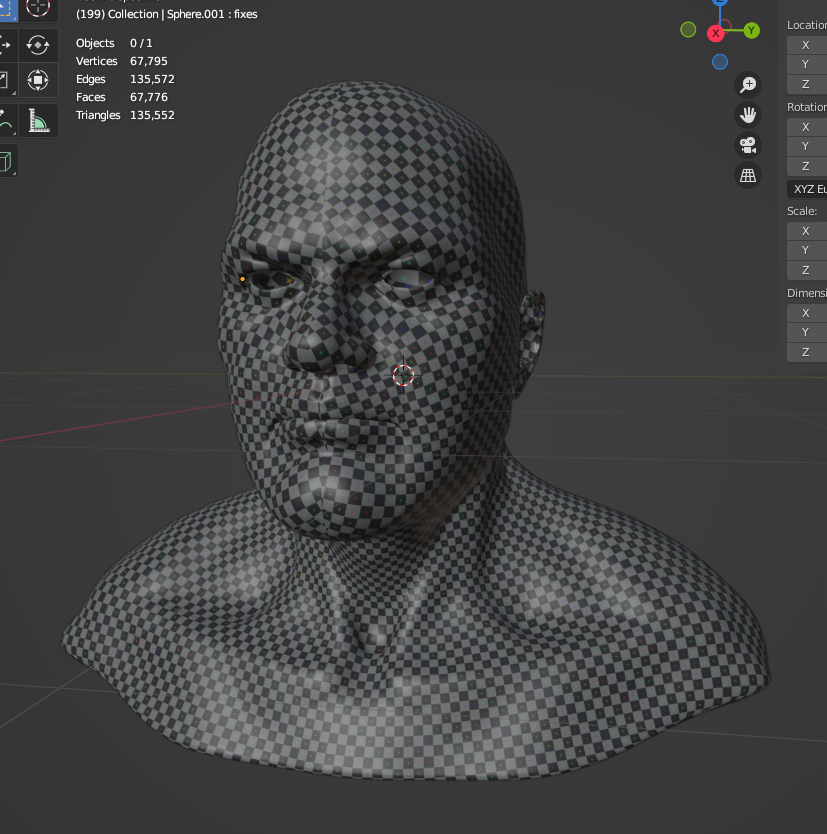
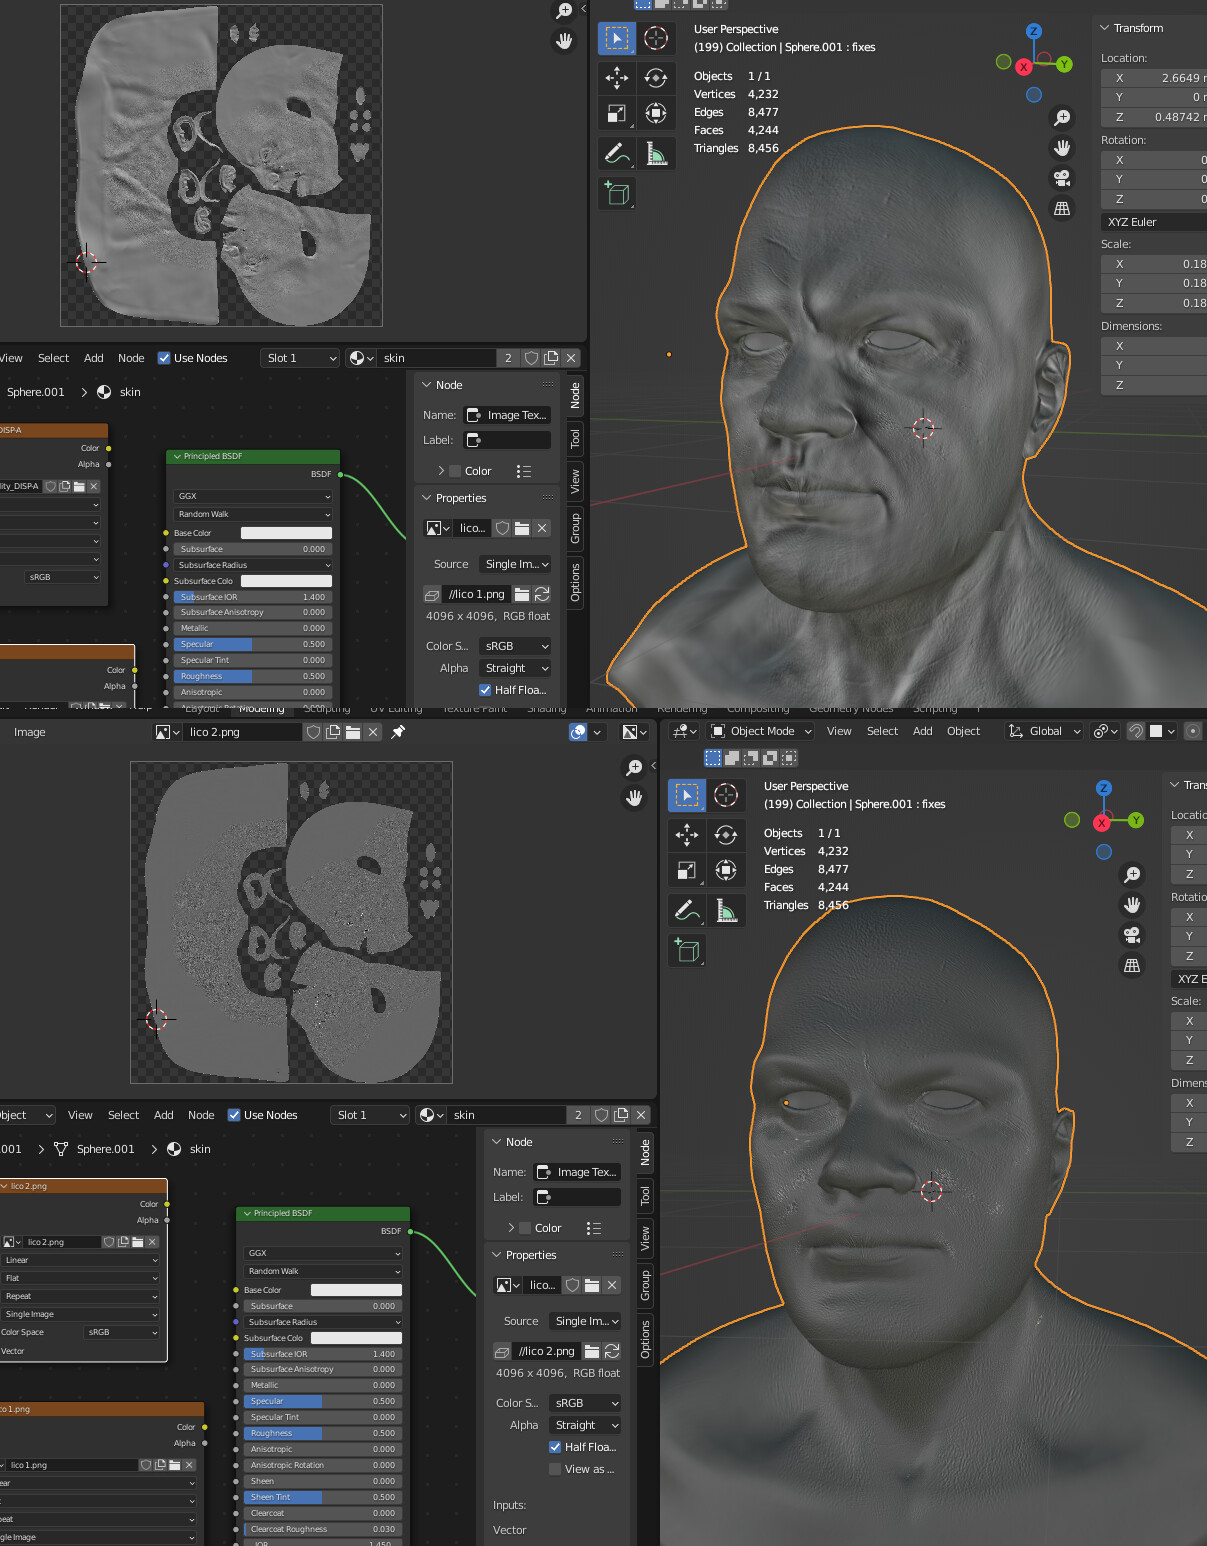
Sorry, just checked, my advice is not working. But for some reason after several lessons i tried to bake the map and it just baked. Good luck, guys.
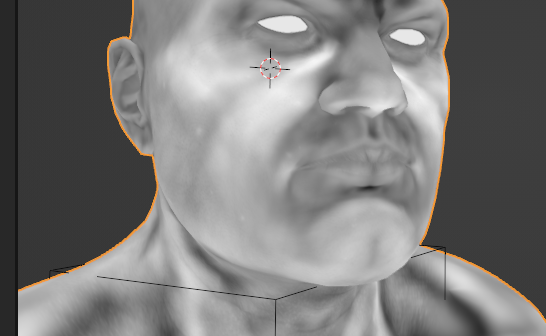
What worked for me was to first delete my Shape Keys starting from ‘Basis’ then ‘eyes_open_mouth_closed’ then ‘Fixes’. No need to delete UVMaps. Then Apply the Mulires modifier (making sure Level Viewport and Sculpt and Render are all set to 6 before selecting Apply). Next, from the Modifier Properties panel select ‘Multiresolution’ to add the Mulires modifier again. Then click the ‘Unsubdivide’ button. After a longish wait ‘1’ should appear in the Render value box. Repeat this Unsubdivide until you get ‘6’ in the Render value box. Then I was good to go with the baking. However, this fix gets rid of the Mouth open shape key.
Hey y’all I know it’s been a while since someone has posted on this thread - it appears that if you change your viewport shading to solid (the level over wireframe/i.e the filled-in circle) and use the arrow dropdown to select flat under lighting and THEN texture under color - it should work! It took watching the vid down a few times to try to find the missing piece to the puzzle!
Hey!
Also know that this is an old post, but it is 1st that I saw during my own research for solution so I thought I will share things that helped me.
Don’t play with light.
Make sure you’re in cycles.
Change viewport multires level to 1 - I found that blender has issues when baking on 0
And here is the important part. Increase resolution of your baking texture. I found out that when I try to bake on lower ones details are gone, but when I tried UDIMs and face UV is on seperate tile, details were perfectly baked and visible.
Bake from multires. During my tries I discovered that marking lower resoution mesh is baking edges like they were set as sharp therefore I don’t recomend that.
Hope it helps for people in the future!
Cheers!