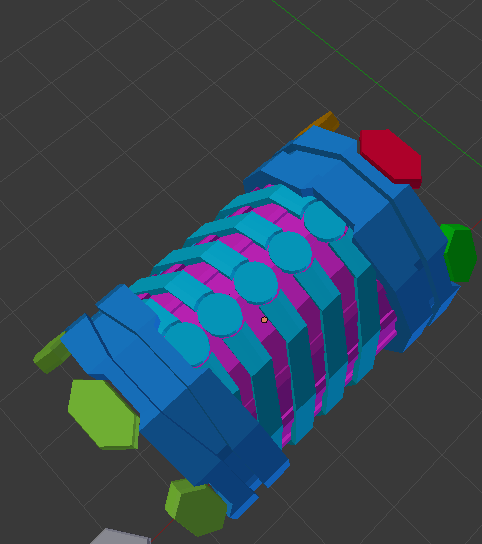
So I have this model (and actually a various few others that I have ready) which I’m designing for Second Life, and I’m having a number of problems thinking about how to go about the actual UVing process. At the moment I’m going to be passing the finished UVs off to a friend to texture, but I’m not sure how to actually go about the procedure. Here’s what I’ve gotten so far of the model, with the different coloured parts just to help differentiate a little bit.
I’m hoping that for the lighter blue parts with the circles that I can just UV one of them, apply an AO and have it copy+paste to the other ones with exactly the same texture. But I’m not sure how to do that or if it’s possible at all. Any help with this would be greatly appreciated!
UV Unwrapping takes some skill just like anything else and it’s hard to tell you exactly how to go about it without seeing the actual topology and such but I would definitely suggest adding seams (Ctrl+E in edit mode) to parts of your mush to get it to unwrap properly. Seams basically add a cut to the mesh where it will unwrap. You can think about it like the seams of jeans or a shirt. If you were to cut that clothing along it’s seams, you could then lay it perfectly flat against a table and then project a texture on it which is what it does when you add a UV texture. Here is a post with a video in the comments that might help you out: http://blender.stackexchange.com/questions/6755/how-to-properly-unwrap-my-mesh
Ah yes, I probably should of added an actual picture of the thing in edit mode. My bad! I know about seams and what not, about how to somewhat make it fold out in like a 2D form. My main problem is mostly the techniques to go about it, such as where to place them, how to make UVs repeat so that I can just do one for several objects to paste/take the properties of, etc. Sorry if that doesn’t make sense, I’m not the best at describing things. Here’s the actual topology though. The two end caps are mirrored at the moment, with the middle part a separate object. Should I just attach it all together?
If the lighter parts have the same number of vertices and are seperate objects, you can certainly set up a single UV map and copy it across to the other objects. If you want to make them separate objects, use the separate tool by hitting “p” in edit mode. Then set up the UV map on one of them. In object mode, select all of the object, and make sure the one with the map is the active element (yellow as opposed to orange in the default theme), and hit ctrl-L for link and select transfer UV maps. That should set the UV map to be the same in all of them.