Basset Hound character

Hi there.

I’ve been working on a new project to make a full character workflow approach.
Starting from the character concept: (by Trippel Trappel)

So I started blocking the shapes and sculpting them separately to end with something like this:


Then I used the remesh+boolean OpenVDB tool in the experimental branch to join the meshes and get a unique object to setup a retopology.

DogRetopo1
DogRetopo2

Then I keep going to model the teeth tongue, and jaw.

Now I can proced to rig, for this part I used the rigify wolf preset and adjusted it in edit mode:

Once rig is set, I can generate the rigify rig.

And this is what I got so far.
I set up the rig using automatic weights to get a quicker skinning.

The rig behaved nice and it was all nice, but with some little issues:

Now I’ll try to fix those issues as I keep polishing those weights and proceed with the character development, If you have any advice or critic please leave me a comment, I’ll
be soon uploading updates as I complete the project.

5 Likes

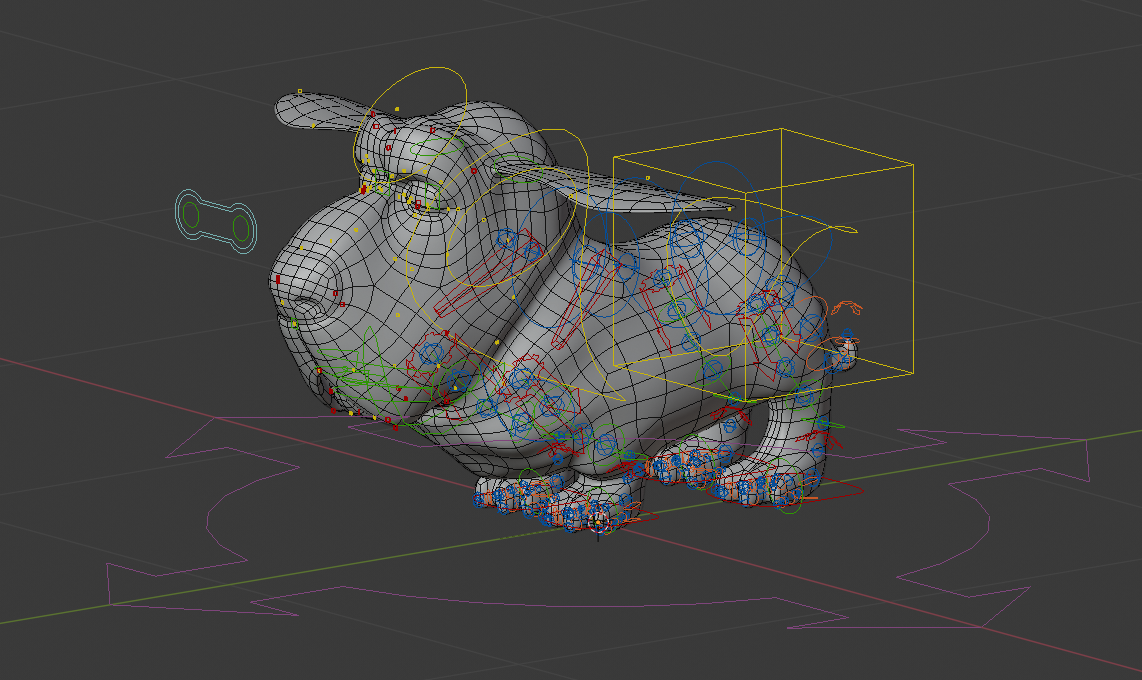
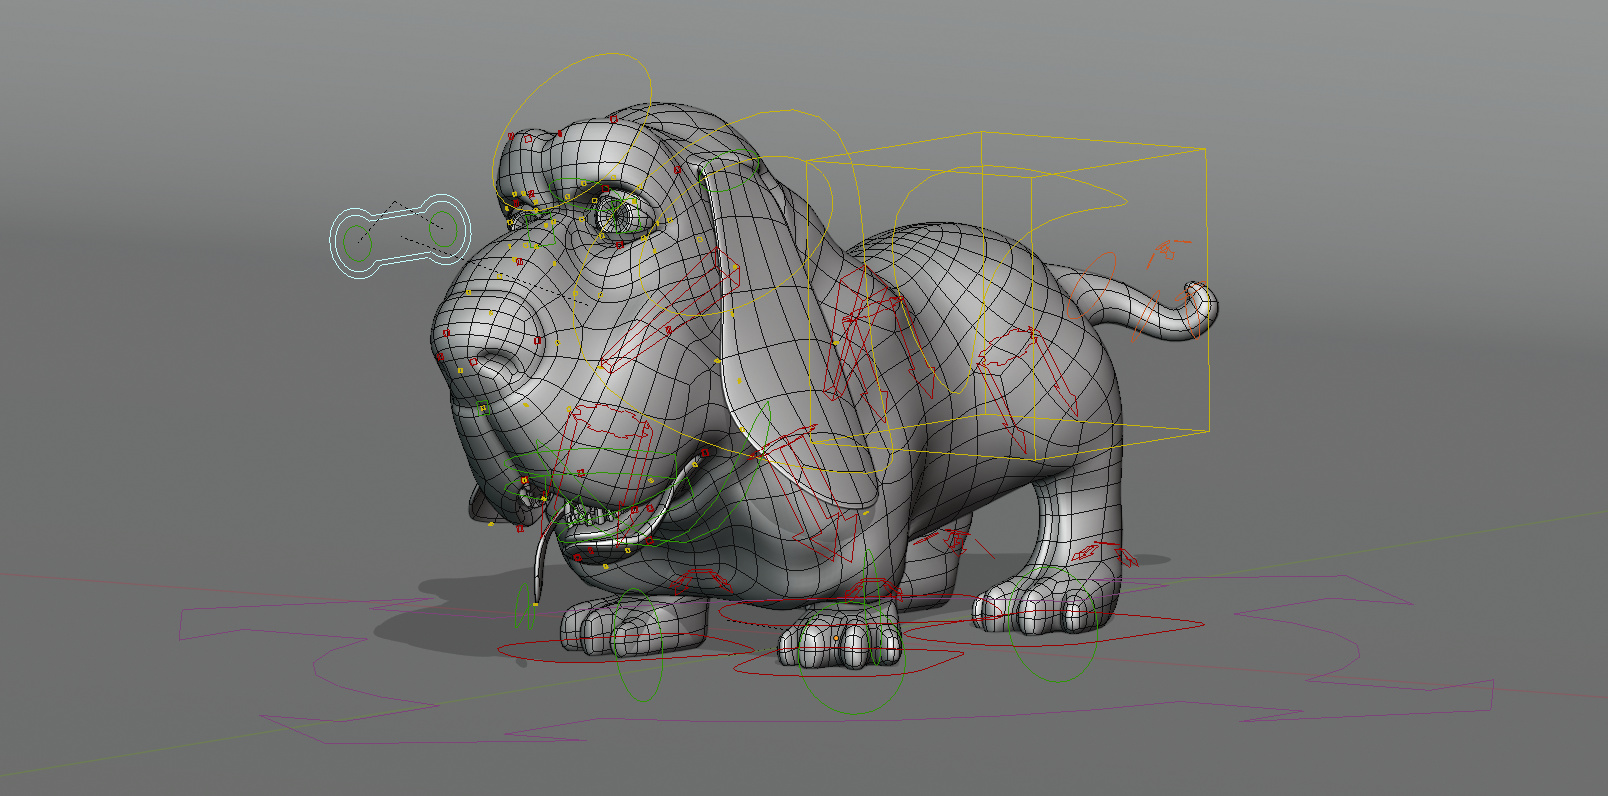
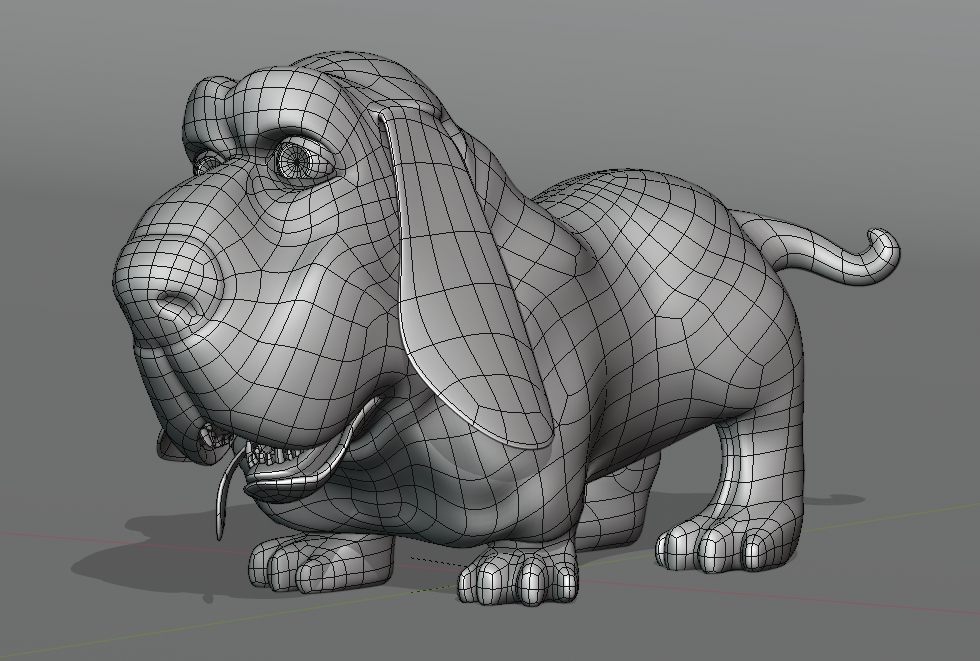
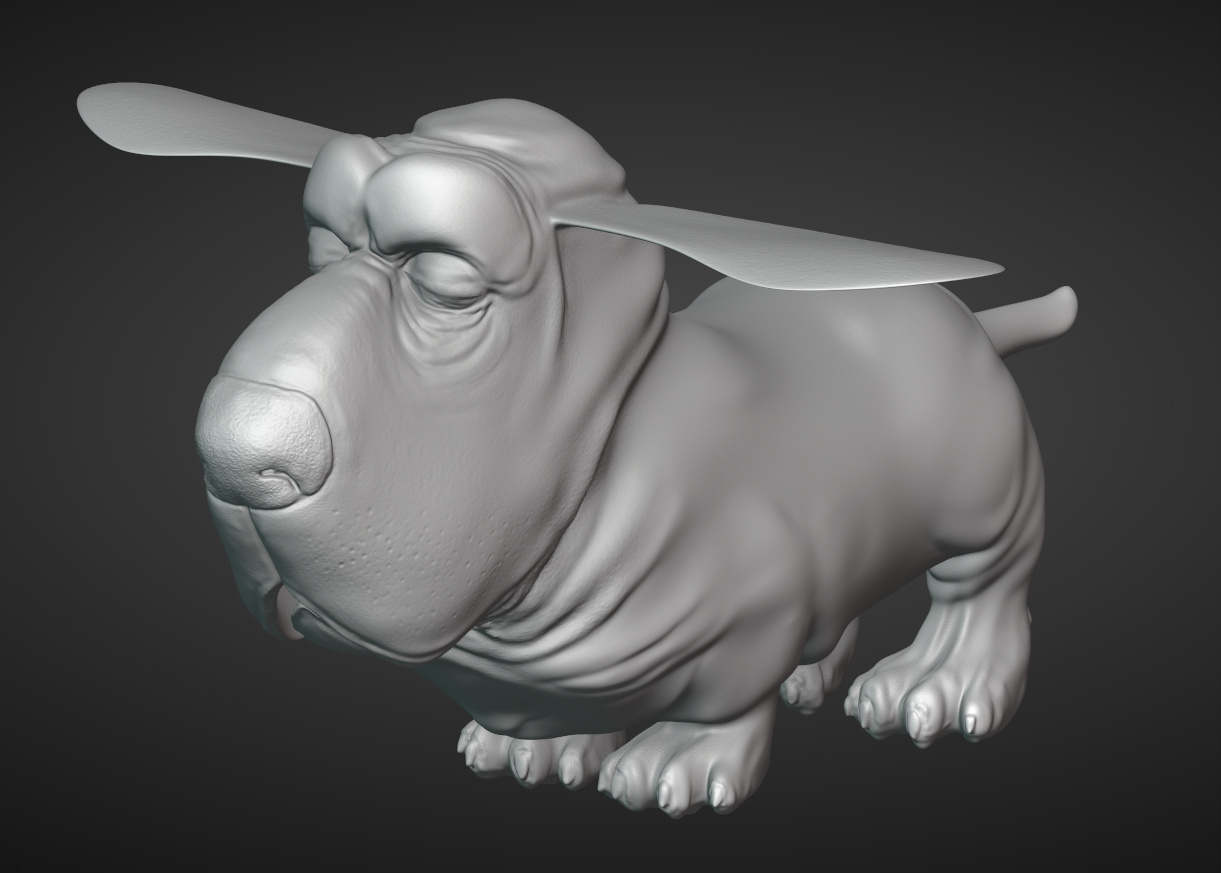
Today I was working on weights and fixing the positions of some bones to get good deformations, any other deformations I want to add in the future will be added on the path using shapekeys or something else.


A quick render to test it out:

Now that I’m done with the rig I’ll start texturing.

8 Likes

Today I was working on some basic colors, I was kind of trying to achieve a simple look, but I think I went to far with the mouth details haha.


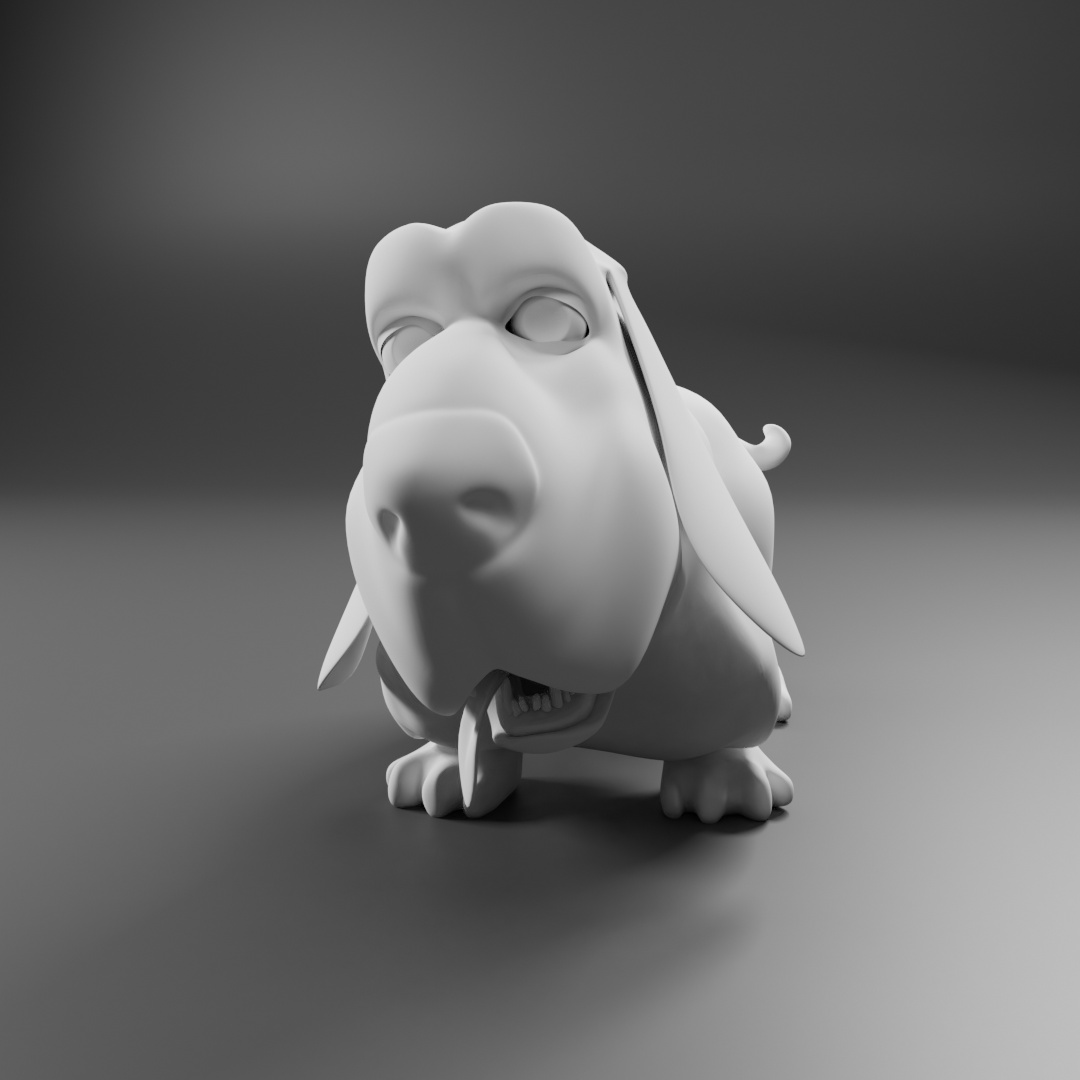
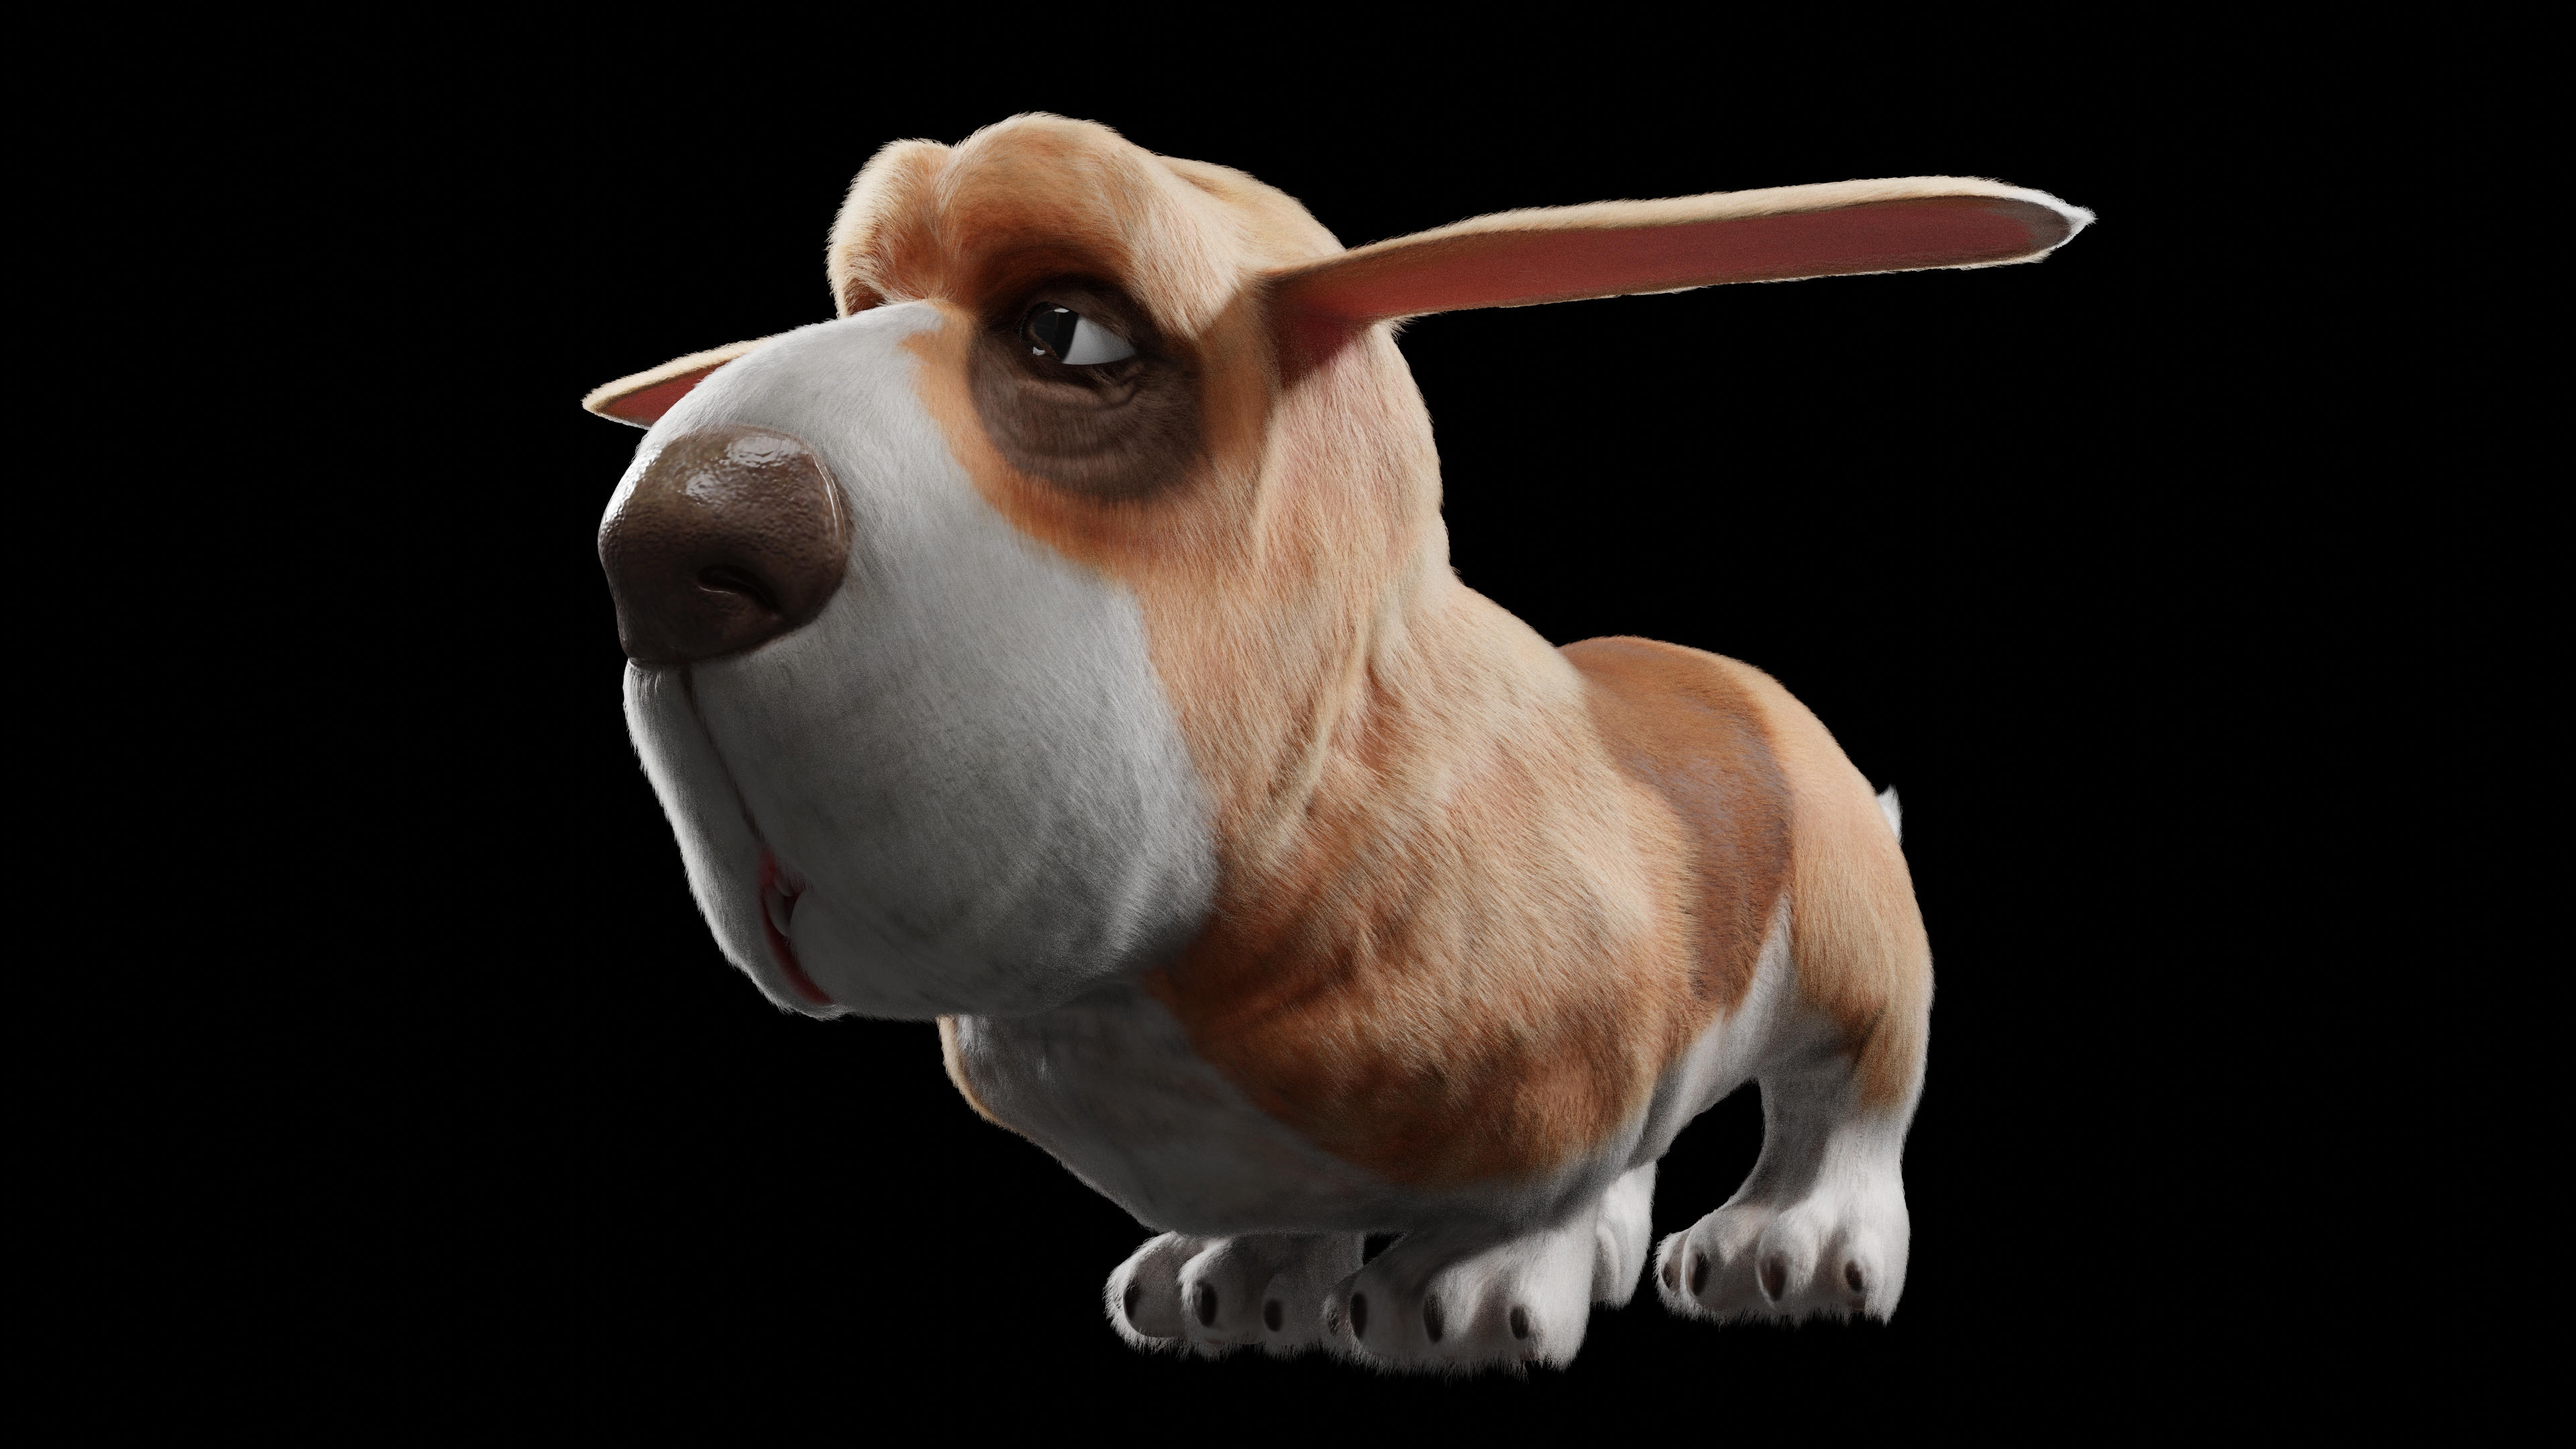
I will try to keep adding details on the body as I go further with the texturing process.
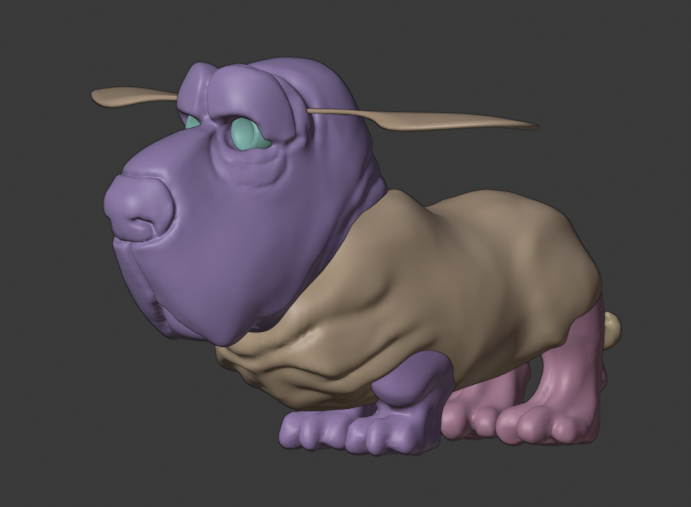
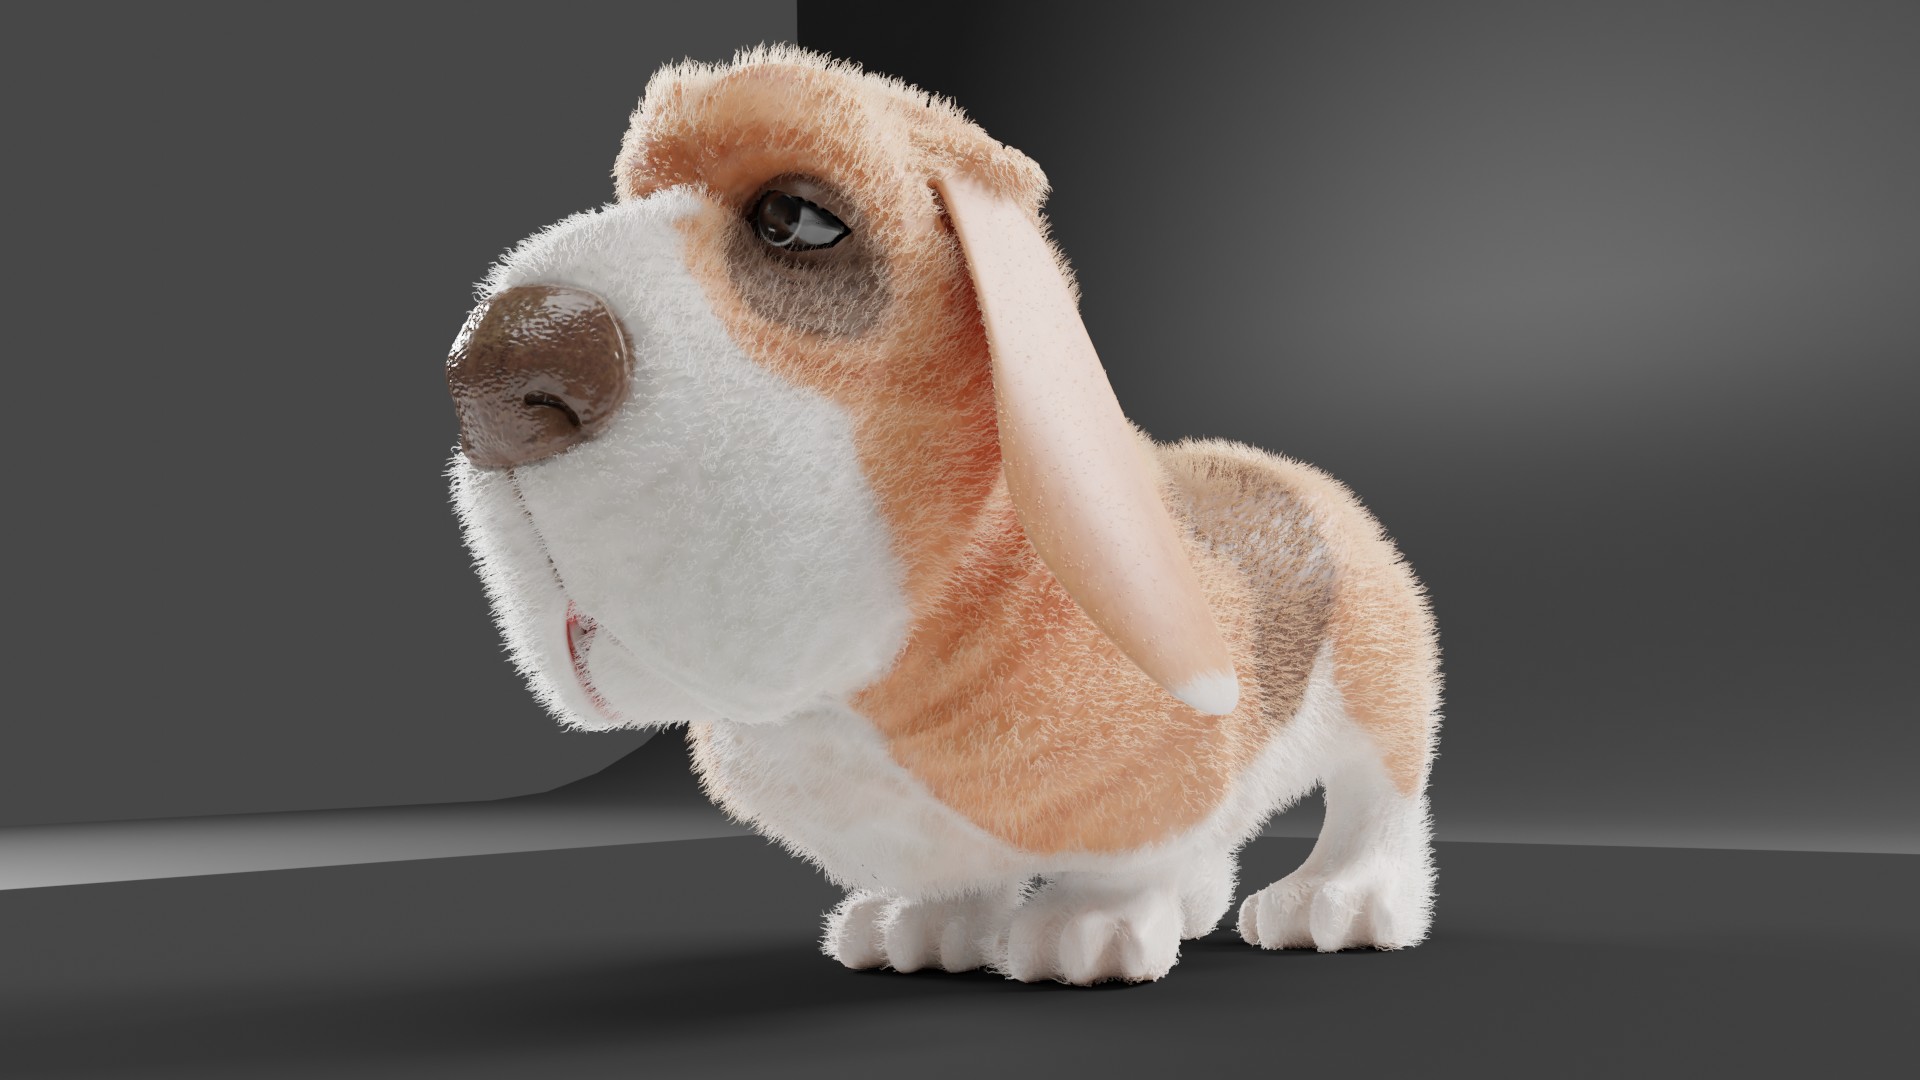
I’m wondering if I should add hair or just sculpt multires some hair details.
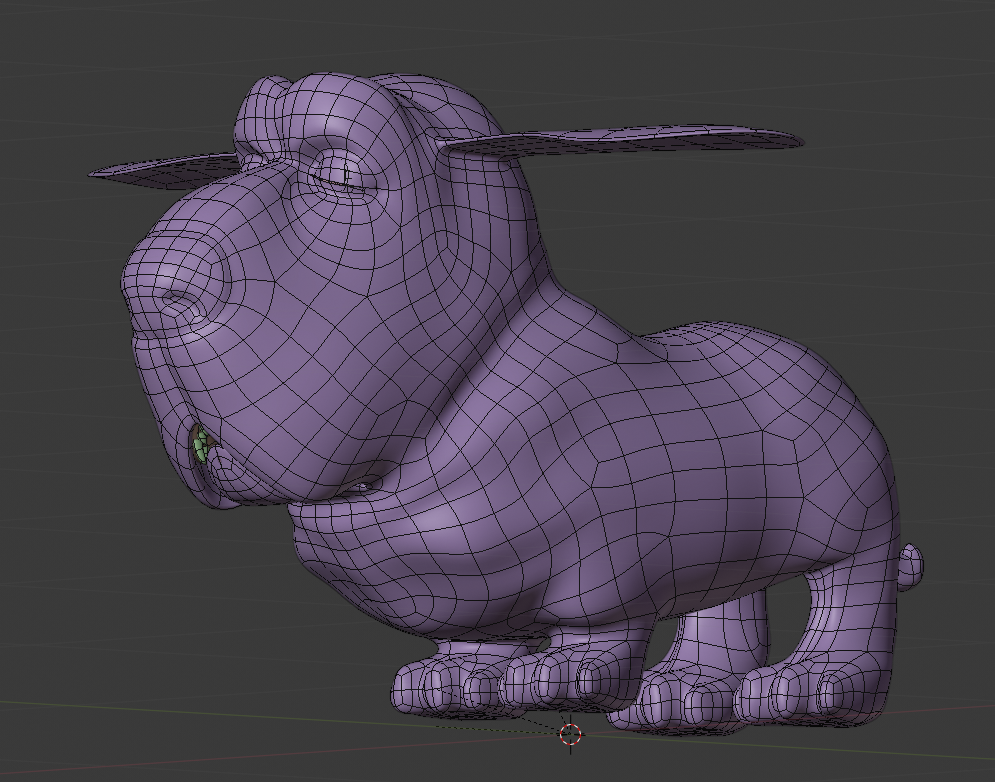
Also I’ve just noticed that I forgot the nails.

2 Likes

It’s turning out great dude! I vote for using hair particles. Look forward to seeing this develop. Cheers!

1 Like

Thanks, yes particles would be great, but I’m going to need a lot for this!, and this kind of dog does not have such a long hair. But sure I’ll try :smile:

1 Like

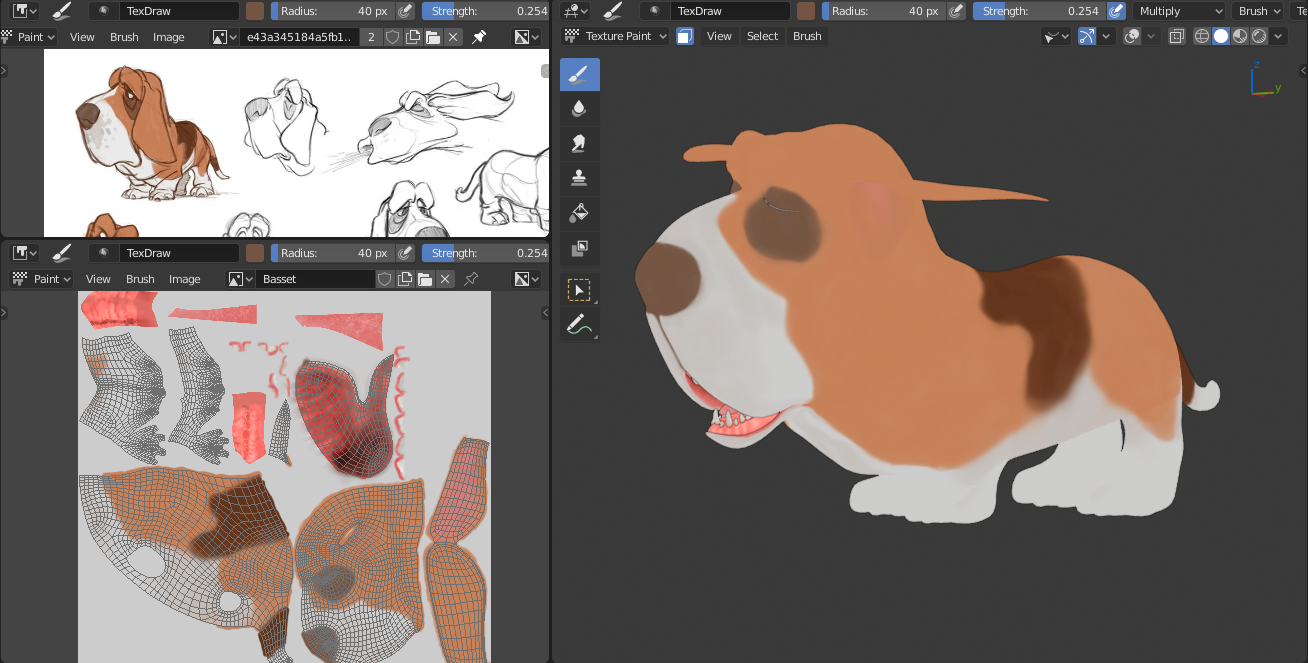
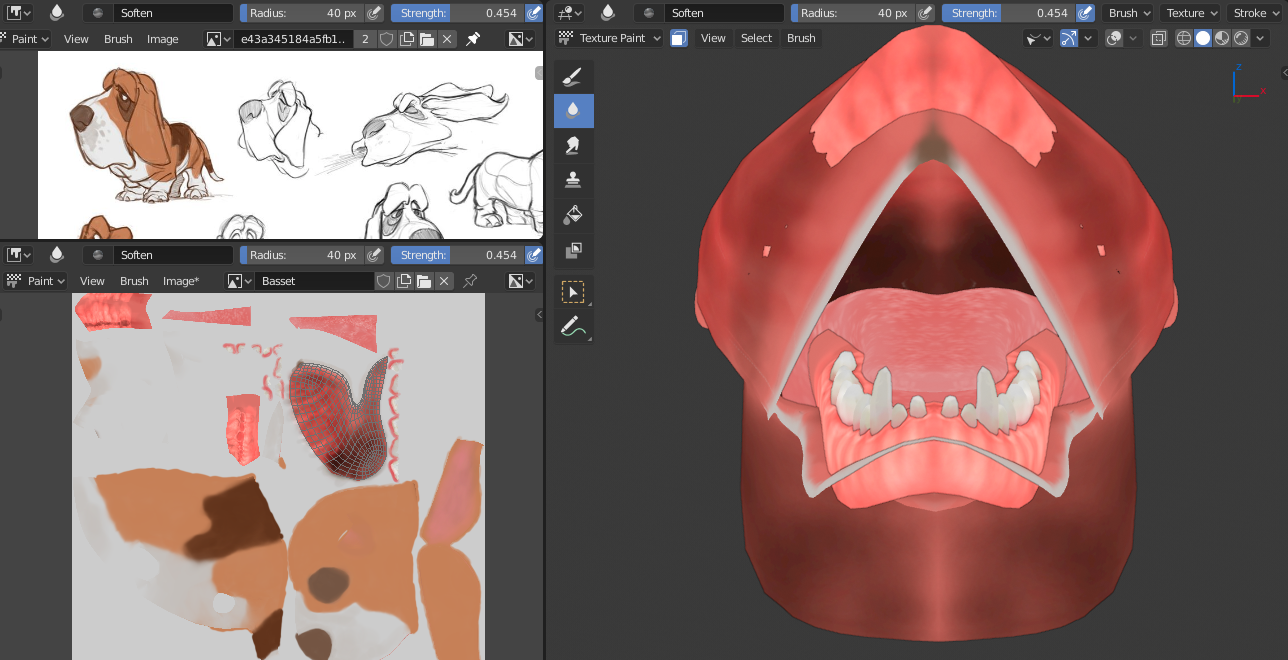
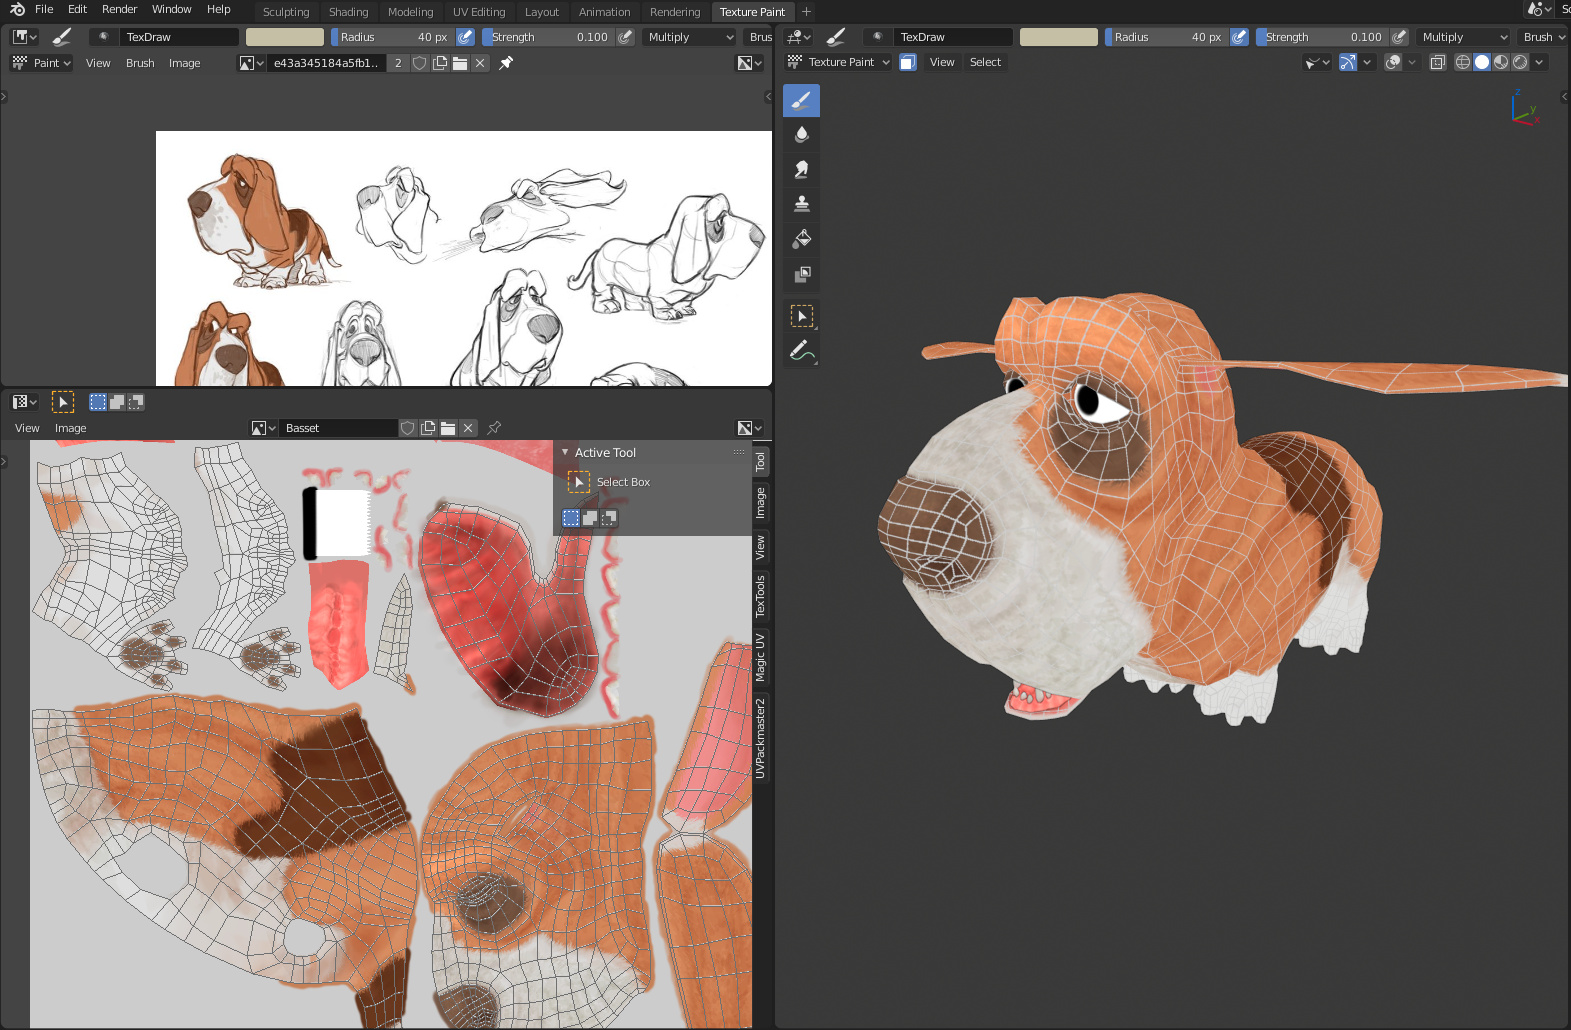
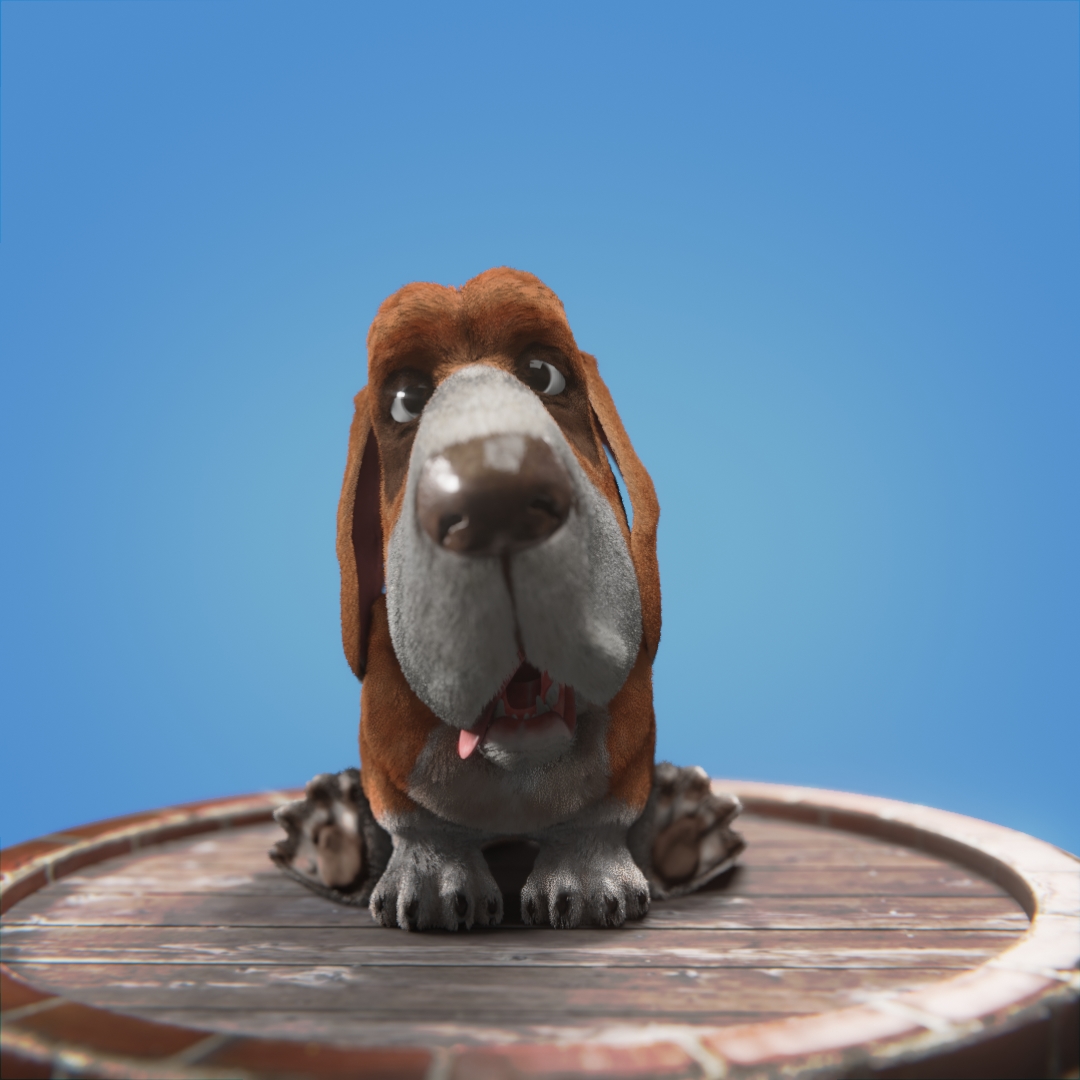
Hi, today I messed up haha, I was trying to “save me” some time to copying the rear paw into the front paw, and as I was doing it in gimp I forgot to turn off the UV layout at the moment of exporting the texture and then I finished with a beautiful web around the dog.


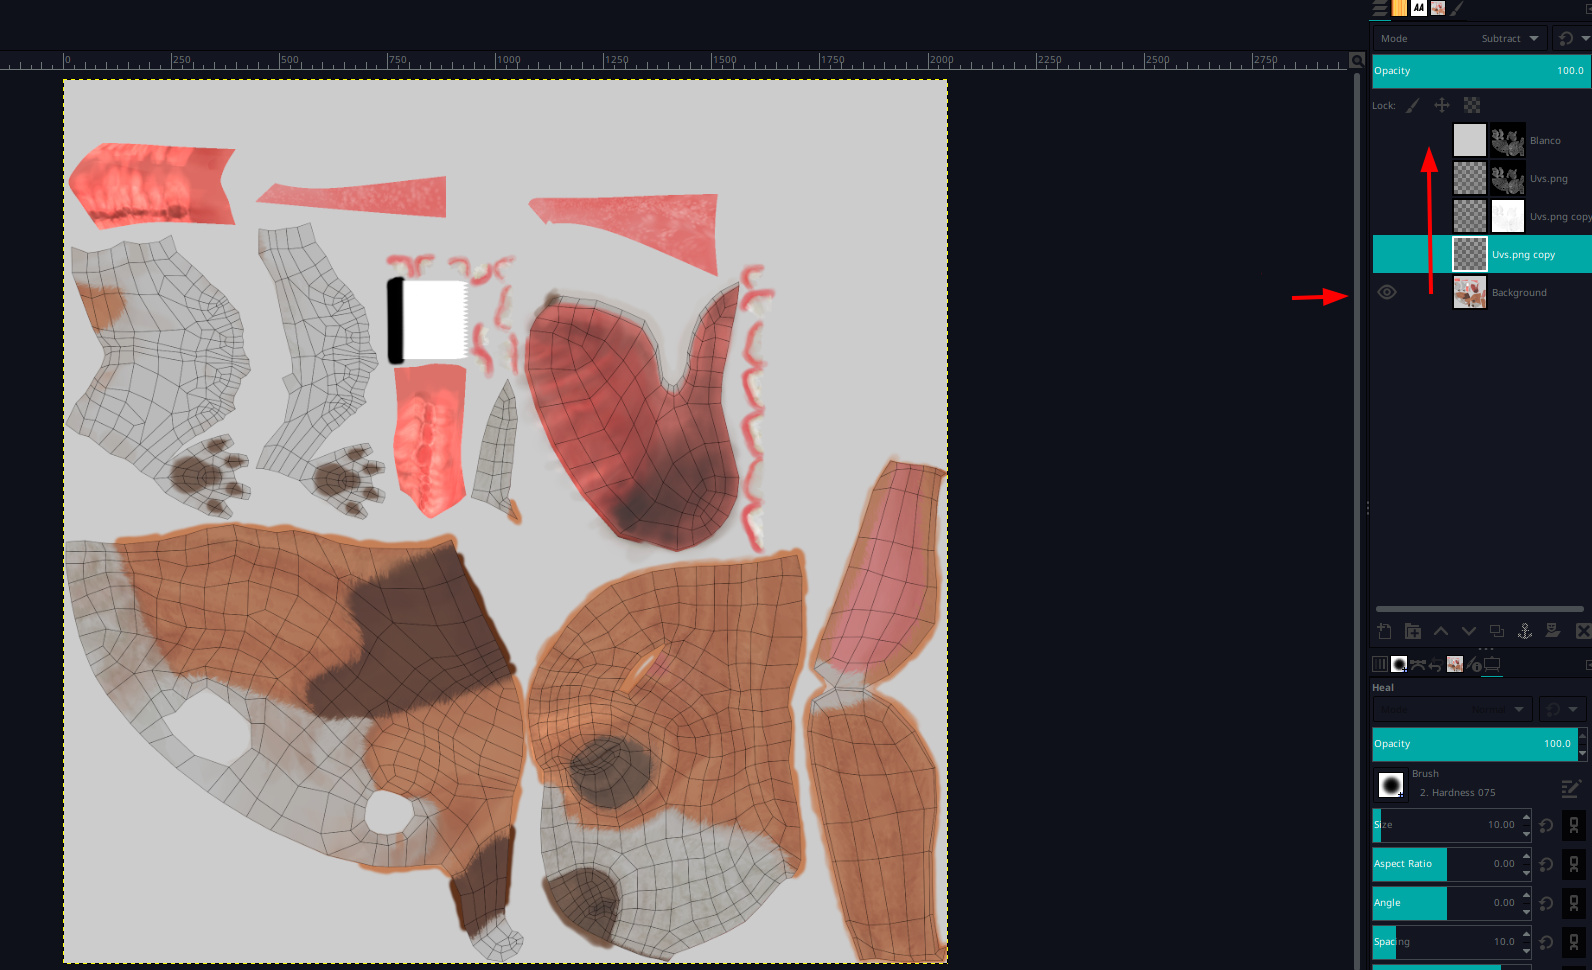
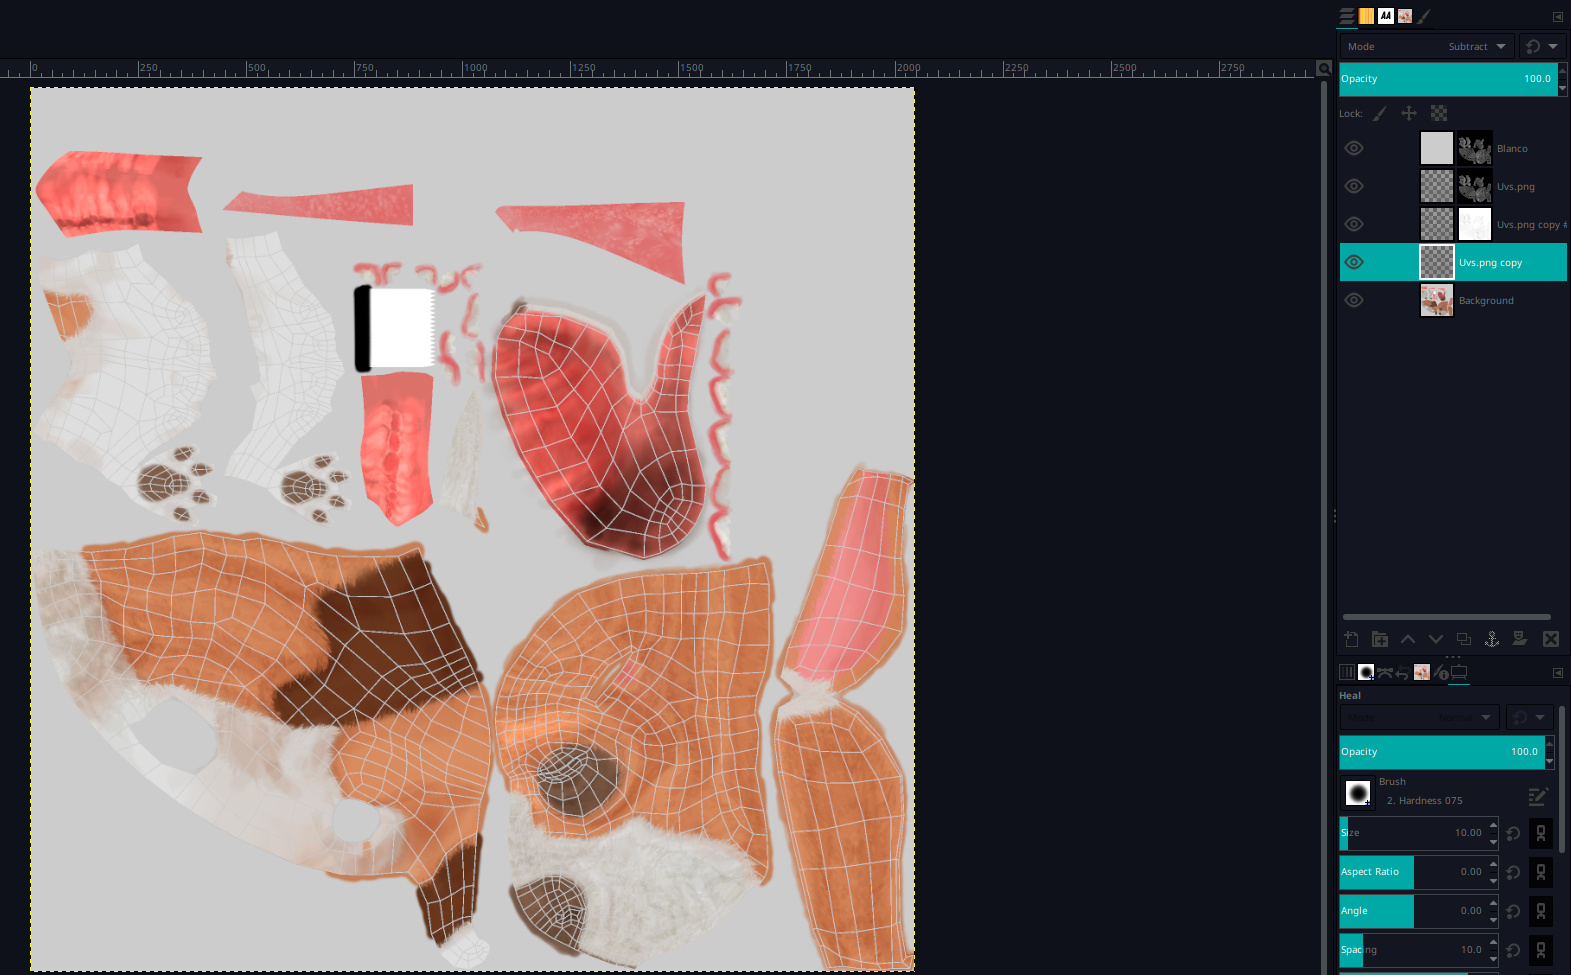
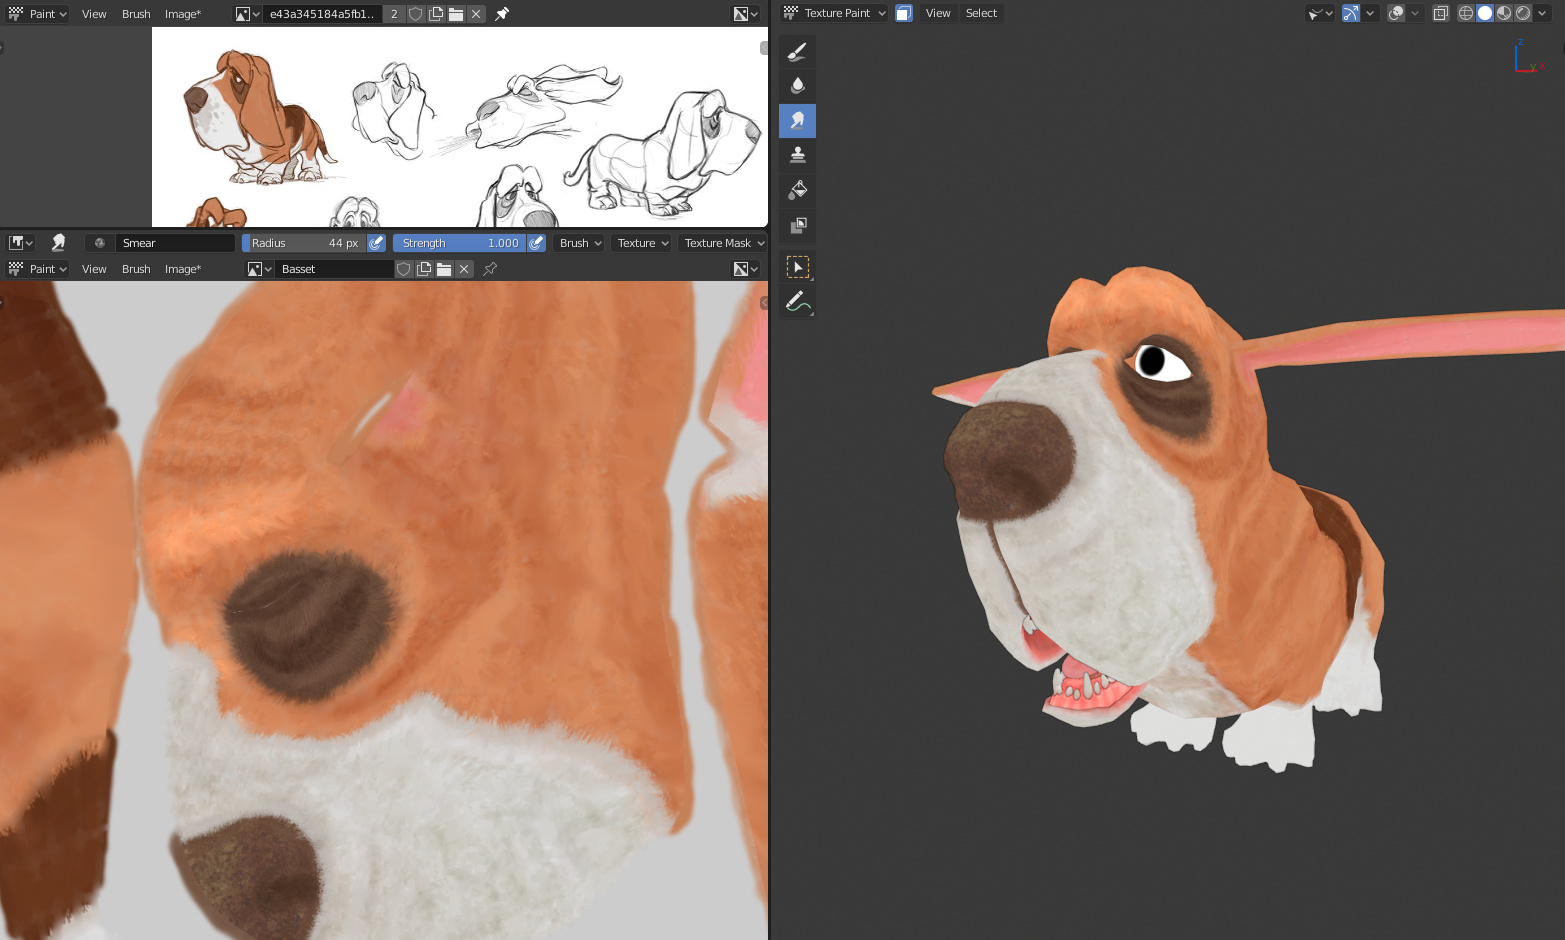
I tried to apply some fixes subtracting the UVs and deleting the lines, and it turned ok and I was able to smudge the lines to restore the colors, unfortunately the hair details on textures was partially lost, so I had to re do most of the face and back.

After smudging…

Then I was able to jump into blender again and continue the work of detailing.

I’m going to keep doing some detailing on the dog as I try to erase the lines, and hopefully keep going on the process.

1 Like

Hair grooming early test

Next thing was to bake normal maps and apply mirror so I could play well with the particles.

Sculpting results with multires:

1 Like

New grooming setup test, with hair guides:


In this one I found some errors and hair patches I had to fix

This was the result of the grooming polish, I’m still wondering to add some long hairs to the final phase


Btw this is all rendered in cycles… but what about eevee?

Here’s a test on eevee with half the particles and a little test on the rig with rigify

2 Likes

nice work keep it up

1 Like

Thanks! :smiley: