Scaling defaults to having the pivot point in the geometric center of the selected vertices. With the mirror modifier on, this gives strange results because the only “real” vertices are on one side. If it’s just a matter of a tweak or two, I generally do a little bit of scaling along the mirror axis, then a small move along the mirror axis, which usually gets me close to where I want to go.
If you have more tweaks than that, it makes sense to change the pivot point to the center of the object, which you can do by switching to object mode, snapping the cursor to selection (Shift+S) then changing the pivot point to the 3d cursor (Keyboard period key or pivot menu.)
Then switch back to edit mode and start selecting and scaling. Be careful to not move the 3d cursor out of position.
Regarding the wavy line of connected verts you had highlighted, I think you have planes going out from those edges in three different directions. The Subdivision modifier is trying to smooth the planes toward all five connected vertices. If you just had four connected verts, you’d have a smooth curved surface, but that fifth vert is also pulling the surface toward it, and creates that little dimple. The only work around there is to not model like that.
The reason that thing keeps happening with the triangle and the merging vertices is because it’s supposed to. If you don’t want that to happen, go down to the modifier and turn off “Do clipping”. This will, however, prevent all of the verts that should be merging at the join from merging. I think Orinoco got the rest.
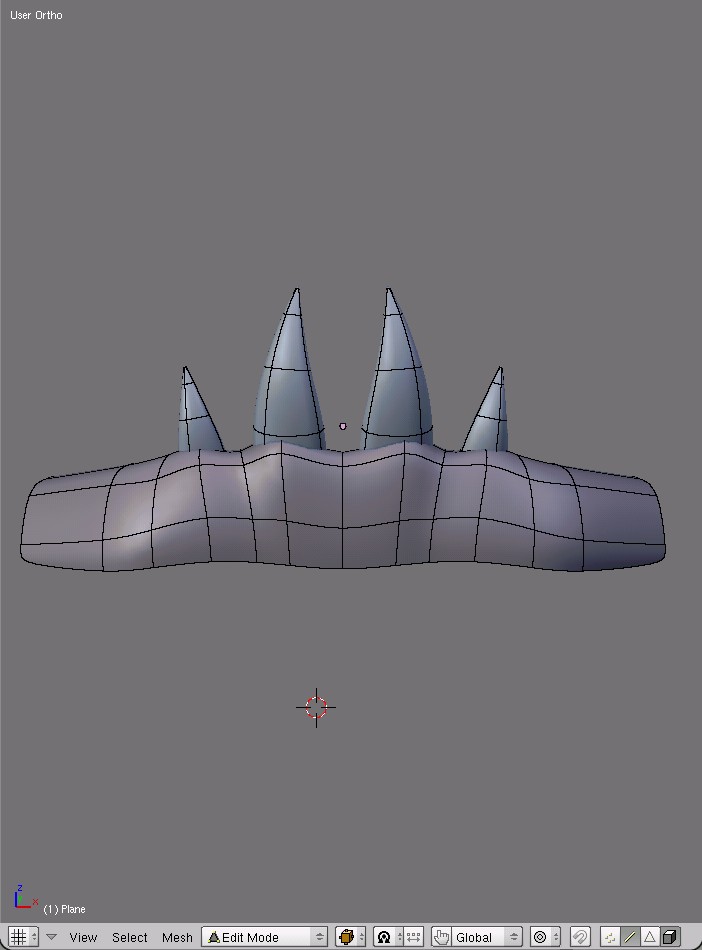
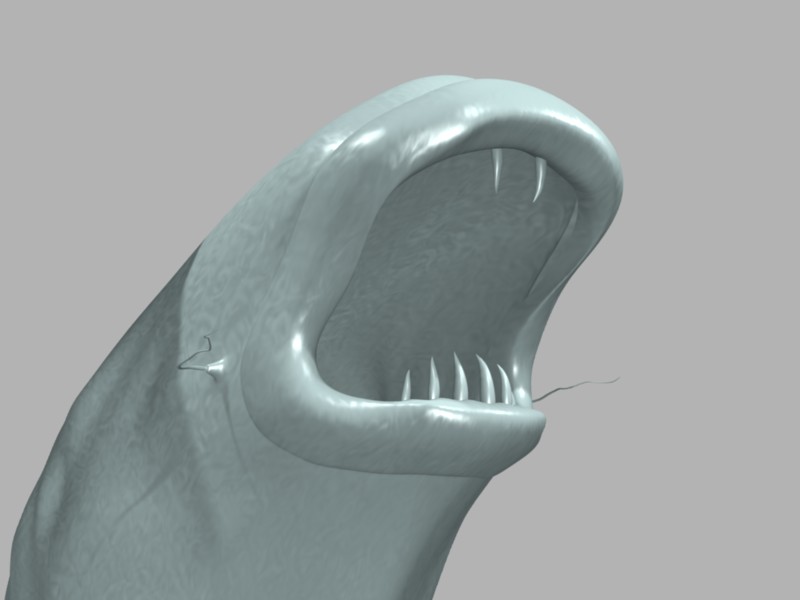
I fixed the wavy line by deleting that whole part altogether, though I don’t know what I’ll do if I wish to try something like that again. The model is much cleaner now, but it seems a little messy around the teeth and I’m thinking there are too many polys in it, which I don’t know how to fix. Here’s the renders/wires, anyway.
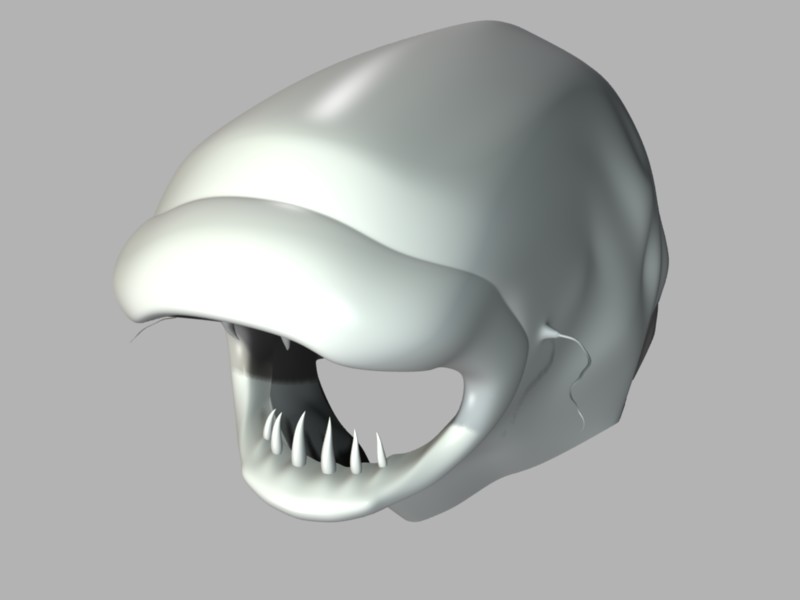
It might be a little too much, but I have it at different angles and with different shading in each picture, along with the wireframe. Sorry if it’s overload.
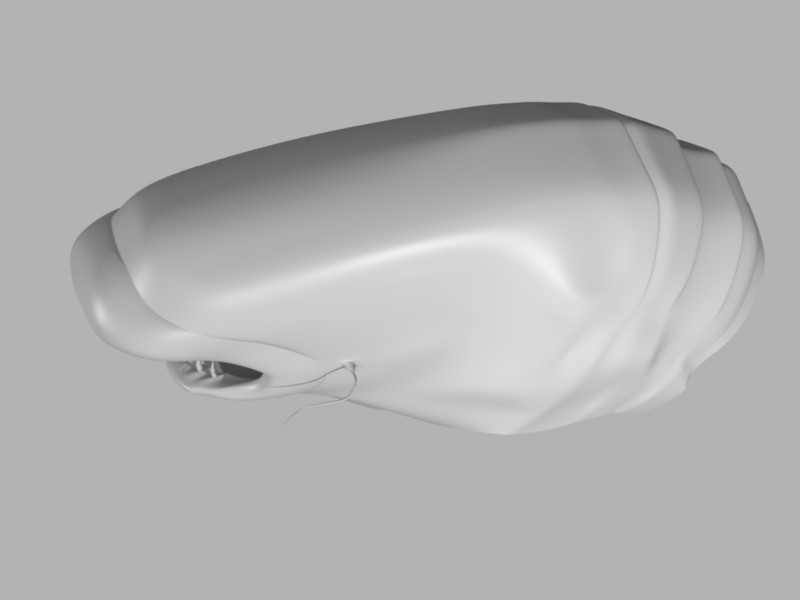
Alright, some new renders done. I made a bit of progress and re-did the teeth the way you said. I like the way it’s turning out, especially the detail after the mouth area, but I might need to change that stuff, because I think it shouldn’t be that way. I think there are way too many edges under the mouth, though, but I don’t know how to fix that.
Also, I’m a little clueless with lighting, so I just used two hemi lights and a lamp for some shadows.
Two hemis and a lamp for shadows is not a bad start at lighting. The bible for lighting is Jeremy Birn’s Digital Lighting and Rendering, 2nd edition. Tone and Gamma Corrections in my sig is also about lighting, and has some links for further reading.
Whatever that fish thing was, I think I’m done with it. The bottom is screwed up with lines running down the belly/neck, and I don’t know how to fix it. I might go back to it some other time.
For now, I tried sculpting for the first time. I don’t really like the way this thing turned out, but it was fun to work on anyway.
I need some tutorials on modeling people, can anyone give me some? Thanks.
Also, critique on how I made the fish is appreciated, since I’ve heard of making “messy meshes” and I’d like to know how to avoid that. I want to make a clean robot model soon, almost like creature factory’s or something out of I, Robot. I don’t know how to make parts that fit together really well, and the precise modeling tuts seem to be for engineers or something, as interesting as they are.