Imagine you have footage of a cabin in a nature park, all made of wood, rustic look, and the camera tilts down from the trees above to the cabin. You need to put a sign on the front above the entrance with some big letters and it has to look like it was shot with the footage. Completely realistic or it can’t be done.
The camera tracking part I’m more familiar with, that’s not as hard. But as far as materials, shaders and other nodes, what would you use to make that sign (obviously a wooden sign too, it’s not like you would put a neon sign there) totally believable?
Thanks, but this one focuses mostly on the glass and just a moment on the wooden table. Is there a specific shader that can be used for wood? As far as I can see in the list, the Principled BDSF would be fine, I don’t see a wood one.
Right, the PBR materials are great, but I’m asking what’s the right way to use them, PBR or not, it’s not like you just throw them in there and that’s it. If you do that, it will look like wood in a video game. My question is how to get that PBR material to look exactly the same as in real life or as close as possible with Blender 4.
PBR is a method of using materials to resemble the real world, and this PBR alone does not create a sense of reality.
Just like in the real world, you need lighting and you also need a camera. (3D mimics a camera, not the human eye.)
Completeness of the object to be expressed is required.
Materials are needed to express modeled objects.
Creating an atmosphere and lighting similar to reality is necessary.
Appropriate camera angles and effects (camera depth of field), etc.
Color correction of rendered results
Various elements must be combined to create a realistic scene.
The link below is about PBR.
※ Many PBR pipelines aim to achieve photorealism.
(Because Blender 4.0 was released for a short period of time, there is not much information. It looks different due to changes in the UI, but you can follow along if you look closely.)
Match the colors. Match the lighting - including bounce lighting. Color Correction in the compositor either before or after the render.
Learn what the scopes are in the Image Editor. Your inserted sign needs to match (not 100%) the videos Waveform & Vectorscope to look like it belongs. Watch the scopes while color correcting.
Matching this is more important than matching the PBR to the video. The sign could be painted white with blue letters - non PBR, but it still has to ‘fit’ the scene.
Watch tutorials on blenders scopes then watch videos about matching using other software. It is a pro with 15+ years of useful knowledge you need to watch. Not someone pumping out Blender tutorials to make a fast buck.
Yes the color grading tutorials for Blender from 5+ years ago are still relevant.
That will obviously depend on the wood itself. Is it old, new, flaking varnish. dusty, damaged, etc, etc.
Also, how close is the shot? What sort of lighting is it? Etc.
As mentioned, the realistic look of the shader (you don’t need the PBR in there because all modern renderers and shaders are ‘PBR’, it’s just an old term from when the industry shifted away from older shading and lighting models) will depend on lots of other things too. Can you capture an IBL map from the real-world footage to light the scene? Colour correction/matching. Post effects. Etc.
You can use a scanned wood material - which is 100% realistic because it’s obviously captured from the real world - but it may not look good in the final shot if the other aspects are not in place.
People will probably have better advice for you if you actually have something to show, so that it can be critiqued in a focused way rather than generalisations. Pictures and 1,000 words and all of that.
Hi all, sorry I haven’t had a chance to reply, it’s been a very busy week. I wanted to thank you all for your generous tips, which I’ll read as soon as I get a minute, but I didn’t want to go any longer without thanking you all for taking the time to post all this.
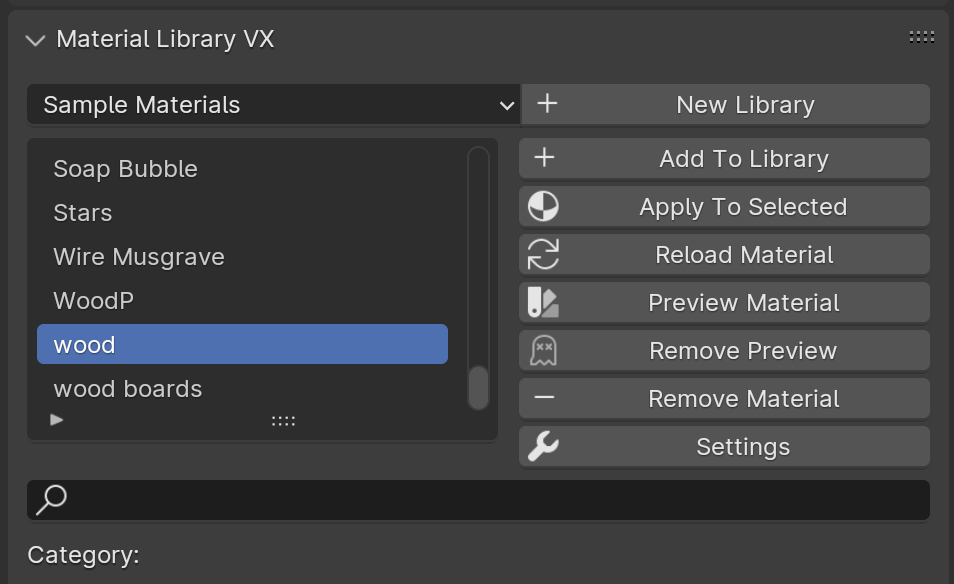
Right after I posted my last message in this thread I went to work on the project, and redo the sign. I was gladly surprised to find that Blender comes with some presets for materials:
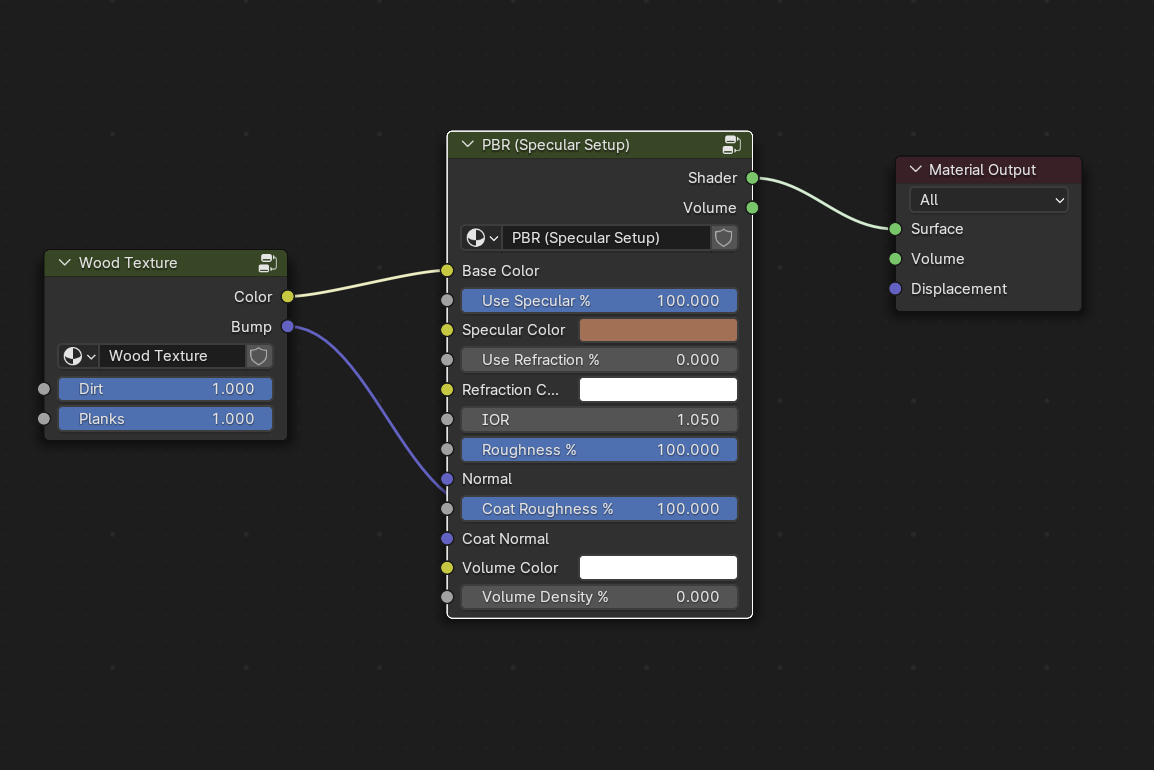
I played a bit with the parameters just to learn, but eventually I needed to finish it, so I left them at the defaults. I was struggling with the text because the wood textures I had all looked bad, but I applied this and at least it looks decent, after playing with some lights, sun and the sky environment.
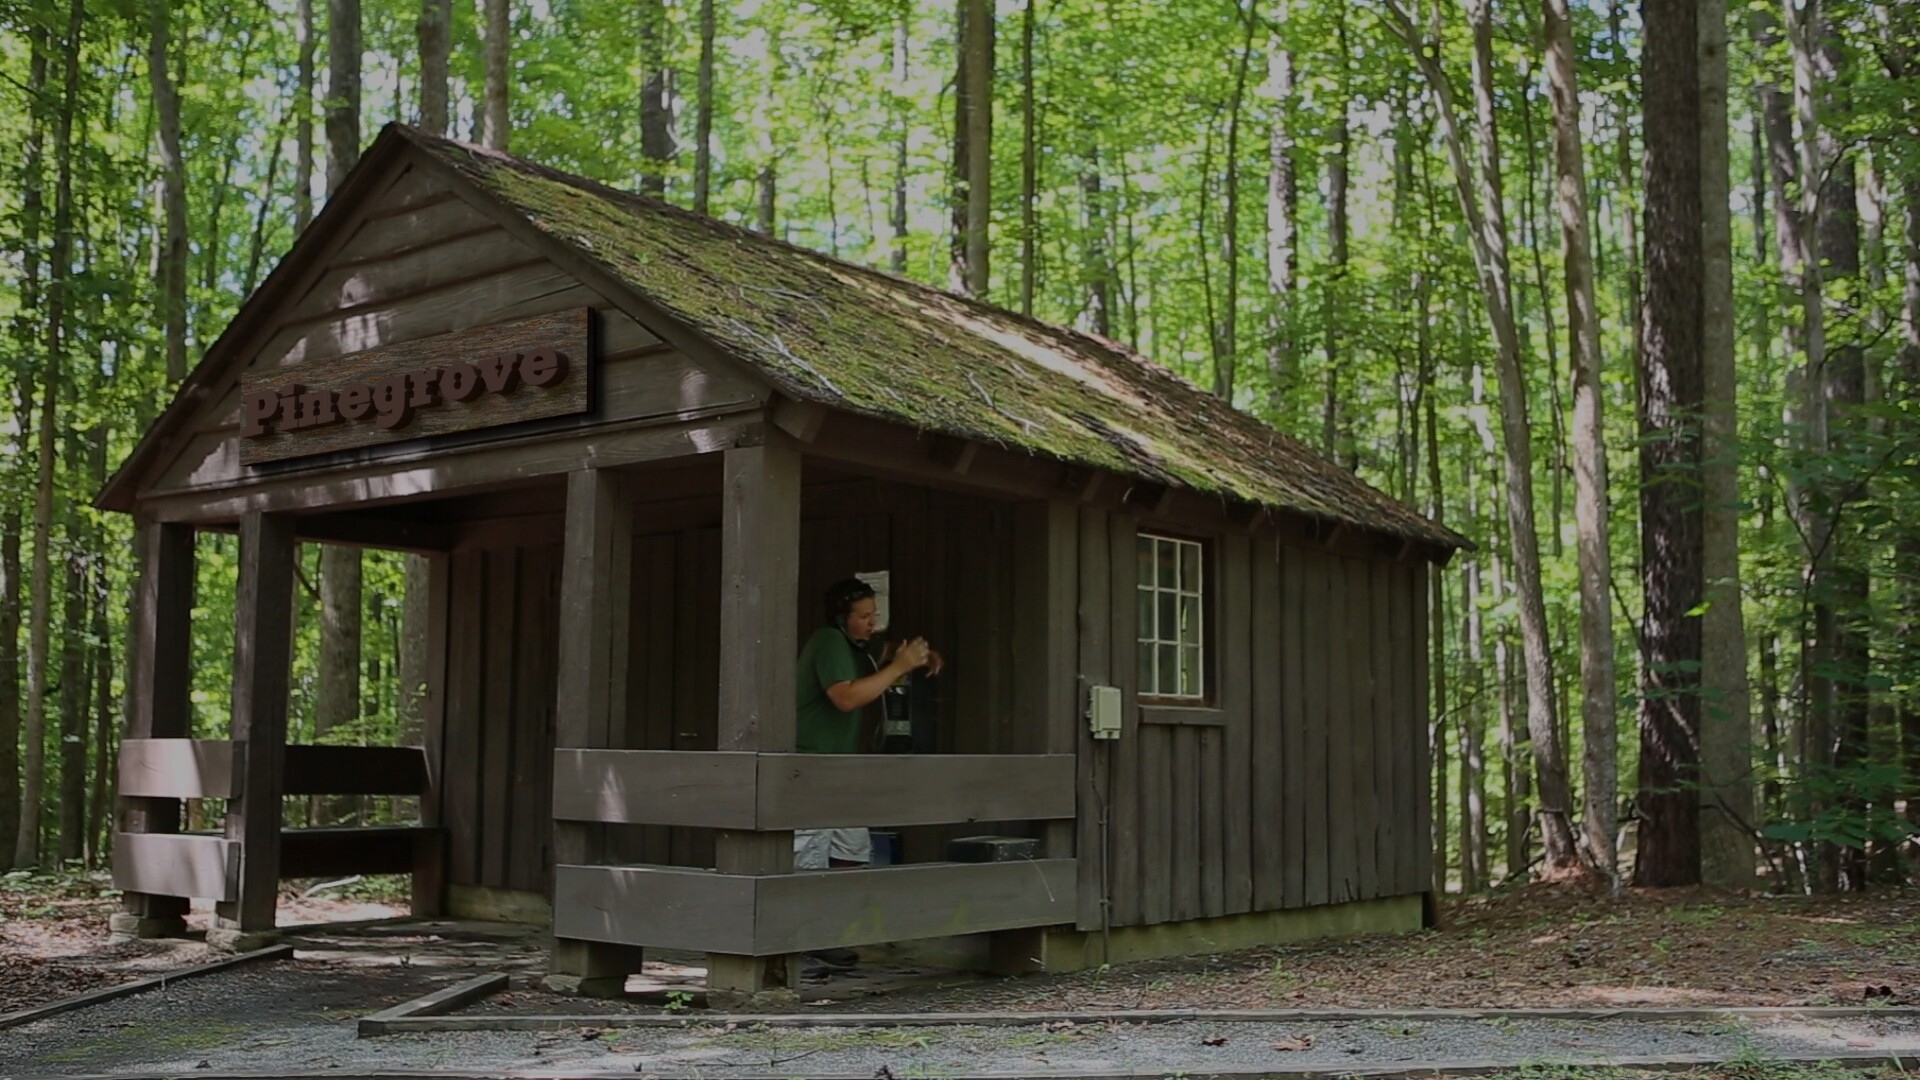
Still, I didn’t have time to replicate the shadows to match the rest of the front of the cabin as I would’ve liked if I had the time, but the client was very happy, and this is for a very low budget movie. So this is how it ended up looking. I’m sure that everybody here will find at least 10 things wrong with it, but well, some day I will revisit it and make the shadows match.