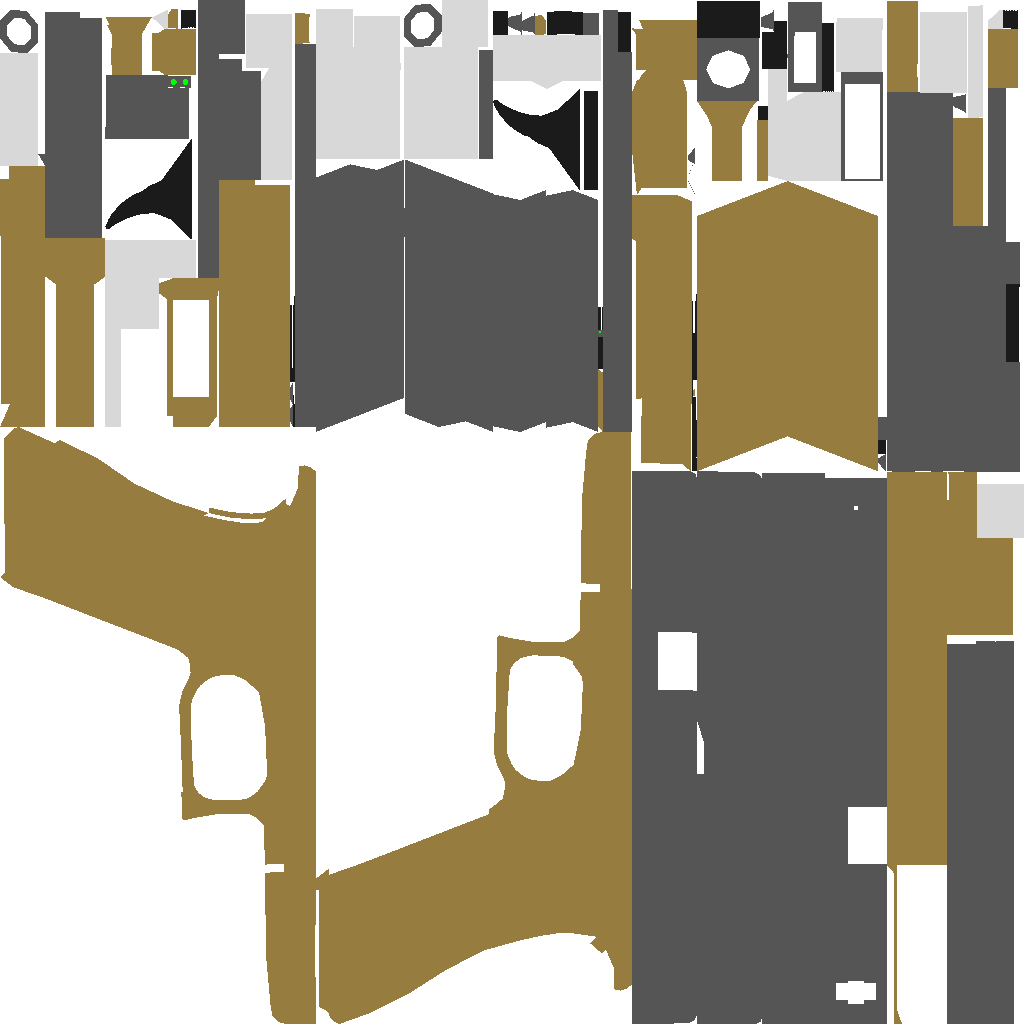
Anyways, I have a basic texture for my Glock 18 model, I made it with material colors.
And in the game I am developing there is a posibility to buy weapon skins.
So what is the best way to make weapon textures for guns? Basically I want to maybe have a special color or have a camo skin, is there any way to kind of overlay another picture and choose where it is going to be seen.
So for example, I want a camo skin on my gun, but I dont want the skin on my trigger put on almost the rest of my weapon. How could I achieve that?
Hi, thanks for answer! How would I «merge» the overlays into the gun unwrap? Like how would I do so that the original picture (unwrap) would keep its size and form and have the other picture? I hope you understand what I mean…
What comes to my mind is texture-painting: you assemble one or more source textures, then literally paint your gun with them. This is a good, practical way to get slight variations that suggest that the gun has been well-used. The tools are digital equivalents of spray-guns, paintbrushes and so on, and they copy data in various ways from the selected sources to the one output map that you are creating.
Remember as always that you can layer multiple textures and combine them using nodes. So, try to train your eye to "look at the light," to observe what various things the light is doing as it plays across a real-life model, and then to de-construct those effects in a way that is consistent with how nodes work. (The final texture that your eyes see is a combination of simpler things. A camouflage layer, for instance, might have been “sprayed over” the gun, and here and there it might be rubbing-off.)
Aspects such as textured grip-areas, put there by the gun’s manufacturer, could be handled with displacement maps (after subdividing those areas appropriately), and/or by the poor man’s substitute, “bump” maps, if the gun is always going to be some distance away from the camera. (And, if it’s ever going to be out of the soldier’s hands. No sense perfecting something if a guy’s hand is always going to be covering it up. See below.)
Personal opinion here, but I suggest avoiding “grit and grime” in your zeal for “realism,” especially with regards to a weapon. Soldiers know that their lives depend on their weapons and they’re fairly fanatical about keeping them as clean as possible.
When you’re texturing something, put it in the soldier-actor’s hands and set up the scene in which the object is going to be seen and used. You can spend 200% more time than you have to spend on this sort of thing, and you need to know when to quit. …
Hey, thanks for a long reply!
Definetely helpfull, but not quite what I was wondering.
How would I like “Bake” a picture onto a UV unwrap. So I can export the texture with the specified pictue?