In testing myself to find a way to actually finish what I start, I start a new project to find pipeline things to avoid or practice for next time. This go around, “Pops.” Pops volunteered to stay with his damaged ship on the Moon. The means to survive being greater than the means to leave. News of Moon, Population: 1 became everyone’s favorite daydream and Pops declared himself a citizen of Earth, not any particular country.
Other countries launched expeditions to provide for him, visit him and be his guests for a few days at a time. Earth, which moves in multiple ways - around its axis, around the Sun, within the Milky Way and with the Milky Way - entered a new cosmic season: A debris field. Early mornings in June and July, every nation on Earth is spun into a cloud of debris that streaks through the skies. Larger, harder pieces strike indiscriminately below. Every year, it’s getting worse as Earth and the whole of the Solar System is drifting deeper into the cloud.
Pops, known worldwide and loved and prayed for, has a tragic, front-row seat. Unless something is done, he might also become, for a short time, the last human.
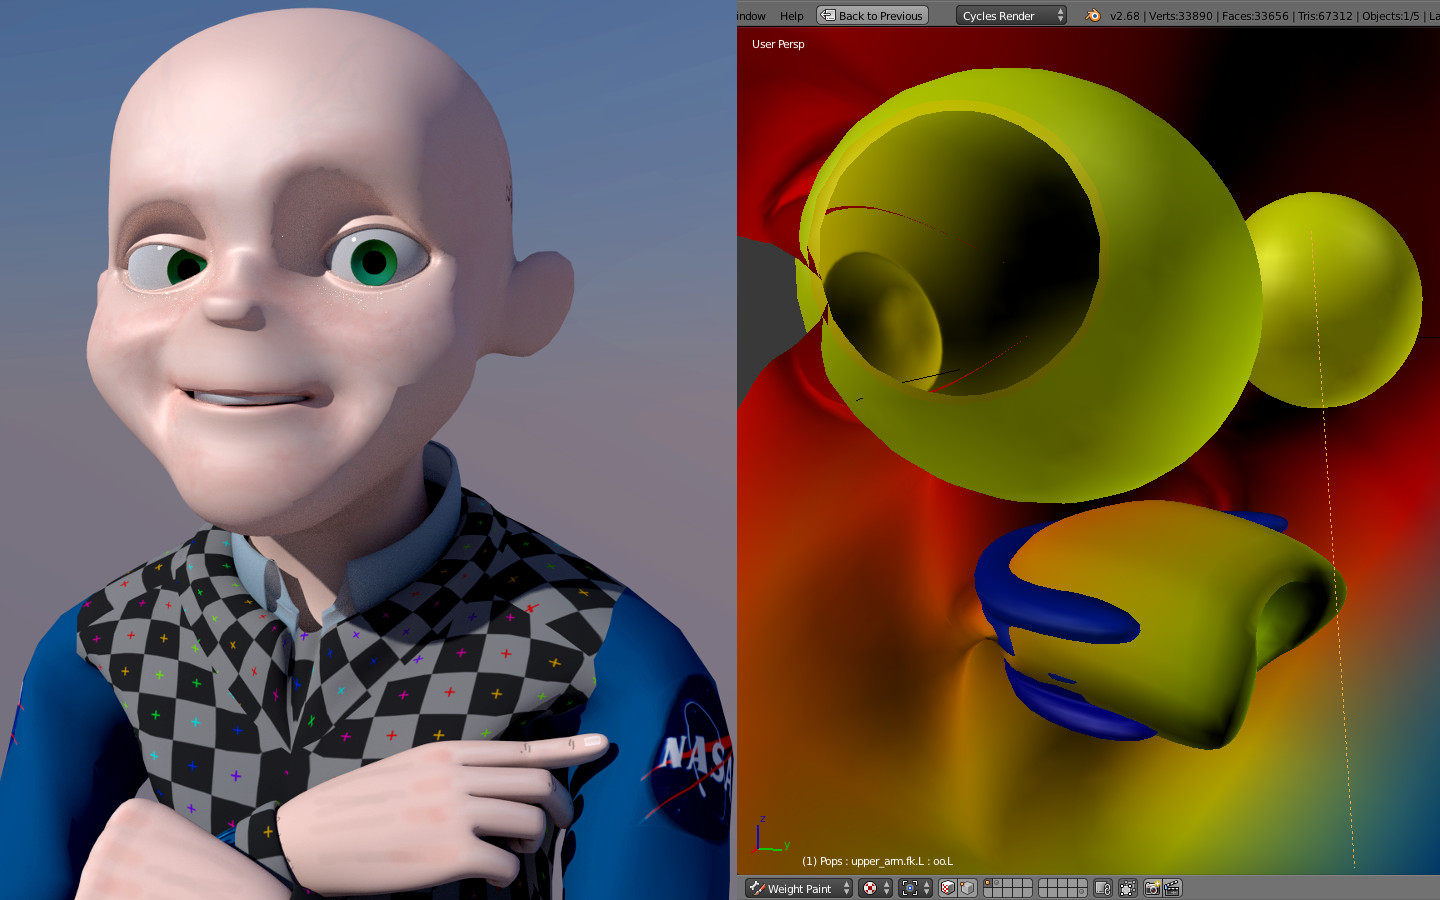
First though, he needs his teeth and tongue to stay in his head when it moves. What’s the best way to Mask while weight painting to reach parts of the Mesh that are inside? “Pops” is already the result of a lot of other things I’ve learned, so thanks in advance. Sorry it’s such a simple question!
Well it’s not all that simple. Anyway after you Automatic weigh the bone to the mesh and vertex group is created for you, that vertex group needs to be edited. Creating mouth geometry with simple mesh and with lots of loops helps with selection and editing.
Make use of Vertex Group property function Assign, Remove, Select, and Deselect. Sequence is to select vertex group to edit in edit mode with all vertices deselected. Hit Select button. Menu select Select > Inverse or [Ctrl][I], then [H] to hide everything not assigned to that vertex group. That will isolate and show you vertex group of interest to be edited.
For example, make upper teeth, lower teeth, and tong a separated mesh. Separated mesh can be selected all at once with [L] hot key. Upper teeth get weighed 100% to head bone only. Lower teeth get weighed 100% to jaw bone only. When you select other vertex group, they should not include any of your mouth vertexes.
I don’t know why I forgot about that system of typing in to Vertex groups. Everything has great loops but I accidentally put shape keys beneath the subsurf modifier so I can’t apply it without having to start all over - that’s not the end of the world but I’d rather not do it this time around.
You were right that it wasn’t such a simple question - I got his eyes and teeth in there, but now they move faster! His face is still like a rubber mask in many ways because it’s stuck to his neck bone a little. It’s just a matter of spending some time to correct that and the elbows, hips, etc.
I did get goofed up on the eyes though. They move with the head bone as separate objects but follow a cube empty that’s detached from the Rig. So a 30-degree look to the right gets stuck when the head moves rather than the eyes continuing to track. I’ll check out some tutorials for face rigs to get the basics right.
Thanks for your help; hopefully this project will get a little closer to done! (Short and curly hair is hair particles by Group with density and length linked to a vertex group if anyone searches for that.)