Ahhhh that would explain some of it, I thought RAM was an issue but I ran out of money before I could upgrade, thanks. But what if I want to add a bit of sculpting to the porject… that requires a large amount of vertices to come out well…
No, sculpting doesn’t require large amount of vertices. Detailed sculpting does. But for the image you showed, the details weren’t visible, so you can do the same with fewer polys. CG is about simplifying what’s visible and removing anything unnecessary.
Yeah detail was what I was aiming at, the image was rendered low poly as I said before, it gets higher…
Adding Multires increases Subdivision levels, so you can use sculpt mode accurately. If you apply multires, there is no way of getting it back unless you Ctrl+Z right after. Of course, increasing subdivision levels increases polys, and unlike the Subsurf Modifier, there is no limit. If you apply the Subsurf, it does the same thing as Multires, except it just Subdivides the surface. (Of course). So applying both raises your polygon level.
i would suggest to make the scene new :\
its messed up as it is with all the multires, the scene you did should be doable with around 50k faces thats 100 times less than you got and the rendertime should be around 1-5 minutes.
also if you want sculpt, try reading up on normalmap baking
basically what it does is to make a highpoly mesh into a normalmap (bumpmap) texture, it will decrease your rendertime enormously.
basically you can skulpt it to around 5mill faces, bake the render, and apply it on the 50k mesh, without any loss of detail.
http://blenderartists.org/forum/showthread.php?t=110160
here is an example of a normalmapped lowpoly character
Well, there wouldn’t be a loss in detail, but the shading comes out a little funny. (no one can really notice it.)
ok “any loss” is too optimistic, but its considerably better than trying to render 5mill faces
Good point.
I just loaded the blend. Some of your objects are emitting enough particles to fill that room. They showed up huge but not in the render. Also removed a lot of doubles.
Hi,
another_noob is right - it’s the particles that are slowing you down.
Try this file:
http://www.savefile.com/files/1594522
(Saved with v2.46 - it might not load in earlier versions)
It is 33MB smaller and renders in just over 9 seconds on my machine. You may want to play with the particles a little bit if you’re not happy with what I’ve done.
I also disabled ray tracing, SSS and environment mapping, enabled the auto-thread setting and increased the number of render parts.
Hope this helps.
Hi,
One more comment - I’ve just noticed that you were using ray tracing on one lamp to get the shadow on the far wall. You would be better replacing the lamp with a spot using buffered shadows.
ah, so it was the particles, why didnt i notice >_<
well duh^^
Wow, brilliant, thanks guys, that information was really helpful! That baking business will be useful, I’ll use it.
Raw pidgeon, I just took a look at the file, the rendertime was a coupla seconds for me as well… but… have you ever seen an aged man with a moustache as thin as that? Yeah, it kinda spoils the effect, that was the reason for the amount of particles. I’m not sure about optimisation with that many particles and the new system has got me screwed up on physics. I’m not sure how to get the deflection physics working since the eyebrows and moustache hair should not be going throught the helmet. Can anybody help with that?
Sorry I seem to be repeating myself, please bear with me, I’m quite new and I am trying to learn blender while implementing it in my last year of school… bad timing but hey! It’s fun and I intend to make 3D graphics a life career.
Hi,
Feel free to increase the number of particles. I reduced it to a few hundred because I didn’t think you needed 20,000 hairs in a mustache (you only have about 100,000 on the top of your head). Increasing it to 1000 or so shouldn’t slow the scene down much.
To get your hair to avoid touching your helmet, try the new hair tools. Just comb your hair around the helmet.
ok thanks. Will do.
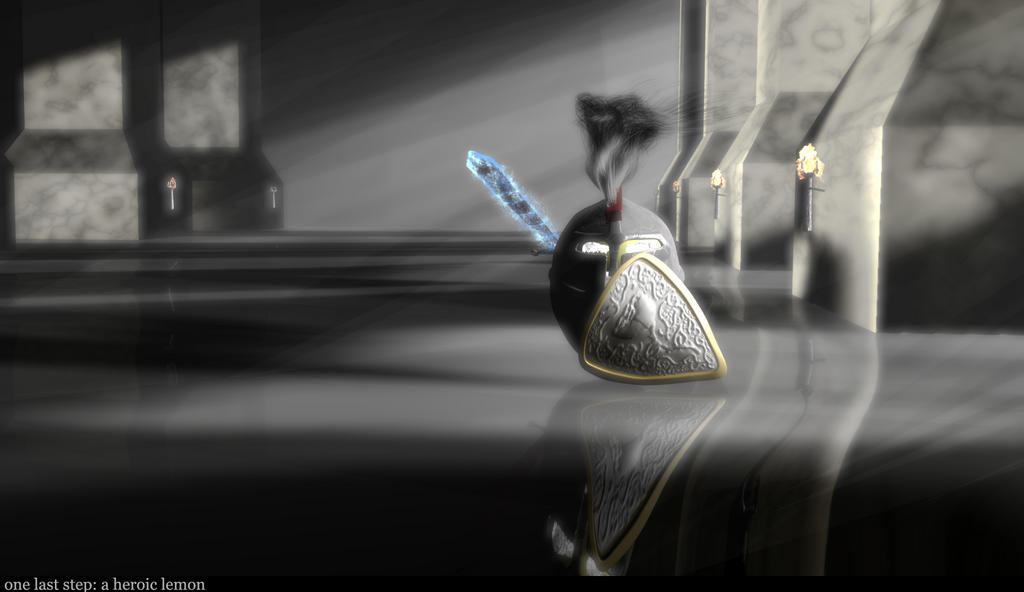
Big thanks to all of those who gave advice, I wouldn’t have finished this without you lot, especially raw pidgeon whose file was a big help in downsizing! Here’s the finished picture, took about seven hours to complete, and I didn’t do render baking for the simple reason that I couldn’t find any tuts on it.
Attachments
Oh my gods people… The octree resolution is more tricky than that. Lowering it can actually increase your rendertime (atleast i think so). In some cases the highest renders fastest (i think it depends on how much polygons you gots on screen)
Correct, I worked that out after reading the tag for it… Pity there isn’t a 1024 setting… that pic was full hd.
Well 7 hours for that image… i would start to rething the way ou do lighting :S I imagine such image to be able render a LOT faster… unles i am missing something.