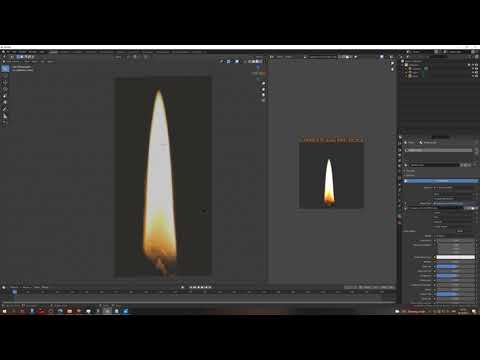
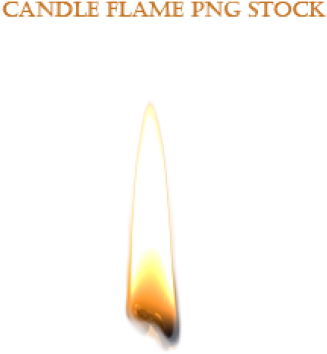
First, you add the image, make sure the Import Images As Plains addon is enabled, then you can Add Image, Images as Planes. Then Blender will auto UV unwrap your picture.
In the Material Properties (red gray ball, right menu) and in there Viewport Display should be Alpha Blend for Blend Mode, then the alpha into alpha should work as opacity without any opacity maps.
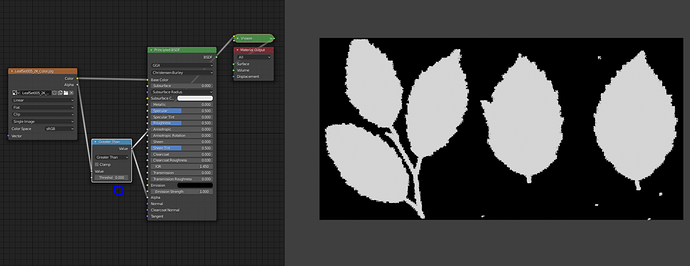
If you want to actually bake the opacity map (black transparent, white is seen) then you can add a Greater Then Math node for the colour of the image. As you can see, the alpha cut is not soo smooth, contains artefacts, and it might be an issue, if you want a clean image, but you would need to correct the alpha cutting in an external editor, e.g. GIMP. Mostly it should not be seen in a large composition.
Now that we have it, you make sure the UV map is selected to render, but it should be by basis (right menu, green triangle (object data properties) there UV, it should be selected with the white (active) camera icon.
Then click the object, in the other window create an image texture with the resolution you want (rectangle aspect).
Then you connect the node you want to bake into the shader output, and make sure your image texture is selected as well.
Then go Baking, select Emit, and click bake. The render settings are applied for baking as well, so in this case you only need a few samples like 8-16 maybe, I think it shall be all fine.
Once baking is done, you can go to image editor, and save the image you baked 


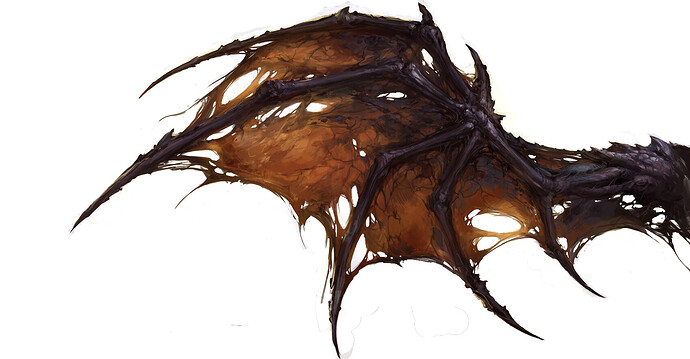
 I have plans on making a bunch of different wing models and sell so i need to build up a collection of a bunch of different models quickly. Oh well… I guess i have to re-learn 2.79 lol