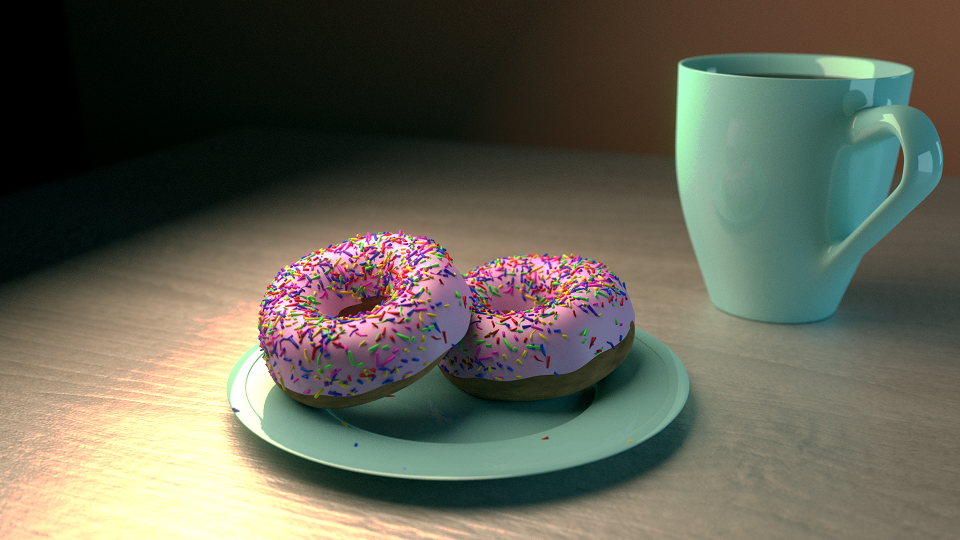
How do you think I did. Lighting is hard. Mine isn’t as bright as the tutorial, but I think it still looks well lit.
What would you change?
Thanks,
Ang
How do you think I did. Lighting is hard. Mine isn’t as bright as the tutorial, but I think it still looks well lit.
What would you change?
Thanks,
Ang
Change? I would change the background 
The absence of background is why your reflections are not as great as expected them to be. HDR image could help.
Pointing the table and its contents next to a window with blurry yet colorful landscape, will be a game changer for you. Inclusion of windows, drapery, room corners and even a ceiling will cause the light to bounce in a more natural result or expected result. Why? Because it has something to go on with, other than a dull color. It has a place in time when this, all, is happening. So make more for the glass to reflect.
The best results will happen if you start all over again, but this time, more from you, less from the tutorial. And repeat the process over and over again. Others do it too (pro lvl)! :yes:
Hello SheGeek
I guess, that you are rather new to Blender, so this Render is good for first resulsts 
As you said, lighting is hard, and Needs to be improved. There are tons of different lighting setups, and I would recomend to just look at some other artists work, and also still fotographie.
The Composition is another Problem in this render. Try to get the Viewers attemtion to just one Object!
You can do that by using the method of the golden Ratio, and/or Play with depth of field. The best way to learn, is to try out a lot.
I would suggest to lower the Camera down to the Table, Position The Cup in the golden Ratio, and set the other Cup and the plate in the Background. You can Position the Cup in such a way, that it is cut at the sides, so not all objects are fully in the Scene. Most of the times all objects are comüpletely in Frame, witch Looks boring, so try to avoid that.
Set a Background Image of an Interior/kitchen (and use that as HDRI-Environment Map) .
For the Main Object, you can use additional light, to really light up this specific part of the Scene, to grab the users attention even more.
The Materials look good so far. MAybe a Little work on the fluid (coffée?) is needed. Add a Little translucency, or subsurface scattering to it. Also imputities / Surface imperfections are very important. I suggest to watch other tutorials from Andrew Price on Photorealistic PBR Materials/Texturing.
And for the last Part: Don’t take this as harsh critisism, your render is very good, and can be better, just by playing around with what I mentioned. 
And never underestimate the power of Post processing! (Film-Emulation, Vignette, Collorgrading, to just mention a few )
Best Thing to do is, to Play around with the Settings, and watch lots of tutorials
So keep up the good work ;D
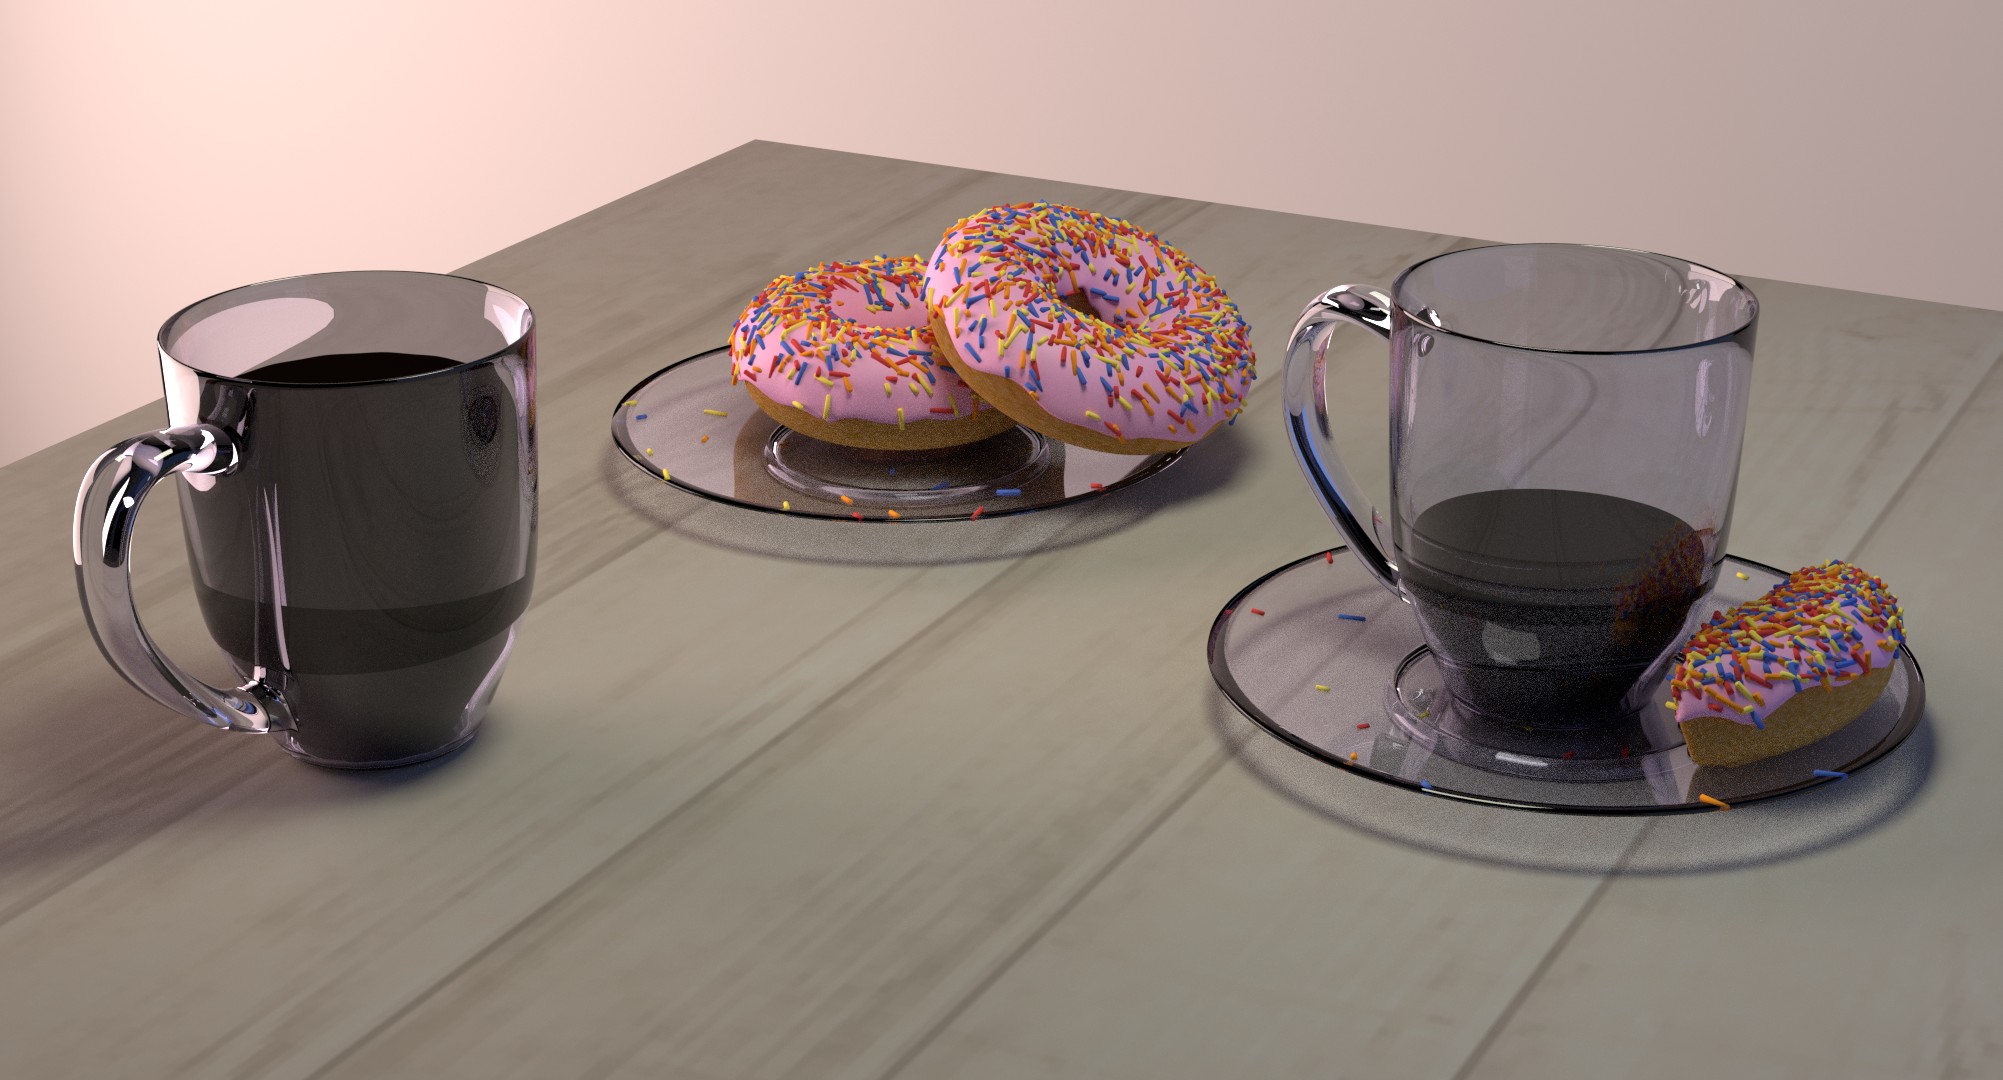
My computer died shortly after starting to learn in 2016 and I just got back into it a few weeks ago. I started with this tutorial again… I like my new results better… Thank you.
Yep is much better, but doesn’t look like I wanna eat it 
Question: you want to do realistic/product 3D? That is some hard stuff and it comes with the most critics (mostly, unwanted  like the following:)
I suggest you watch Andrew Price more (if this donut is from that tutorial) so that you develop more skills faster, and on the good path. That guy knows to teach. (I am not affiliated with him, I just wish I was as good as him)
Also, buy a cheap Second-Hand camera and take photos. Play with real light and cheap prime lenses and make subjects (fruits, toys or other somewhat glossy items) to look… un-natural. Post them as 3D art and see the critics… But don’t stop there. Try to make in a black room, lights (candle, telephone LED, later, lightbulb etc) and stick your camera on books so it does not move. And gradually add more lights until the picture gets better and better (without changing the object)
Use depth of field also in Blender, you have it… Use an EMPTY on the donut and an aperture of 0.1 with several blades. Now recreate the exact image that you see through your camera.
Then, as most 3D artists suggest, get a Furniture catalog (IKEA if you have) and try to guess the 3D art from real -> is that your target skill level? then you should be able to distinguish the real furniture from the fake 3D synthetic one. (just like in re-sellers: you have to distinguish the fake from the original, to be able to buy an original and try to sell it. Only then you can sell fakes as real)