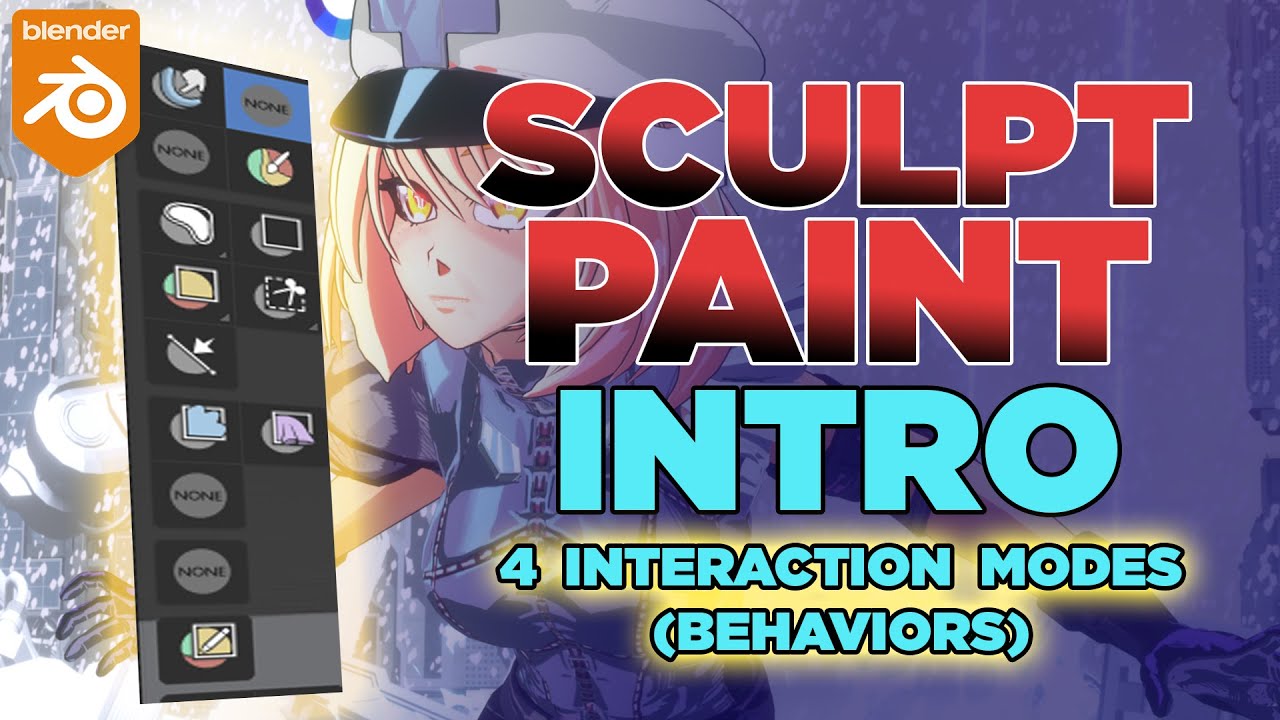
Blender Sculpt Paint tools can be activated from EDIT>User Preferences>Interface> Developer’s extra (check the box). A new “Experimental” button will appear on the list. From there, activate “Sculpt Paint”, in case you don’t see it directly on Blender. Newer Blender versions should have this active already.
Ok! There are 3 main ways you can interact with the SCULPT PAINT TOOLS and they have to do with the way you position your cursor over the topology, the top menu, and the Face set options. Please don’t forget to subscribe and share this video if you liked it or if it helped you at least to some degree.
Thanks!
