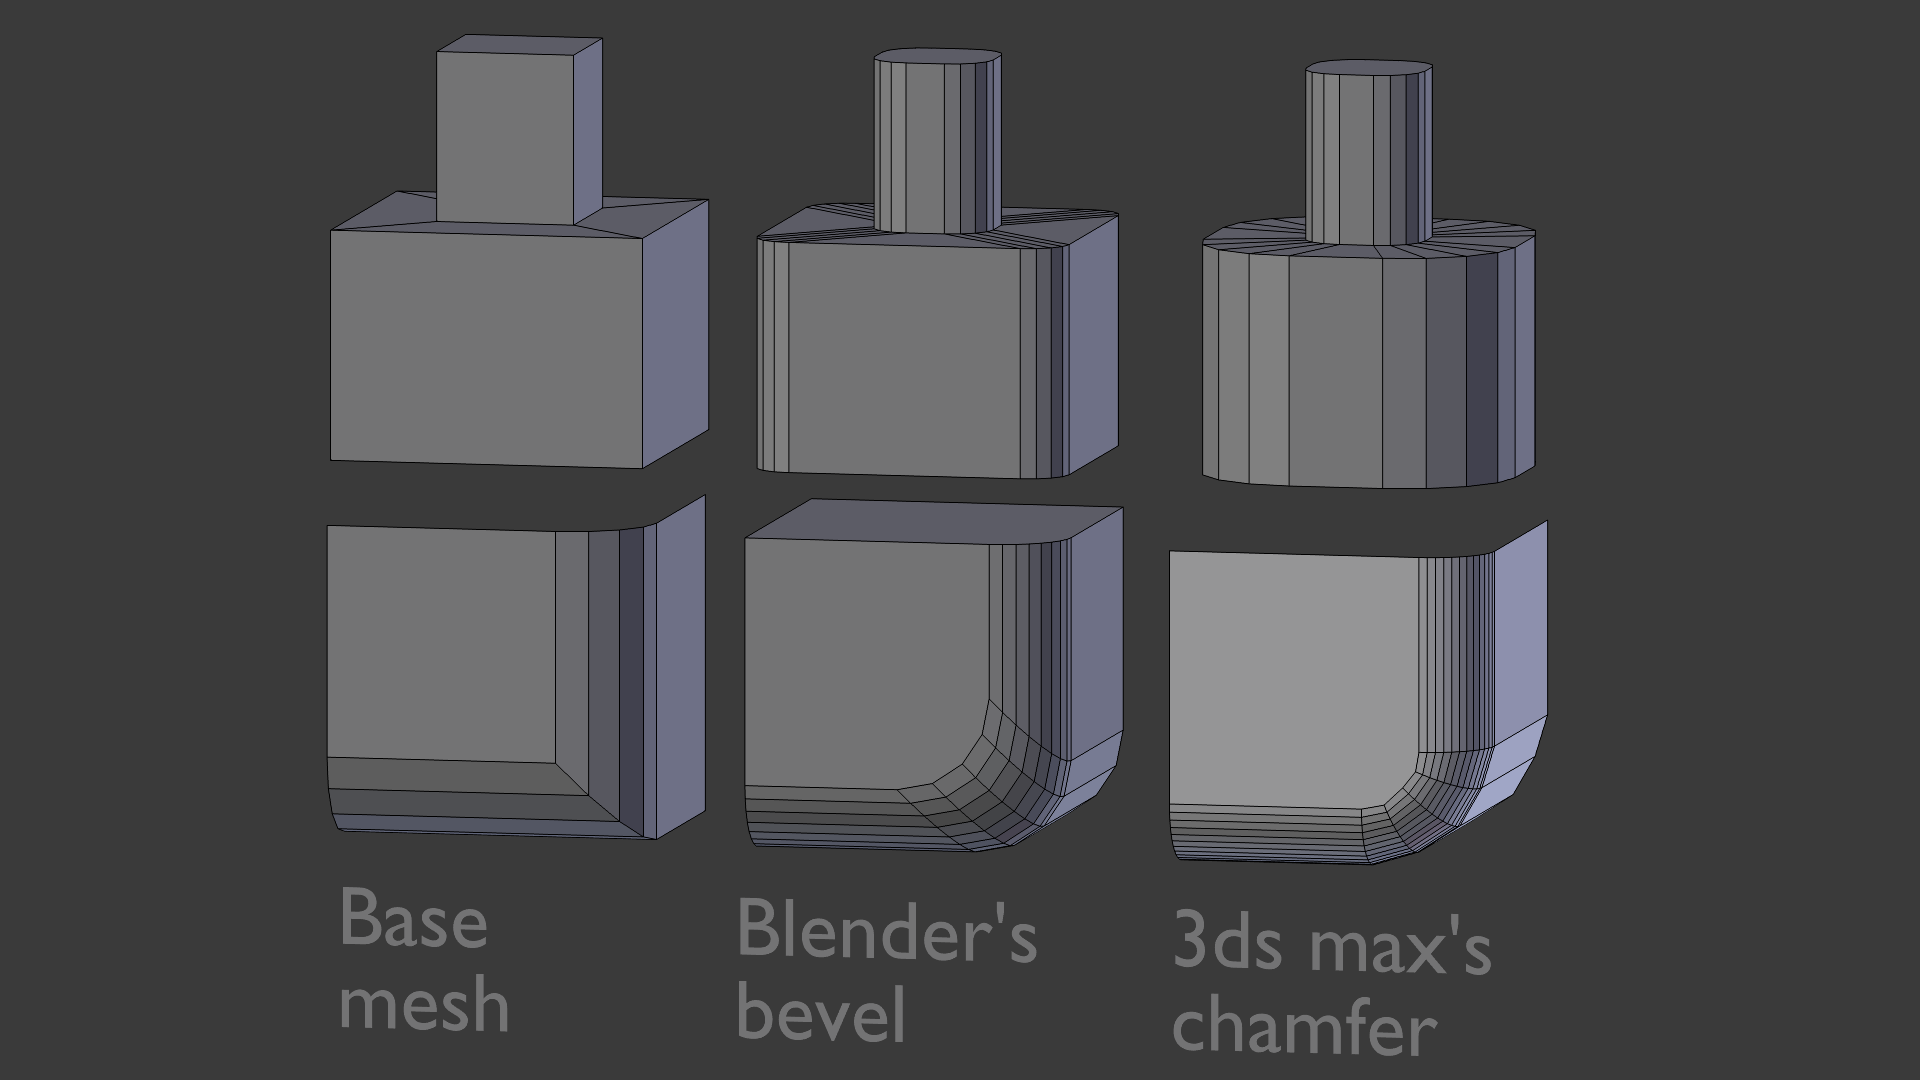
I’ve did the 3ds max’ chamfer with a lot effort(manually) as you can see.
I didn’t used the 3ds max for these examples, so I did the modeling approximately using the Blender.
Anyone know any way to make that bevel easely? It’s a useful feature to my modeling process with blender.
Thanks by attention.
I seem to recall an add-on for this in the past, but I can’t quite remember what happened to it. But you can get closer to the chamfer by selecting ‘percent’ when you use the bevel tool (after beveling with ctrl-b, type m a few times to cycle through mode, or check the operator panel after you confirm the bevel and mess with the settings).
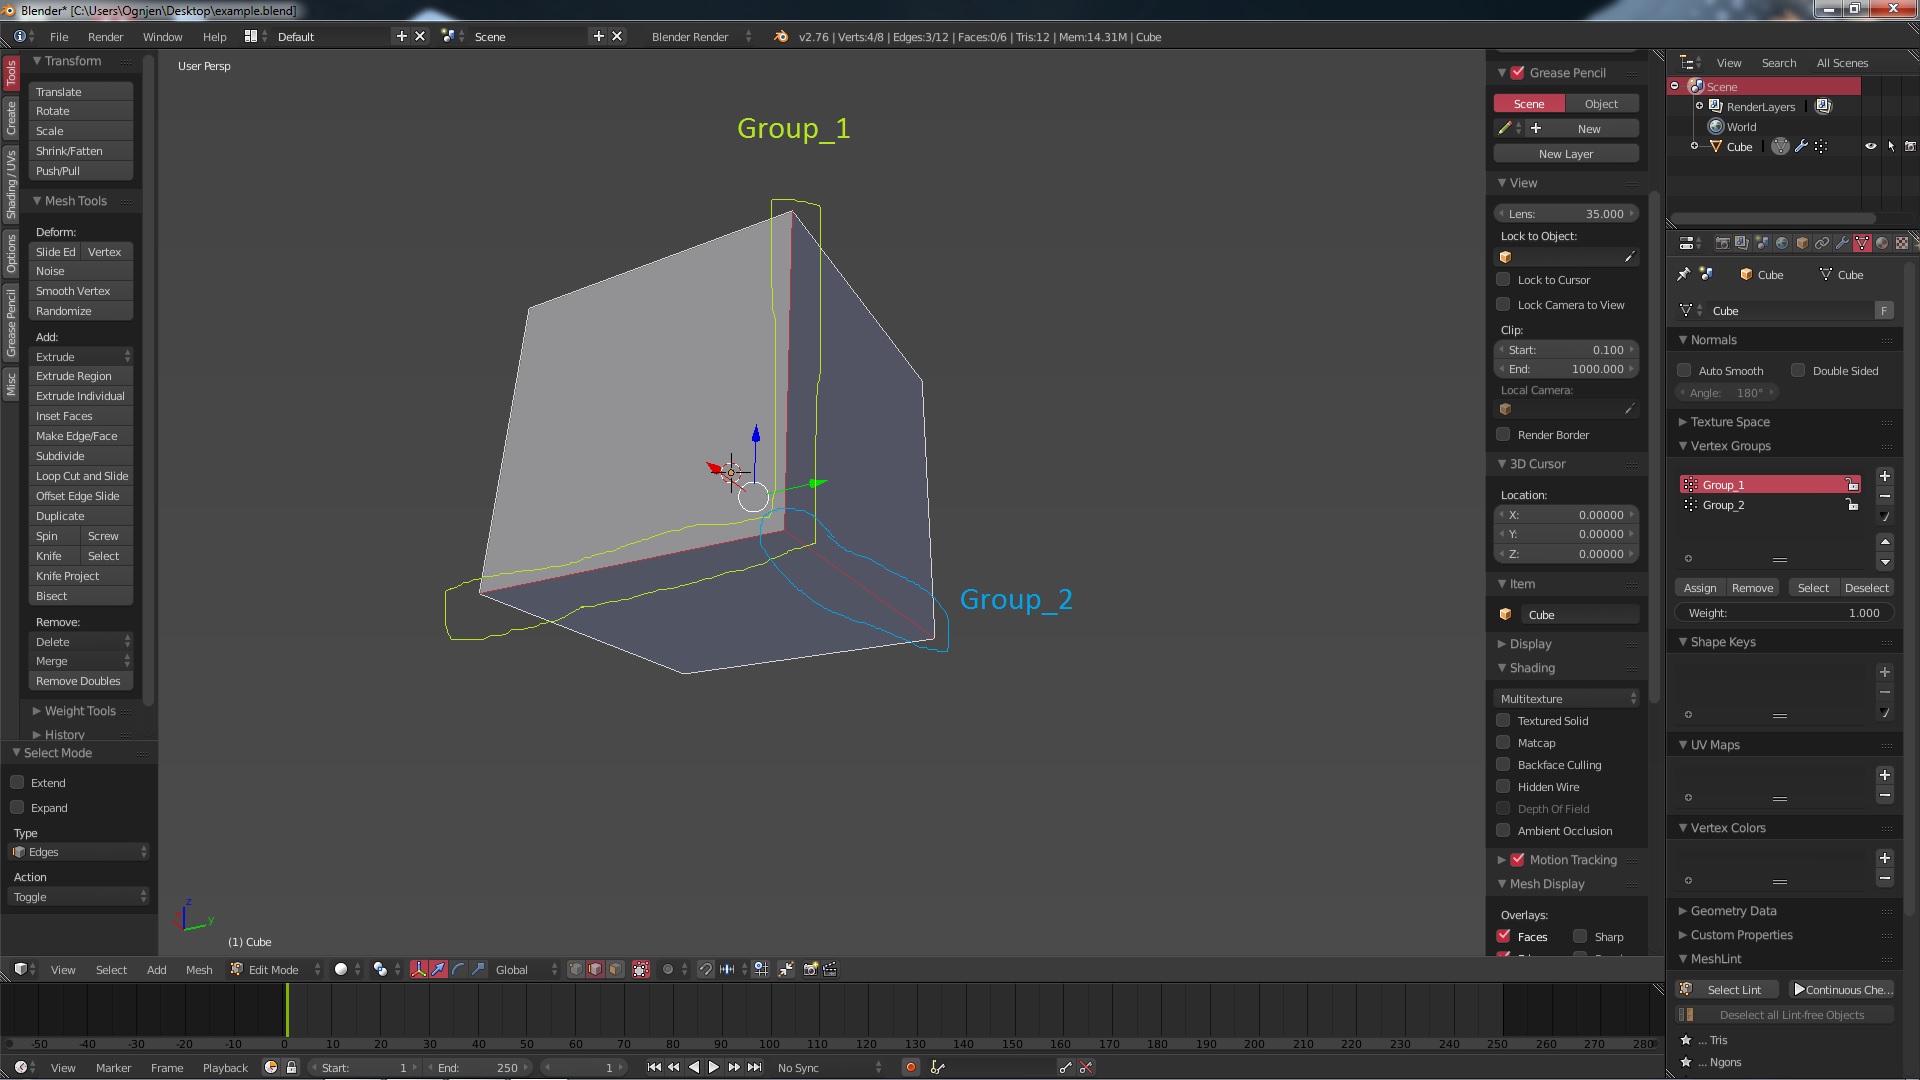
I’ve tested your tip right now using the “percent bevel” technique.
With the example at the top, it works fine, but the example at the bottom, it remains the same way.
Looks to me like you haven’t applied the scaling to your object (Ctrl+A), which makes the beveling tool round the corner in a kind of uneven way. And with the number of segments you can select how round your corner should be. If that was your question
Whatever way you look at it, the bevel tool doesn’t quite achieve the same results as chamfering does. It would be awesome if they had an angle based bevel which tapers horizontally to the direction of the edge. This would essentially give you that look as you can see from the image, the loop essentially makes a 90’ curve rather than the slanted appearance of the the Blender bevel.
I may even give this a go, if I can find the current script file holding the definitions for the bevel tool I may be able to modify them slightly. Ain’t got time to do a full script unfortunately.
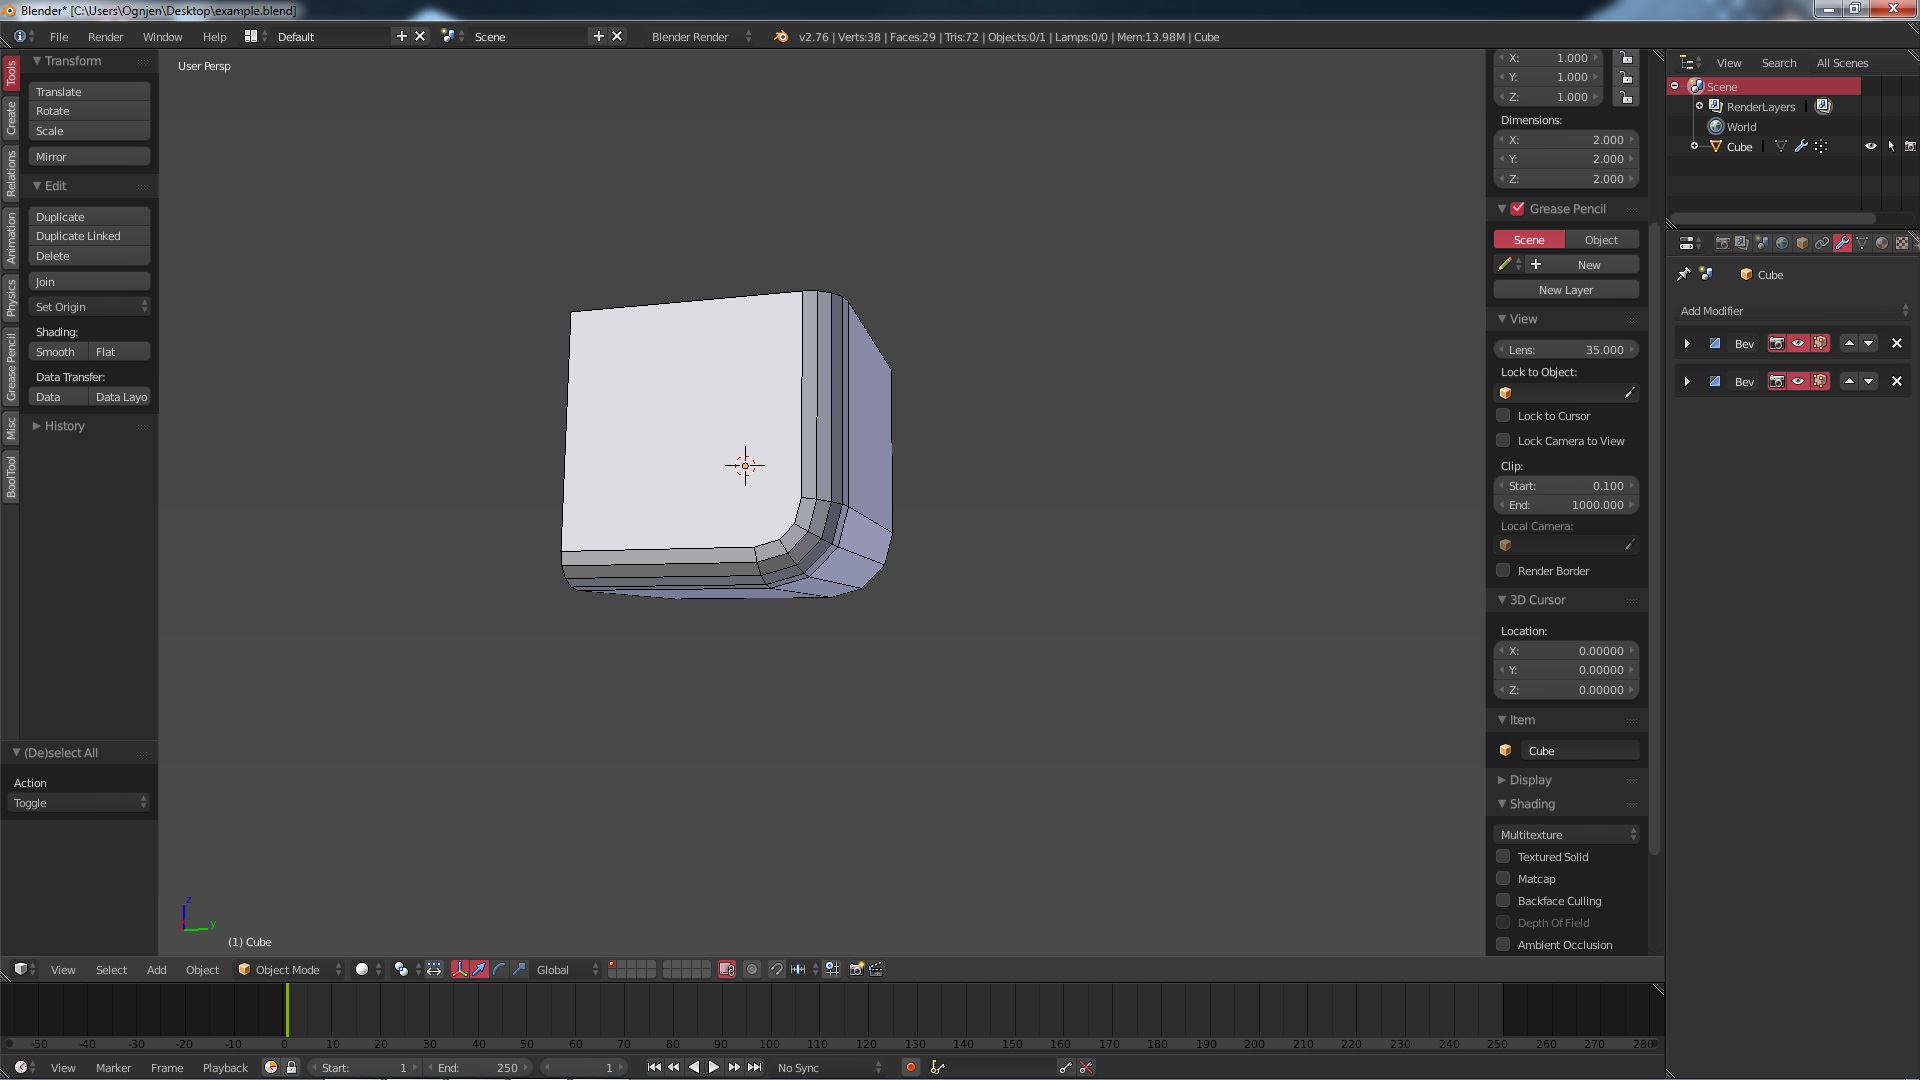
Instead of explaining to you with words how to do this, I rather choose to post you a self explanatory pictures of what you have to do to get it right:
I know it’s not exactly what you want, so I also provided the .blend file for you to check it for yourself in order not to waste your time with my solution to this problem. Note that the order of the bevel modifiers in the file is very crucial for this to work.
Yes, in my opinion it is negligible. If you really wan’t “dem” perfect edges then before doing the above process you need to add edge loops to determine where the beveling stops like this
Now… If you consider this issue settled then I advise you to mark this thread as SOLVED so that we could move on and add more sense to this forum, being that the thread is unorganized as of now as much as it could possibly be.
I would also add that there;s also certain other cases where you might want to ‘prepare’ the mesh to get a good bevel.
Another way for instance is removing 4-poles with the dissolve tool in favor of T-junctions. It may sound like a bit of extra work, but the truth is that a perfect bevel tool is something that is surprisingly hard to develop when it comes to 3D (there’s been posts and commit messages before on some of the math behind it and how involved things can get).