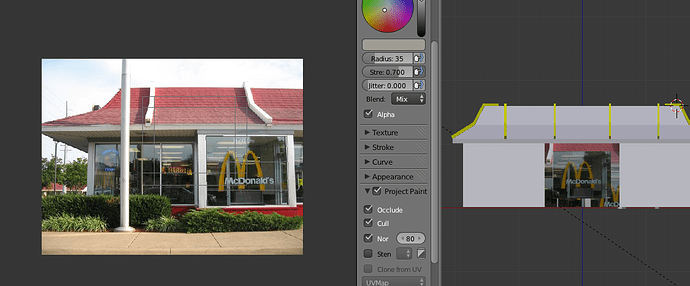
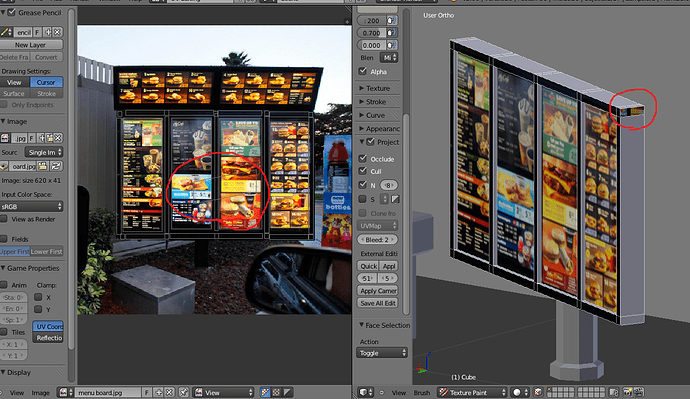
Ok so I finally figured out how to get textures to show up in the renders (but not in object mode) anyway… I want to do ONLY CERTAIN FACES on one of my objects… so I select the faces I want, and in the UV editor other faces that I have already done show up in the stupid UV window! this screws thing up and I selected the faces and did separate by material… not sure if that’s right or not but either way it still shows my other faces! So how can I make it ONLY show the faces I want to put the texture on and not the other faces! I can’t remove them… I did new image but that just gave me a black square with all the faces together over it!! I only want the faces to show up that I want to edit not my other ones!! This has got to be one of the stupidest things in blender!!! It’s hard for me to explain it but it’s so frustrating and the blender developers are being really stupid about how they make it work! I want JUST the faces I select to show up in the UV editor not the other ones and I select certain verticies and move them and it also grabs other ones even tho it’s not selected!!! sorry to vent… but it makes me want to pull my hair out! :mad:
Are you synchronizing the selection? It’s an option on the menu bar in the UV editor. Toggle that.
EDIT: sorry, didn’t see new post, you also need to mark seems and unwrap.
wow thanks! it does work better now… I still can’t figure out how to get faces off the map that I don’t want on there tho, but thank you!
you cant remove faces from a UV Map… this is a simple explanation as to what happens. A ray goes out, hits your object… your object says i have this texture applied to me… from there it goes well if its a texture, how is it mapped to me… ok its UVmapped… right so the ray hit face x at point y… ok lets look that up on the uv map… so face x point y is this colour…
if the face didnt exist… it would cause loads of errors with uv mapping. if you only want one face having the material applied to it, create multiple materials and have different material effecting different faces. but all of the faces DO need to be uv mapped if you have a uv map created.
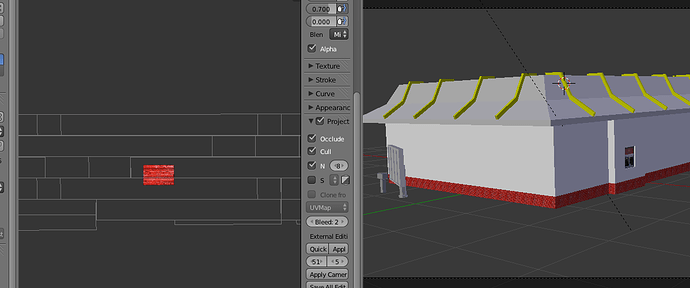
So once I add a face to the UV map I can’t take it back off… the pic below is one of the faces I accidentally selected.
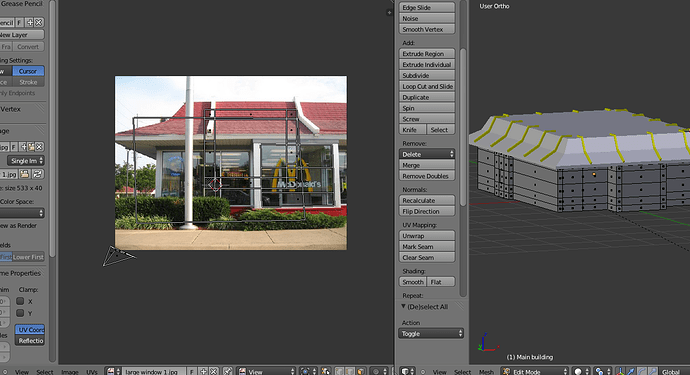
I can’t figure out how marking seams works… The first picture is with the seams marked, and unwrapped… it’s all screwy. The second one is of it just selected and using smart unwrap, then I rotated it, scaled it up, and stretched it out. that works a lot better than the way it’s probably “supposed” to be done. I don’t think I’ve ever textured with marking seams because it was always messed up (I know this is a different thing than I was talking about before, but it demonstrates my differences)
I can’t see your seams so I can’t help much that way, I need to see where you marked to give advice. Using Smart Unwrap can be alright if you’re not picky, but it’s rare that the seams it created won’t show (i.e. I could look at your render and pick it out). An old example of mined done that way http://quandtum.deviantart.com/art/Arcane-Torture-144451910 and it’s simply an ugly mess.
If you care about the bricks being placed correctly you really need to mark seams. You can still scale so long as the texture is tileable. If it is not you may want to use projection painting. http://cgcookie.com/blender/2009/06/22/creating-a-wooden-barrel/ I learned ALOT from that one, though I next to never texture paint.
Alternatively, you can also bake textures. In other words you can setup a UV wrap that is like you want, and make a 2nd set of UV’s around to get the effect you want. You then “Bake” (i.e. copy and translate) the looks from UV set #2 to #1.
While digging up that link I found this http://cgcookie.com/blender/2010/03/28/unwrapping-a-building-part-01/ I’ve never watched it but seems to relate good to what you are attempting.
Seams is like cutting “fabric”. Every cut gets “stitched” back together and if the patterns don’t line up you will see the seam.
I tried to do a quick example to demonstrate, not sure if it will help or not.
Example.blend (620 KB)
Edit: More UV’s can mean more control over where stuff is placed, but it also means more work to do it.
You can’t ‘add a face to the UV map’: every UV map always includes all faces. What you can do is change
- where each face is in UV space;
- what image each face uses in the 3D editor; and
- what material is used to render each face.
Best wishes,
Matthew
Dude …
 … pardon me for sayin’ this, but … “a digital-computer program can’t fairly be called ‘stupid’ just because you don’t understand it (yet).”
Let’s just all spend a few moments considering what “a UV map” is for.
I mean: why do we have them? Why do we define this concept … at all?
The reason is: because we need to apply two-dimensional textures, to three-dimensional models. (Sux, but we gotta do it…)
That is the technical problem we are required to solve. So… how?
Well, the way that we employ, to solve that problem, is … (tah dahhhh) … “UV maps.”
Here’s what we do. We take each and every (necessarily, flat …) plane in the (X,Y,Z) coordinate-space of our model, and associate it also with a (U,V,nevermind) segment of a (necessarily, flat …(!)) image space. We use the fiction of “a UV-map” to express this relationship.
(Ain’ it cool how computer science works? … 1’s & 0’s, man … W00T W00T!)
Now … ponder this for a second … what must we be able to say about every (X,Y,Z) plane on that model? You guessed it: it must correspond to some place on that (U,V,nevermind) image. No plane can be without one, because if we didn’t have one, we couldn’t possibly map an image to it, now could we? Duh.)
“Why do we define this concept, at all?” Because, at the end of the day, we humans are once again dealing with a digital computer. We gotta cut the poor machine a little bit of slack … :yes:
