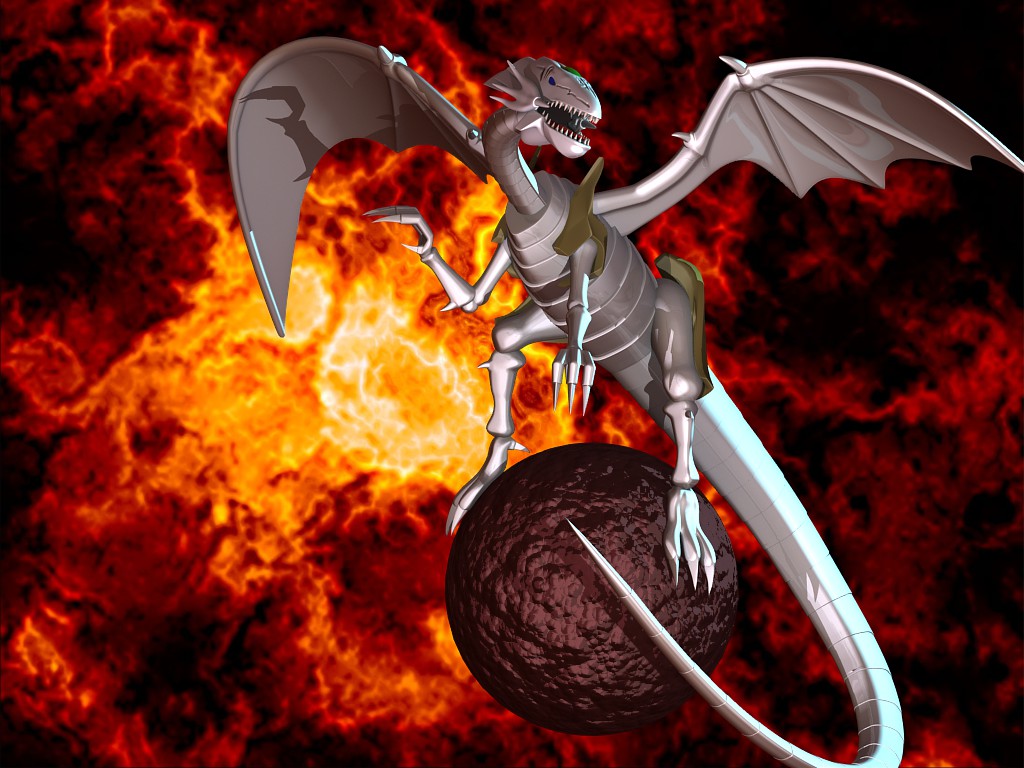
Inspired from Duel Monster in Yu-Gi-Oh :eyebrowlift2: I’m trying to make his face looks more fierce but texturing is my worst :(.
looks pretty good… thats some great modelling
would love to see some wires though
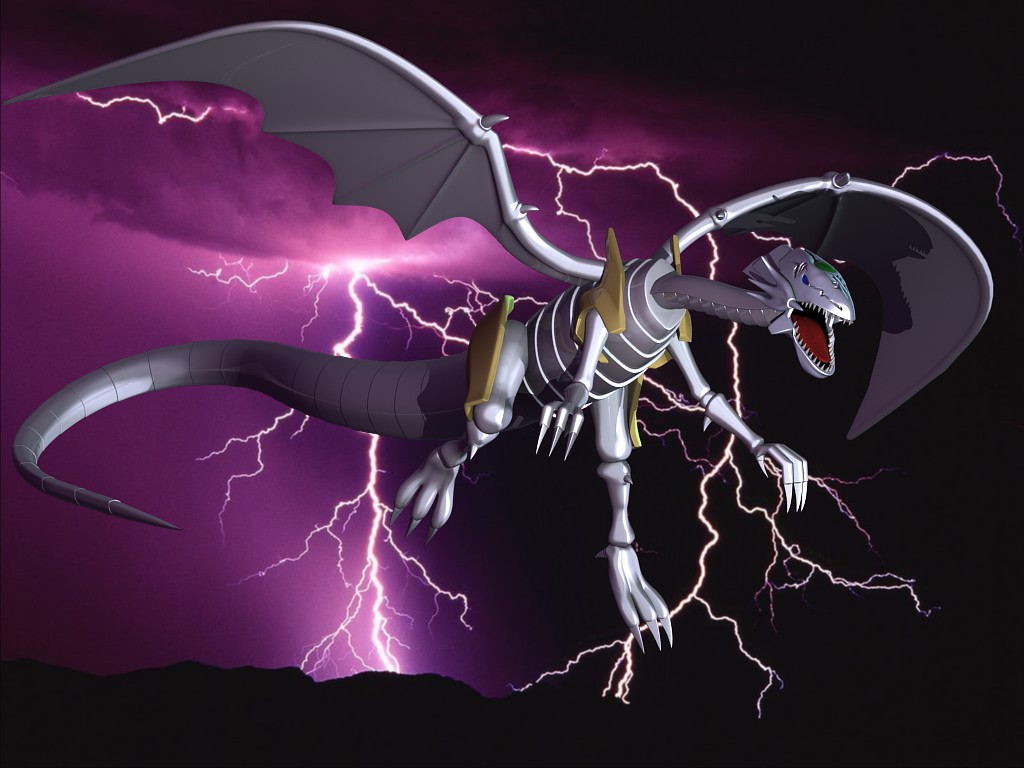
Awesome, Is the Dragon blue/white or just white, I like the dragon…Just need good Lighting.
to b3ng1: the wires is too messy, I don’t find it useful or maybe I don’t know how to post a clear and clean wires
to L.r.Whyte: that is White Dragon with Blue Eyes, beautiful isn’t it 
Wire is hard to setup because it takes a few settings.
Do don’t worry about it if it is messy it can stay messy haha
"No one knows if you can not see right, so beautiful.
It looks like a very nice start.
I’m not a Yu-Gi-Oh fan by any means and don’t have any interest in any part of the show, but I do like Dragons and this is a good start for a Dragon.
me either, dragon is the most beautiful and fiercest creature. Since there is nothing called realistic dragon, you can count on your imagination to do the concept.
(I forgot about the Komodo dragon, but they’re ugly)
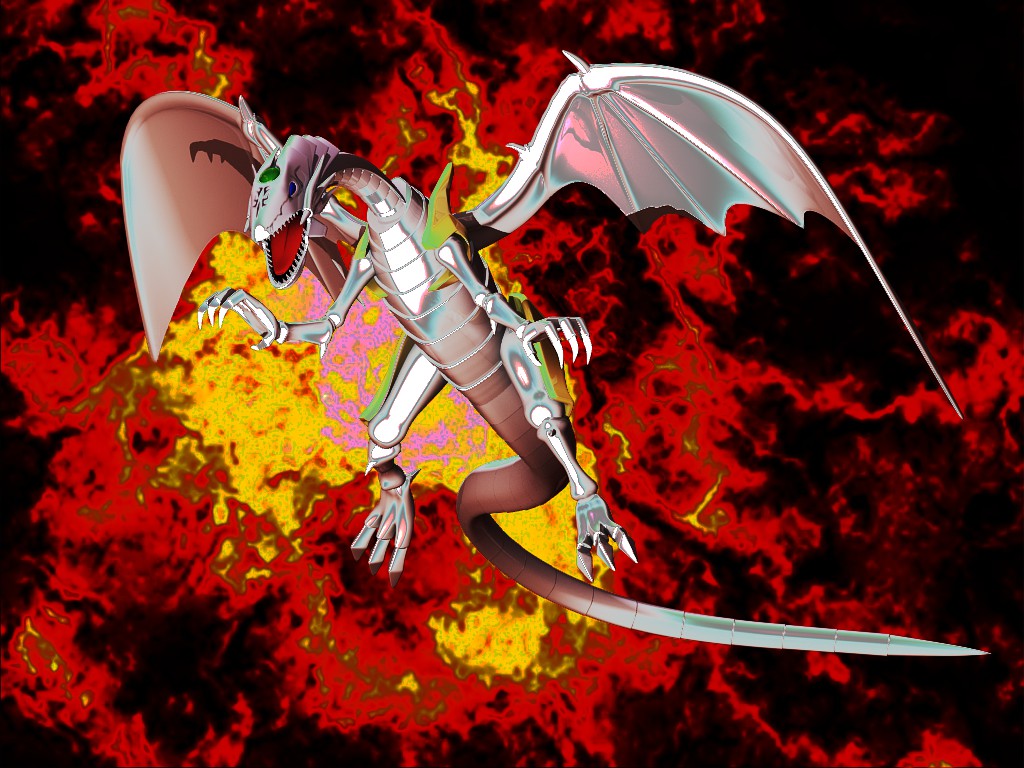
a little update on the claws, now I want to make his eyes glowing, is there anyway to do it without messing with nodes:( ? I just want to make a material glowing, not entire scene or layer
Attachments
Why no nodes? Glow is pretty easy to acheve with them…
But if no nodes then go for halos
I have nothing against Nodes, I just think Nodes affect to entire scene or layer, but I only want the eye material glowing.
I have tried Halo, even put a light inside the eyes, but they didn’t bring desired result
Quite messy solution: After you’re finished posing the dragon, duplicate the faces of the eyes in editmode, and move these duplicate eyes to another layer. Then apply the node glow to that layer.
I like the model design, the style. I would like to see a nice flashy render against a flat sky background. Some nice raymirror textures. And I just used a bunch of fragment sentences.
Sounds like you need to use nodes, and no they do not apply to the whole scen, well they do by default, that is why you filter stuff out you want to composite, and you have 2 options(at least i know only 2) one is to put eyes in a different layer, or give them a different pass index.
Here is an “Introduction to the compositor” tutorial, that covers exactly what you need. http://vimeo.com/11565667
Thank you for the video, I start learning the Compositor but…
now I encounter a really annoying problem with Render Layers
Let’s look at a simple example, I created 3 layers in Scene tab, then put 1 object in each layer, try to render each object separately in its own layer.
Here is my layers setting, I put a monkey in layer1, a cube in layer2, a tube in layer3


And combining 3 layers

Now, press RENDER
In layer 1, it appears the monkey being shadowed by the cube and the tube

In layer 2, it appears the monkey being shadowed by the cube and the tube, but it should be the cube in layer 2, right ???

In layer 3, it appears the cube :mad: I remembered putting the tube there

It doesn’t make any sense, please tell me this is a bug or I don’t fully understand the Render Layer stuff. Anyone should help ??
:no::no:
I also attach my 2.5 blender file just in case you got interest
Attachments
cannot_understand.blend (62.7 KB)
Whoa, dude, i tried to play around with it, and i dunno what is going on…especially since i dont work in 2.5…buggy buggy bugyy, sometimes when i render, booom it crashes…sigh anyway…
Here is a setup i did using a pass index (well a test file really, but it works)
I used this for my lights in my zoomer project (http://blenderartists.org/forum/showthread.php?t=189699&page=3 ----[page 3]).
Post number 43 has a full node setup screenshot, starting from blurring all the way to the combining, and in post 45 i explained it.
Note: I did this in 2.49, but it should fork fine in 2.5
Attachments
Glow Combine4.blend (162 KB)
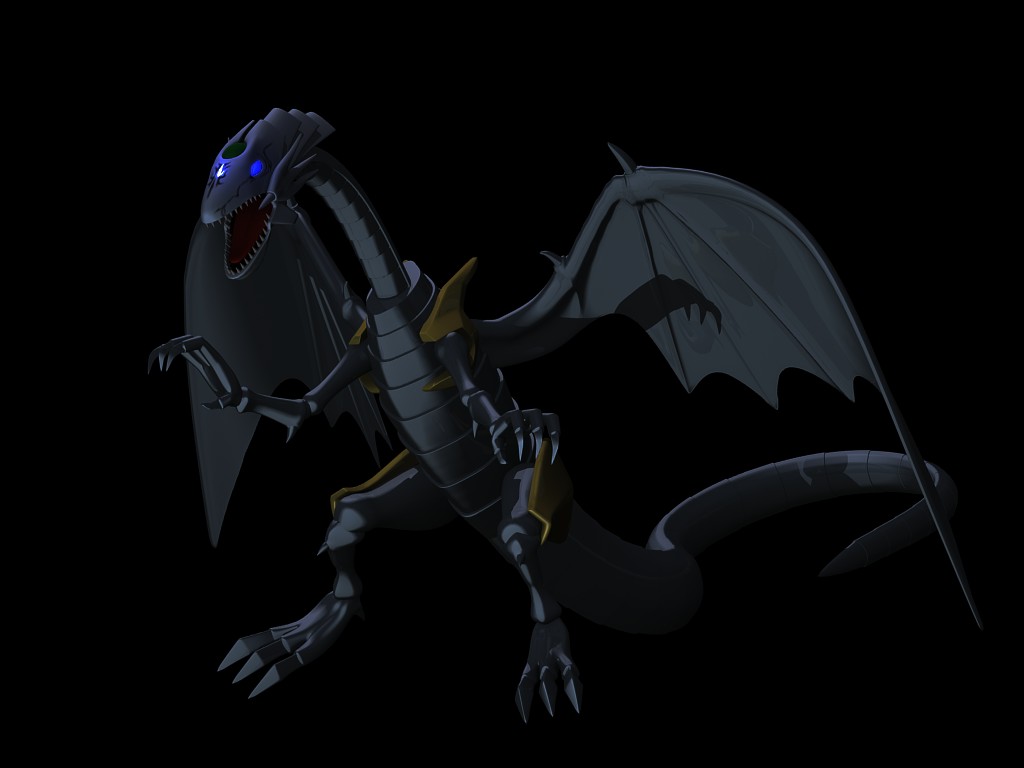
a little update on the eyes, and I find another problem :no:, the right eye is normally hidden behind the face but the glowing effect brings it on the scene, my point is how to make the Compositor understand and not apply effect on occluded faces, I think I can solve this by putting each eye in separate layer, but it’s too cumbersome, what if the dragon has 100 eyes 
Attachments
Hey, I had the same problem, but it is easily fixed with adding a different pass index to the eyes, like i said in the thread above. Dont mess with layers, cuz i already tried that and it didnt work.
As i wrote in the last thread, (http://blenderartists.org/forum/show…=189699&page=3 ----[page 3]).
Post number 43 has a full node setup screenshot, starting from blurring all the way to the combining, and in post 45 i explained it.
Note: I did this in 2.49, but it should fork fine in 2.5
And I attached a simple setup in the last thread which works. So feel free to use it!
On your layer problem, you have to check the option to only render that layer, then do three renders (one per layer)
The layers and all their pass data will be available in the compositor, if you have all the layers selected Blender will render each layer as if they were all in the scene at once (been that way since the compositor was developed)
Thanks to DDD and your example file, I just follow your setup and achieve my desired result, but … after spending hours to learn the Compositor, I still can’t really understand the SetAlpha node and AlphaOver node in your example
Attachments

 That i got through experimentation.
Ok, so basically, The ID Mask, is the same as the Pass Index that you set to an object, but what it does is color the object that has that Pass index white and everything else black(And it does that for Alpha, meaning black=transparent, and white =Solid), now 99.9% of the time you are trying to blur something colored, so if you go and star adding glow right from ID Mask, it will be white, so what i decided to do is use the Set Aplha Node to take the Alpha provided by the ID Mask Node, and apply it to the original image. What did this give me? Well in the backdrop it looked unchanged but in the little viewer node i saw the lights solid and the rest of the scene sorta behind the checkerboard thing (indication of transparency) [sorry, this is kinda hard to explain] So after a bit of experimenting i found out if i added an Alpha Over Node with a black color mixed in with the previous result, it would get rid of the faint scene hiding behind the alpha checkerboard thing. Now the result was the colored lights on a transparent bacground that i can add to my original image after adding the glow effect.
Hopefully that made a bit more sense, but as i said, it is kinda hard to explain.
There is another way to use the pass index, without the whole set alpha and alpha over, ( http://www.blendercookie.com/2010/03/09/rendering-a-light-saber/ ) So why did I not do it this way? Well first i forgot the tut existed, and second I have more than one color lights in my scene, so with my way i set the colors through materials, and have this node setup apply the glow to each color. If I used the setup in Jonathan Williamson’s tutorial, i would have to have a bunch of RBG Input Nodes as well as others… So basically my way can be applied to multiple colored objects while his cant, well it can but it would require a load more work.
I might make a video tutorial on that…if anyone is interested…
That said is anyone interested?
About the dragon, i like the toon shader!
And it looks like you didnt apply the glow, or did ya?