All the materials are completely procedural, the mesh is mostly sub-div, not sculpted, and it’s all rendered in Eevee.
I started out thinking I was mainly doing it for 3d-printing, but ended up focusing on rendering and lighting instead. Hope you’ll like it.
It’s based off of this quick sketch my talented friend, and AD on the Steamworld Games and The Gunk, Tobias Nilsson posted in a chat:
I did an updated version with a proper background. Since this started out as a 3d-printing project I had settled for just a base before. Everything is still just an Eevee viewport render
And I’m still preparing it for printing. The biggest challenge there is turning all those hairs into meshes and re-meshing them into the head mesh. Also want to try and make the irises concave in the print and then dripping and curing some clear resin to get a proper cornea. Will update as it comes along.
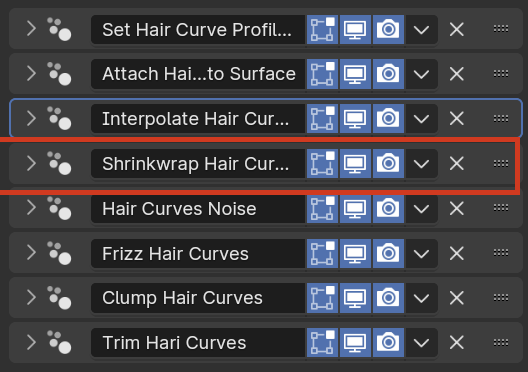
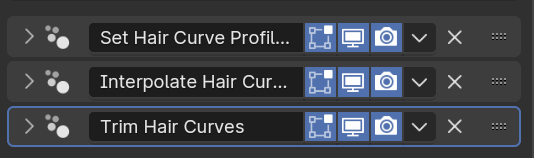
I’ve gotten som questions on other forums on how I approached the hair, so I thought I’d do a quick rundown on my the process here so it’s in a more public space.
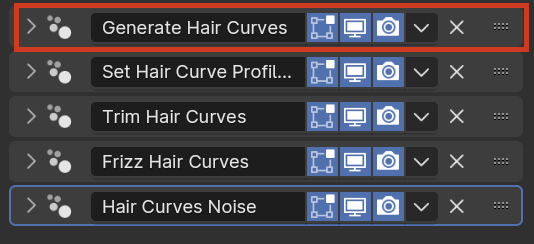
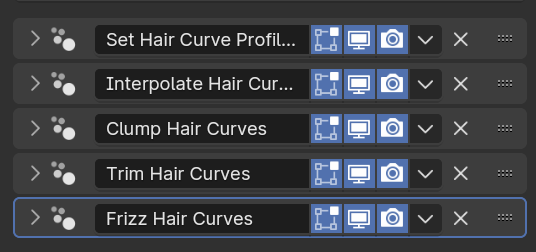
I actually started out with Blender’s Particle Hair since I was more used to that system, but I didn’t really like the amount of guide hairs I had to control to get a good short fur look, so I decided to give the geometry nodes system another try.
Once I played around a bit more with the interpolate hair group I got some quick nice results with very few guide hairs needed to control the flow.
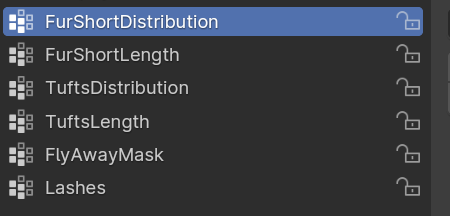
For all of the objects I controlled the length and density with vertex weights on the base mesh, that I then put into a Trim hair group with a length set to 0 and used that to blend away hair where I did not want it.
Finally I added a last hair object for some eyelashes to make the eyes pop more.
For the eyes I’m just reusing a cartoonish eye shader and mesh that I use on most of my Blender Eevee projects. It works as a realistic shader too, if you input proper textures instead of the simple gradients that I’m using here.
The Iris is not much more than a gradient, with some noise applied by leading the coordinates through a Musgrave. No fancy settings for this material at all.
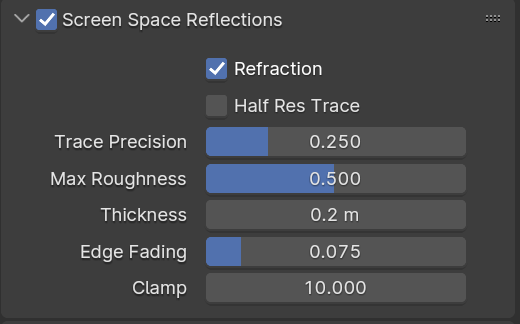
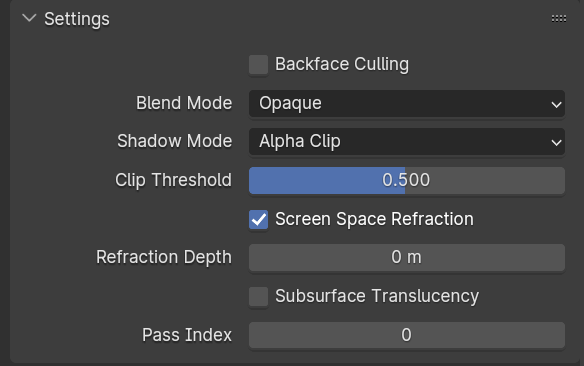
The Sclera has a few more things going on. First of all Screen Space Reflections and Refractions have to be turned on in the render settings for it to work at all.
And Screen Space Reflections have to be set in the material settings, as well as a shadow mode that is not opaque. None, Clip, or Hash all work well dependent och what you want.
There are a few different shaders mixed together to get a diffuse white, a translucent yellowish ring around the cornea, and the glass shader for the actual cornea itself. The two gradients mixes what part will be transparent, what will be the translucent transition and what is cornea.