Clever solution, however now I run into another problem which is that the animation itself isn’t loop able, so with each repeat there is a snap back to the beginning of the animation sequence. I dunno if there is a way to smoothly morph the animation so as to avoid the weird snap back to the beginning?
Hi, loop animations need to have first and last keyframes the same.
1 Like
That means the animation they made isn’t loopable.
1 Like
Ok, it appears that @ thetony20 figured out that some of the animation channels were protected, and unprotecting them is now allowing me to copy/paste all of the keyframes as necessary, including the beak animation.
Wow…what a journey!

3 Likes
Glad you were able to solve it. ![]()
![]()
2 Likes
Ok, now I have a new issue…
I unprotected the channels, copy/pasted them through my timeline and everything is working as intended…except, I can’s see any keyframes anymore in the timeline or graph editor. I mean the animation is still there, but the keyframes are gone for some reason (I should say not visible, because the animation is obviously still happening).
Any ideas?
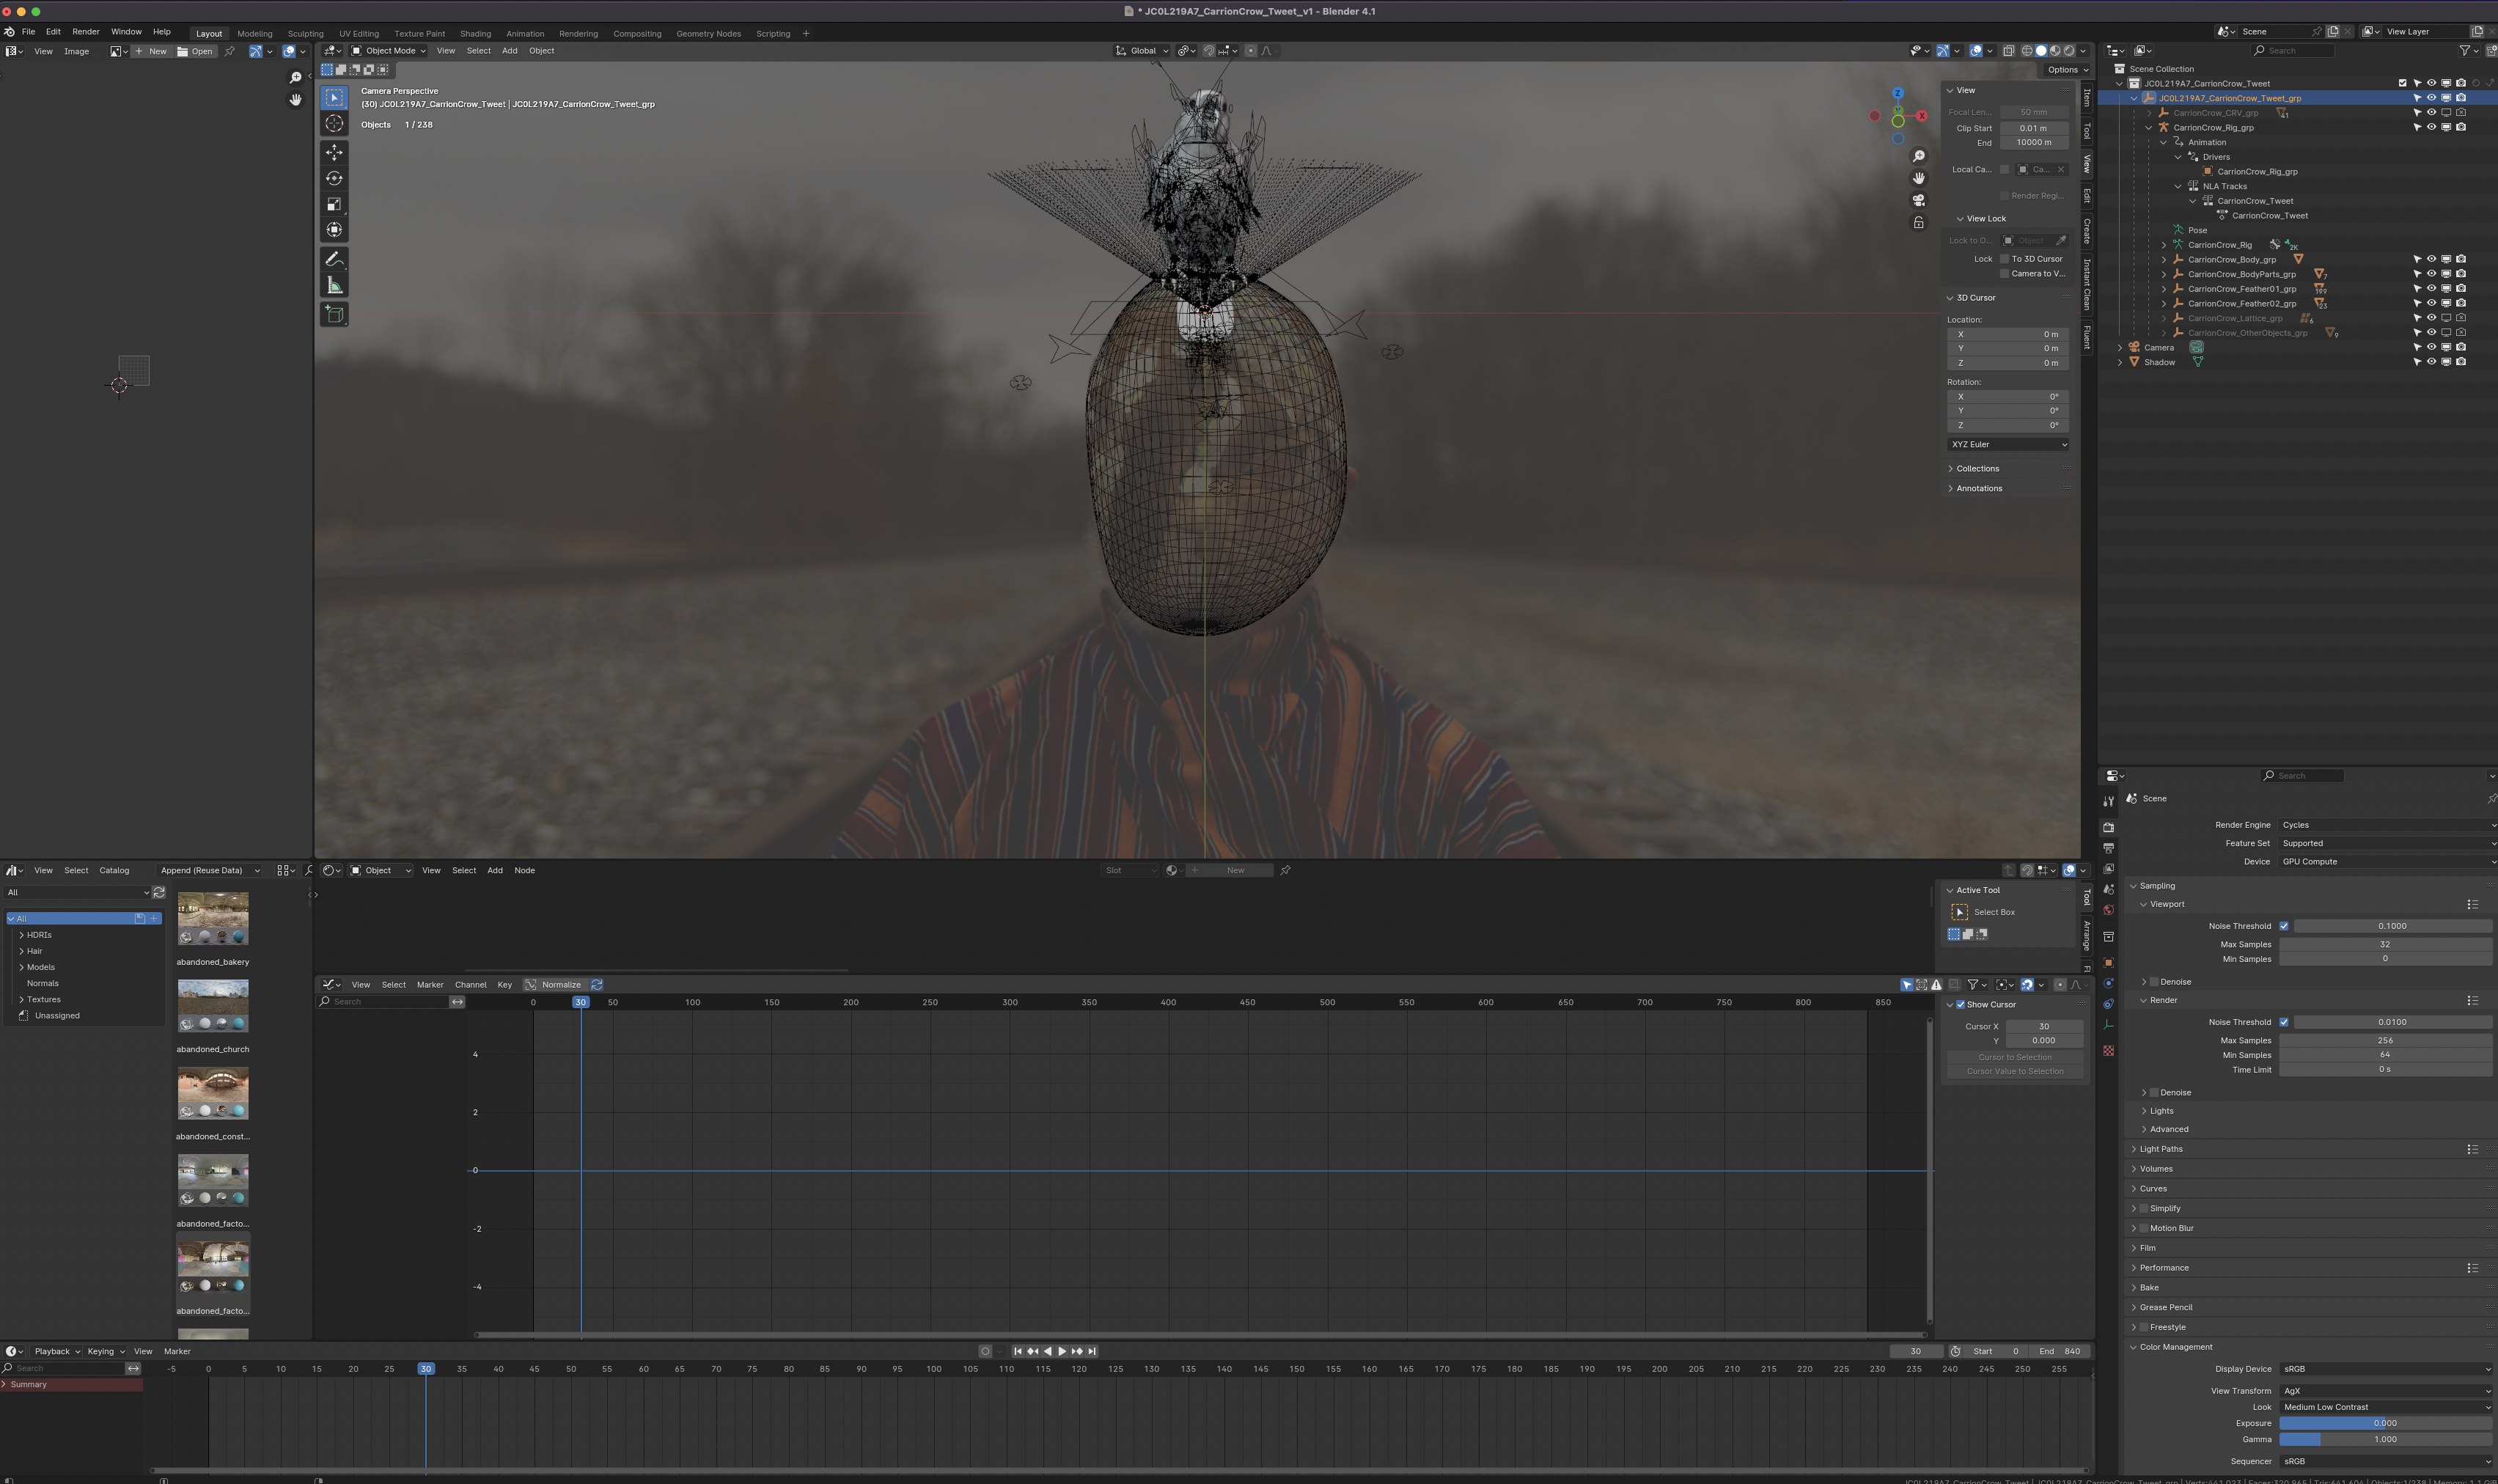
Hi. you will only see the keyframes if you select the controls/ bones.
I feel like I’m going nuts but no matter what I select no longer appears in the Graph or DopeSheet windows. Perhaps it’s a Blender 4.1 bug? It seems so weird because I literally tried selecting everything in the scene and nothing makes the old keyframes appear.
try opening the file in another version.
and check if you see them in the NLA
Are you in pose mode? Also check the Non linear animation window. Did you convert the animation to those bars?
If you did, right click the bar and click Start editing stashed action. The keyframes should appear back on the timeline.
2 Likes
Thank you, I’ll give that a try. Funny how I’ve been using Blender for several years, but all of this stuff is completely foreign to me. I had no idea that there was all of this complexity to the animation portion of it.
2 Likes
I can assure you there is nothing easy about about animation.
It’s one of the things that minor annoys me. It’s easy to find and see so much great looking 3D art (just on this forum alone), but 99% of the time you know (at least anyone with some experience in animation knows), that what you see just wasn’t made for animation, even if it is a character.
It’s why finding solid information on the WHOLE process isn’t easy.
3 Likes
Yeah, this is why I am very clear with all my clients that I don’t do so-called soft body animation at all. I can handle spaceships flying around, or helicopter blades spinning, but that’s about it!
In this case, I was hoping to quite literally use the Crow model as-is, but unfortunately the animation sequence wasn’t long enough for the entire length of the shot which is why this thread exists in the first place.
Having said that, the idea that all of my keyframes are no longer visible, and that it requires some sort of un-hiding or other function to view the animation keyframes again is quite perplexing. I know that animation is complex, but IMHO it should also be intuitive enough to figure it out after a number of hours. (I don’t mean figuring out how to animate, just how to access the keyframes and such).
1 Like
Yeah, thing is it can only take one miss click or what seems to be a simple change or logical setting and its then only 30 mins later that you notice something is actually all stuffed up.
I’ve yet to even really touch the whole NLA system.
I also somewhat expect that half the problems you’ve been having could well be Blender version related. I think that file is likely a good year+ old and hasn’t been checked/updated for current Blender.
2 Likes

This button shows only selected. Try deactivating it and see if that helps.
4 Likes
Me neither, lol. Only the dope sheet, graph editor besides the timeline is what I manipulate the most
2 Likes
Additionally if is in the dope sheet (graph editor doesn’t have that so it appears everything by default) enable the dope sheet tab and not action editor if you want to edit all keyframes linked to the action of several objects (like the rig and mesh, for example keyed shape keys and bone animation) otherwise you would have to select every individual mesh or other object with animation data to edit the keyframes even if this option is enabled.
Now in the case of bones if useful to only key the only used bones and not the whole rig controllers not being used then you enable only selected and keyframe what you want, and if you don’t wanna reselect every bone you keyframed, disable only selected toggle and press A on the dope sheet/graph editor and only the keyframed bones will be selected in the viewport.
3 Likes
Yeah. I have done animations using Blender and the NLA Editor, once you get the hang of it saves a lot of time since you can save animations as clips and reuse, repeat, edit or combine them with other animation clips if you need to.
I did get confused using it at first. It has its limitations but I have learnt over the years to work with it. ![]()
1 Like
