Hi, I posted recently a topic regarding the surface I want to do. I tried to erase it in order to create a new topic with a better title/content in order to make people maybe more engaged. I am not being able to solve the “mystery”.
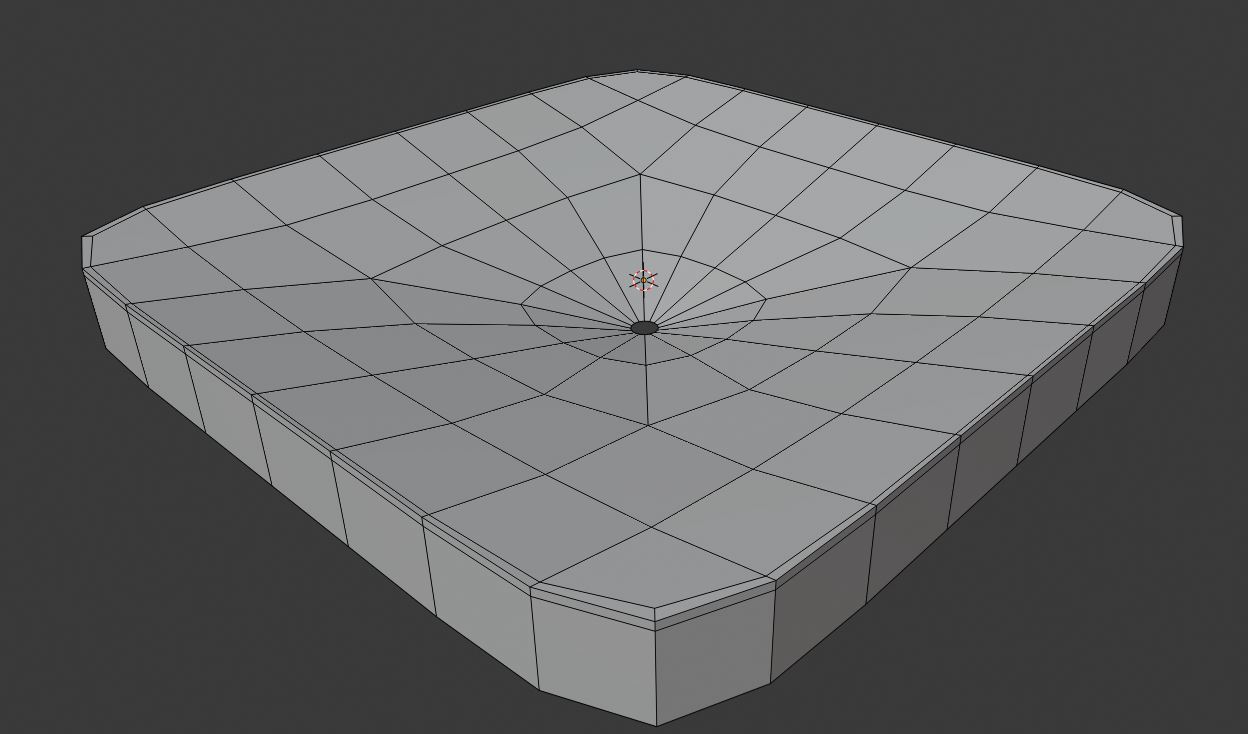
I am trying to connect two edge loops. One is a circle and the other one a square with rounded corners.
I tried at least 3 different methods, non of them worked out. The circle is located a little bit lower in the z axis in respect to the rectangle. I am using loft/bridge now in order to get the transition between the circle and the square with a smoother connection. Meaning the edge loops closer to the circle more roundish and the ones closer to the square more squarish.
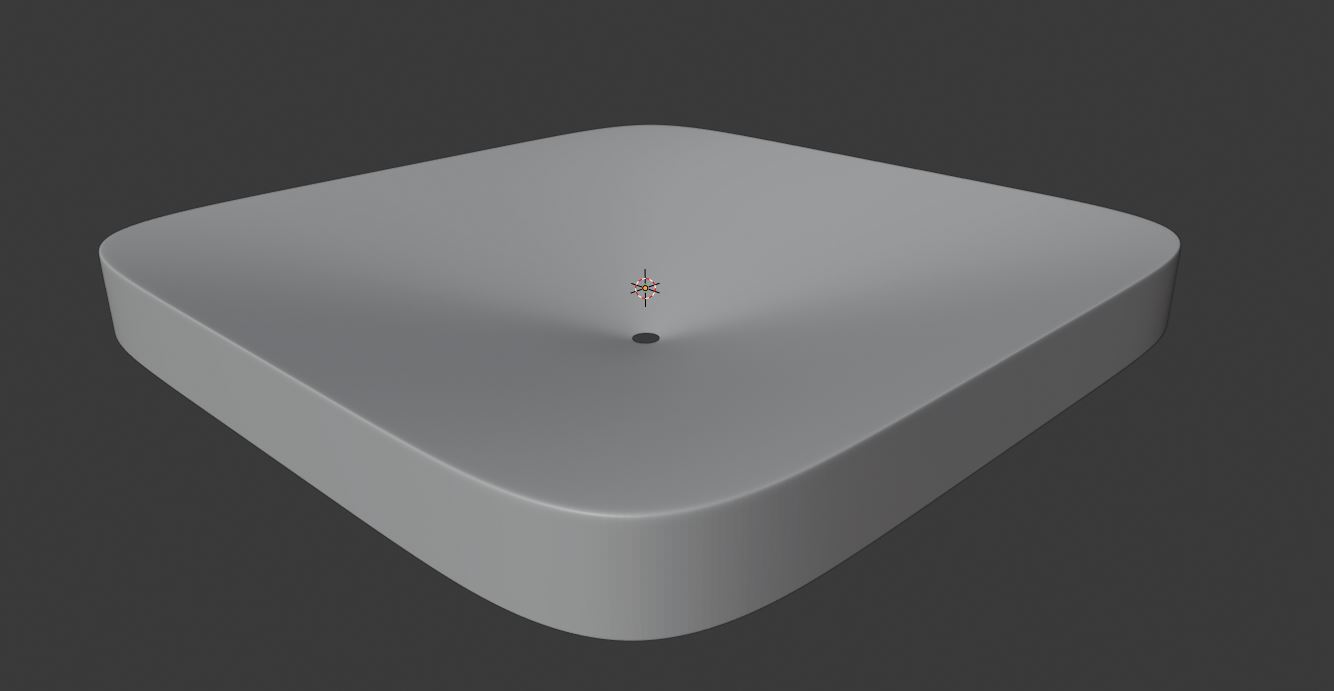
I am still getting artifacts in the surface, pinches close to the corners of my square.
I am wondering this happens due to the geometry limitations of my shape…It is not possible to make this transitions or I am missing some experience in blender and not finding the right workflow.
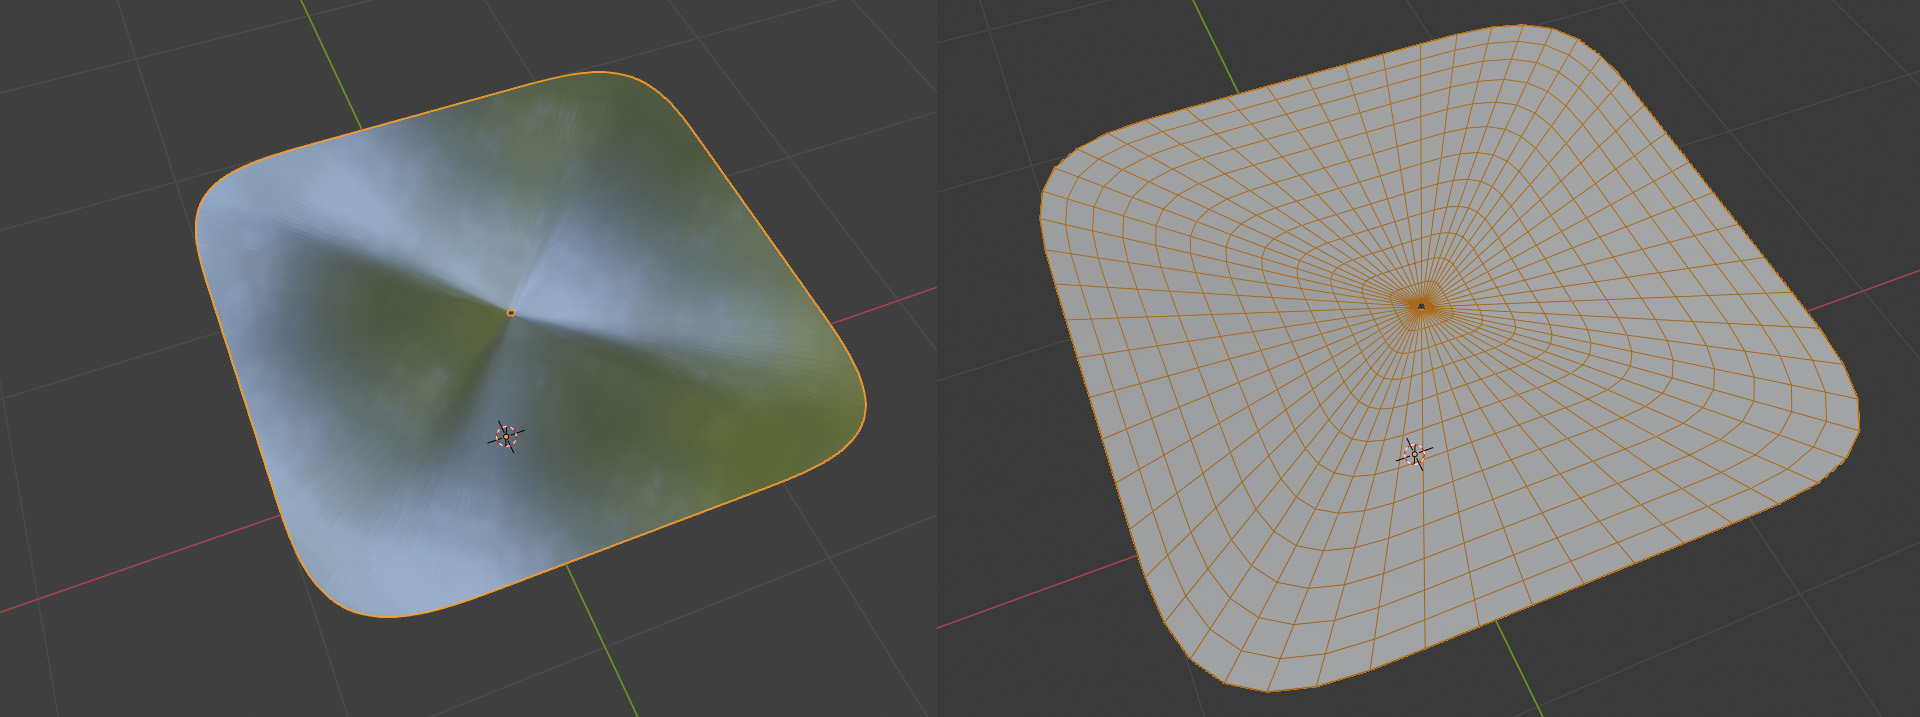
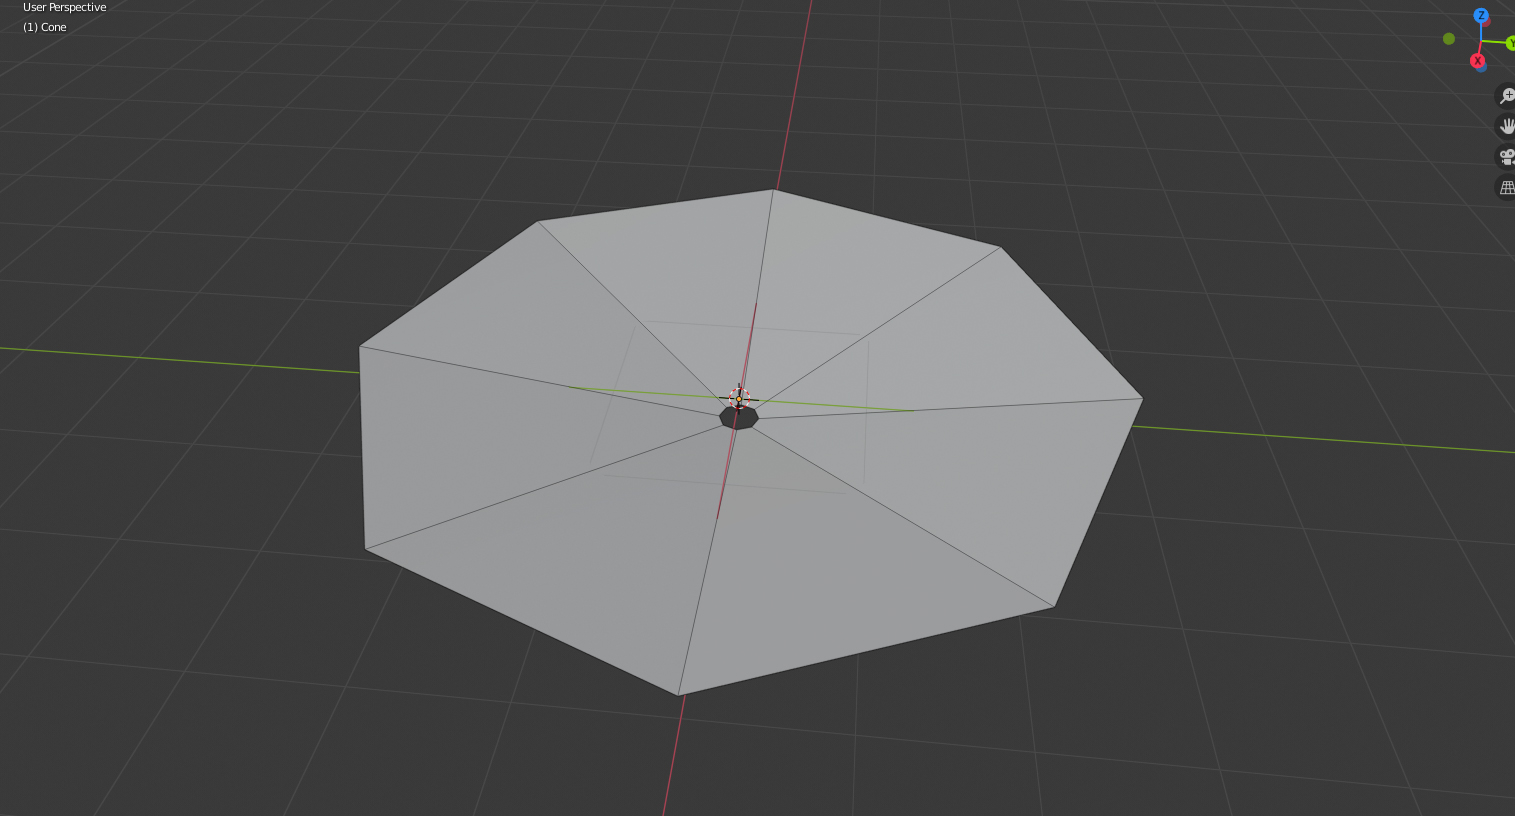
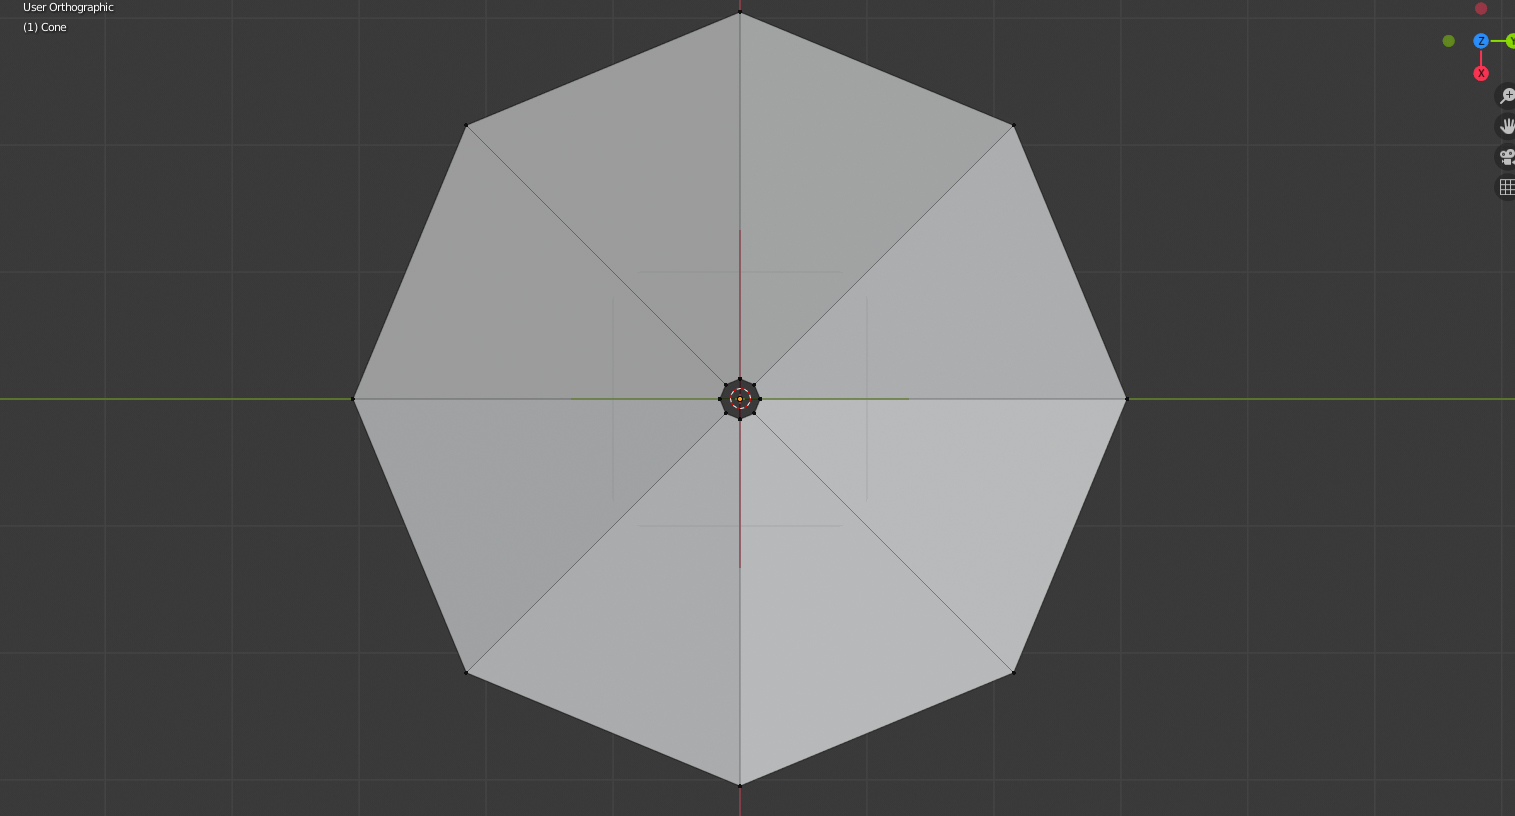
You can appreciate the pinch effect, another user suggested this is due to non even polygon distribution. I thought the loft bridge will solve this, but it did not.
In this case I might tried [grid fill] as well, or perhaps take the outer shape and duplicate it and then [spherize] it. However I went for simple shapes instead.
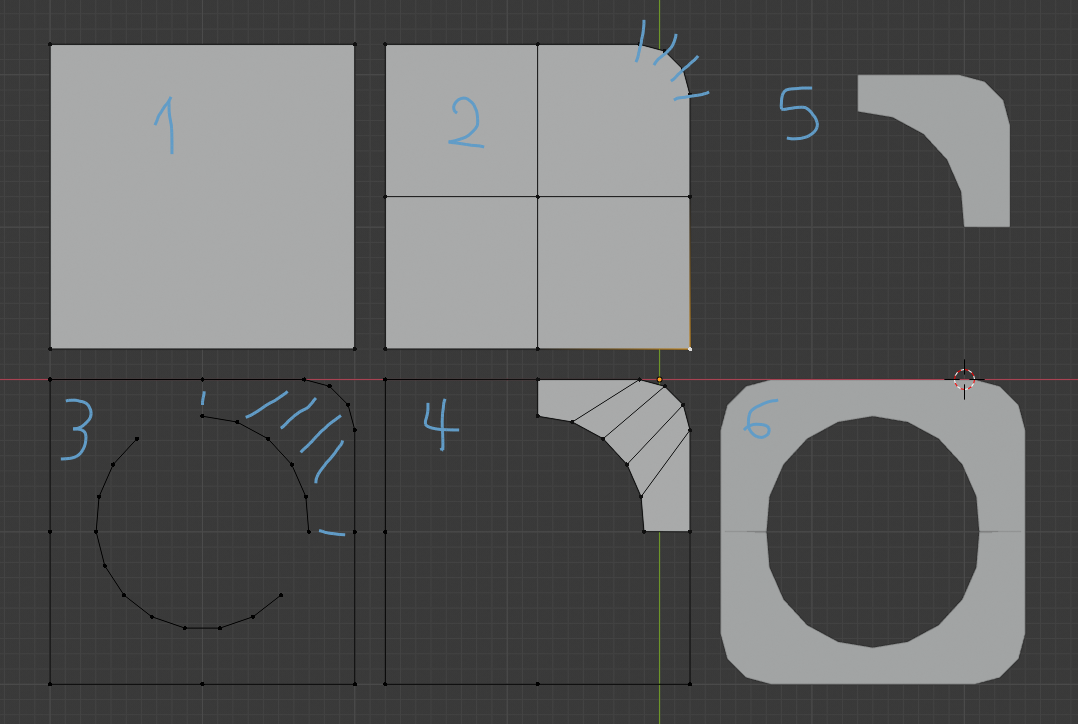
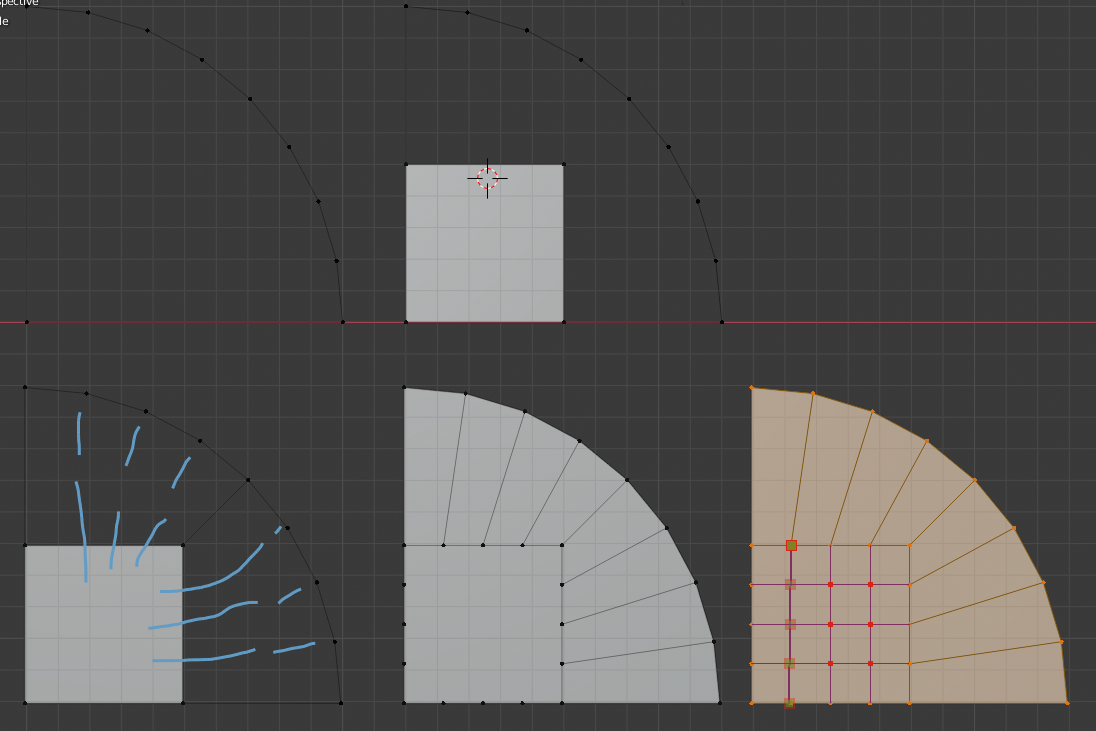
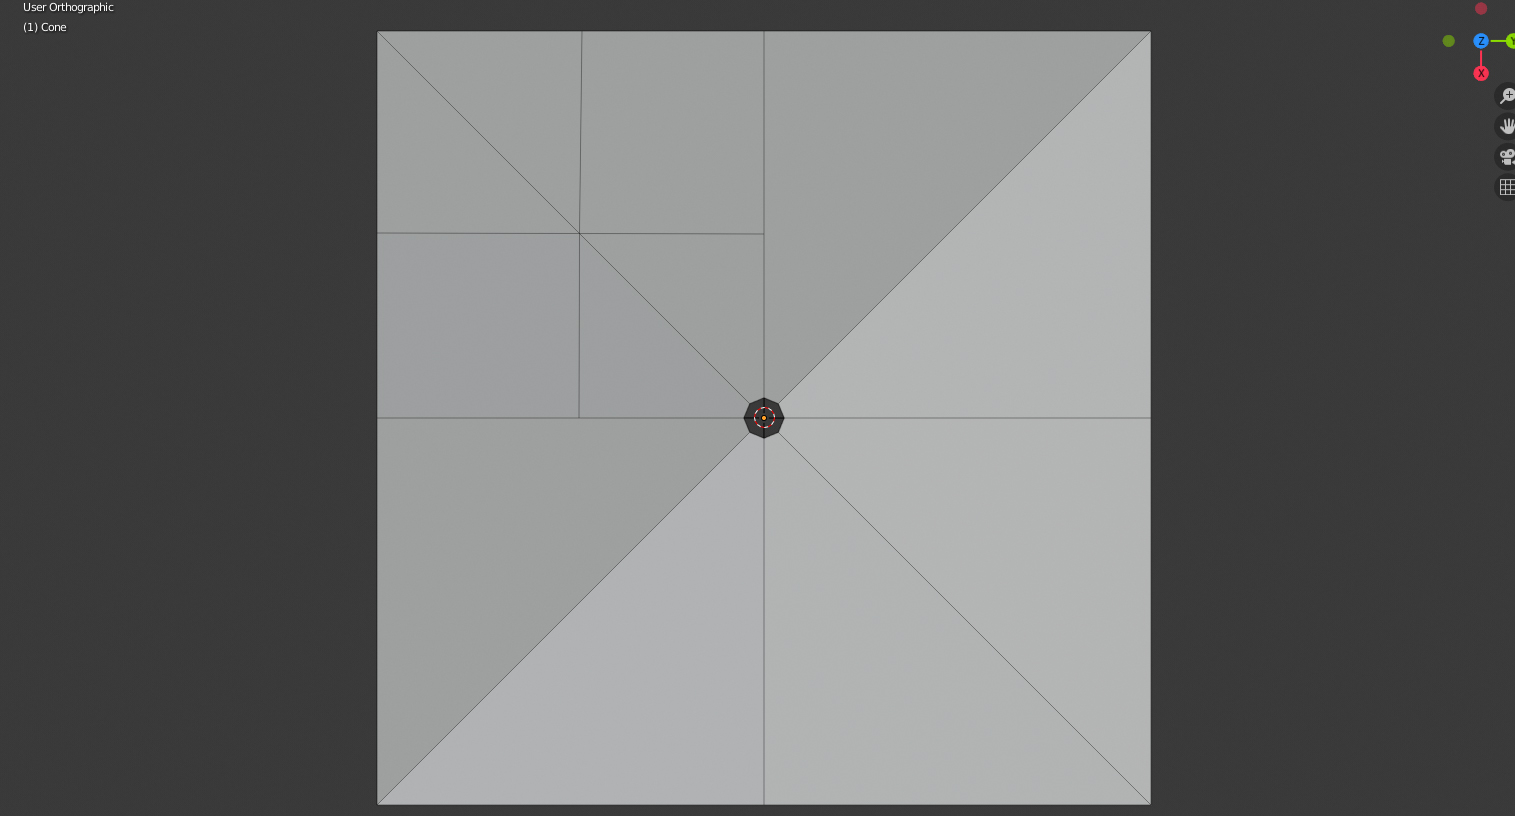
the initial plane (positions must be snapped to grid to get the coordinates right)
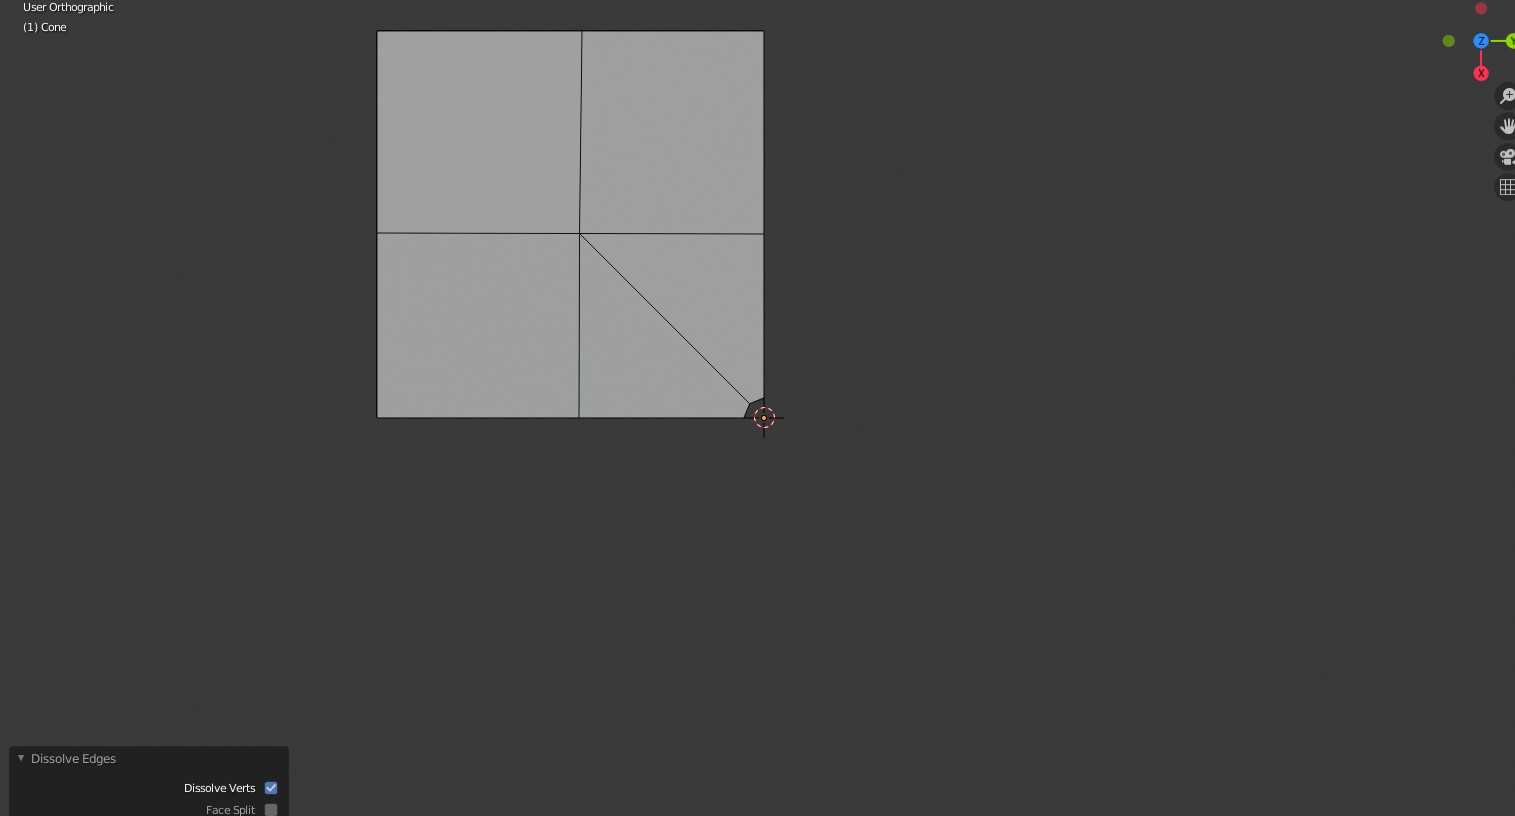
divided once, now I will focus only on the upper right part. I perform only a [bevel vertex] operation on the outer vertex to make it smooth.
I insert a circle shape and try to set the correct number of vertices (only upper right), positioning is done still snapped to grid.
I tested the connection once more and it was correct (actually it took me 4-5 mistakes to get it right).
I will need to set the origin right into the center of the shape. I learn the positions of vertices from the right side panel, then copy/paste them to cursor, now cursor is placed correctly, i perform [set origin to cursor].
I set two mirror modifiers (x + y) and everything seems good, now I can apply them and get a new shape.
The same idea can be performed with much higher detail, but perhaps a subdiv modifier would work. Also the same logic would work once more to fill the hole with a square-ish topology instead of disc one.
Thanks a lot for your complete answer! I am afraid that Is how I did this model.
Kind of maybe, I modeled the squared part as you did and then did a circle with the same amount of edges and also aligned to the square. In my case of course the circle is smaller cause I am trying to do a merge between the square and a really small point which in this case works with a scaled down circle.
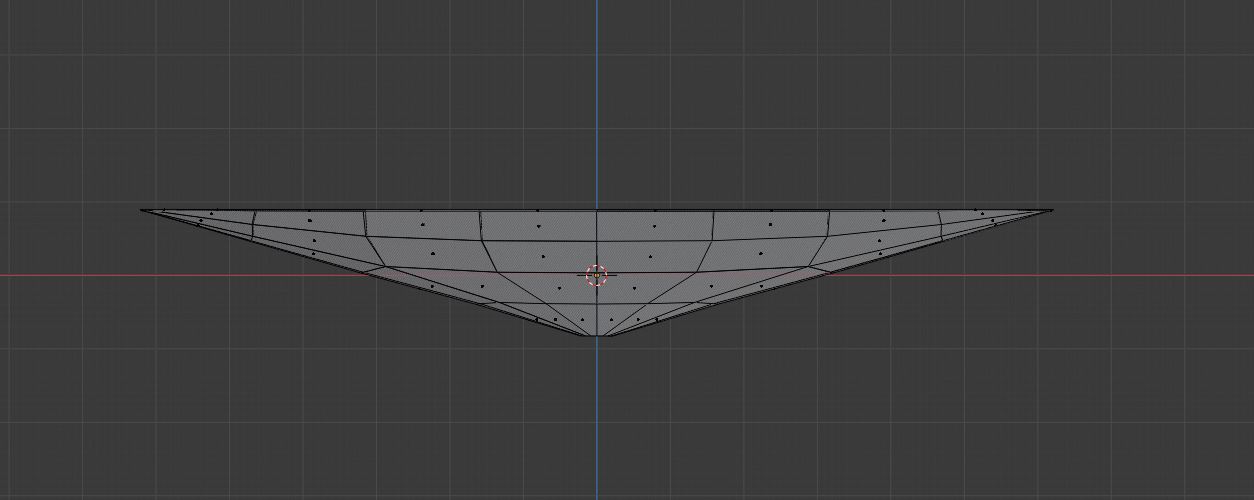
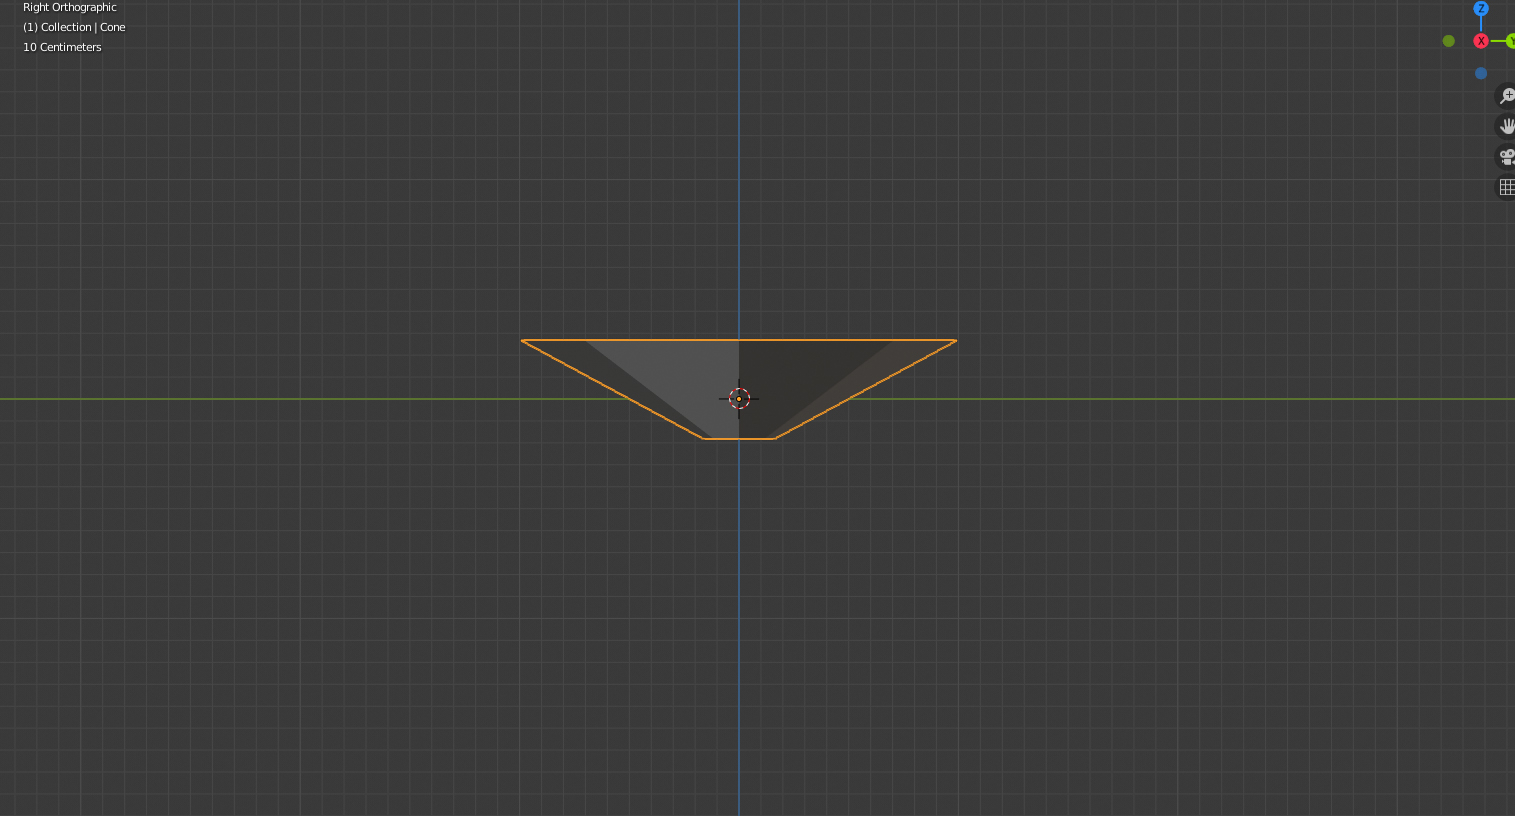
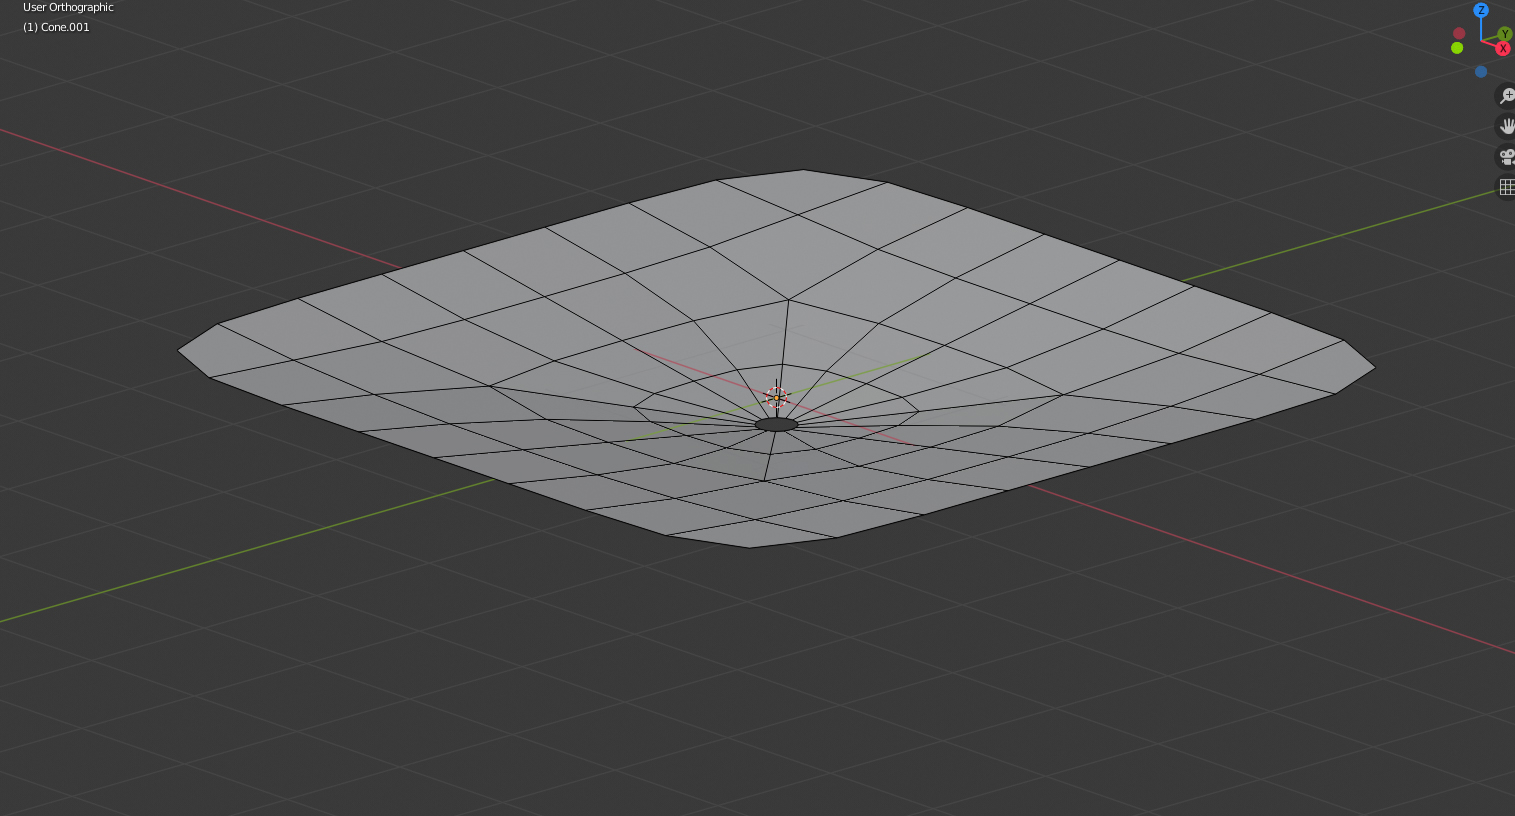
I am getting the artifacts you can see in the screenshot at the beginning. The circle is a little bit lower on the z cause the idea is to have this kind of conic merge.
I am not sure if the artifacts come from the uneven spacing. You can see in my wireframe the mesh seems to be quite smooth, but I am guessing the problem is the transition between the center and the border is not flowing as it should be. All the in between loops have the same shape…maybe is that.
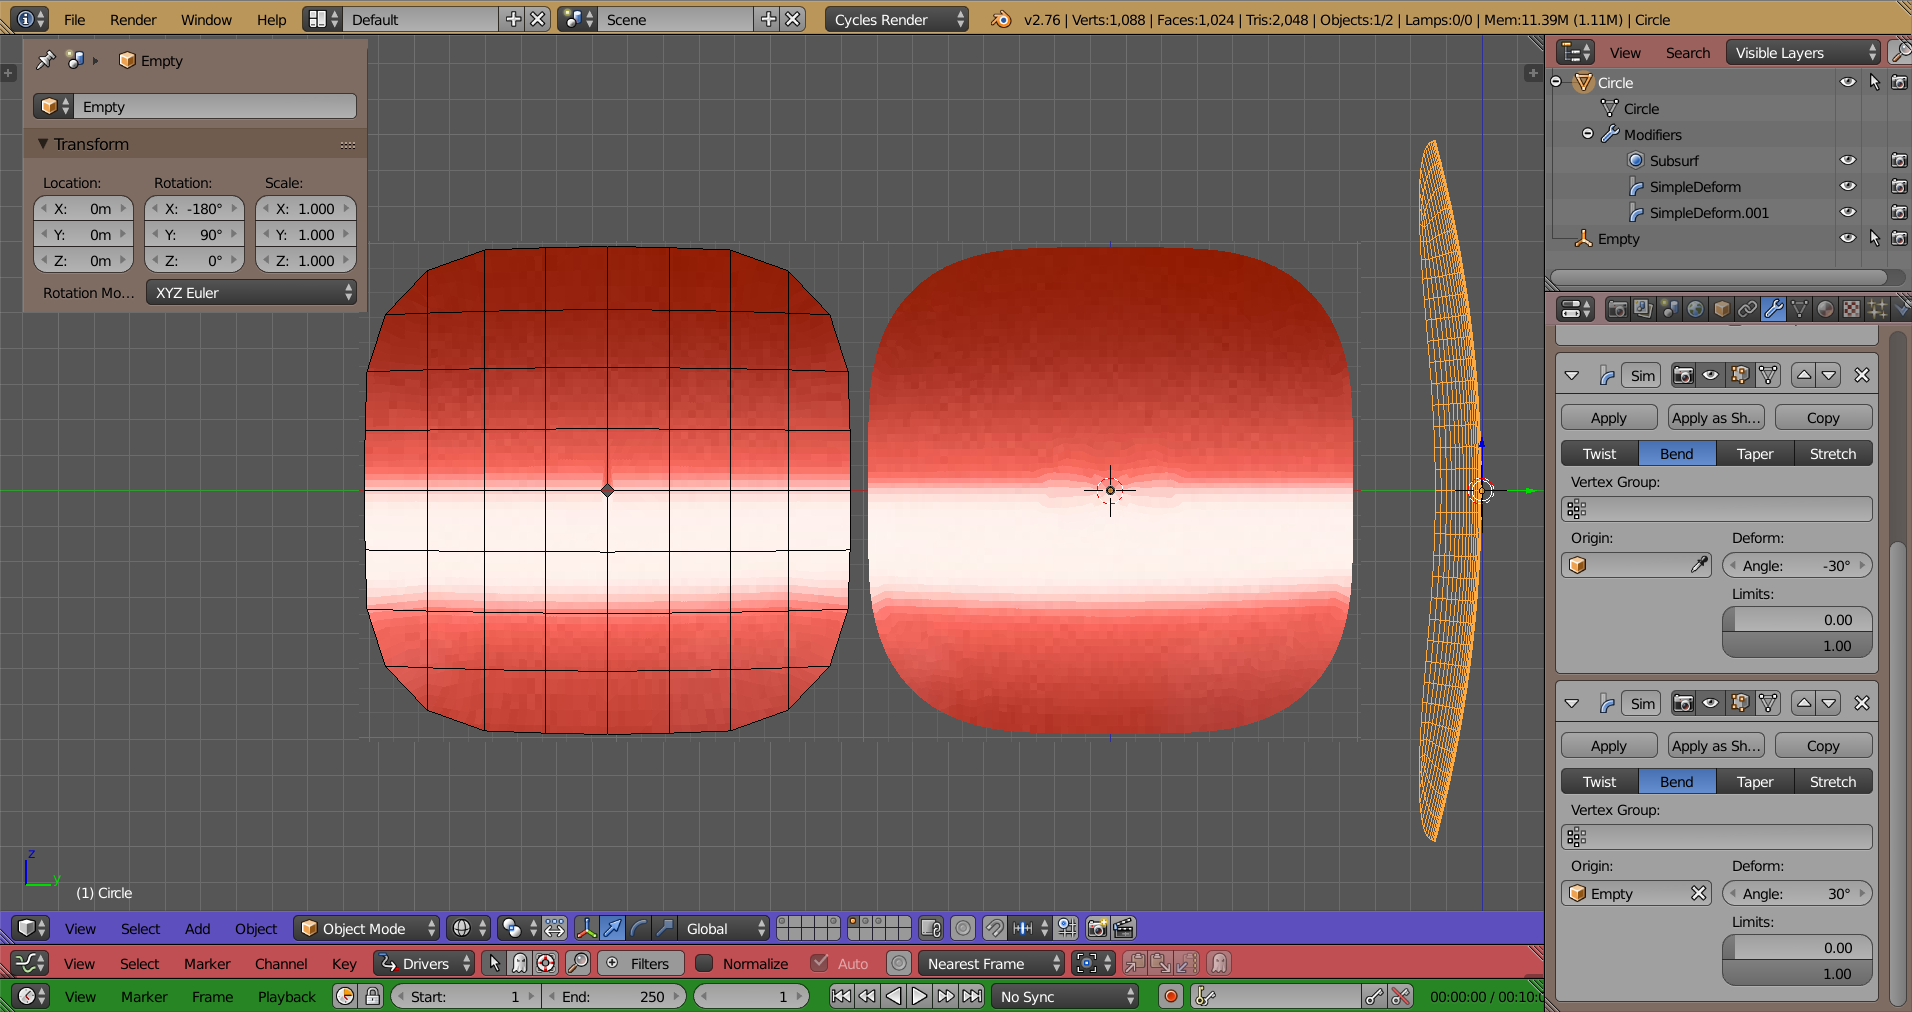
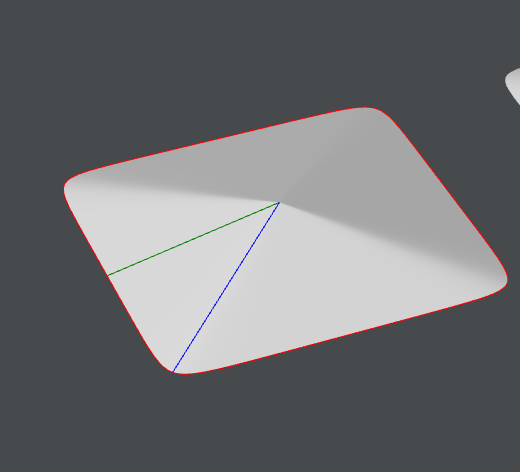
Hey, are you looking for something like this, Keep in mind this is bending the whole mesh, so the top or square part verts is not lying completely flat on the axis, but it is conical with great shading.
Maybe you can share the file so I can check if we are talking about the same.
The reflection seems to go in one direction and the surface I am intending to do is double curvature- On the other side It looks by the images you posted that It is actually double curvature. The only single detail is that I am intending to get a flat border merging with a point in the middle. As you described the shape you model has a non planar border right?
Here you are, Keeping in mind the post title is Bridge/loft workflow - which this file has nothing really todo with that aspect, this is about shading, as in your original post.
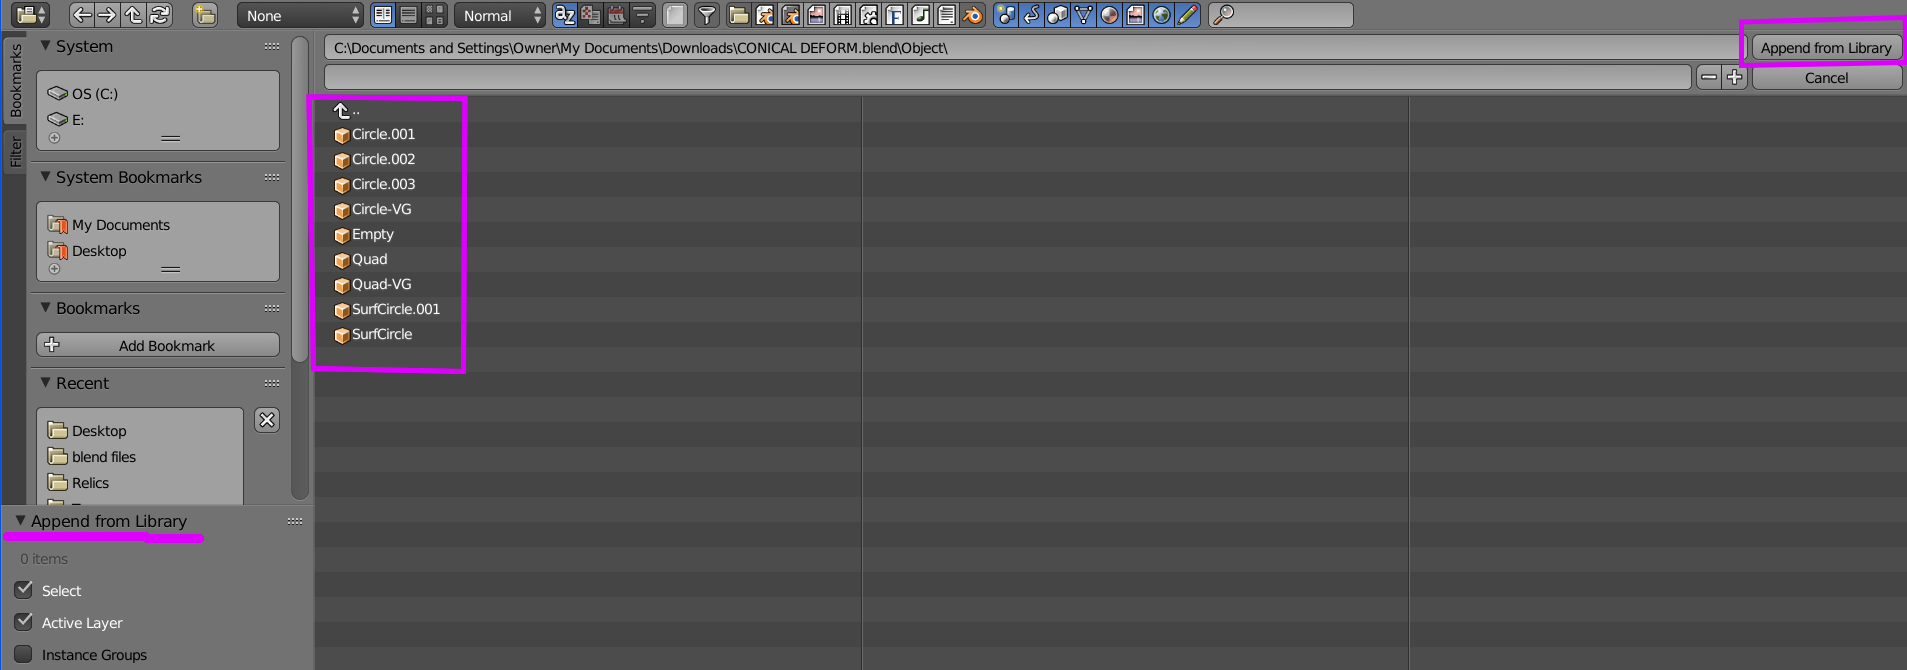
DISCLAIMER; This file was created in v2.76, if your using 2.7x it will open fine.- If using 2.8x - ‘APPEND’ the objects from the Object folder.
BTW, the ‘pinch’ look is just a product of transitional shading, brought about when you pull those center verts downward, I am not so sure how ever you model it(maybe to some degree) that you won’t experience at least a small amount of that. You could possibly solve the shading issue with a ‘Data Transfer’ or a ‘Normal Edit’ modifier, or even a ‘Normal’ map would prob do.
EDIT; I tried @const method and it seems to give nice results, the shading is ok.
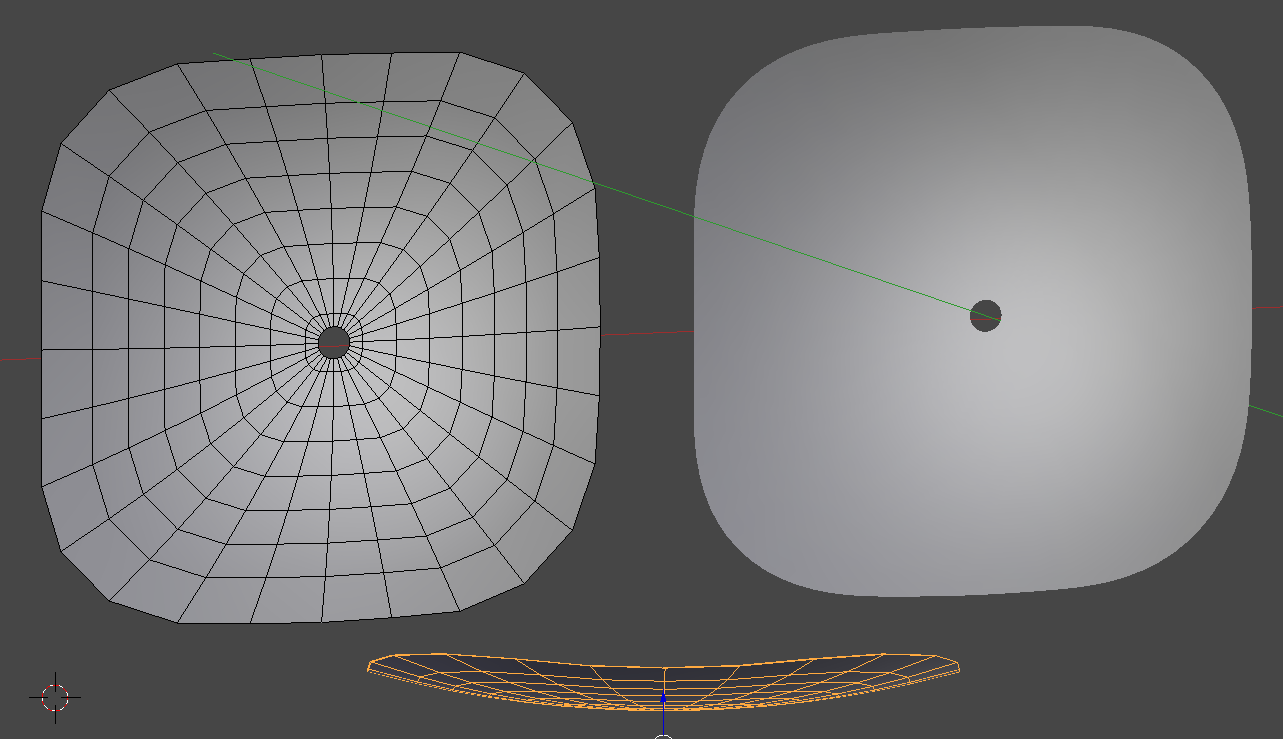
Thank you, I might be missing something , but not really sure what you are showing in the file? hahah
I see two meshes one with a hole and one without. No bending or similar to the ones you posted in your screen shot ?
Mmmm how does this work in relation to the square bridging to a vertex?
I can see a circle bridging to a square, but not really sure this is the same approach.
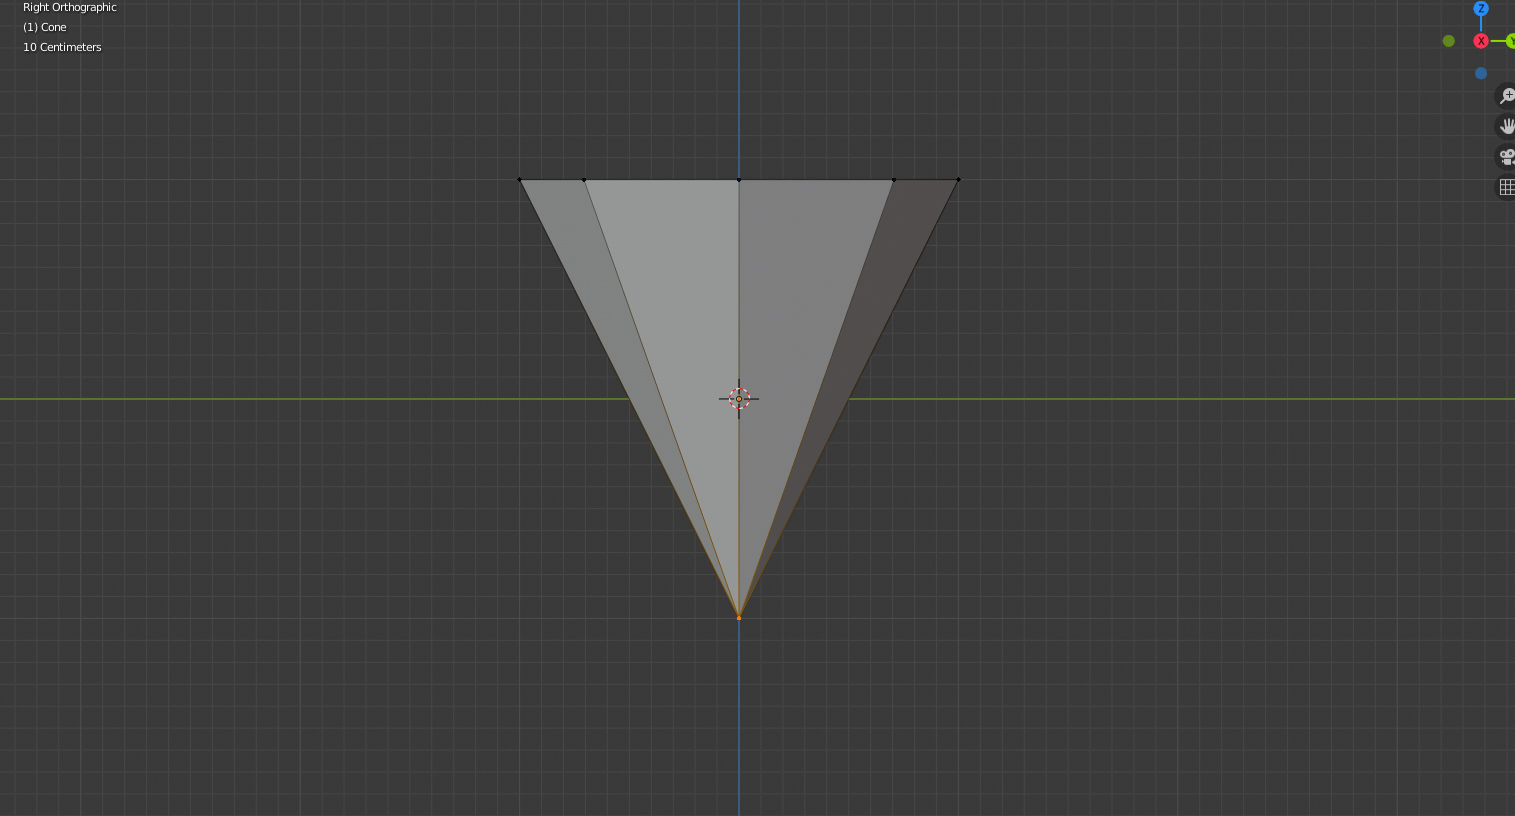
I am trying to avoid the pinch you can se over the corner transition to the center. I think some pinching I will always get cause its a point in the middle going to a squarerish shape… but the less as possible…almost like a cone.
APPEND the objects from the object folder - they might be stacked on top of each other, they are on different ‘Layer’ in my file, if they don’t move - unlock the transform locks
Yes this is really close to what I was looking for. If you look at my first post within this topic…I still not understand the wrong approach. I will think that the polygons flowing towards the center will have a more logic flow that having a square grid. I am just trying to learn how to improve my understanding of the mesh workflow.
Did you get no pinching cause the distribution is parallel and only the last row of polygons are connected to the corner? Did you use proportional editing linear in order to lower the center in a straight manner? How did you avoid to move also the square borders and have them flat ?
It would seam that way, but it is actually the reverse when using a subdivision mod, It works best when it has evenly spaced geometry.
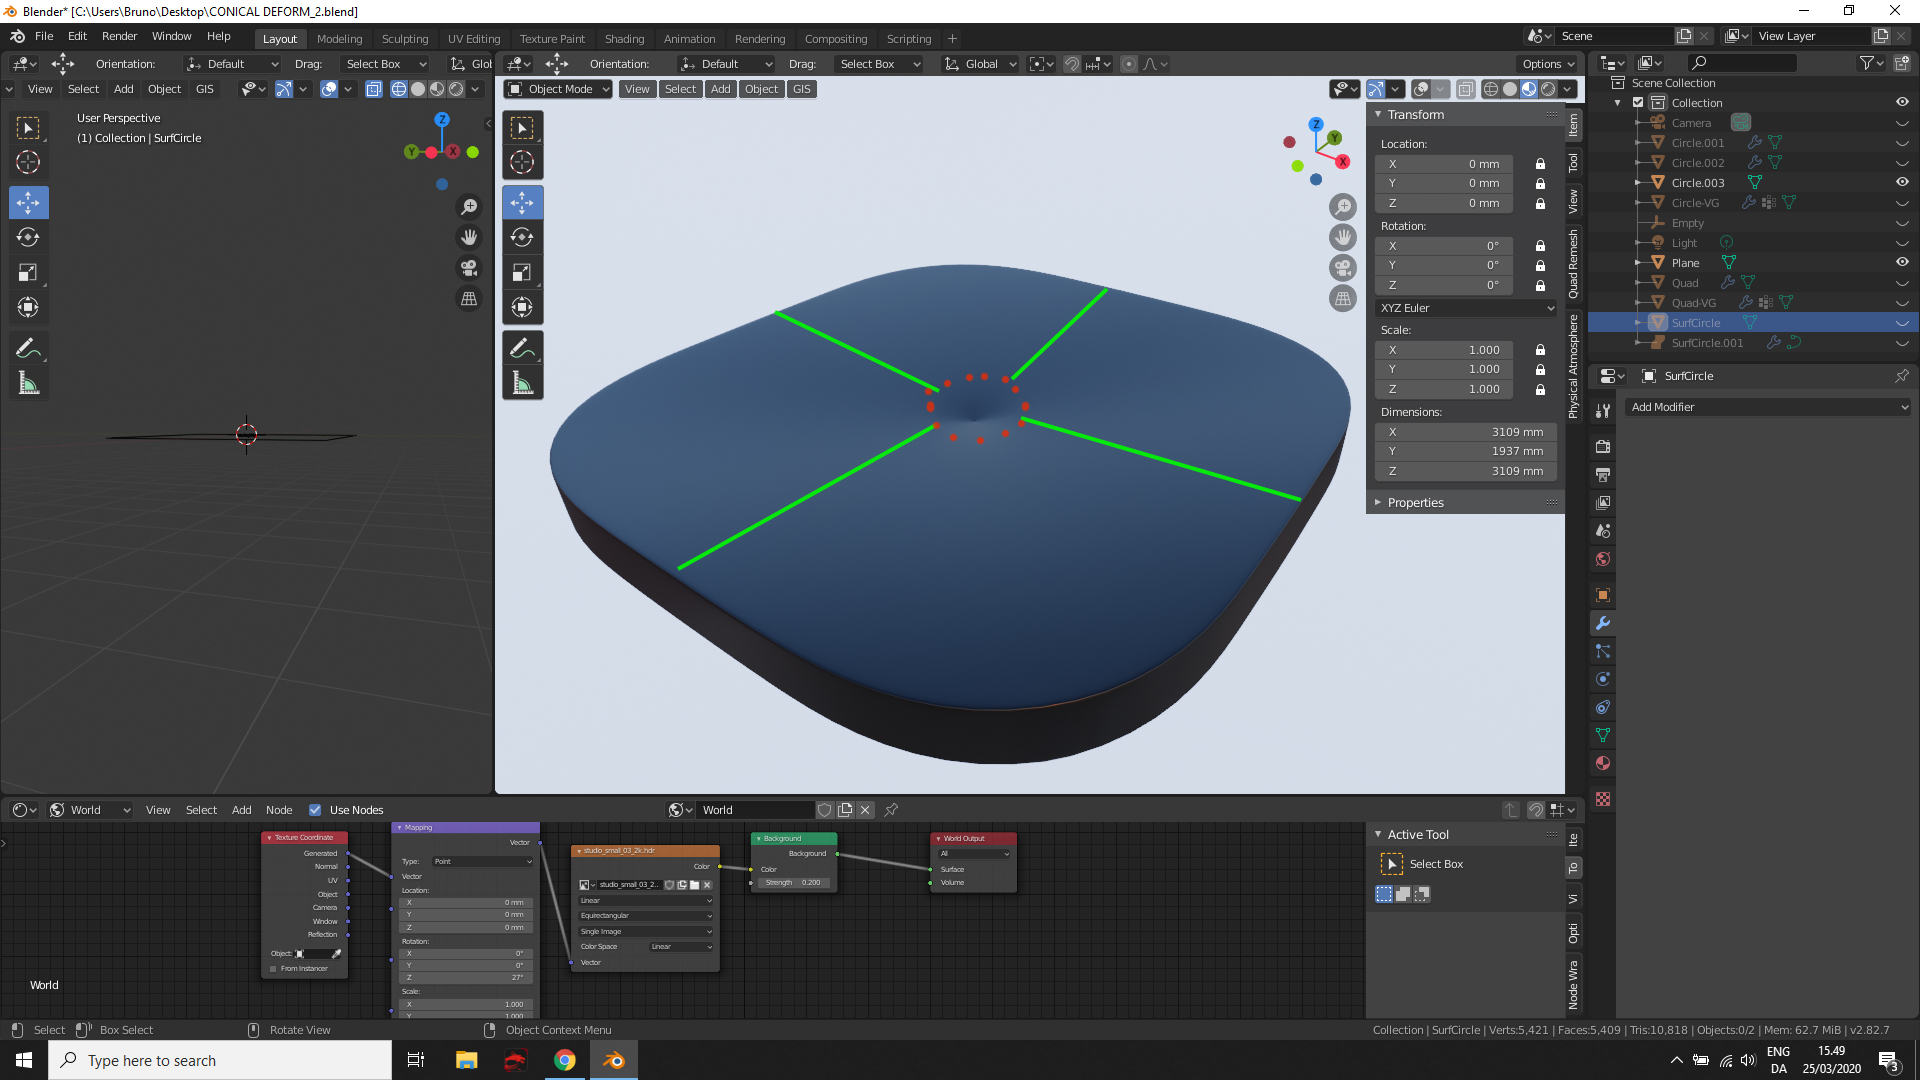
Most of my examples are using the double ‘Simple Deform’ mod to do the work - some are just totally flat, some I did move the ‘Hole’ parts geometry. The two that are named ‘SurfCircle’ are done using Nurbs, one I did manipulate the geometry, the other not.
I think if you want to get the best results, I would use @const grid method (not sure why he made the outer part round though) which is the same as the ones in my file named ‘Quad’, as far as ‘proportional’ editing goes , I prob used ‘smooth’ falloff, but not sure, TBH - I was just messing around killing like everyone else
Nurbs approach looks good, never used in Blender. The only problem it has the borders curved and the transition to the circle is spheric too…from all the options you have in the file “circle 003” looks really good. Still trying to understand why is somehow curve and not straight:
when it comes closer to the center the surface seems to curve towards the center…and looks kind of like an orange …I will try to figure it out ! thank you!
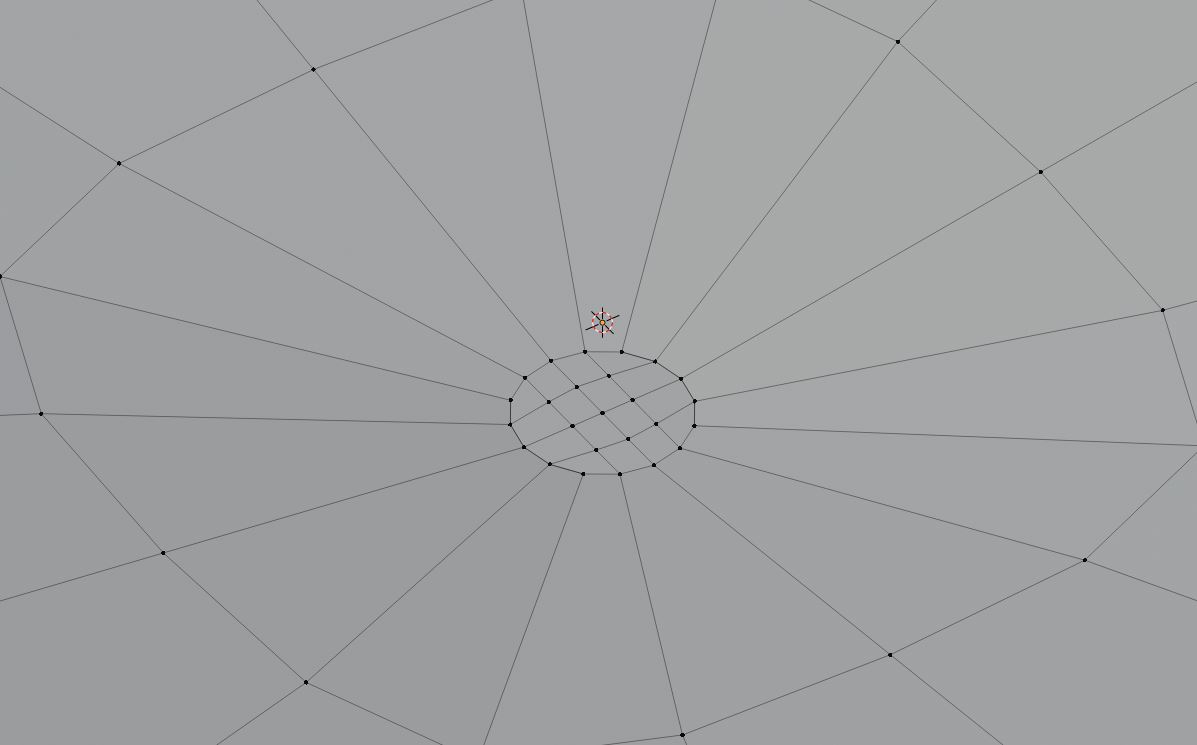
Polygons do have limitations where surfaces like nurbs dont when it comes to details. When dealing with curved polygon shapes if you have lots of edges close together your going to have pinching no matter what you do.
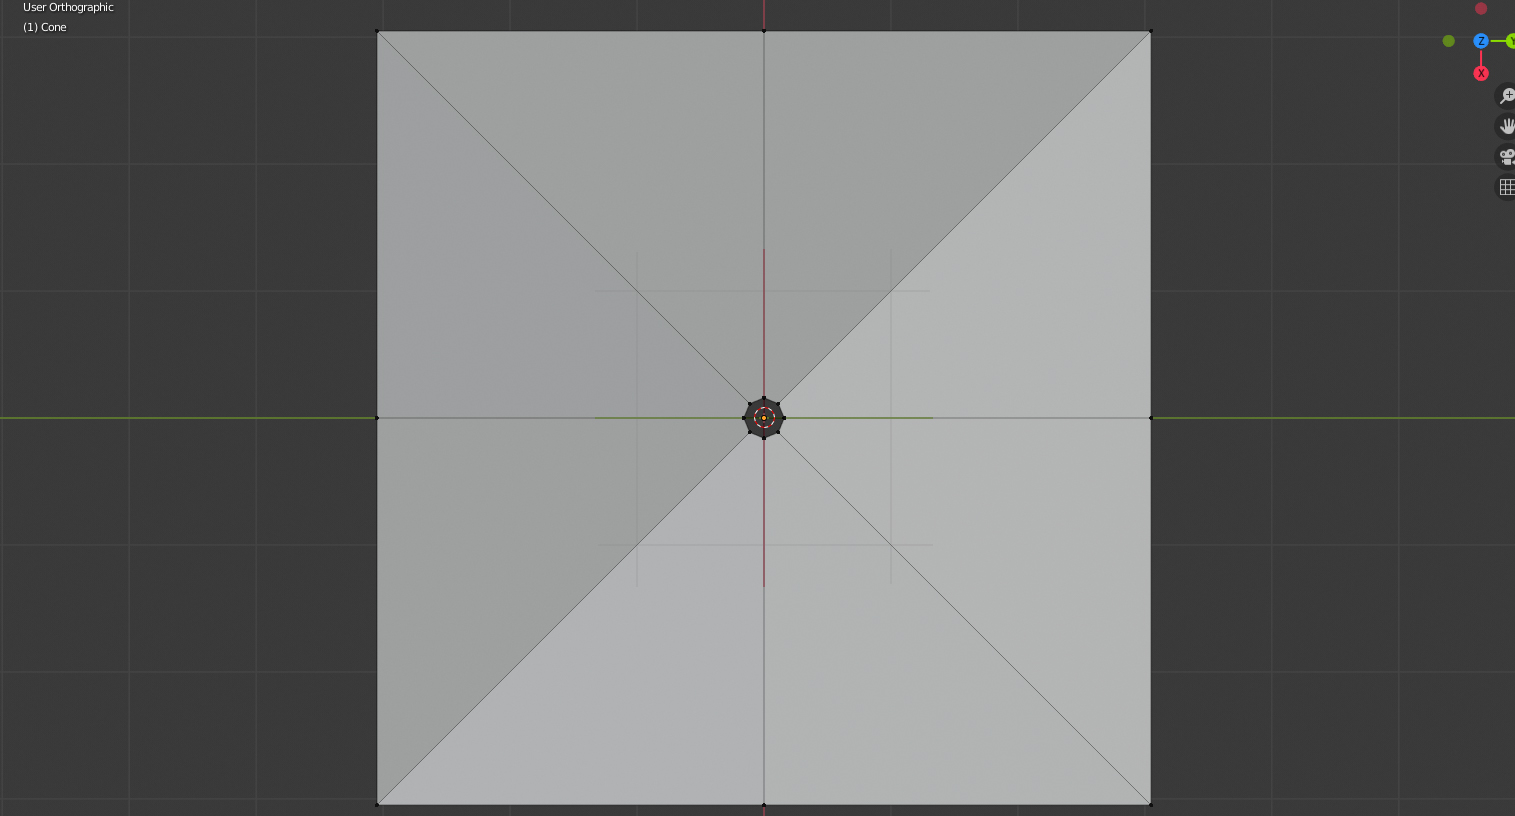
In my case the polygons are even up until a certain point but when they start forming the circle in the center the concentration of edges still creates pinching. There’s no real way around it unless someone has another technique.
Live and learn, I tried to do this in Blender cause I am a bit tired of tweaking surfaces in Rhino. Usually it is easier for me to get smoother shapes with polygons. Of course, when I am designing for production I use Rhino. I have two questions:
I am intending to close the shape (close the hole) and achieve almost like a dot look, in order to do this I guess I need to have more tension closer to the circle at the center right?
Did you move the center with a proportional edit in linear?