Doesn’t BSoD stand for Blue Screen of Death? I loved the tut but the name makes it sound like malware. I still use the foot rig.
Thanks for a fantastic tutorial, very helpful.
However, I’m having an issue with the Action Editor. For some reason when I make keyframes for the bones, no channels or keys show up in the Action Editor. Does anyone know why this might be? I’m running Blender 2.48a.
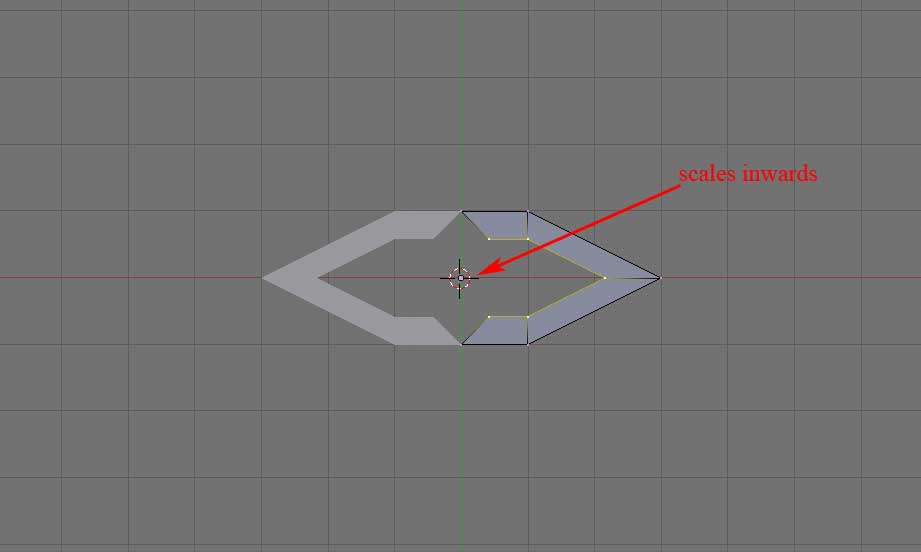
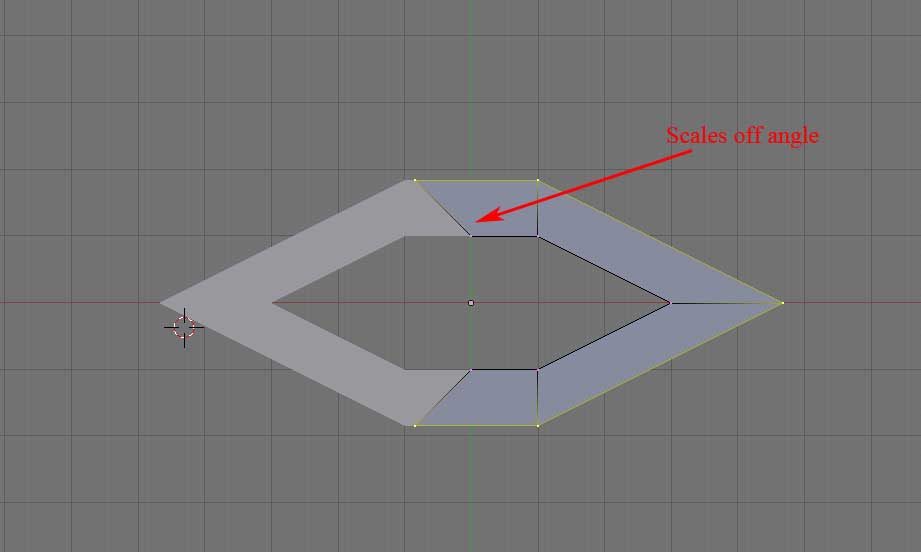
I’m new to blender and am trying this tutorial. I am having a problem with the creating a mouth part. I am probably overlooking something very basic, but when I am scaling the first extrusion, the scaling ignores the mirror and picks a point in the middle of the object, and scales either towards it or away from it. If I scale up, the scaled edges go into the mirrored part, if I scale down, the the joint between the object and the mirrored part split apart. Any Idea what I have overlooked
Attachments
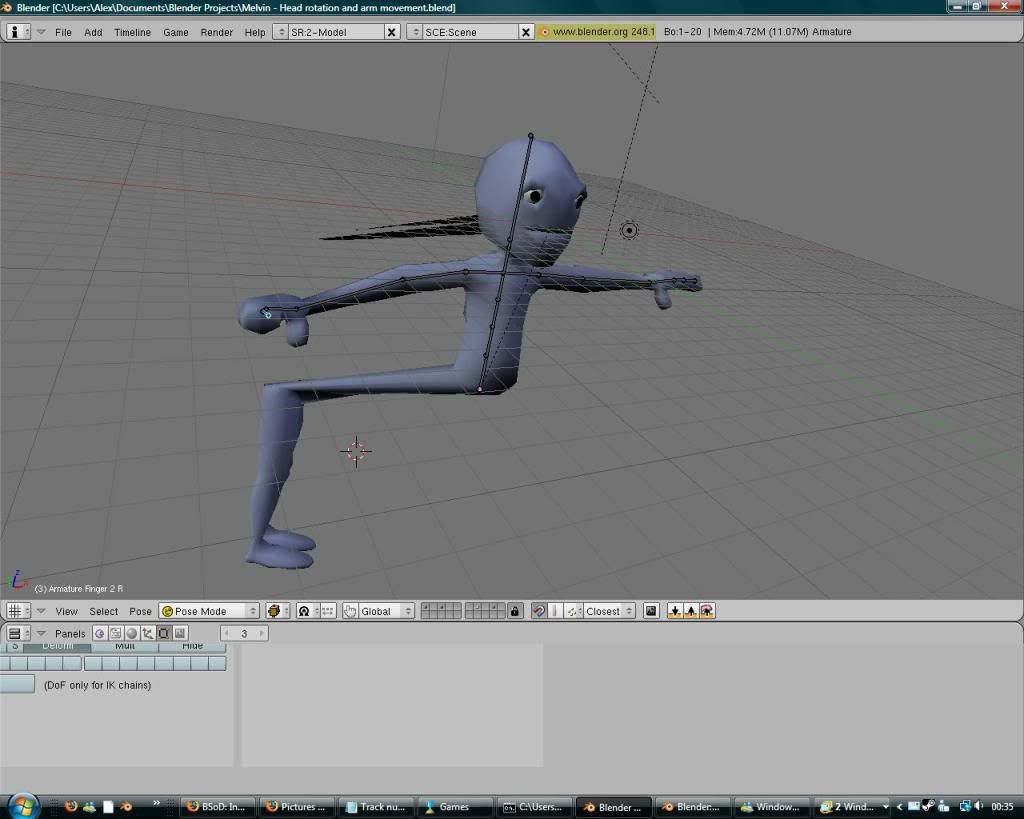
Hi Marenzelleria, I am up to the stage where I am rigging the upper body. I have managed to get the characters left arm, torso and head to move fine with the mesh and have just attached the eyes to the head. For some reason when I weightpaint the characters right arm and attempt to pose it from the tip of the right finger, the lower half of the body and some vertices from the head get dragged along with the right arm.
Can you please give me any advice on how to resolve this? Many thanks!
Hi
This is a great tutorial, I’m learning a lot from it.
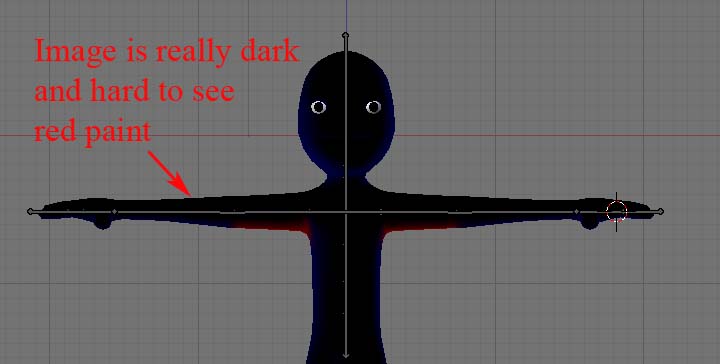
I have a problem though. When I try to paint the vertices, the Blue image of the character is so in the shade that I can’t see the red paint. I have tried moving the light sorce, but it doesn’t seem to change anything, any ideas what I have over looked?
thanks alot
Conor
Attachments
You can either rotate the model, rotate the view, or if you want to adjust the viewport lighting, drag down the top window border to expose the user preferences, then on the System& OpenGL tab, click/drag on the “globes” under the Solid OpenGl Lights section.
thanks Mike
I adjusted the globes and it did the trick. This is one powerful program.
Hi, Blender noob here. 
Really good and detailed tutorial, but I’m stuck at weight painting for the upper body armature.
Whenever I try to paint the vertices in Weight Paint mode, nothing happens. No matter what bone I select or what part of the body mesh I try to paint, it all stays the same blue. I’ve checked the settings and gone back a few steps and repeated, but so far, nothing’s working. I’ve applied an armature modifier to the mesh and, as far as I know, have followed the Pose Mode/Weight Paint Mode order correctly, so I’m not sure what’s up. I’ve looked up a few forum topics related to Weight Painting, but I’m still lost.
Any suggestions on what to do would be greatly appreciated.
Here’s the link for the Blender file, just in case I’ve skipped over the obvious and missed something:
http://www.4shared.com/file/109345336/d2c49d73/Introduction_to_Character_Animation.html
Thanks in advance. 
Hi, Blender noob here.
Good and detailed tutorial, but I’m stuck at weight painting the upper body. I’m currently in Weight Paint Mode, but whenever I try to paint the vertices, nothing happens and the mesh stays the blue colour.
As far as I know, I’ve followed all the tutorial instructions regarding the Pose Mode/Weight Paint Mode order, double checked the settings and made sure there’s an armature modifier, but for some reason, I still can’t paint the vertices. I’ve gone back a few steps and tried to redo, but I don’t know what’s wrong and I’m pretty sure I’ve missed something. Could anyone clear this up for me?
Any suggestions would be greatly appreciated.
Below is a link to the *.blend file, just in case anyone can spot an error:
http://www.4shared.com/file/109345336/d2c49d73/Introduction_to_Character_Animation.html
Thanks in advance. 
I’m probably overlooking something very basic, but I cant get the slider in the action editor,
can anyone help?
Conor
Are you using version 2.48 or later ?
The action editor has a dropdown in it’s header, (Grease Pencil / ShapeKey / Action). For shapekeys, it needs to be in … uh … ShapeKey mode ![]()
After adding shape keys to a mesh a clickable “arrow” icon should appear in the action editor beside the ‘Sliders’ label. If you dont’ see it, resize the window (LMB /drag on the window border). Then LMB on the arrow Icon to togglel the display of the sliders.
Hi Mike,
thanks for your help. I got the slider window open.
I have just fiished the tutorial, and it was great. I learned alot. Has anyone got any suggestions for a good follow on tutorial, I still consider myself to still be a new beginner with Blender, but I’d like to try putting the character into a room and have it interact with something, maybe pick up an object, or am I running ahead of myself?
I will be recomending Blender and this tutorial to other people
Thanks again
Conor
A “room” can be as simple as few cubes placed together.
To pickup an object, you can put a copy location constraint on the object to be picked up, with the target being either the character’s “hand” bone, or another bone you’ve added to the rig, i.e. a “pickup bone”.
The constraint influence can be key framed (turned off / on).
Having a separate bone, gives you the flexibility of moving it around, to be able to position the object more precisely.
Hi Mike thanks for the advice on building a room
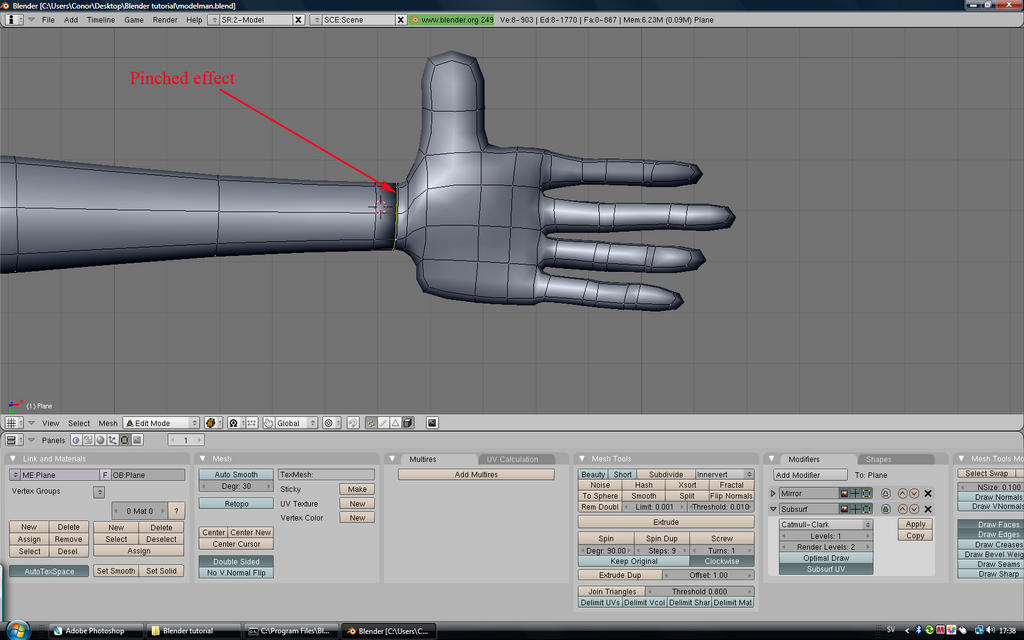
I have back tracked a little. I am attempting to add more detail to the figure I created in Ryans excellent tutorial. I have found that when I attemp to add a loop cut to a piece that has already been extruded out, that the loop cut causes a pinching effect that I cant get rid of. Has anyone got any suggestions about how to get around the pinching effect?
Attachments
Sorry, I don’t know about the modelling problem.
Did you get the constraint / pickup working ?
Hi Mike
I haven’t tried the constraint/pickup yet, I decided to revamp the model first. But I will try it shortly and I’ll let you know how I got on
all the best
Conor
For your modeling problem, you might want to start a thread in the support / modeling section.
I’m off to a bad start. When I create a plane in Front View it’s 2D (just a straight line). Do I have some settings wrong?
HI shakingspear
I had a similar problem when I did this tutorial. my solution was to press AA to select the plane. Press num pad 3 to change to side view. press R 90 to rotate the plane 90 degrees.
When you press num pad 1 you should then see the plane as its meant to be.
If you do this , latter in the tutorial when it comes to applying the weight paint, you will find that the lighting is to dark. Mike S. provided me with a solution for this, see his reply #301 above
good luck, I found it was a great tutorial
Hi, I thought this was a great tutorial. I went ahead and downloaded the model and finished the armatures and it was great. So I went back and attempted the “Enhanced “Introduction to Character Animation” Rig” from the link, http://wiki.blender.org/index.php/Doc:Tutorials/Animation/BSoD/Character_Animation/Improved_Foot_Rig#Offset_Bone,
I, unfortunatly, had no idea of what to do. I downloaded the finished model from that link and I really liked the rig. It was simple to use, but I had a hard time following the tutorial that was provided. I tried the offset bone, but I don’t think I will need it since it acted like a master. I just needed to IK arms and legs. I had a lot of difficulties getting it to work. I got the constraints to the lower arms and the IKHands.R/L but it was not as fluid in motion as the finished model. I was only able to move the lower arm and not the hands. Could I get some help with it? Some instructional pictures would be nice.
