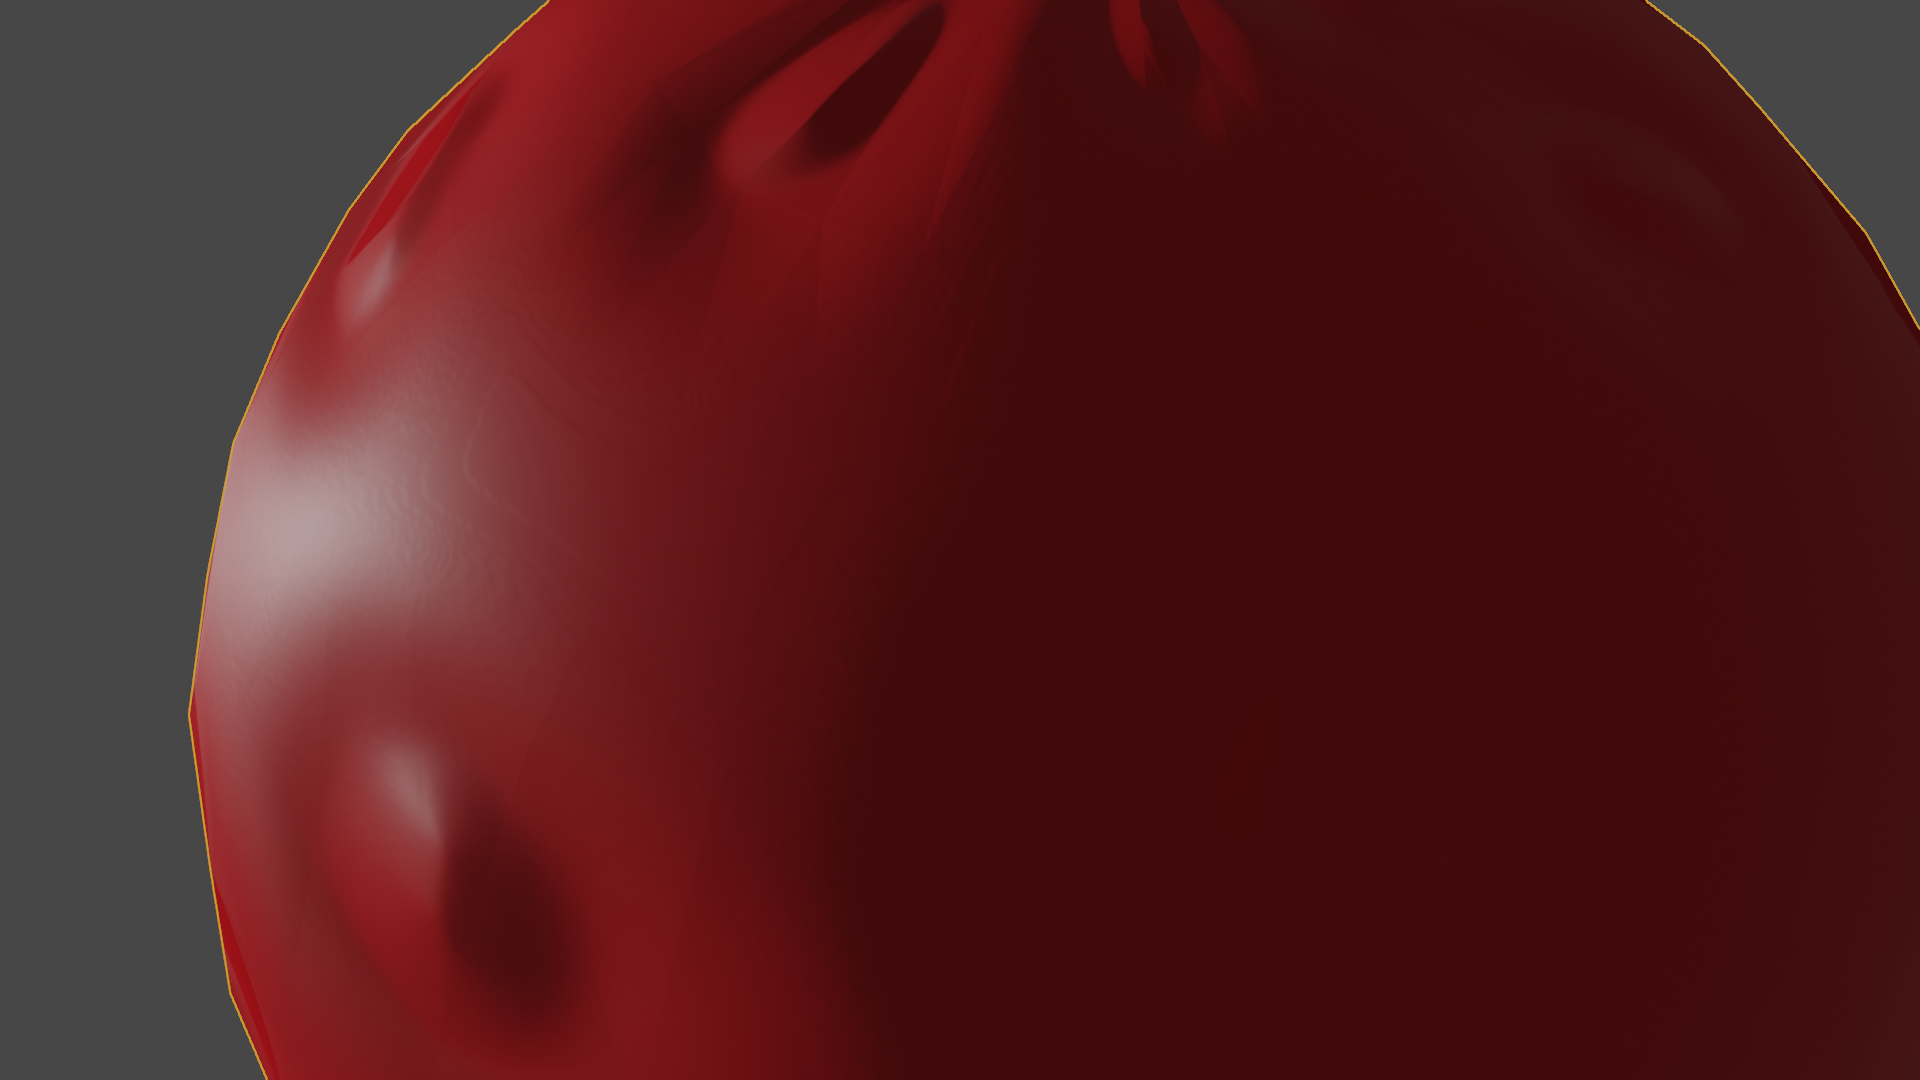
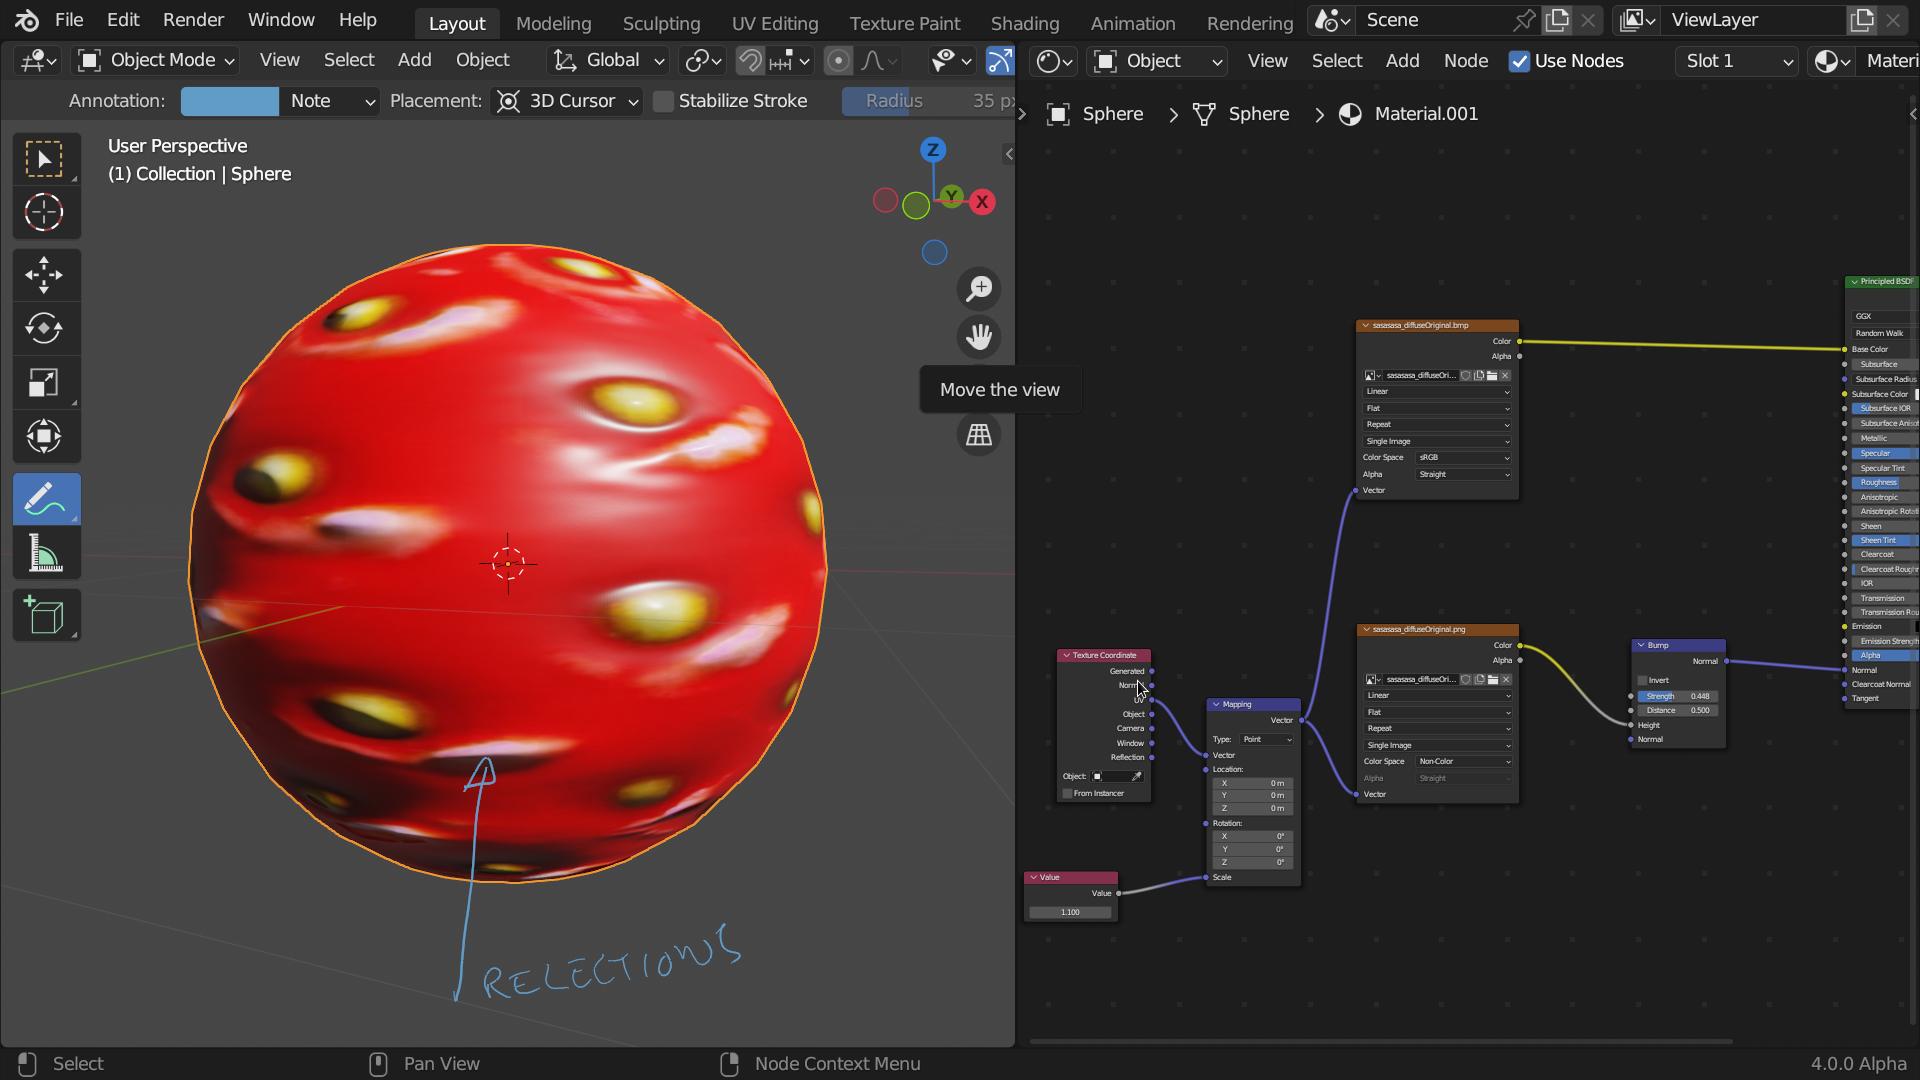
Hello , i need help for a problem with bump map . Im trying to make a material from an image, but when i plug the image texture in to the bump node i get this result, some king of ridges or ripples /don’t know how are they called/ Below is the node setup. I’ve found a topic from 2018 link : Bump/Normal map leaving ridges? where is the same problem. The answers there are that the problem is incurring from the bit size of the image so i have tried 16 bit also 32 bits images but the result was not satisfying /it does make the ripples more subtle but they are still there. What i did was :i converted image to 32 bits saved the file ,then ive opened it again and ive cut the pattern then placed it on empty document also 32 bit. Then ive used the file in Materialize /where the material looks good as it should be/ then ive use the file from Materialize in Blender .Where the bump map is making the problems. Ive tried also 16 bit image -didn’t work. Color ramp -didn’t worked .The bump node settings are Cubic interpolation and Non Color-color space . I’m looking for solution for this problem , not an alternative method for texturing , because this happens with every image that i’ve tried , basically i can’t use image textures that i’ve made by myslef. Thank you in advance for your time!
It looks to me like it’s just not a very good bump map to begin with. IMO, load it into KRITA to use as a reference, add a new layer, and go to view >> wrap around mode, and paint a new one.
Im not much of a painter but here is my creation /ive used only 2 colors +blur/ .it definitely gave better result, but as you will see there are still ripples , its not ok for close up .
Those ripples are because there is not enough color information in your image.
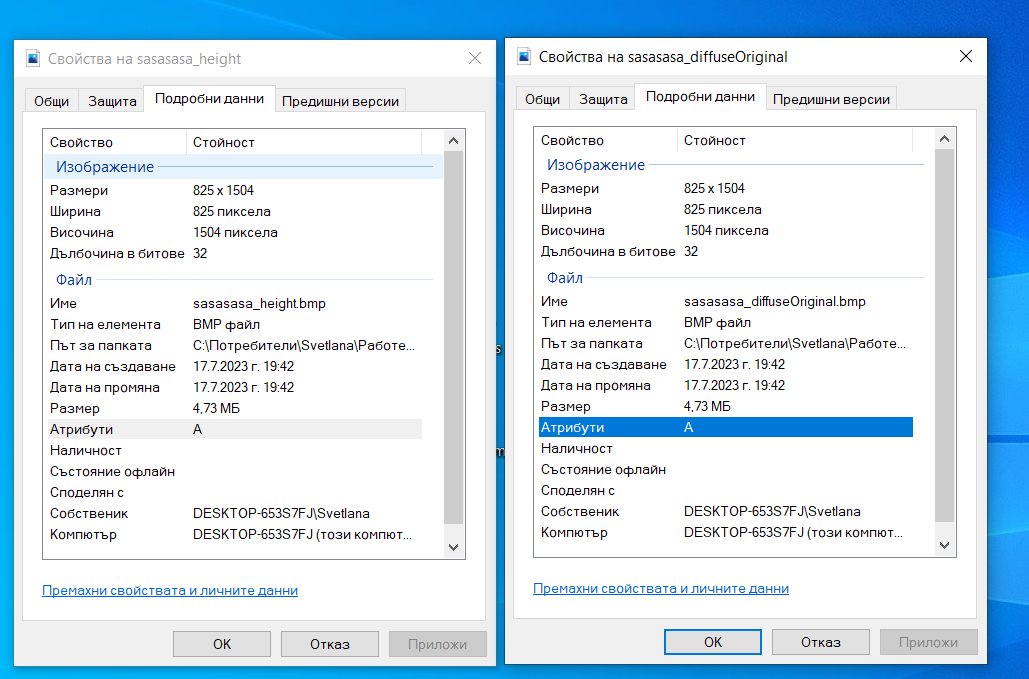
The image is only 8 bit precision those ridges are where the gradient switches from one shade of grey to another.
For a good bump map that you can zoom into you should use at least 16 bit image. This gives you more “in-between” shades of grey
Unfortunately your original image is also 8 bit, so it is not as simple as just converting it to 16 bit.
You can open the image in gimp/photoshop, change it to grayscale and set it to 32 bit precision. Then blur it a bit (if you do not blur it you will not have any more gradient information).
Then save as 16 bit png.
That would get rid of the ripples.
The other problem is that your image is not “seamless” for tiling and has those light reflections that will make your bump map look weird and create high points where you do not want them.
Here is your image converted to 16 bit and blurred (no ridges but not too good)
Thank you so so much! This fix it all!
I I thought that the files are 32 bits (since i have change them) but now i’ve checked them and open them in krita and they are 8bi,t and also i didnt apply grayscale only blur… For the reflections and that its not seamless im aware . i just didn’t want to loose time and effort cleaning image and then bamm ridges
I didn’t real all the answers, but if I get into stepping problems due to lacking color information I would try:
Open the image and apply auto contrast to get the maximum range available.
Change to 16/32 bit B/W depth.
Scale up the image two or three times using some kind of smoothing.
Apply some blur to the image, preferably one that works across the seams.
Scale the image down to what would be appropriate, also using some kind of smoothing.
Save the new image both as 8 bit AND 16 bit, stick with 8 bit cubic if it works.
If the normals still look “too flat” because of previous areas that caused stepping, add in some additional random big noise to create some variations that hides this fact. But the obvious stepping should be eliminated.
Since blurring is involved, this will likely fail for sharp transitions, but typically some smooth bevels are preferred anyway to better catch light. Doesn’t seem to apply in this particular case though.


