hello
i want to set a bump map for specific faces that i mapped
also i have an object that some faces mapped to one image
and other faced mapped to another image
-
i tried to add an image as a texture
in “Map Input” , i set the “UV” on
in “Map To” ,disable “COL” , enable “NOR”
set NOR value to max .
am i making it right ?
-
the bump result is not very “bumped” , you can hardly see the difference.
how come ?
-
what about different images on the same object ?
(some faces for image A , some faces for image B)
thank you
1,2) some faces has some 2 triangles when rendered , i play a bit with the nor settings
3) yes… i have textures 2 images to the same model …i have only one material to this object
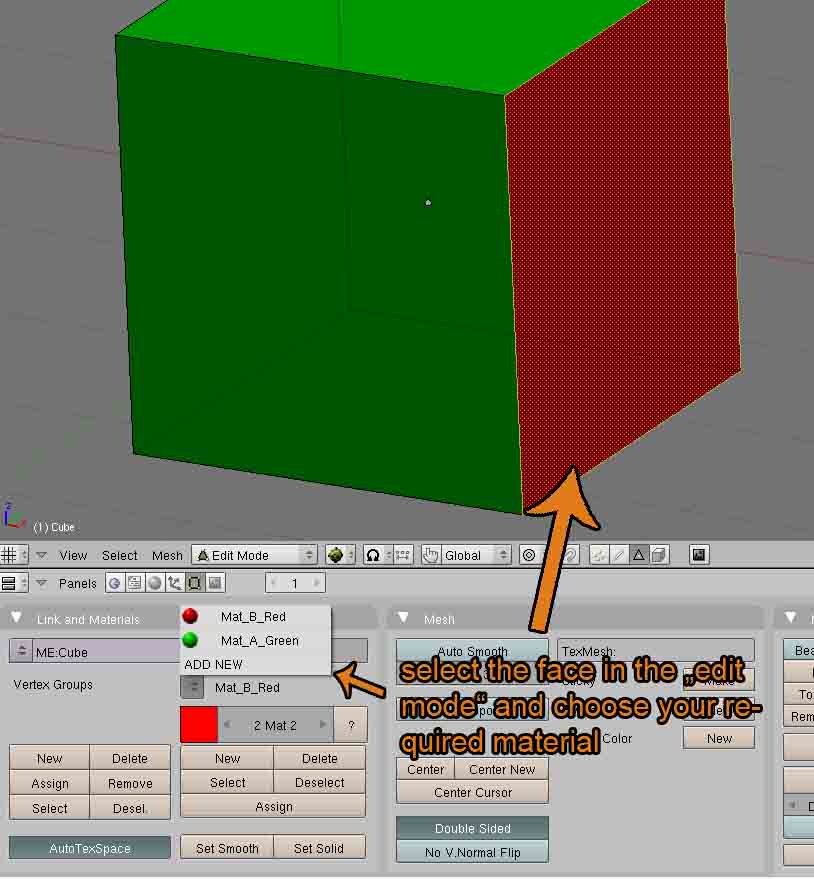
Implement two different materials each with one of the images. Then you can assign the materials to specific faces.
Attachments
thank i will try it right now
ok , now i have 2 metirial
when trying to chose texture image for material 1
the image is also changing for materiel 2
why is that?
You’re obviously use the same texture-data-block wich is linked to both of the materials. Have you copied the material-settings? Set up a new texture-data-block by pressing “add new” in the “texture-settings (F6)” for one of the textures.
i made a little test and it working
i need to play with my blend file more
cause weird things are happening to me.
i am doing it right
in the attached files ?
Attachments


texture_test1.blend (163 KB)
i remove thous copies
its look like now the the nor has no effect
my bad sorry forget the little V by the texture
its working great now
thank you very mush 
hey, yea, it worked.
You have set up all right.
But if you want to use the textures as a normal-map then you have to enable under the “texture settings” (F5) the button “Nomal Ma” and minimize the NOR value because 25 is a little bit too much.
Another solution would be to merge the two images to one image (in Photoshop or GIMP) and use it as one texture. So you would only need one material but this depends on what you want to do.
yes thank you …
i like the idea of one image that conatin all
the main image is big.
in couple of minutes i will post the result under WIP
and post a link here
lets say…
if i know all of this from the start my bridge was looking better now.
but will do on the next model
what “Nomal Ma” are ?
yes thank you …
i like the idea of one image that conatin all
the main image is big.
in couple of minutes i will post the result under WIP
and post a link here
lets say…
if i know all of this from the start my bridge was looking better now.
but will do on the next model
what “Nomal Ma” are ?
Yea, fine
If you activate “Normal Ma” you use a texture as a normal-map. It’s a little bit similar to bump-mapping, but have a look here for more precisely information:
http://wiki.blender.org/index.php/Doc:Manual/Textures/Maps/Bump_and_Normal_Maps
ok just post the new images
i be glad if u take a look at the result
http://blenderartists.org/forum/showthread.php?p=1379602#post1379602