So far, well, they could be better 
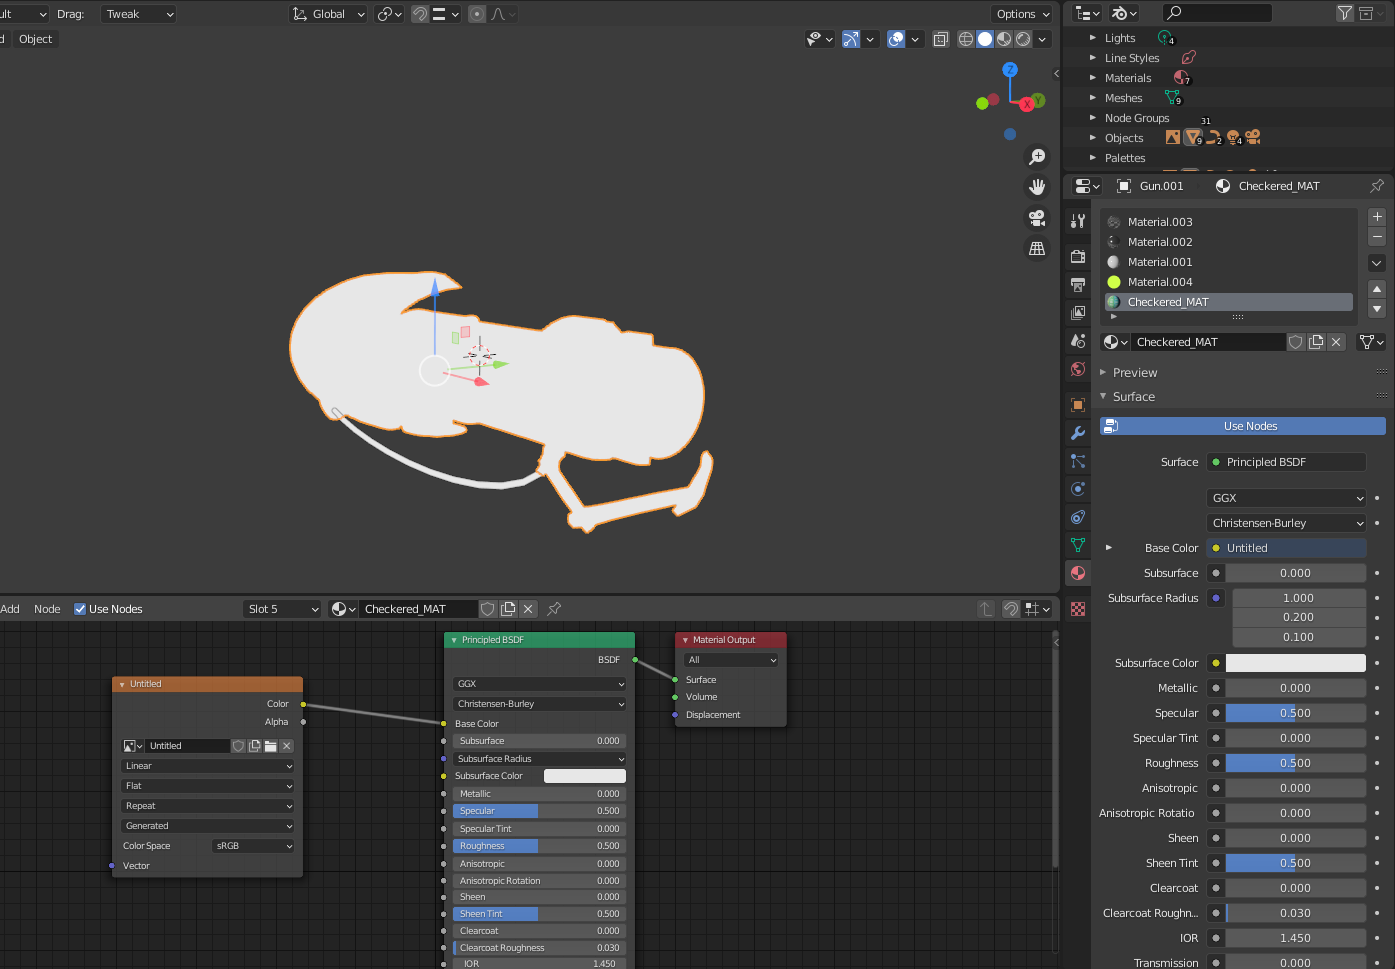
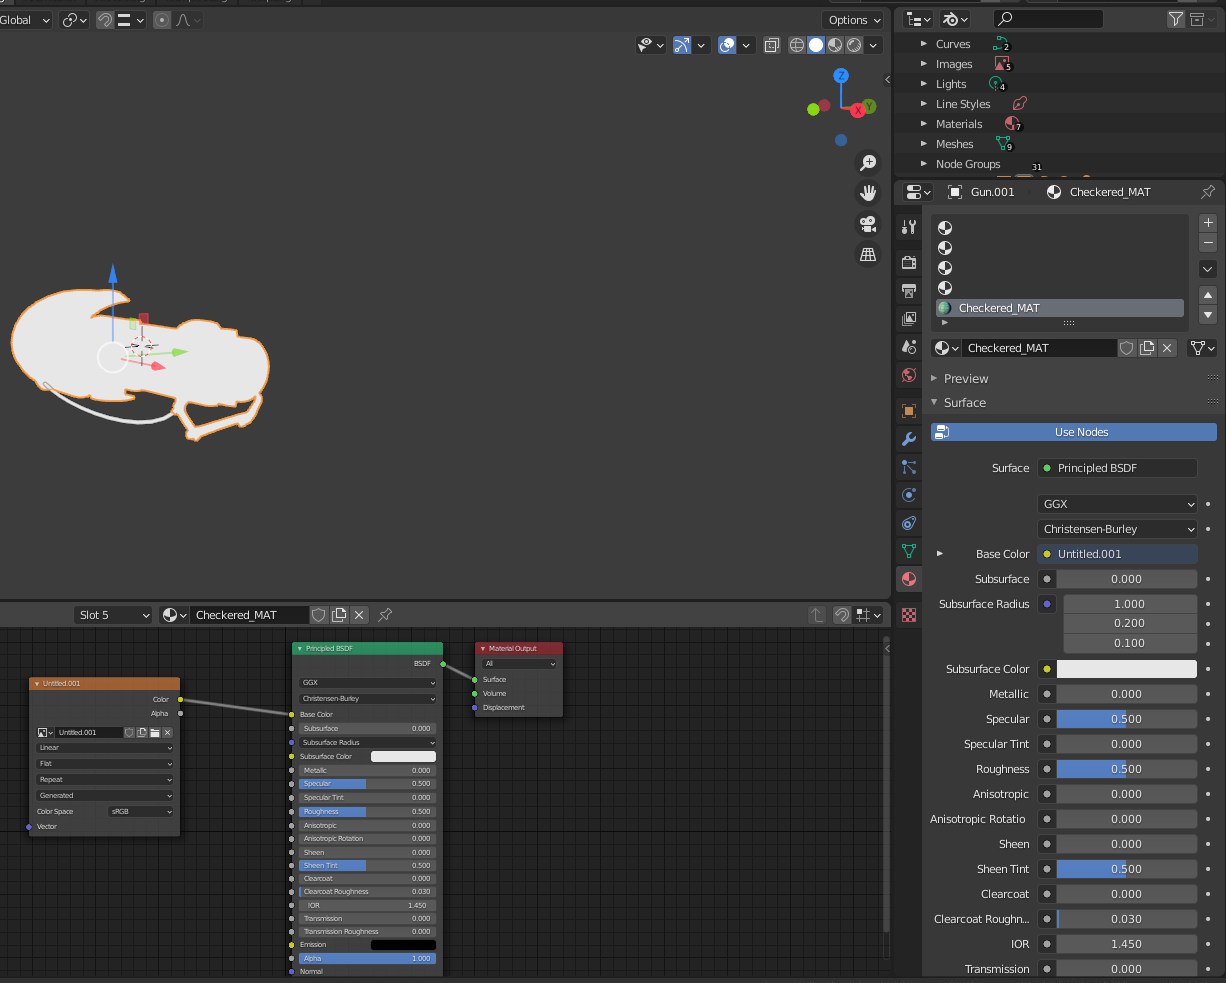
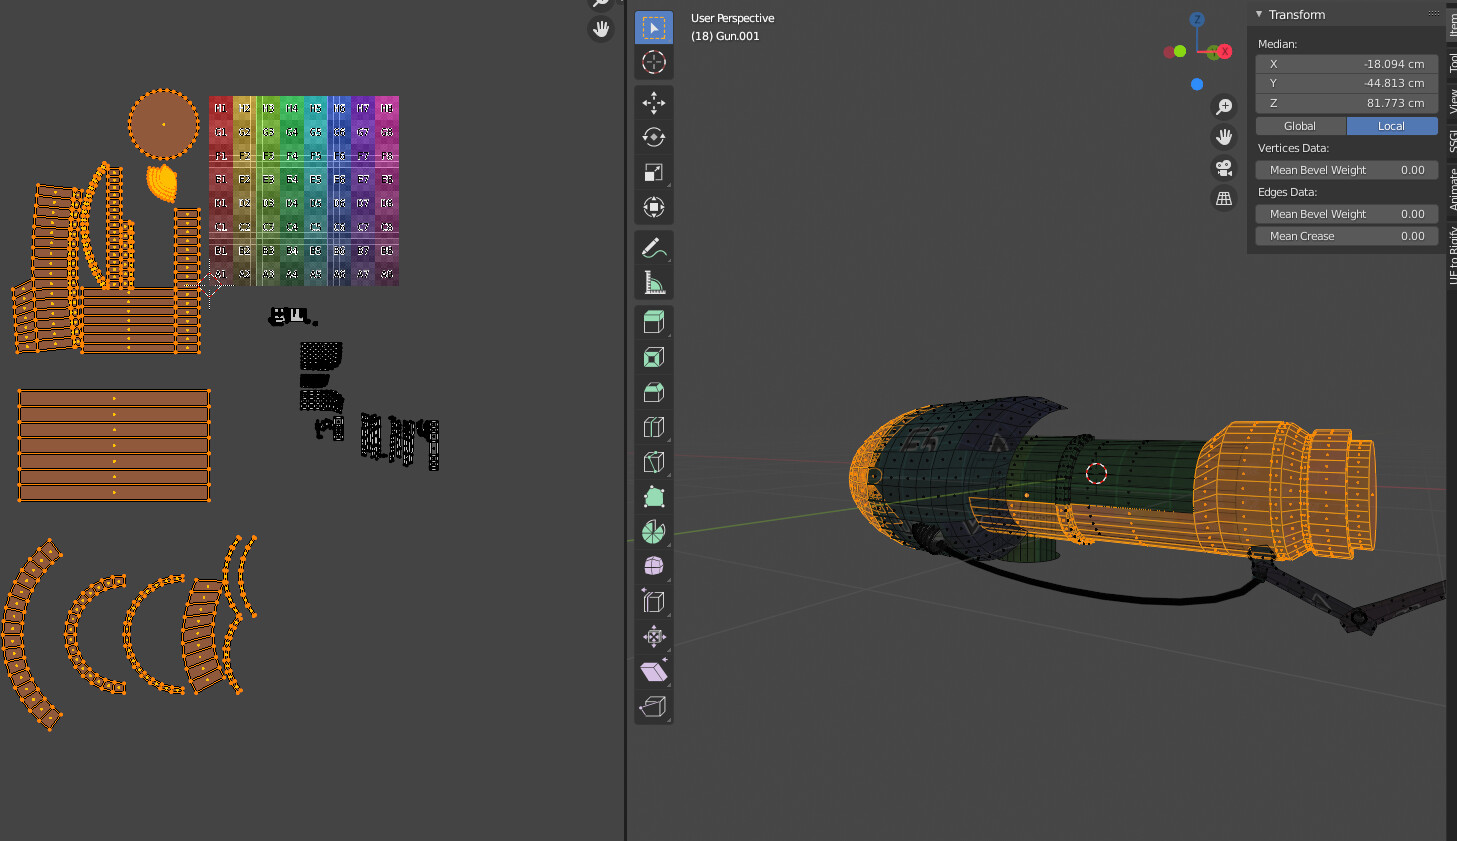
Assign a new material to your object. To the base color connect an Image Texture node. For that node, create a new image and set the type to ‘Color Grid’. Switch your viewport shading to Flat Texture like this:
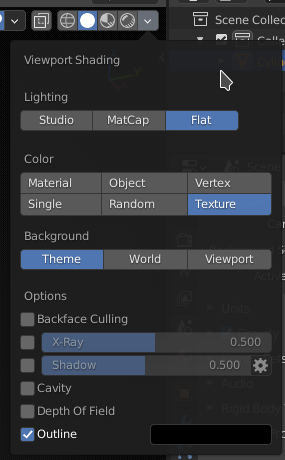
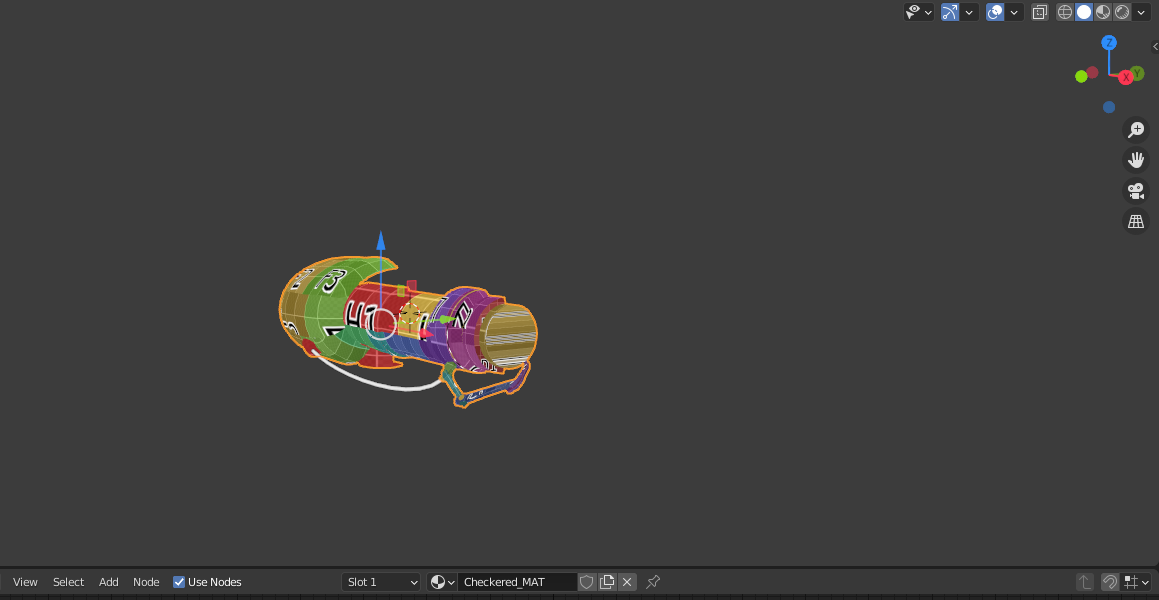
This will help you see immediately in the viewport what your UVs are doing. You can unwrap without it, but as you’re learning it’s immensely helpful. You’ll just see straight away whether there’s distortion and how much.
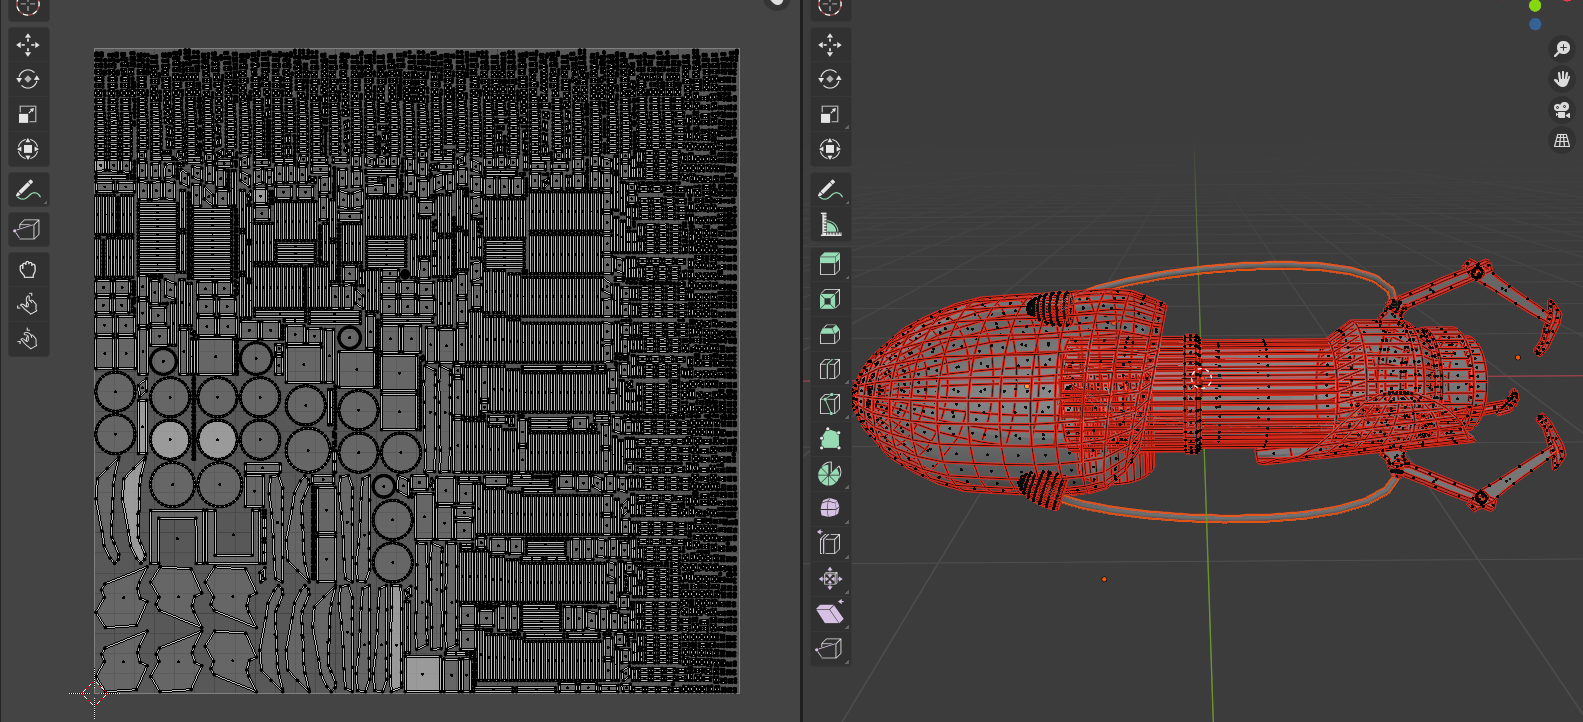
Also, in the Overlays menu you may want to disable Faces. This will help with selection in 3D not obscuring the texture so much (you can still visually track selection by highlighted edges).
I don’t have time to check his other videos right now, but honestly that 3 minute segment about seams is… bollocks. I mean, seams have a utility, but that’s about it. IOTW, they’re just a means to an end, and it’s the “end” part that you need to focus on. There’s no point in “mastering” seams or whatever.
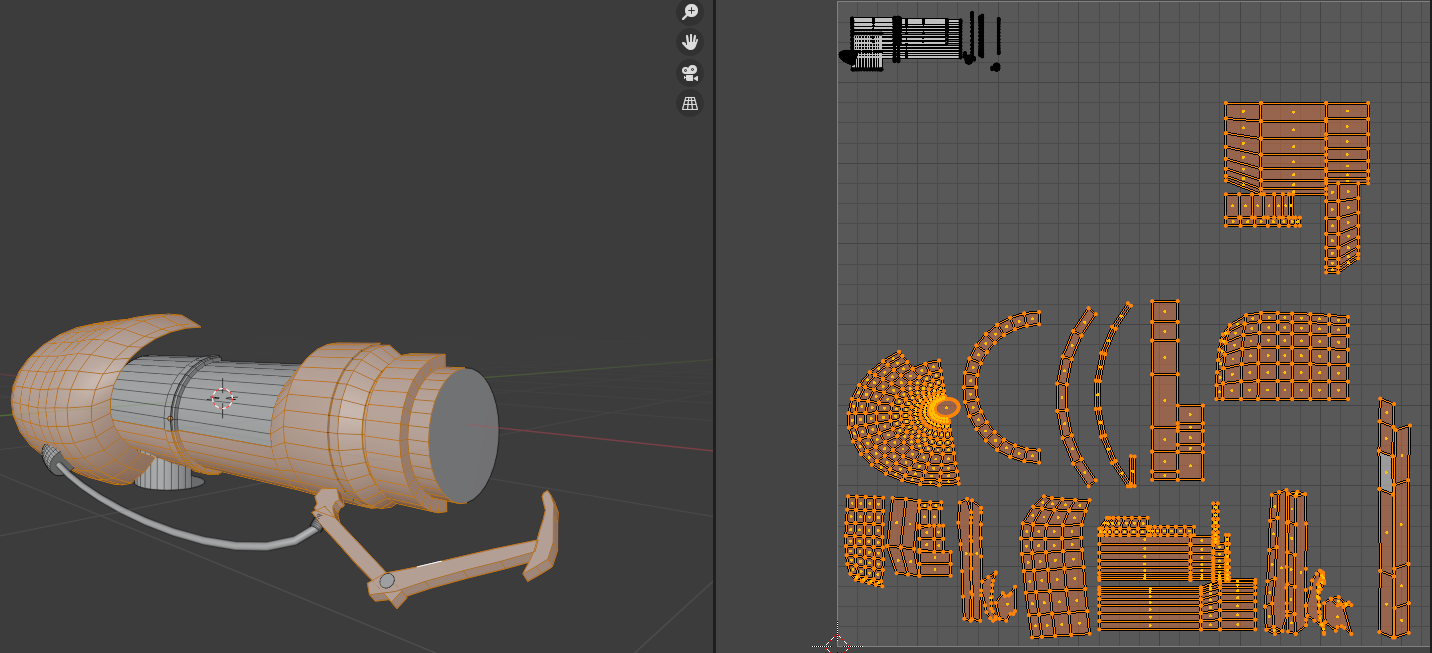
On your model, especially as you’re working on a half (which is great), you hardly need to manually mark any seams at all. For example, the first cylinder in the front (just the one, i.e. the round cap and the one strip of faces): the cap you can just select and Unwrap (no seams, no options, just unwrap). The side you can also just select with one alt-click and Unwrap. No seams required. If/when you do need a seam for something, you can just select the UV island(s) in the UV editor and do a UV → Seams From Islands there.
Next pieces may need more involved work, depending on how you want them to look. For example, the very next part that looks like a C - you can either leave it like that with a simple Unwrap, or straighten it (by using Follow Active Quads method from my previous post). Personally, I’d straighten it, since as I mentioned keeping the UV edges straight helps avoid aliasing (jagged lines) along those edges. This will be at the cost of some small distortion inside the UV island, but this is hard surface, and your edges have to shine, literally and figuratively 
Some parts like the back you may even want to unwrap in pieces and then stitch the edges in the UV editor. Otherwise you can spend a lot of time trying to figure out which unwrapping method to use on it.
Like I said before, don’t worry about layout for now, this comes after you’ve unwrapped everything.
 But before giving any advice, let me ask you, what is your plan? Will you be baking normal maps and other detail onto it, or do you just want to apply some basic color textures? What to do about UVs depends on what you’ll be using them for.

 ). Once you’re more comfortable you’ll be able to unwrap more pieces at once, and much faster.