I’m having trouble doing UV unwrapping. If you look carefully at the previous image, I’ve marked a seam around the front, containing all of the flat and diagonal faces.
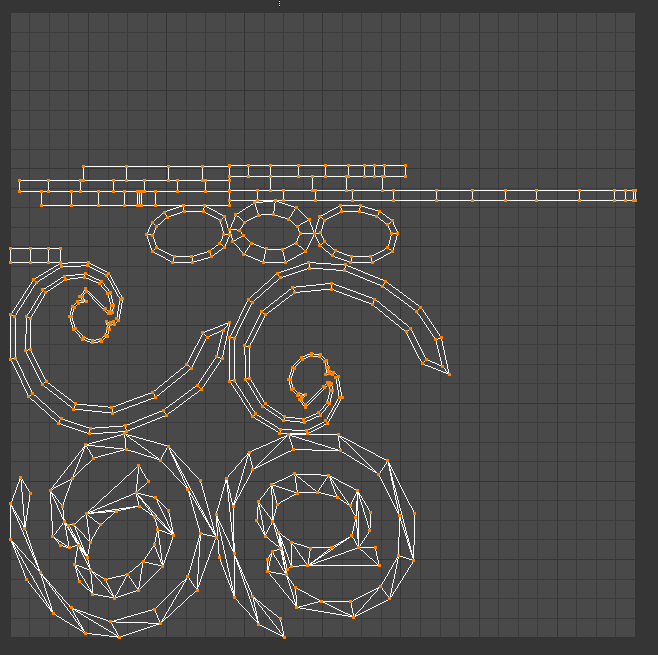
However, when I do UV unwrap, it separates my UV map not only along those seams, but also along other edges:
I know that the UV unwrap is an advanced algorithm that tries to optimize for all sorts of things like angles and stretching, and that’s why it doesn’t use only my seams, but also separates it along edges it thinks will make for a better UV map. However, I just want an extremely simple UV map, separated along the seams I’ve provided.
Does anyone know how to tell the UV unwrapper to separate only along the seams I mark?
It looks like if you were using Smart UV project for unwrapping instead of Unwrap. If that is not the case, might it be probably that those vertices are not welded and as a result, the algorithm takes’em as independent pieces.
The screenshot I posted was done with Unwrap, with options Conformal, Fill Holes, and Correct Aspect.
This “welding” thing sounds interesting, but a few quick searches tell me that it’s for combining different vertices into one vertex. Seems like it would be useful for overly-specific meshes. Not entirely what I’m looking for, I think. Am I misunderstanding?
I’ve been searching and experimenting for a couple hours, and it seems Blender uses the term Weld ambiguously. It can mean merging vertices, but I think it can also do what you mentioned.
The only thing I’ve seen regarding it is in http://www.blender.org/development/release-logs/blender-233/uv-editor-image-window/ where it says “A new ‘Weld / Align’ tool was added (hotkey is W). Once you are in Weld / Align mode, you can press W to Weld (snap together UVs), X to align the UVs on the X axis, Y to align the UVs on the Y axis.”
It seems this weld/align tool would be for manually moving my generated UVs after the bad unwrap. However, your wording suggests that I could somehow use it to specify inseparable edges before the unwrapping algorithm runs. Please advise!
Always attach your blend file to your posts (or some other host site such as http://www.pasteall.org/blend/) so other users don’t have to just use guesswork in understanding the uv unwrap. It may be a problem with the mesh itself but no-one except you are currently are able to tell if that is the case.
To merge (i.e., “weld”) vertices in your model, use the Mesh Editing tool “Remove Doubles.” This is done in Edit Mode, and there is a Threshold parameter that adjusts how closely adjacent selected vertices must be to be included in the merge. This can be set to zero for vertices that exactly coincide. This always merges the vertices at the median center of the selected group.
You can also Merge selected vertices by using ALT+M in Edit Mode after making your selection. It opens an options dialogue that determines the specific end result.
Thanks for the reply! I’m not having much luck, I think there’s something I’m missing. Here’s what I did:
Opened the file
Hit ‘a’ to select all
Hit tab to get into edit mode
Hit ‘a’ to select all
Hit ‘u’ to bring up the unwrap menu
Changed the method to conformal (fill holes and correct aspect are checked, sub surf data is not, sub surf target is 1), to get my previous result. I use conformal because for some reason it’s the only option that doesn’t give me overlaps.
Hit c to do a circle select.
Selected a vertex (the one at .373, .01560, .041)
Hit ctrl+v to bring up the menu.
Selected Remove Doubles. A little thing appeared on my screen saying “removed 0 vertices”
Hit a to deselect everything.
Hit a to select everything.
Hit ‘u’ to bring up the unwrap menu.
Changed the method to conformal again.
This gives me the same result as I had in 6.
I figured maybe I’m supposed to select a bunch of vertices, so I started over:
1-6. same as above
7. Hit c to do a circle select
8. Clicked on all the vertices on the front (all the ones that happen to have z=.041)
9-14. same as above.
This also gives me the same result I had in 6.
Next I tried the alt+m approach:
1-8. same as the first try
9. Hit alt+m to bring up a menu
10. Selected “At Center”
11-14. same as the first try
Gives me the same results again.
I must be doing something wrong. Ideas?
Thanks for helping me out! It’s hard for me to get used to blender, but having you guys for help is really making it bearable.
With your model, select all the vertices with A and remove any doubles (W / remove doubles). Add your original seams and unwrap again. This will give the unwrap you expected
Looking at your model, the UV unwrap is doing what it should, because there are un-merged edges/vertices between the upper and bottom faces, the rim faces, and the beveled edge faces. These un-merged edges form natural seams for the unwrap.
It looks to me like perhaps you once had an Edge Split modifier on the model, which you subsequently Applied to form these disconnected edges. This is a common way to create hard edges, but also creates seams.
By selecting these edges/vertices in paired sets where they coincide (such as along the perimeter of the upper and lower faces of the model) and using Remove Doubles, verts are removed by merging (49 when the edges mentioned are selected). But this also reverts the edge to its “smoothed” state. You can re-select that series of edges (now merged) and use an Edge Split modifier to harden it, but don’t actually apply it if you don’t want a seam there.
Note that your described steps probably failed because you were not selecting the vertices in both sets, only those of the top face.
The seams created by the split edges make sense, btw, depending on how you plan to do your texturing. Without them, some parts of the unwrapped faces will have to be distorted because they are not all on the same plane.
Also maybe turn off Snap unless it’s actually needed, it can make things work a little smoother.