I’m trying to create a mask for lights in Eevee, in order to have some of the functionality of Cycle’s light groups. The masks I rendered in Blender work with AE’s luma matte, but I’m struggling to produce the same effect using Blender’s mix nodes.
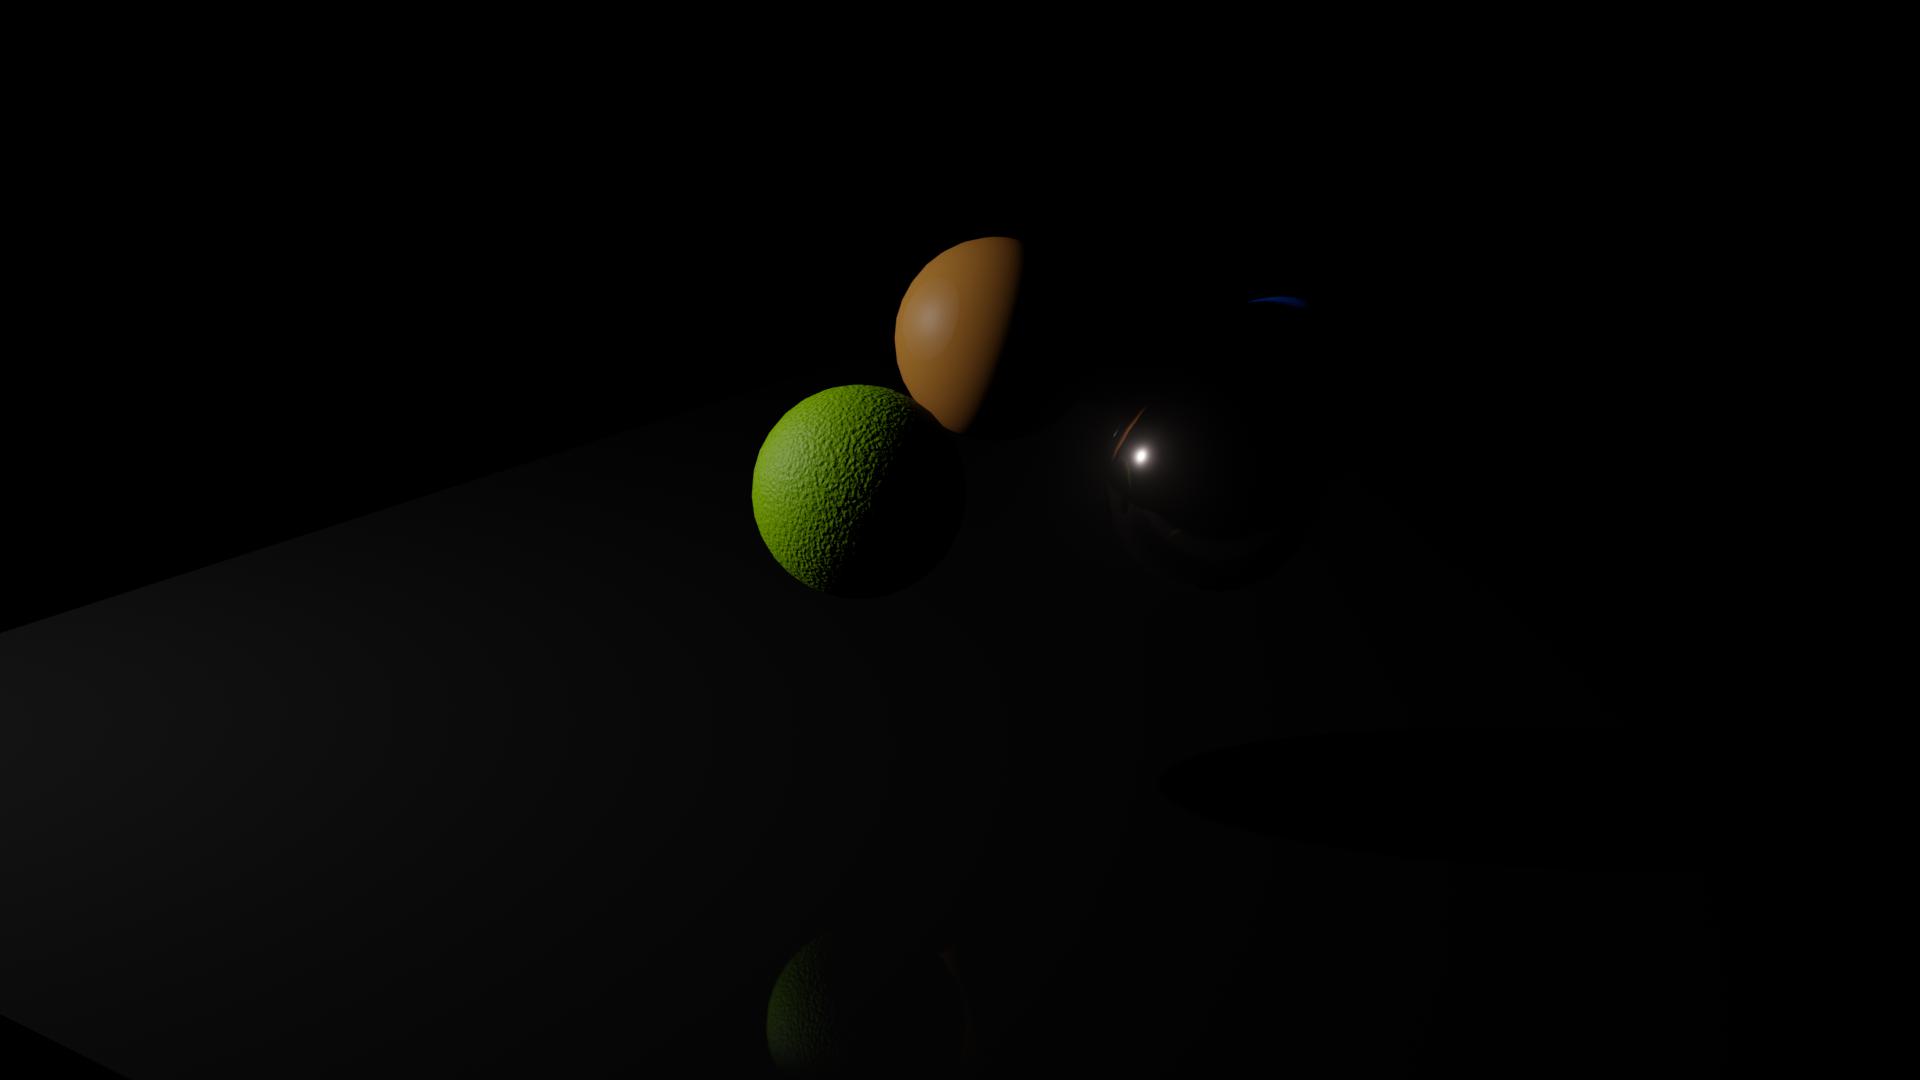
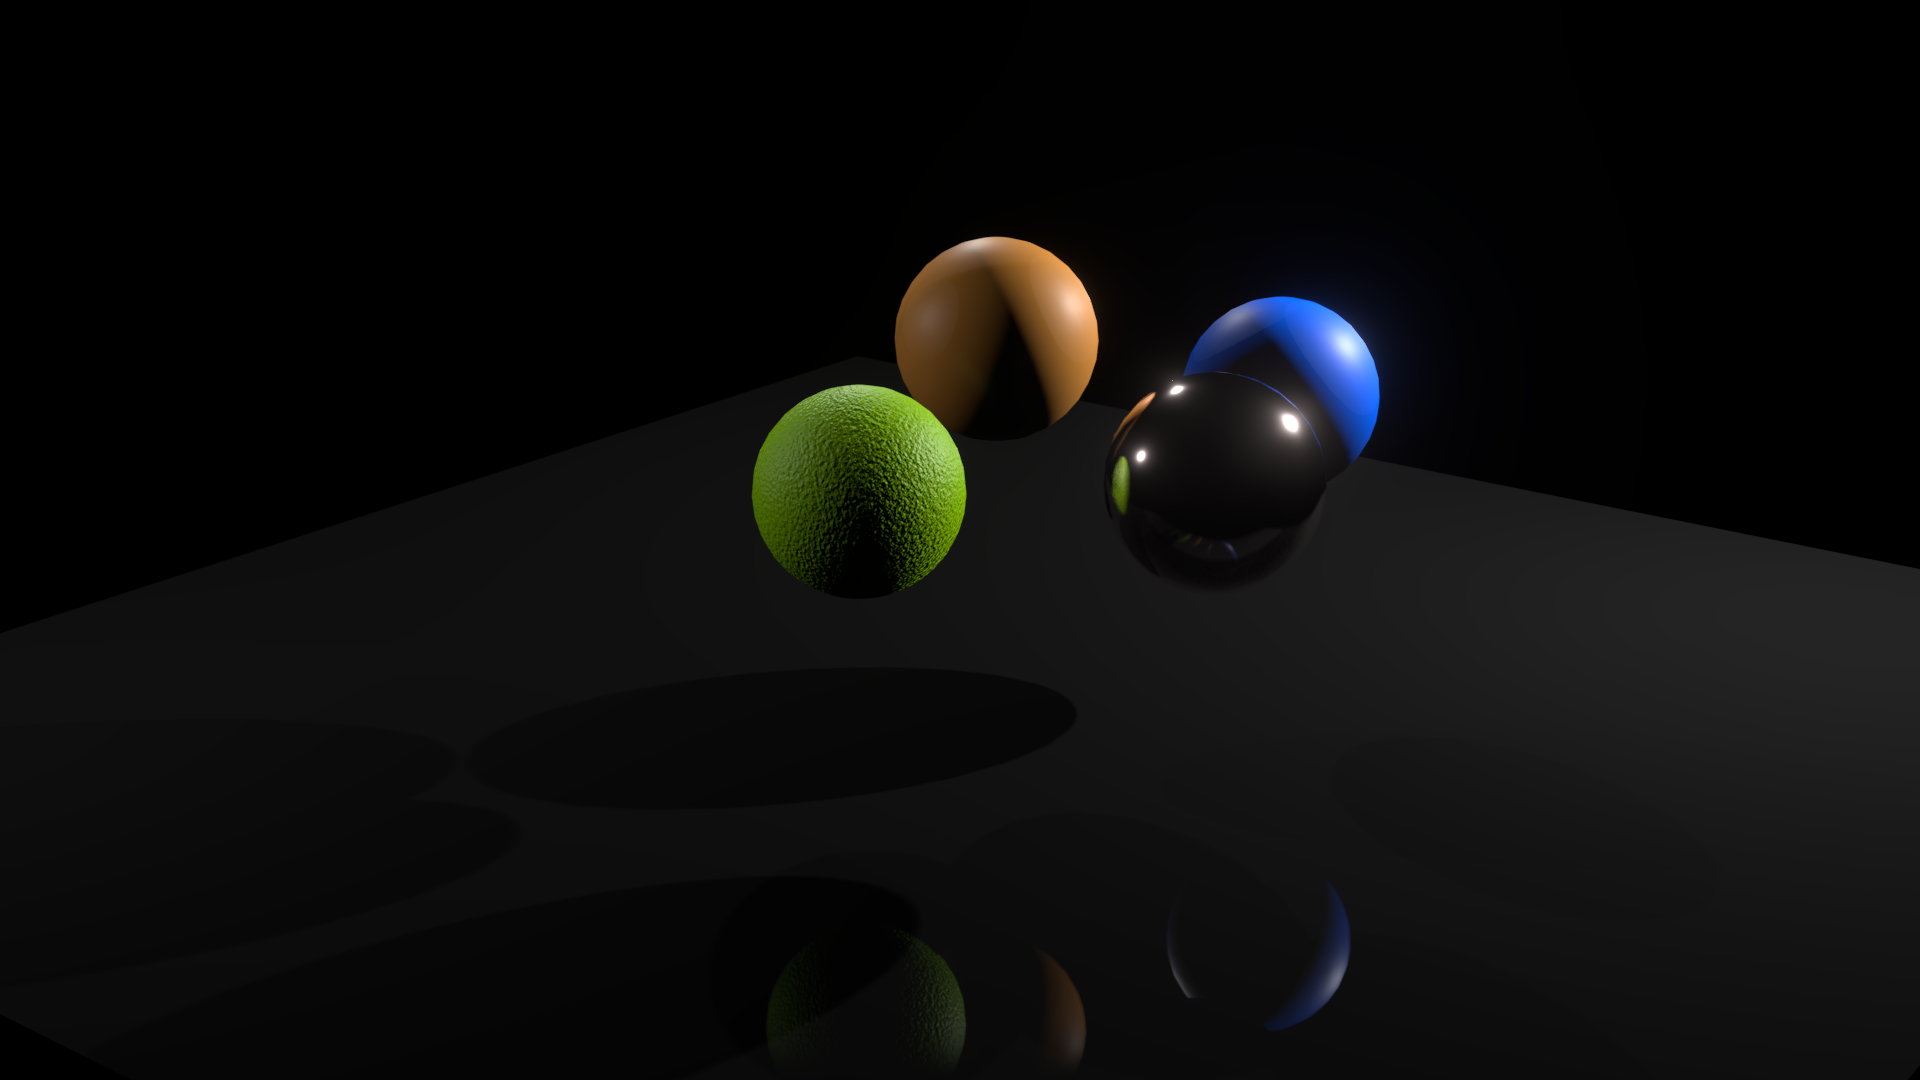
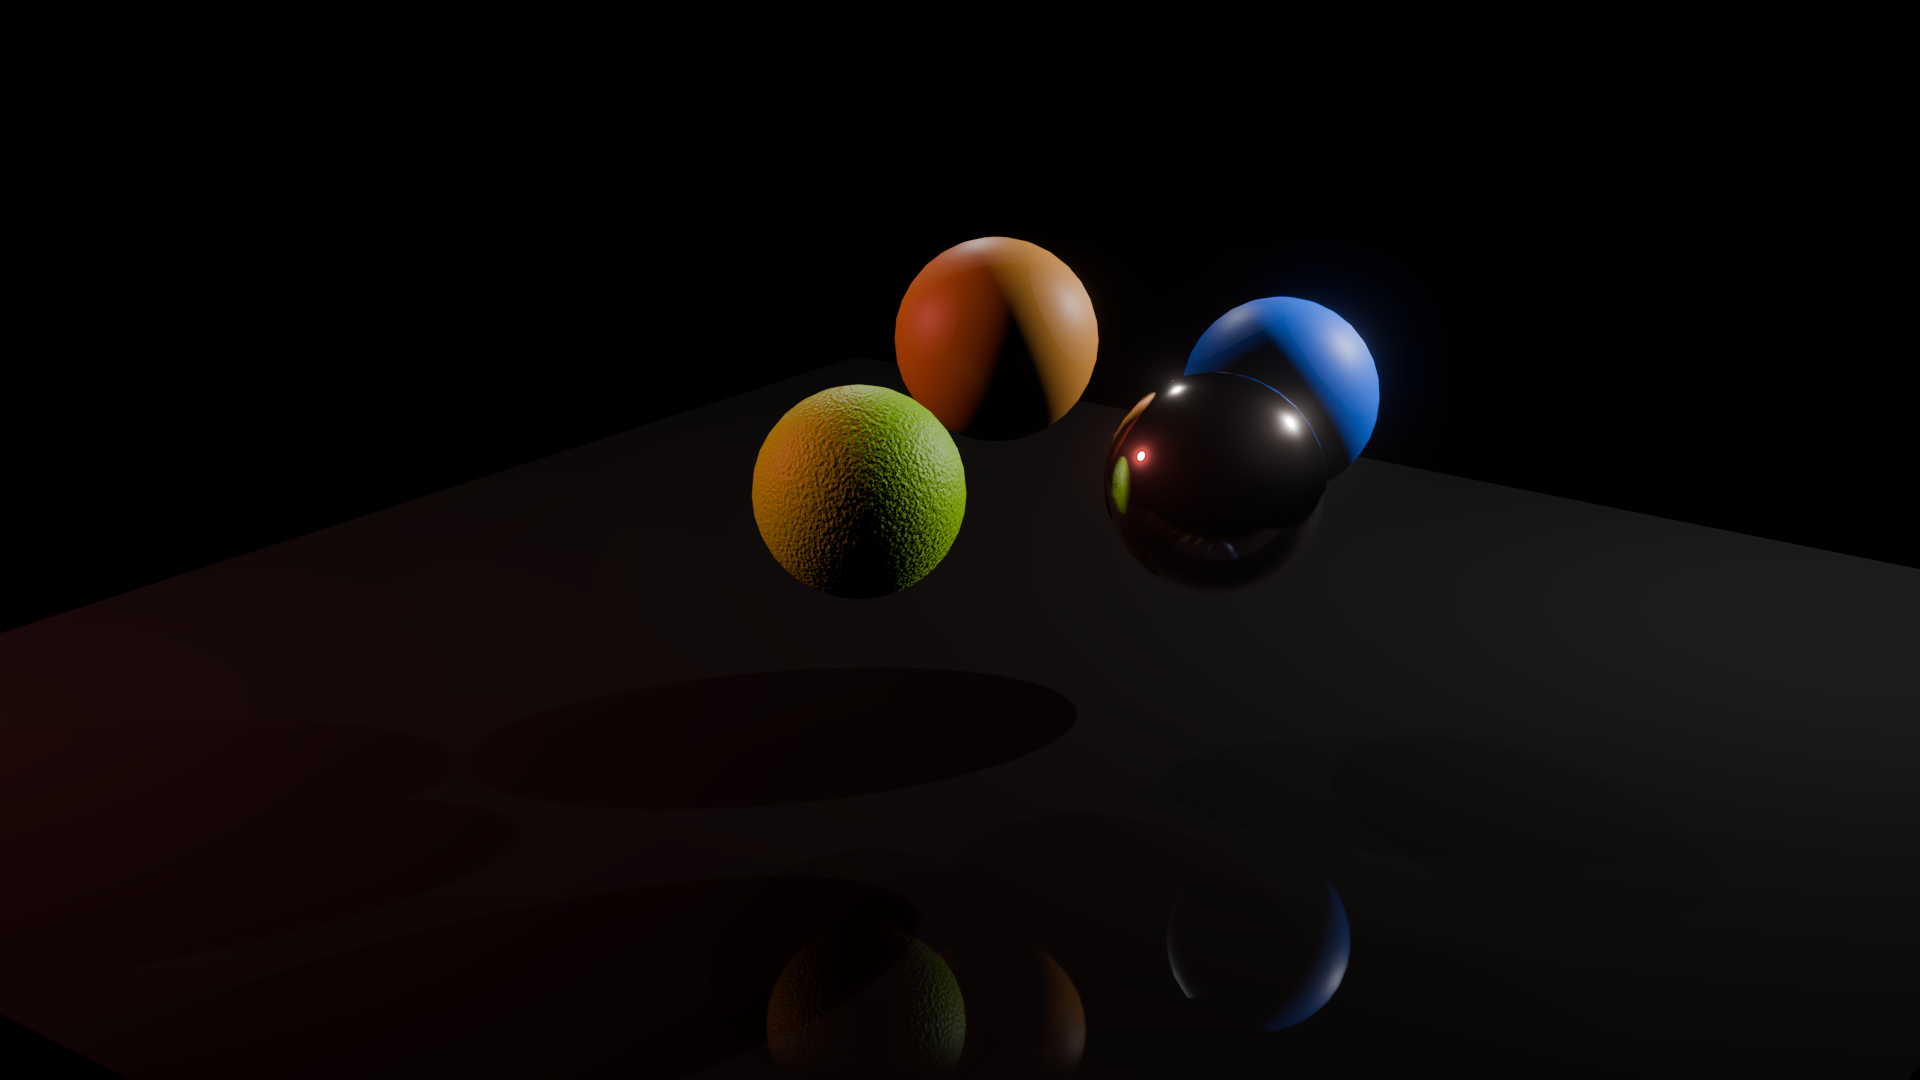
This is the render without compositing:
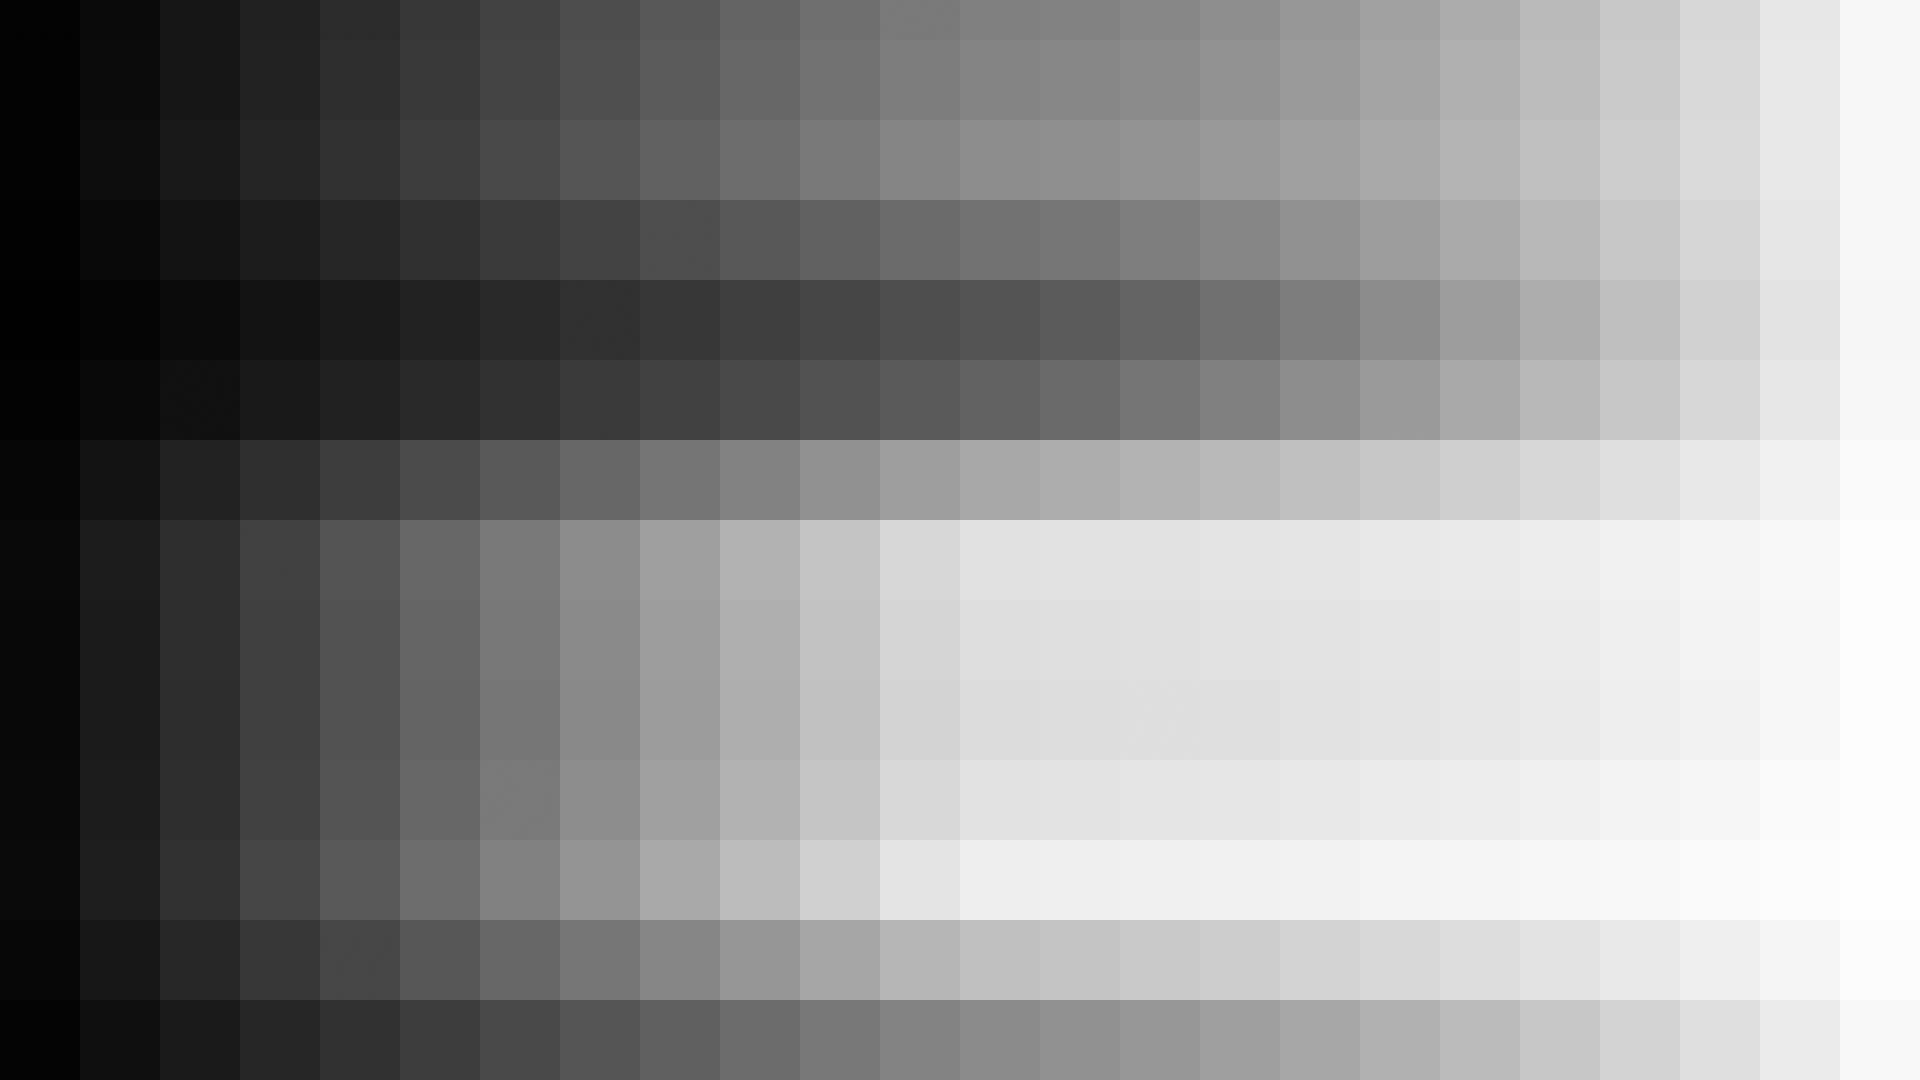
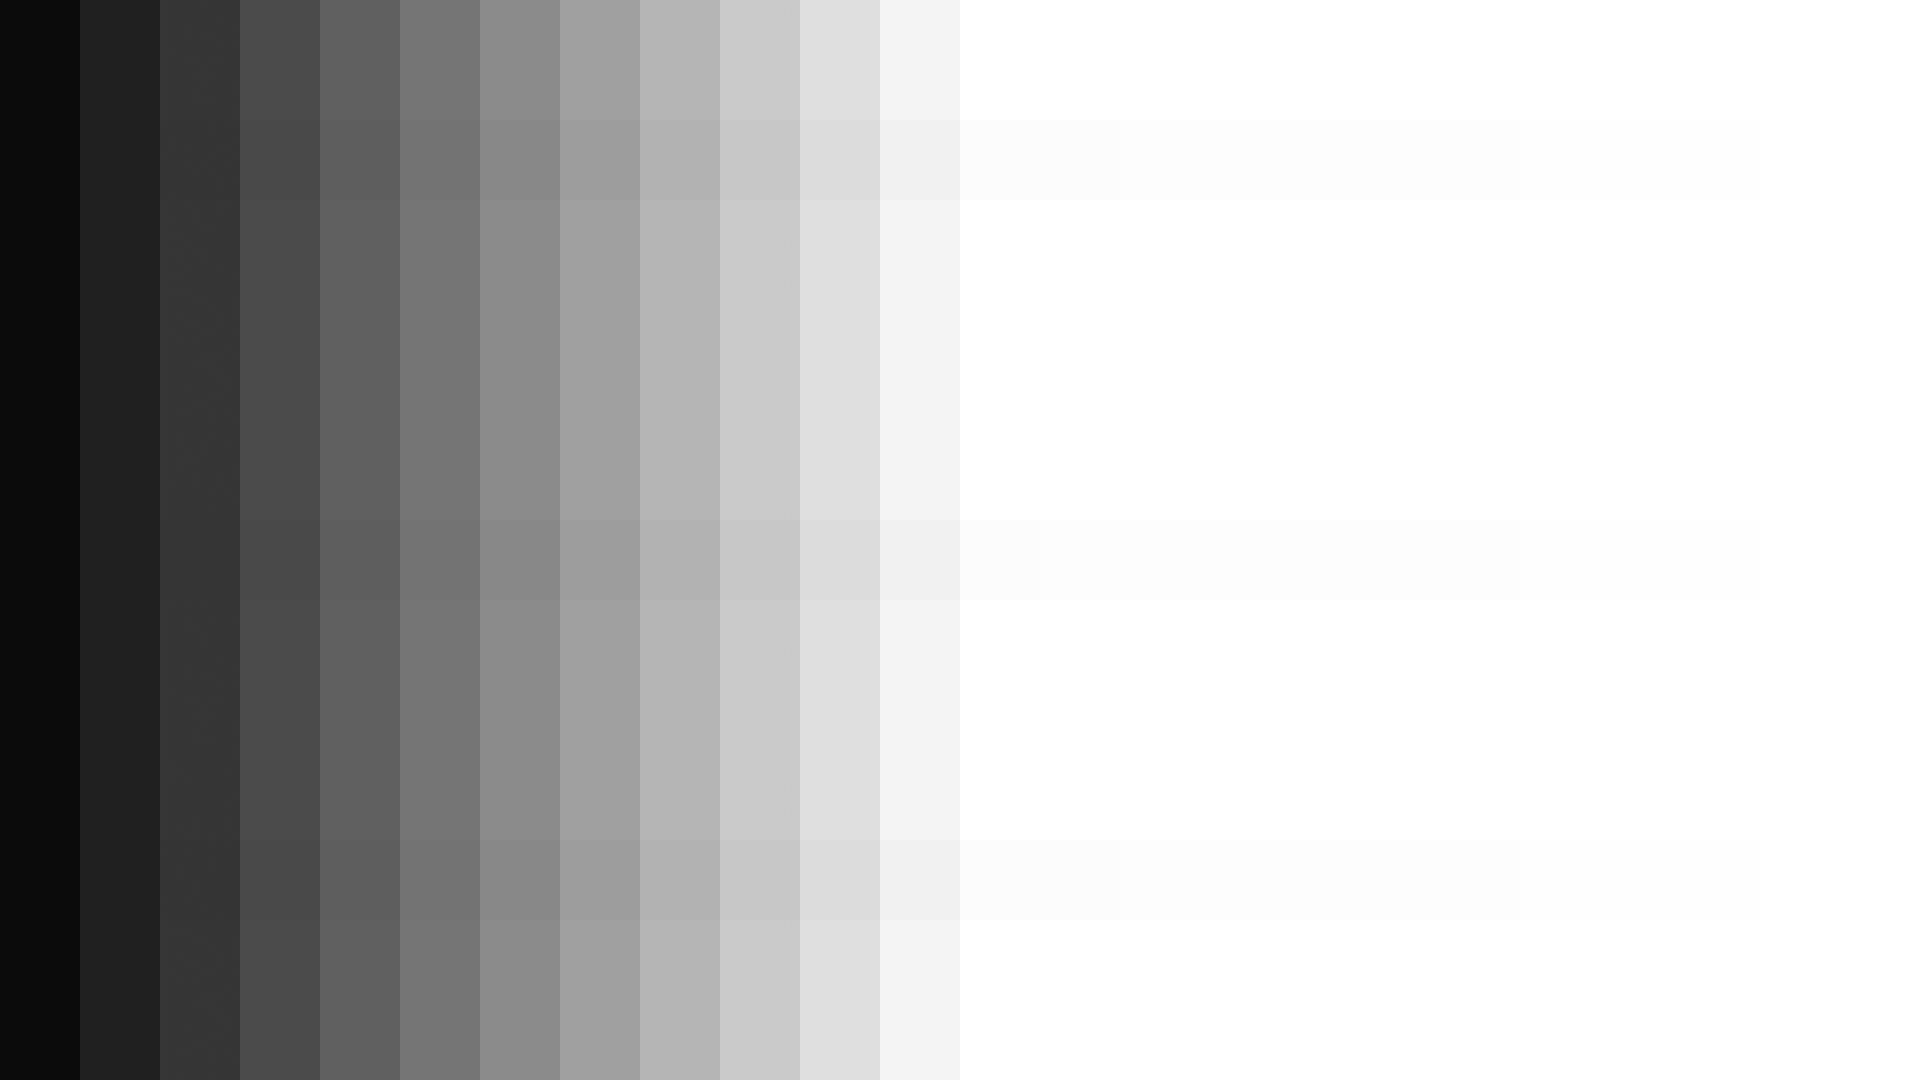
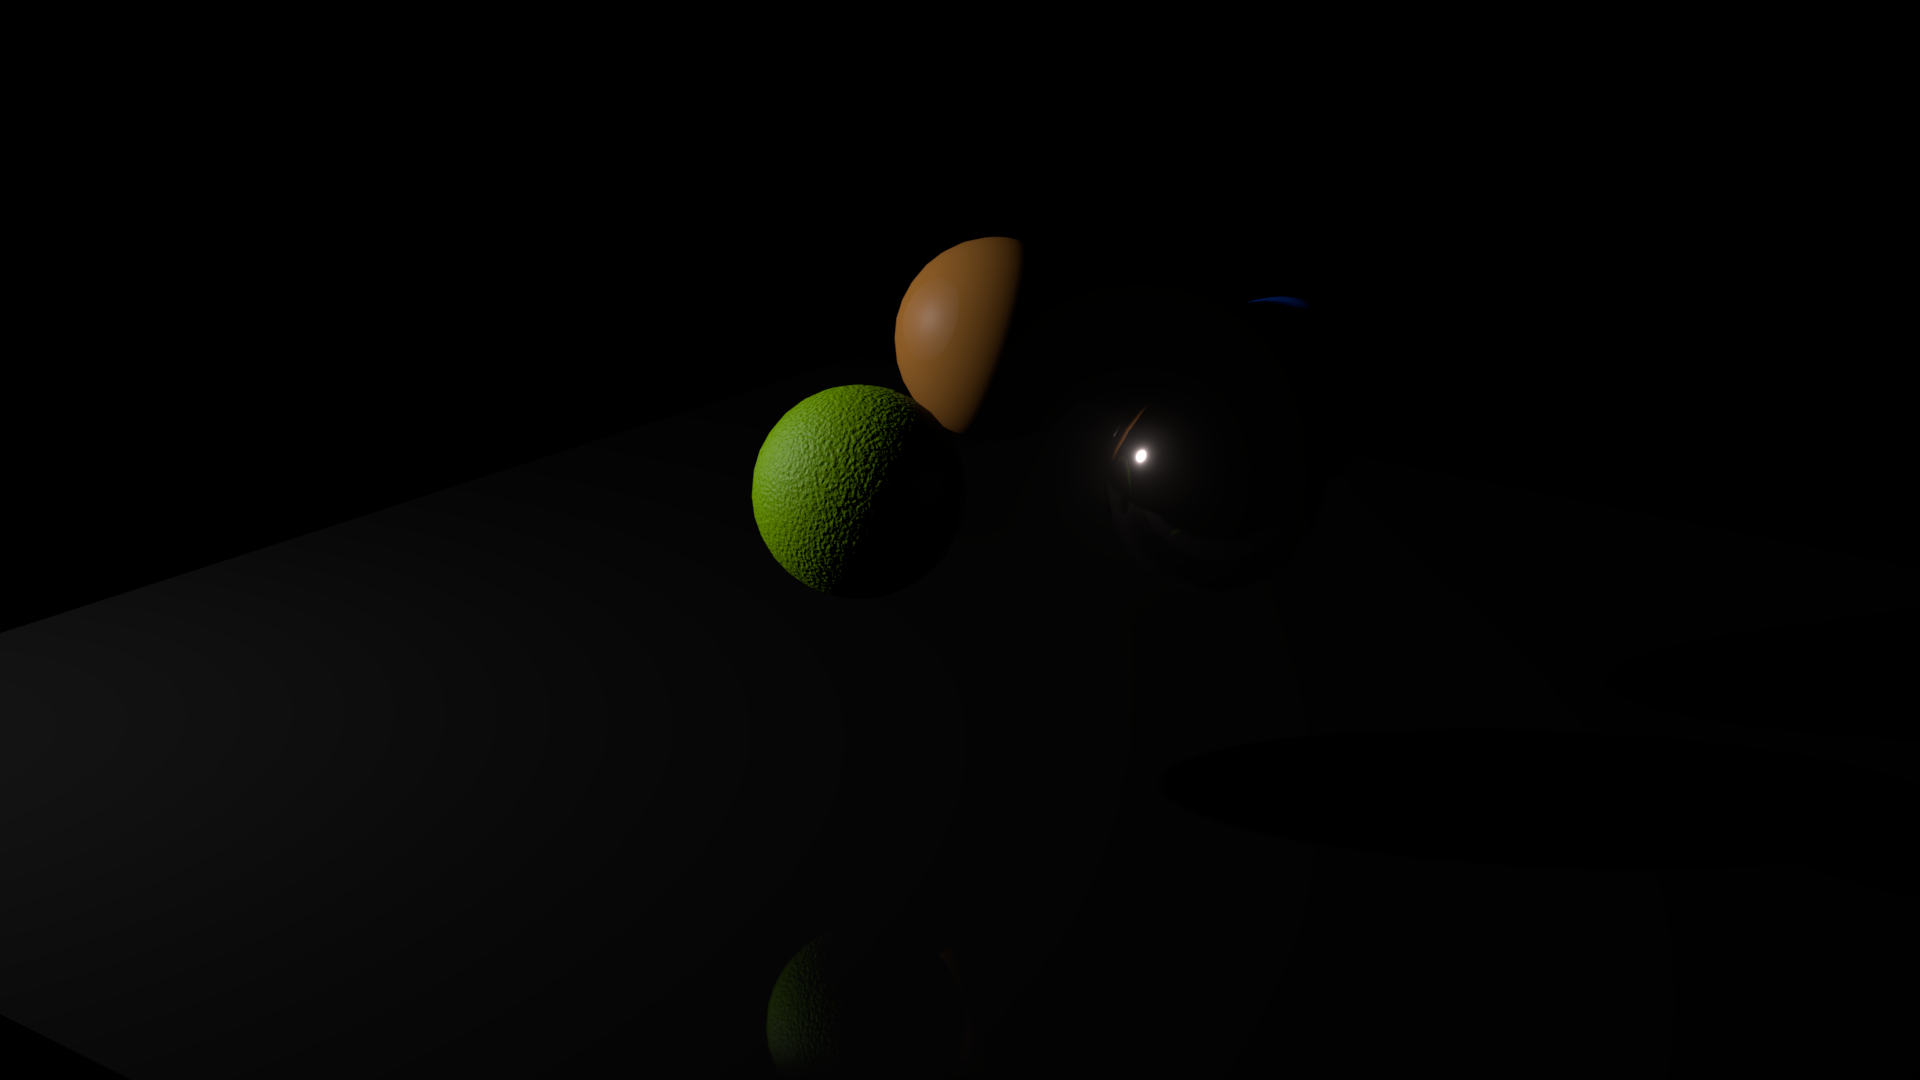
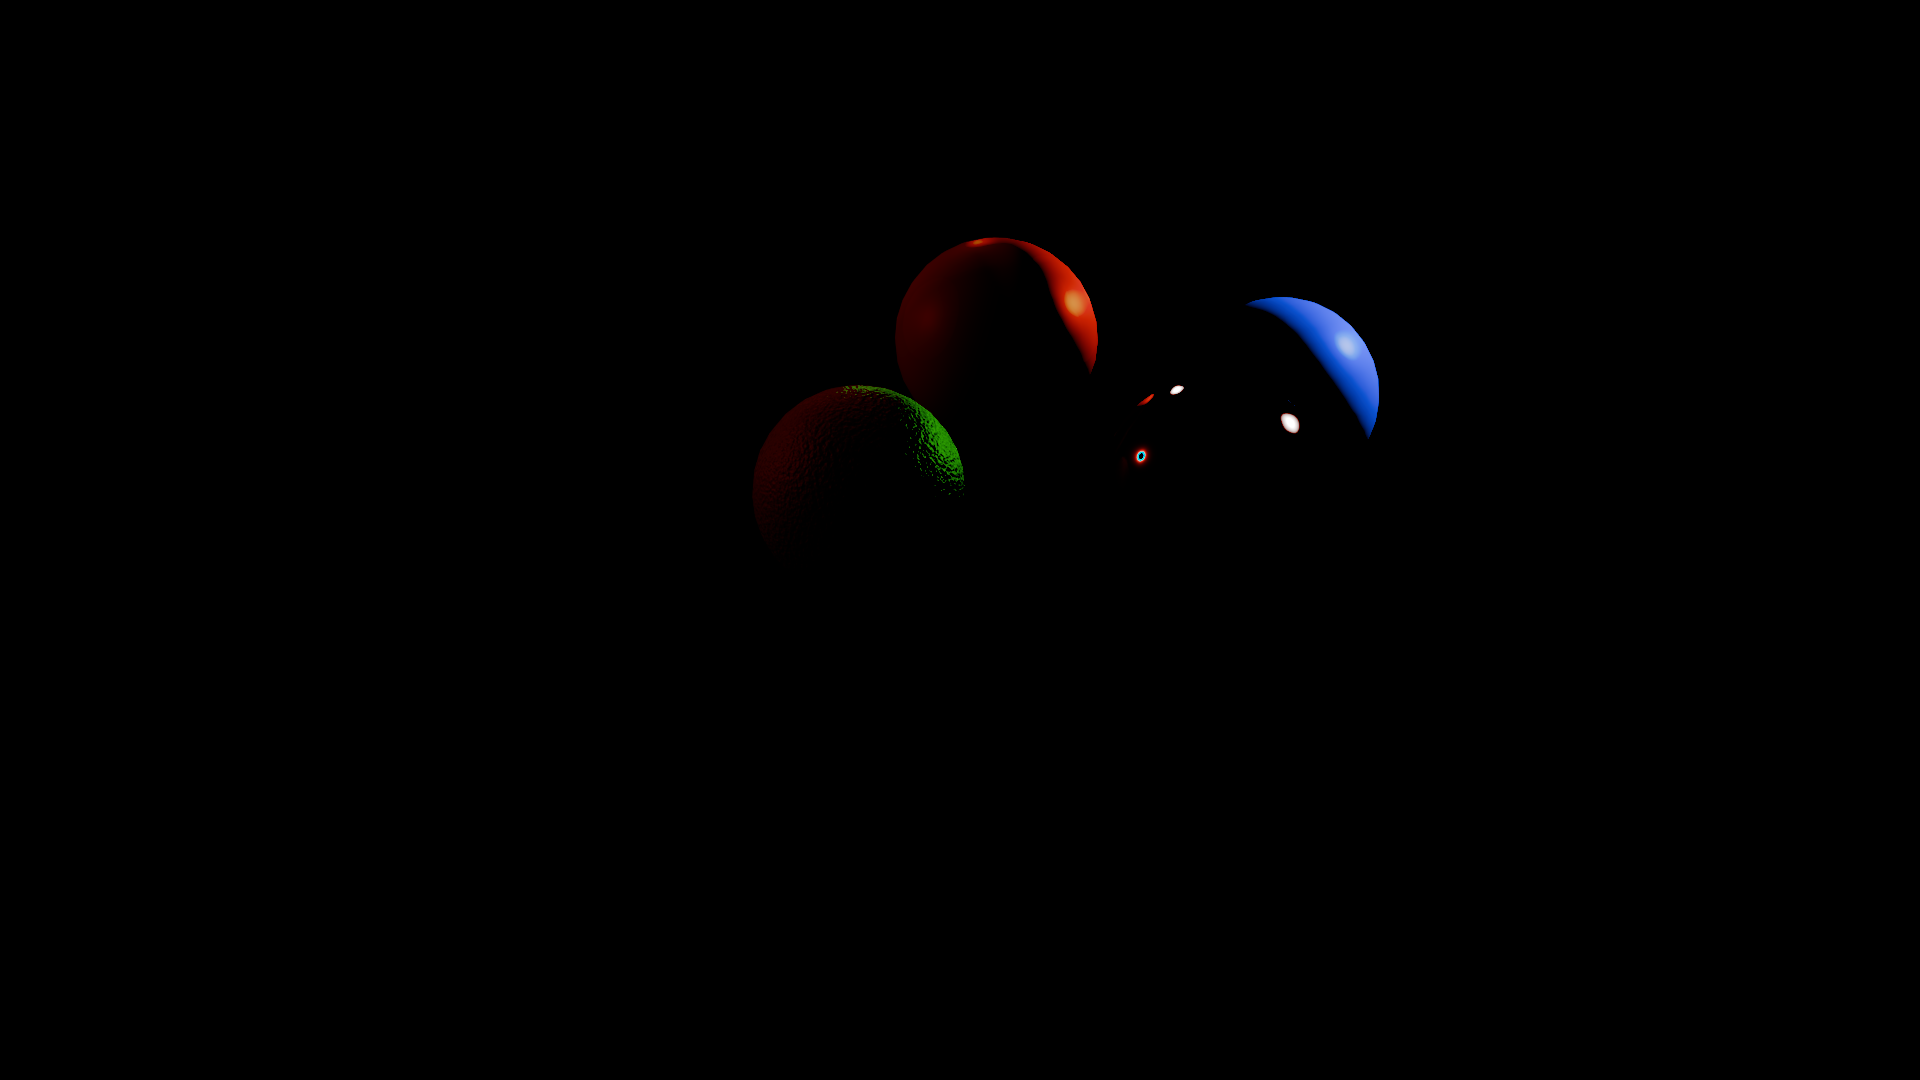
This is the light mask (value is used as mask):
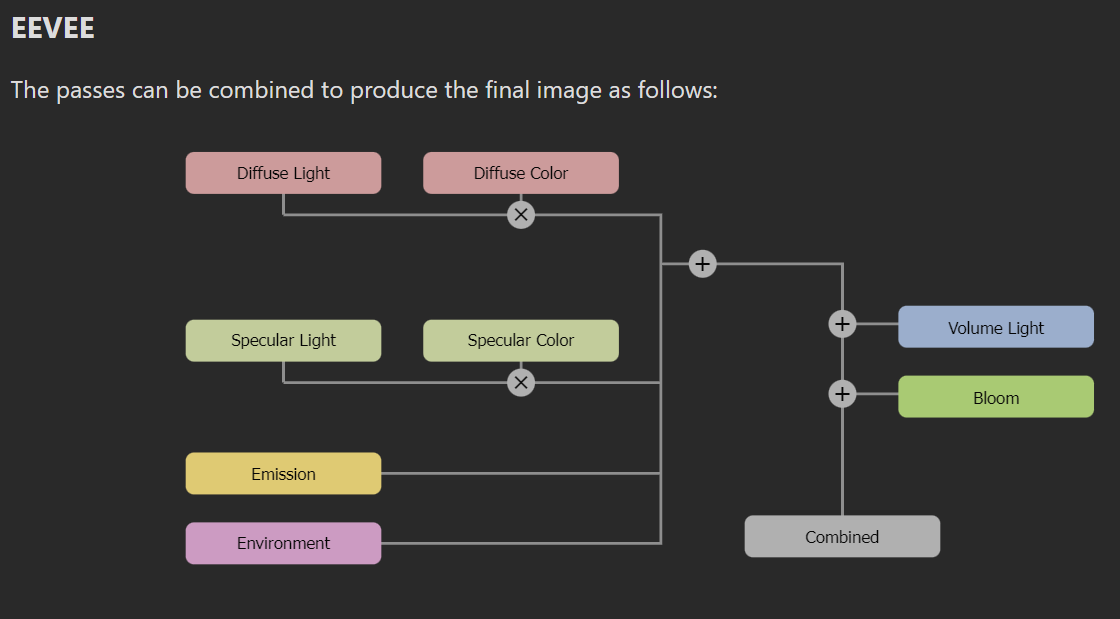
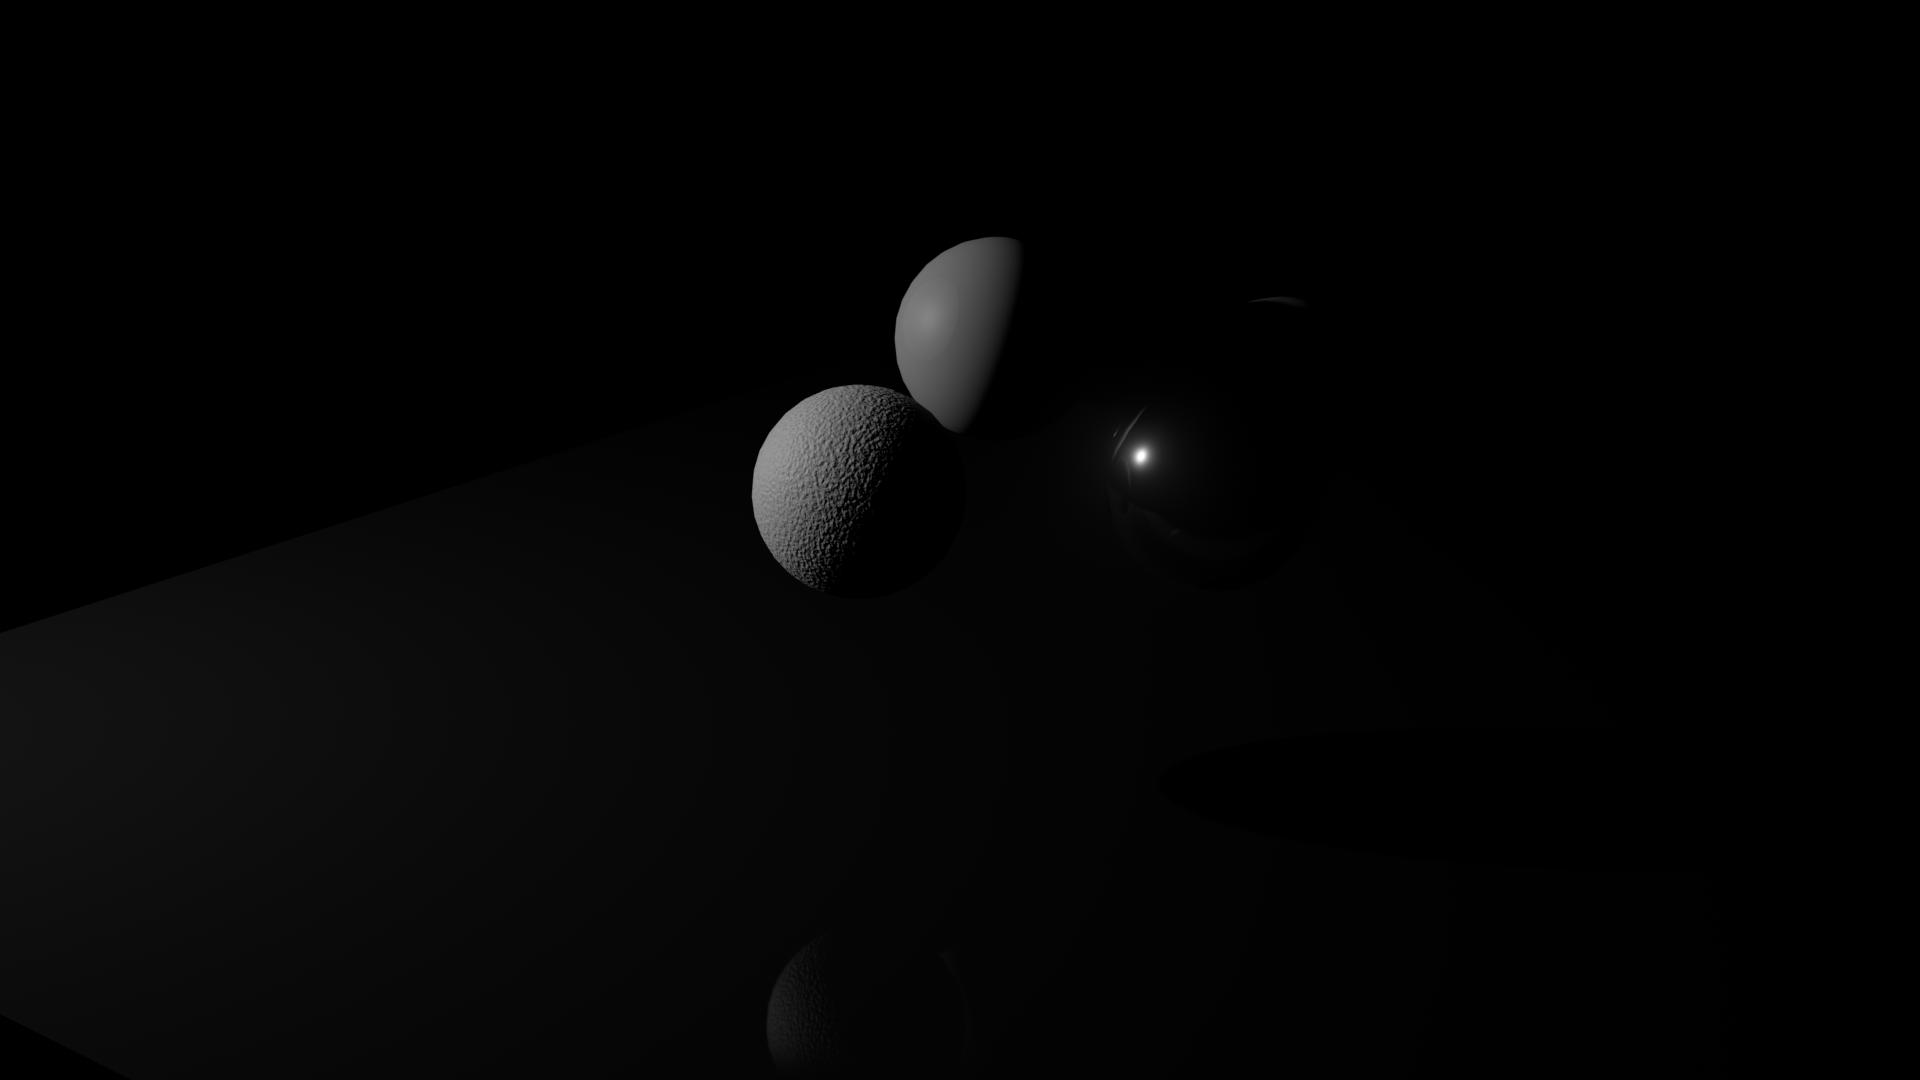
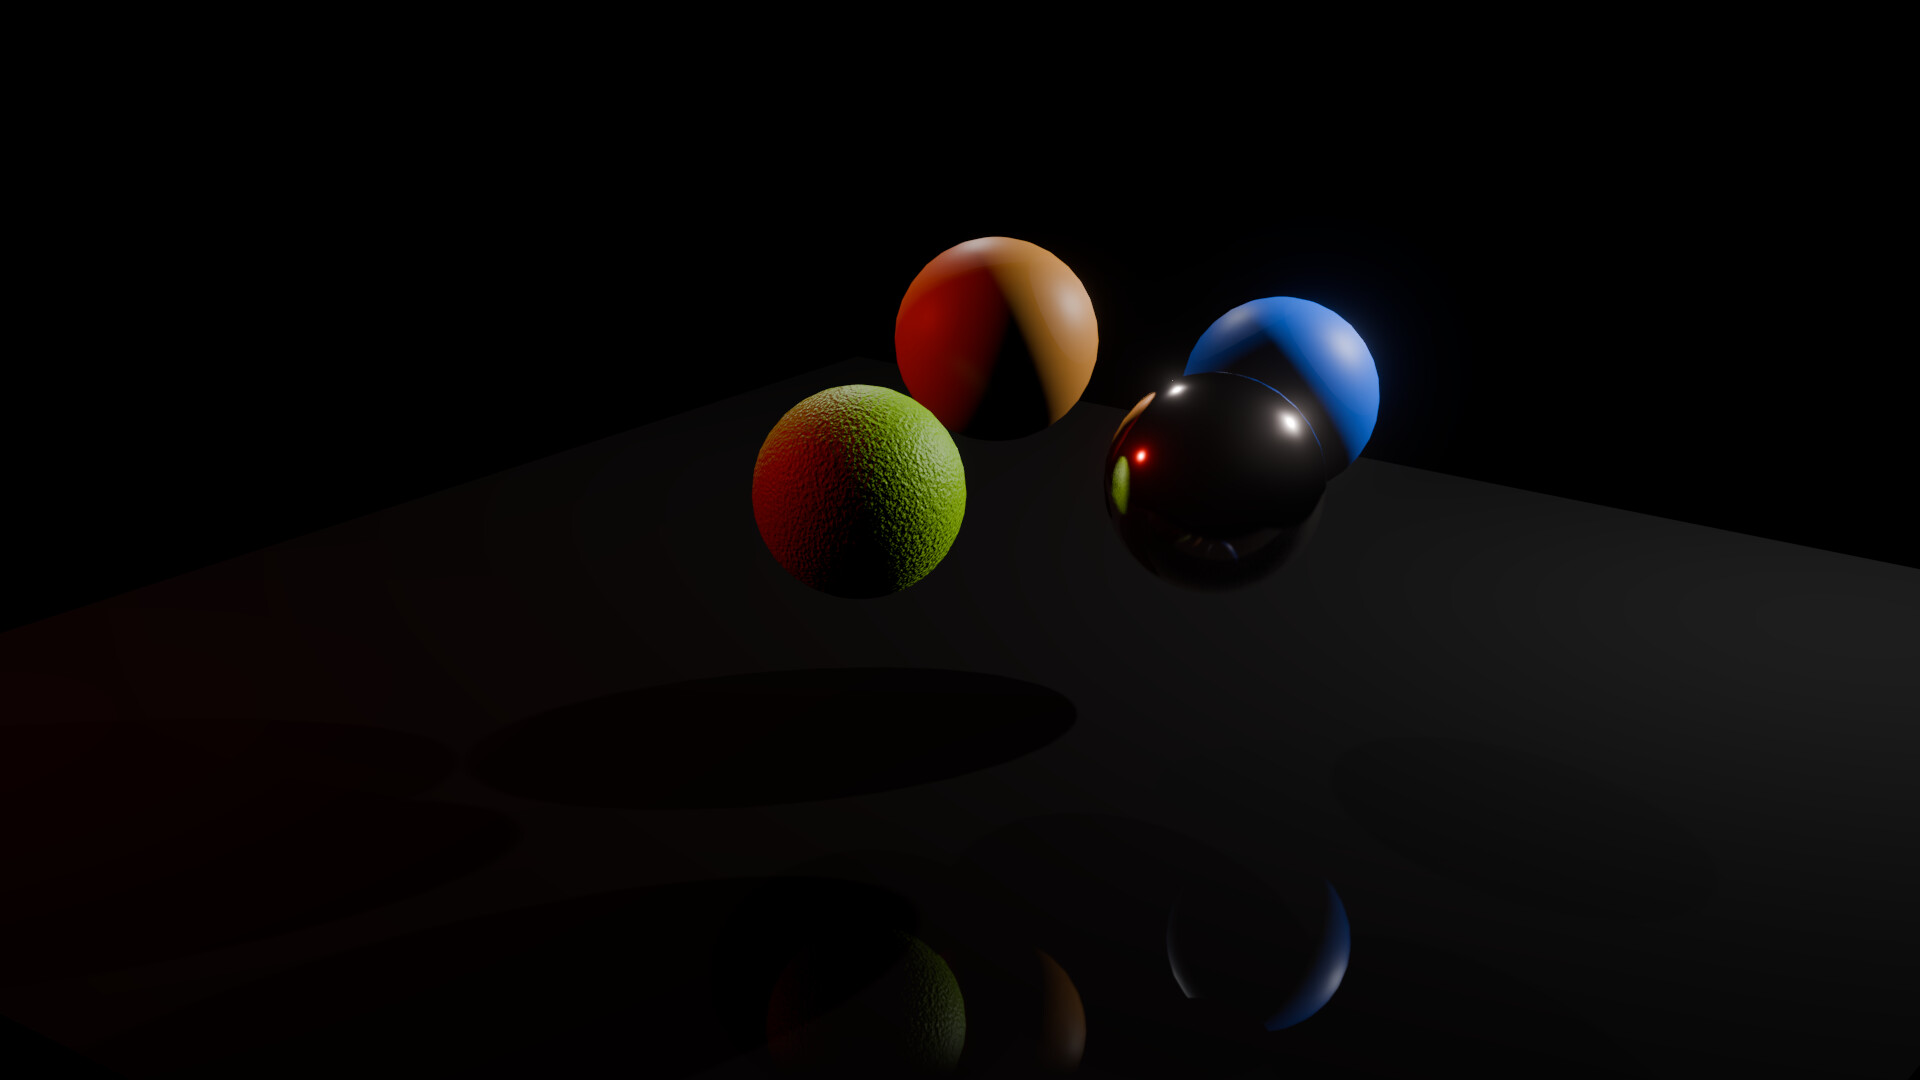
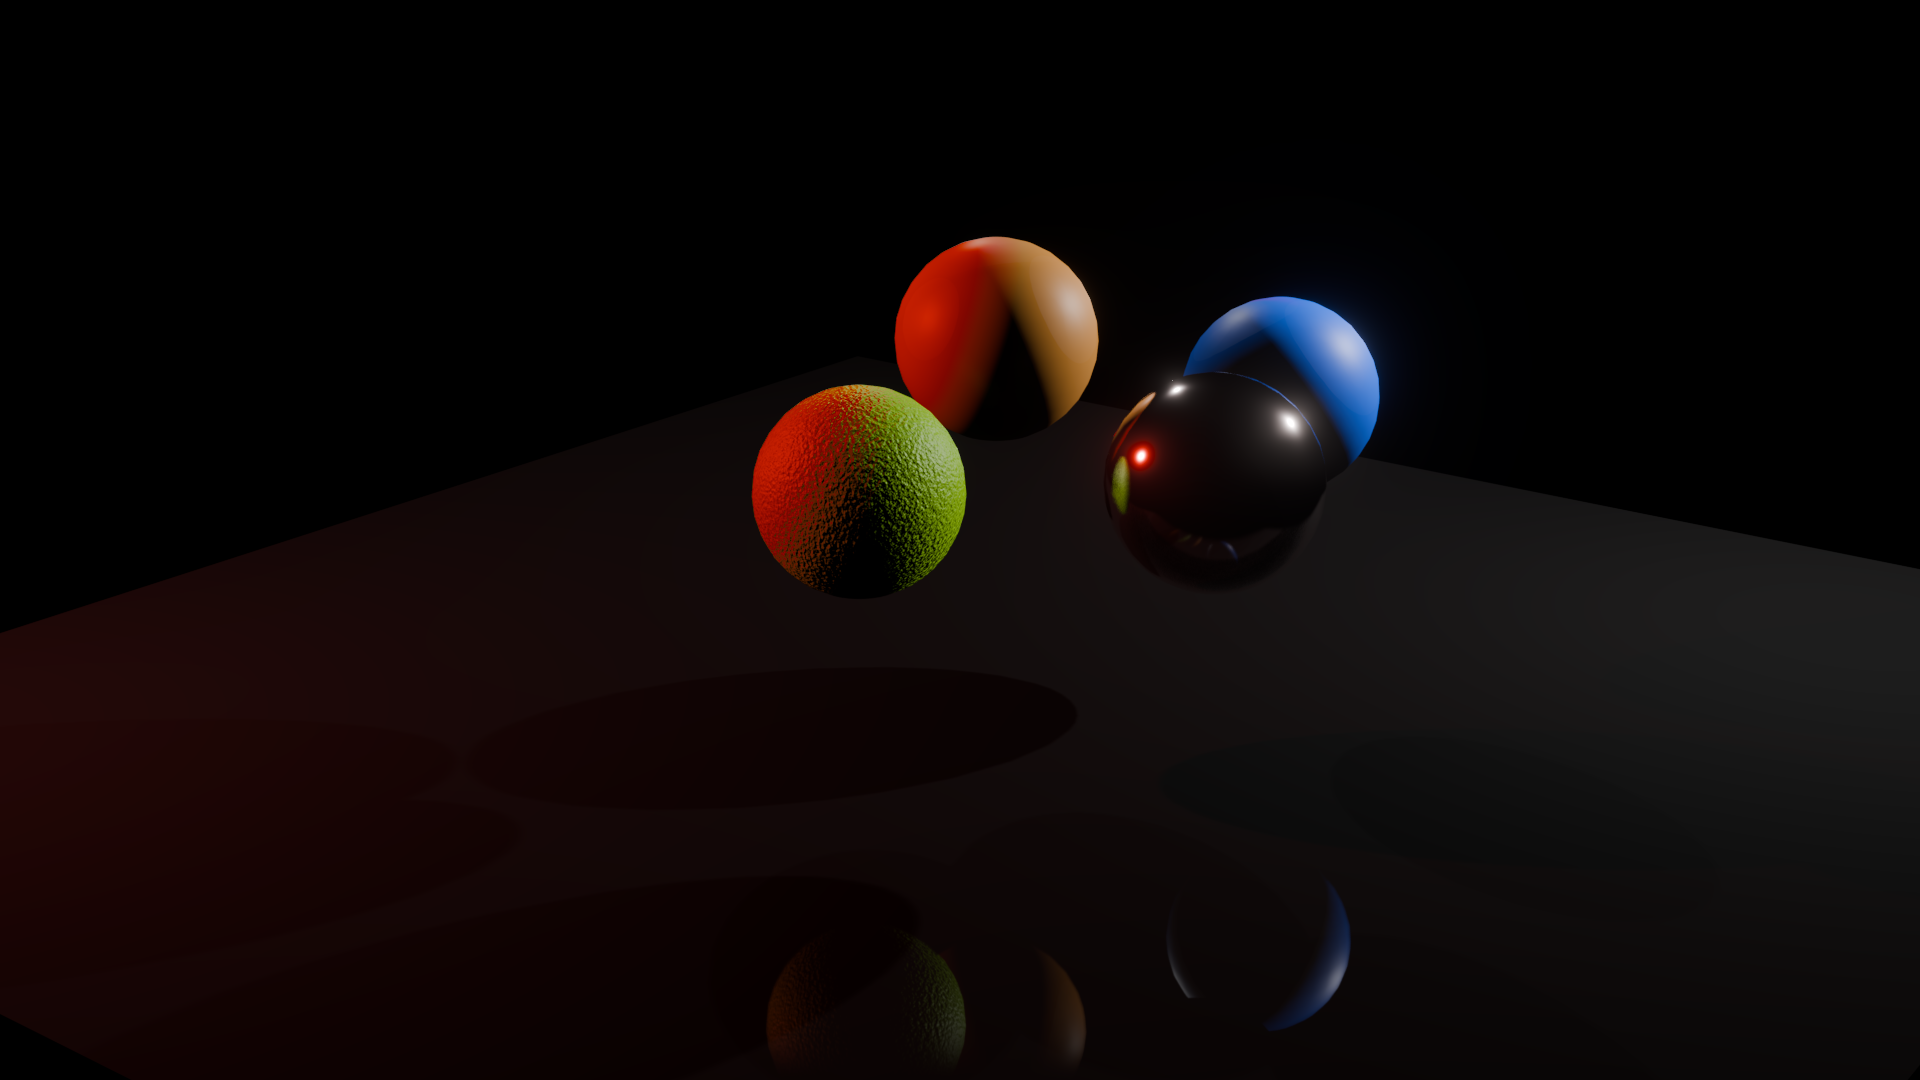
This is the goal result, rendered in Blender without compositing. I want to approach this as close as possible with compositing:
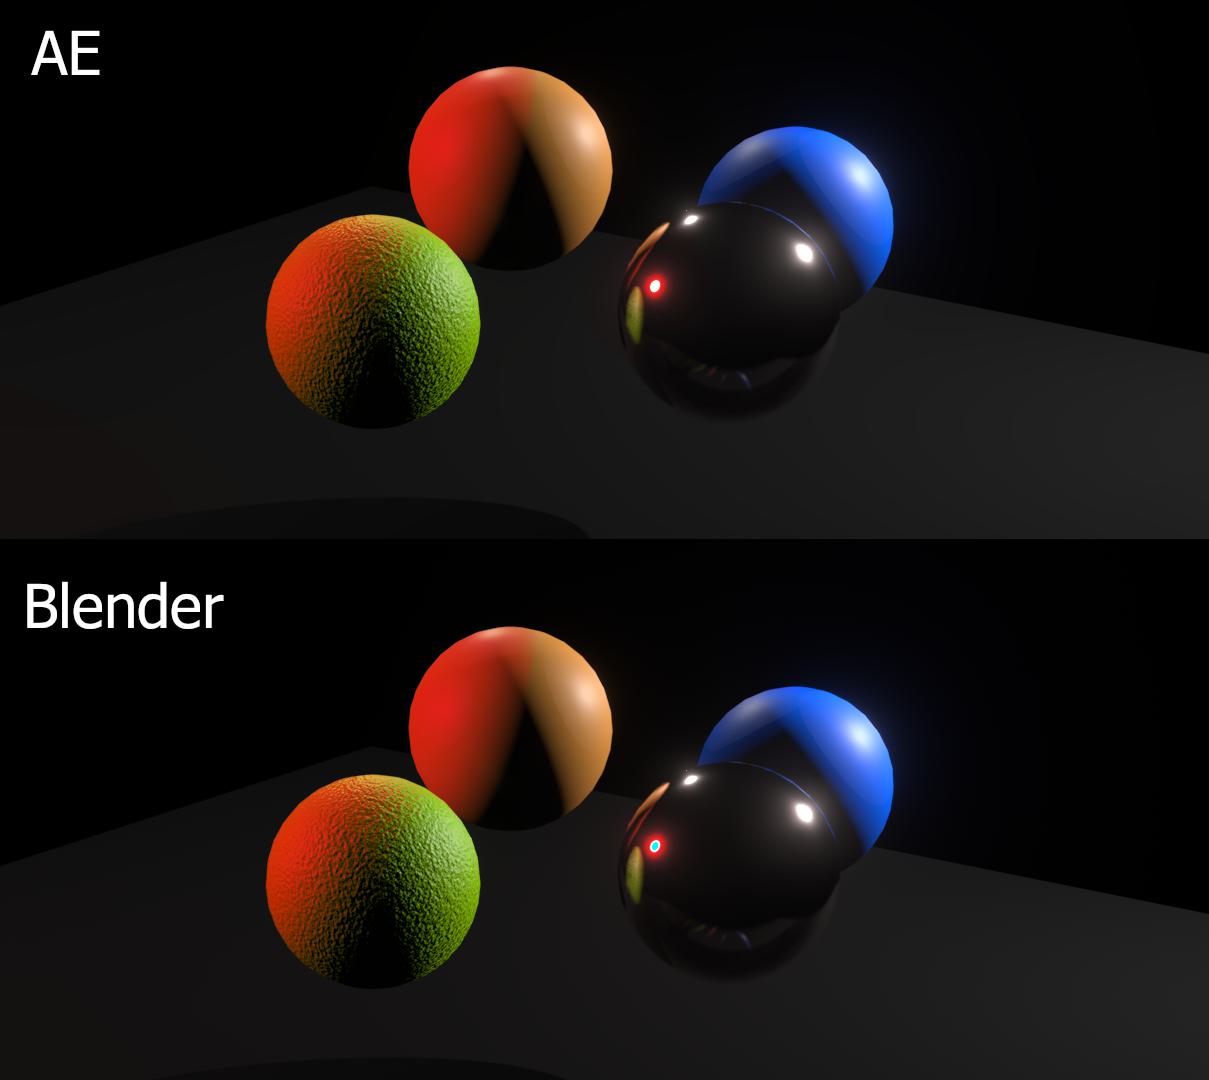
This is what I get in After Effects after using two solid red layers in overlay mode with the Light Mask as Luma Matte on top of the no composition layer shown above:
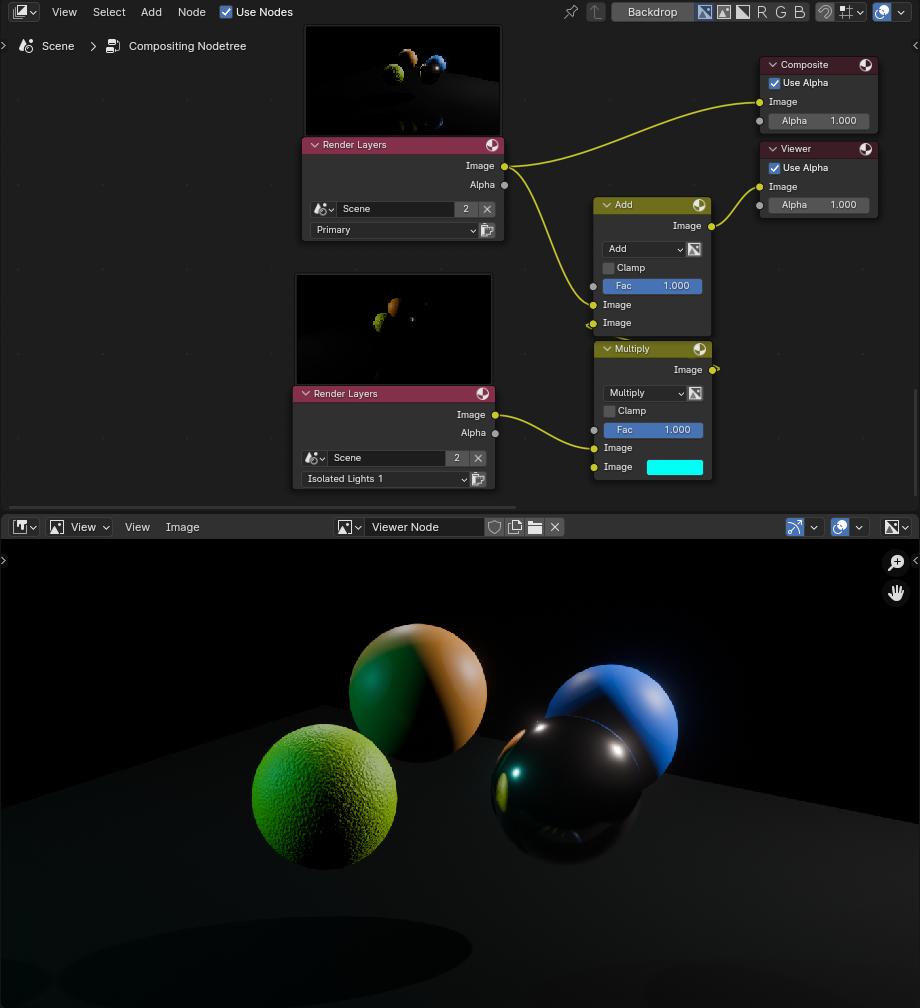
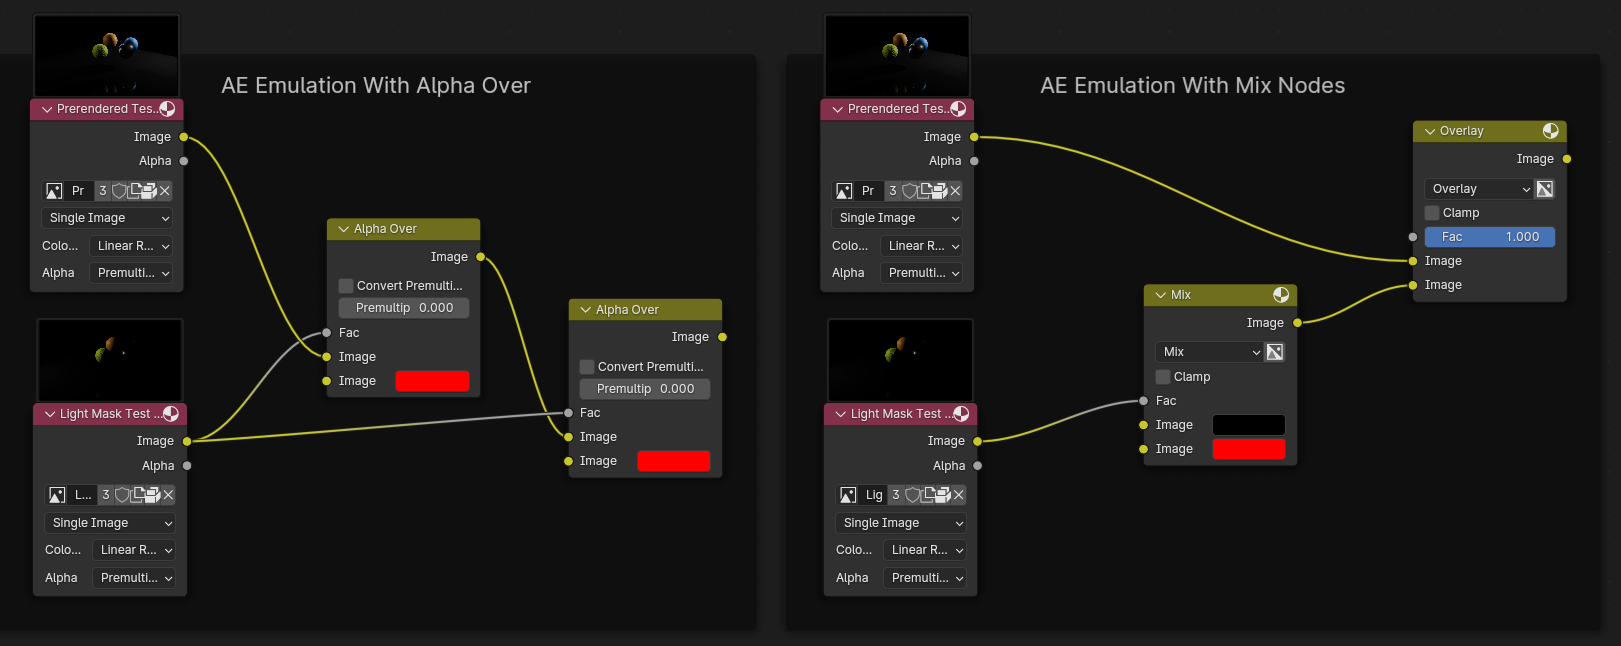
This is what I get in Blender with the following node setups in the compositor, trying to emulate the AE method:
With Alpha Over:
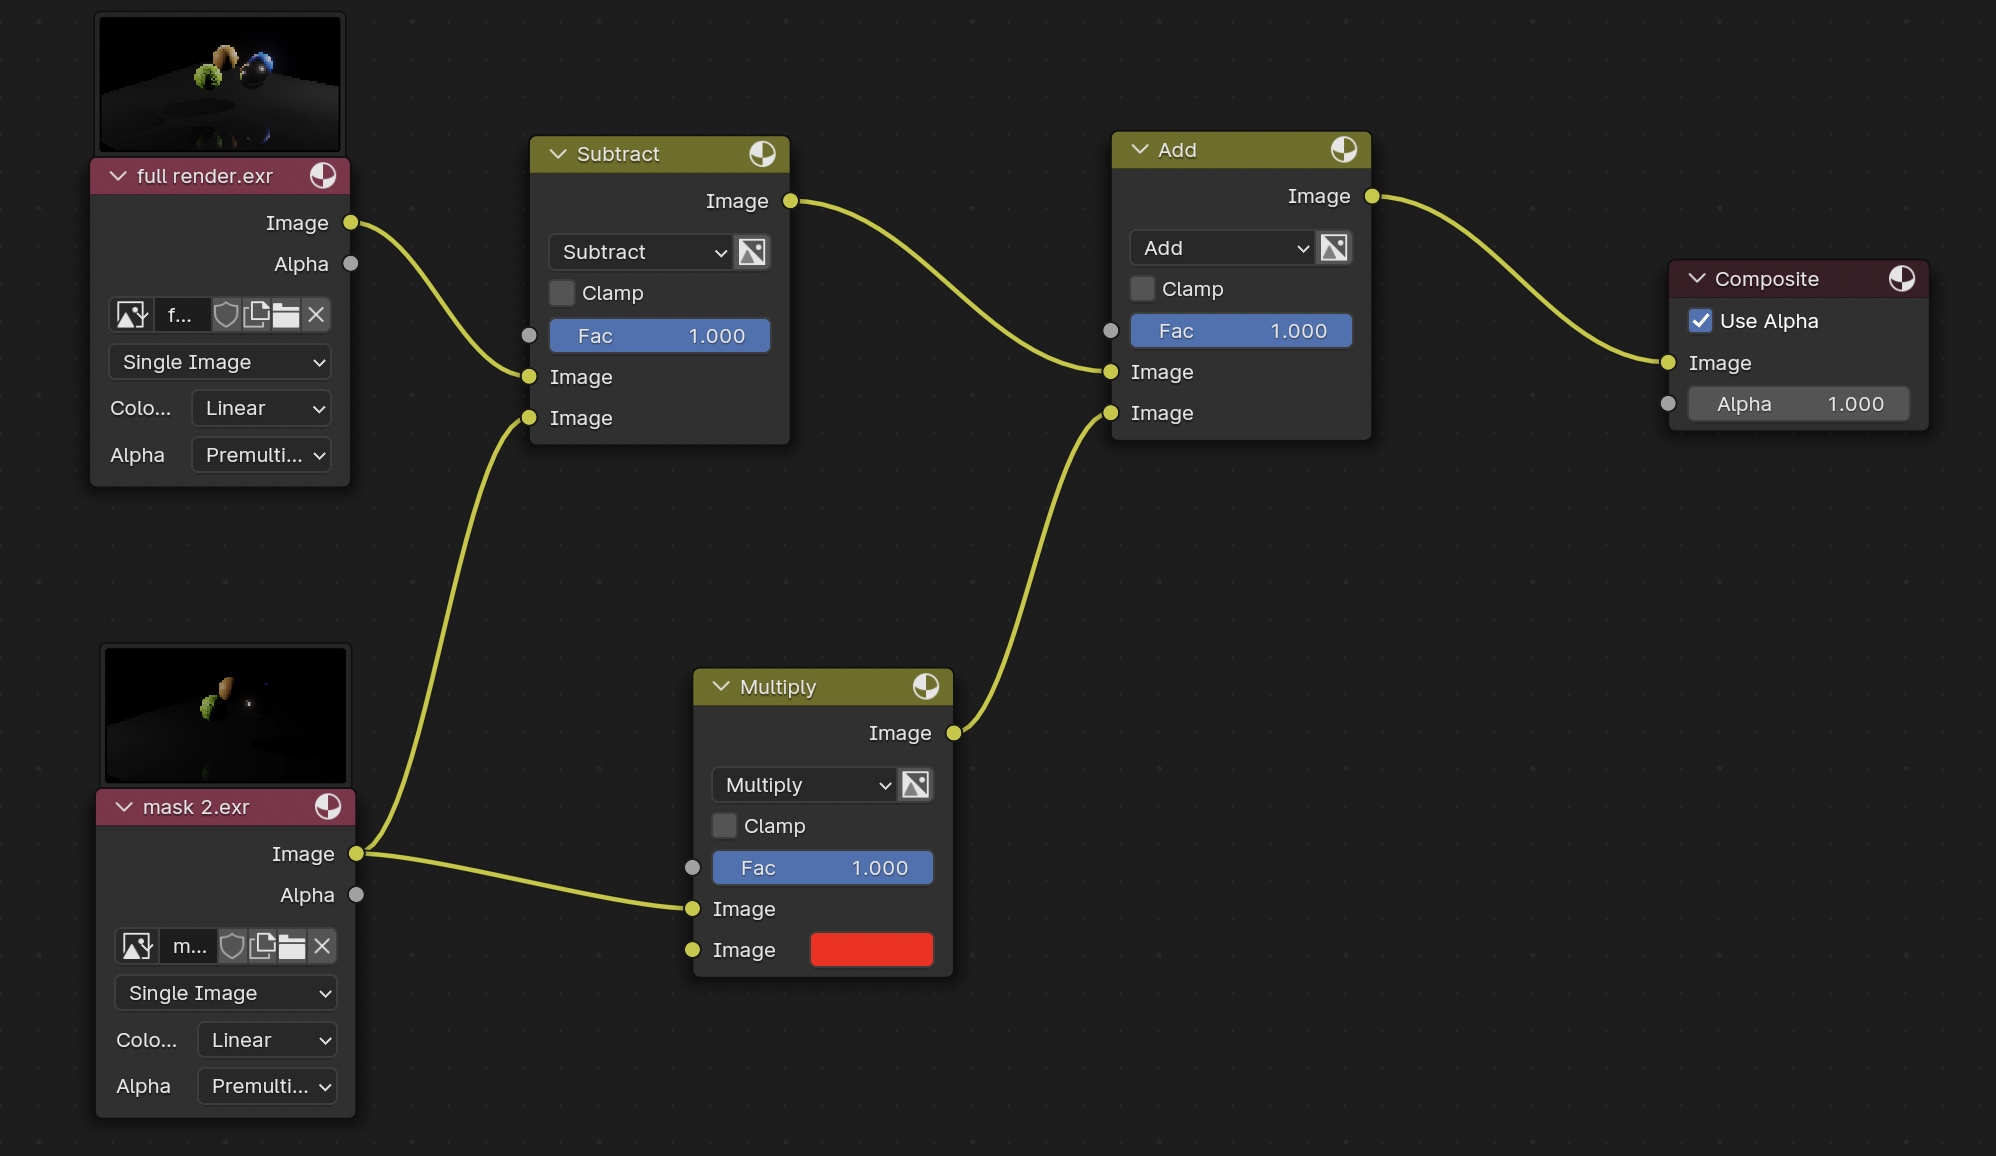
With Mix Nodes:
Compositor:
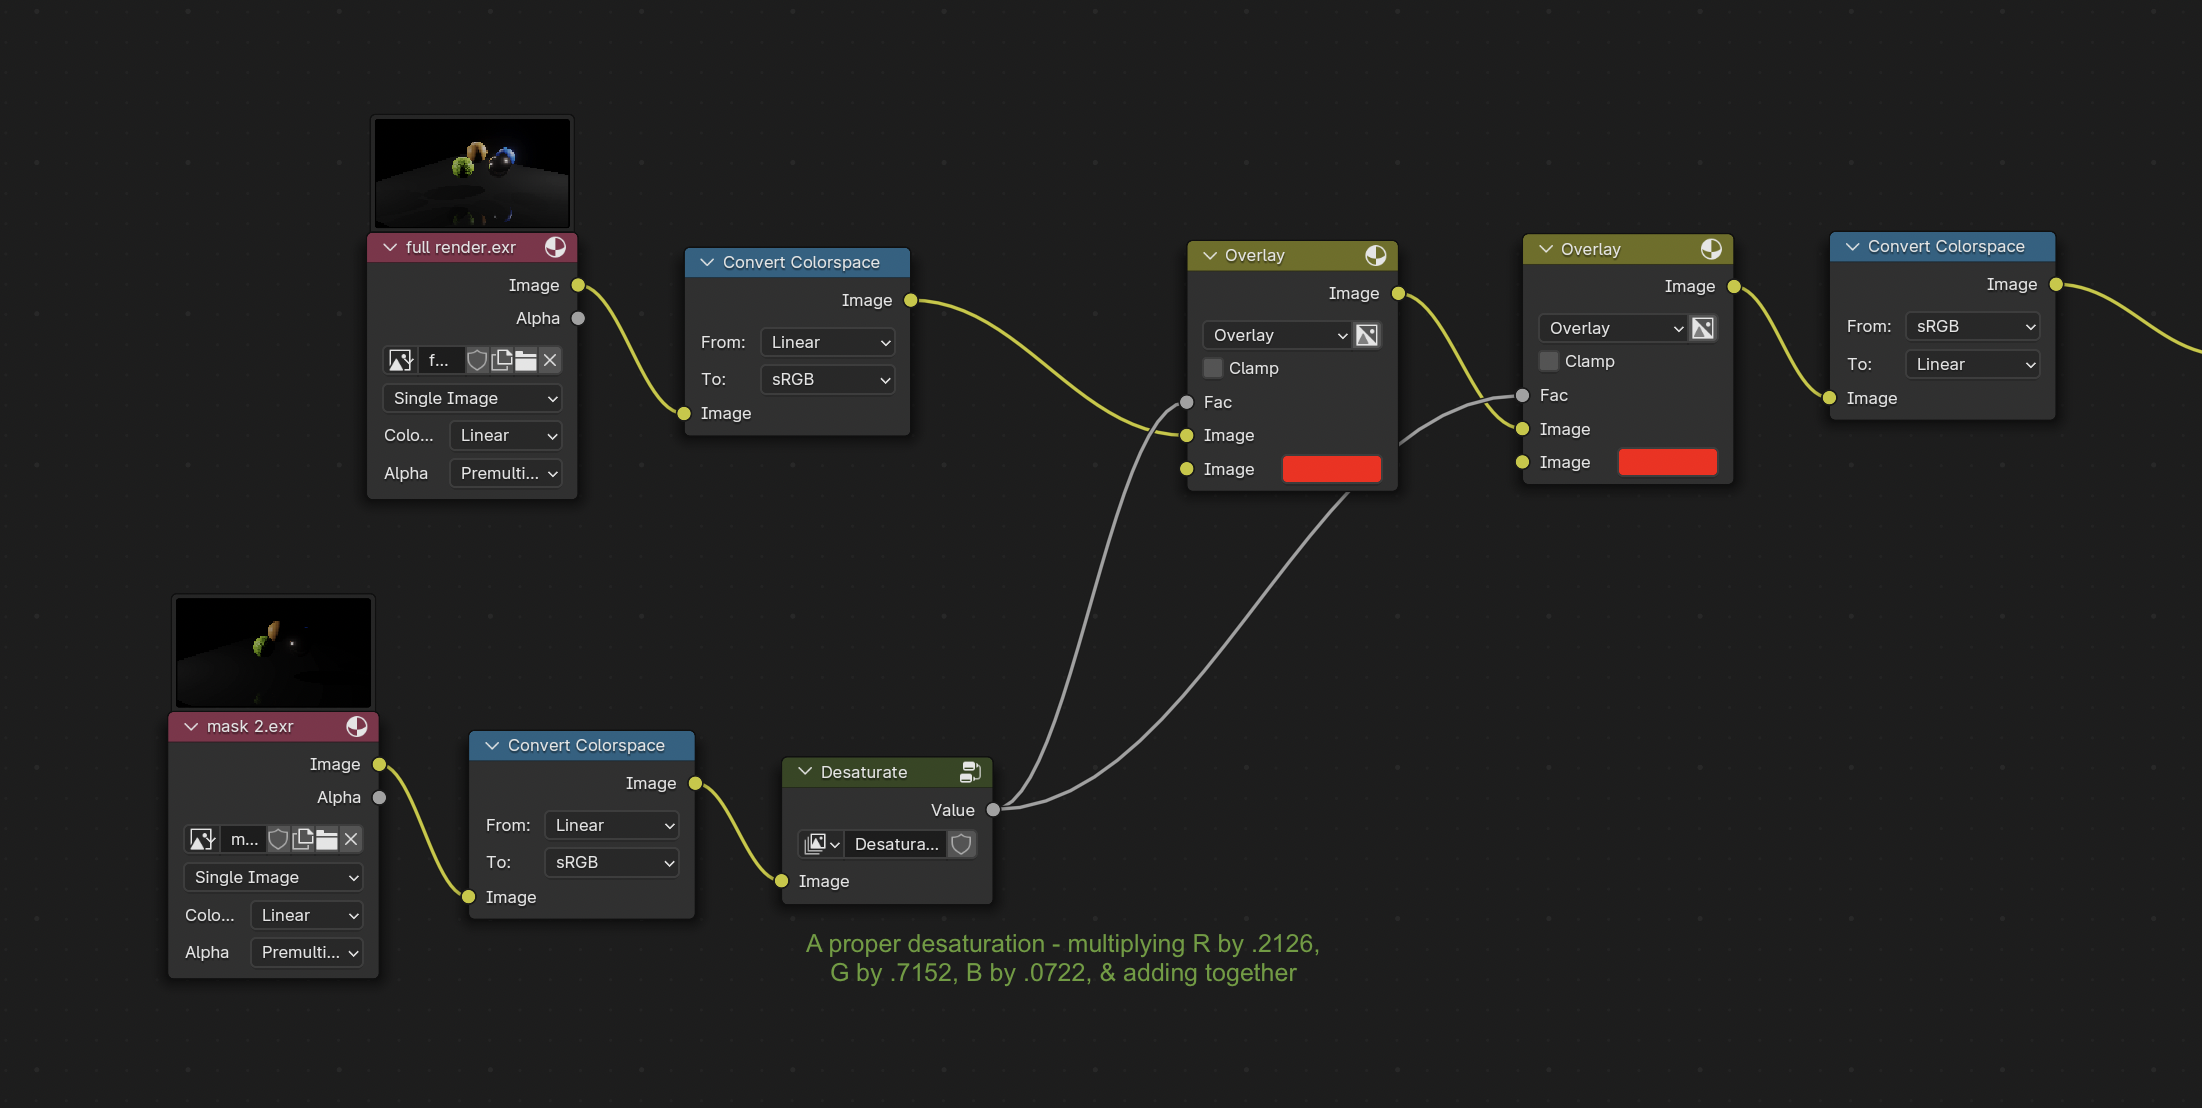
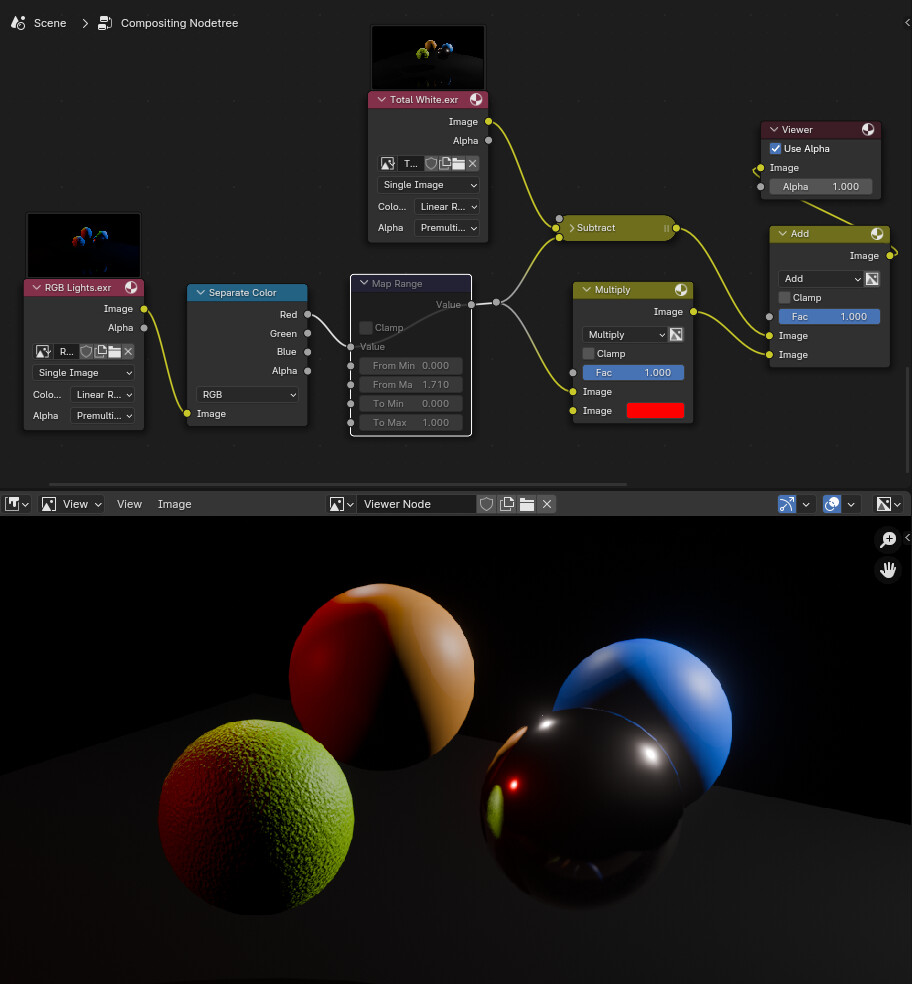
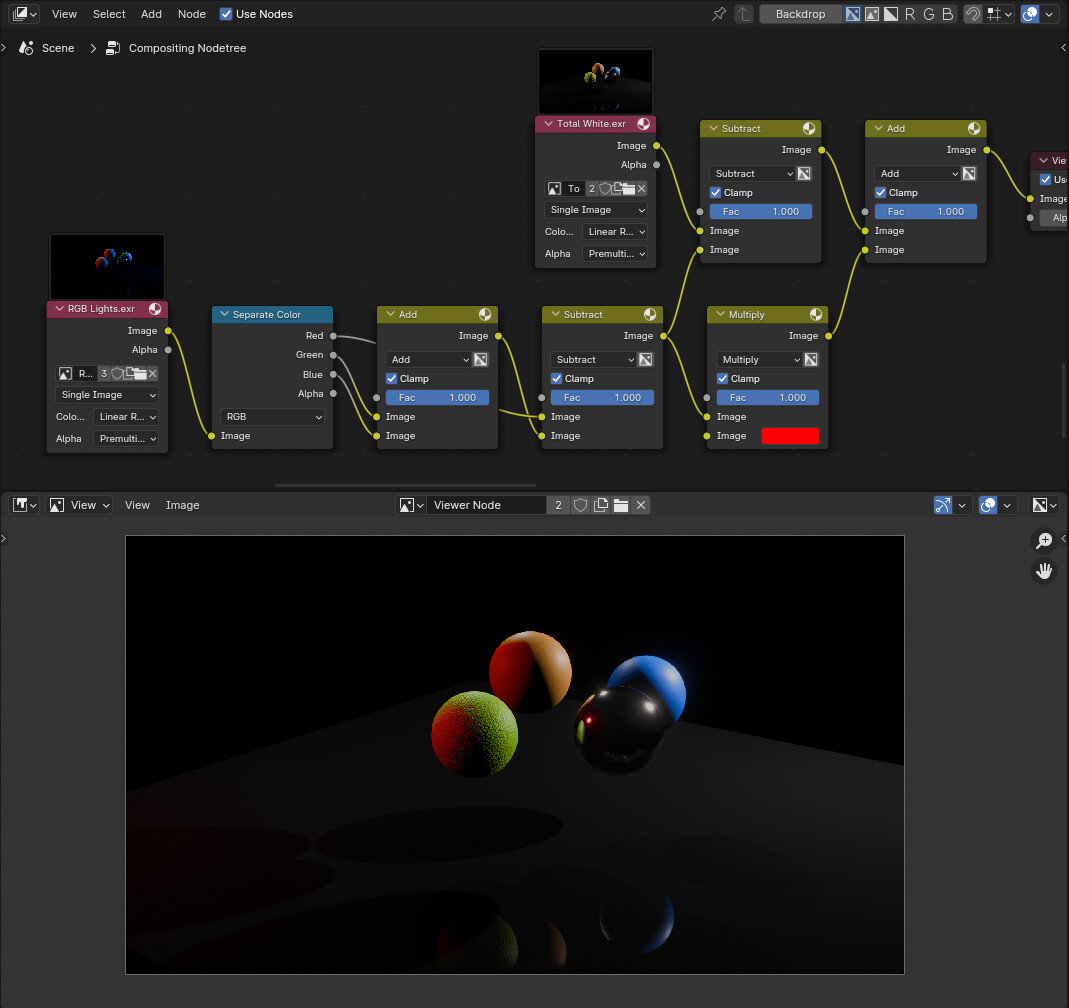
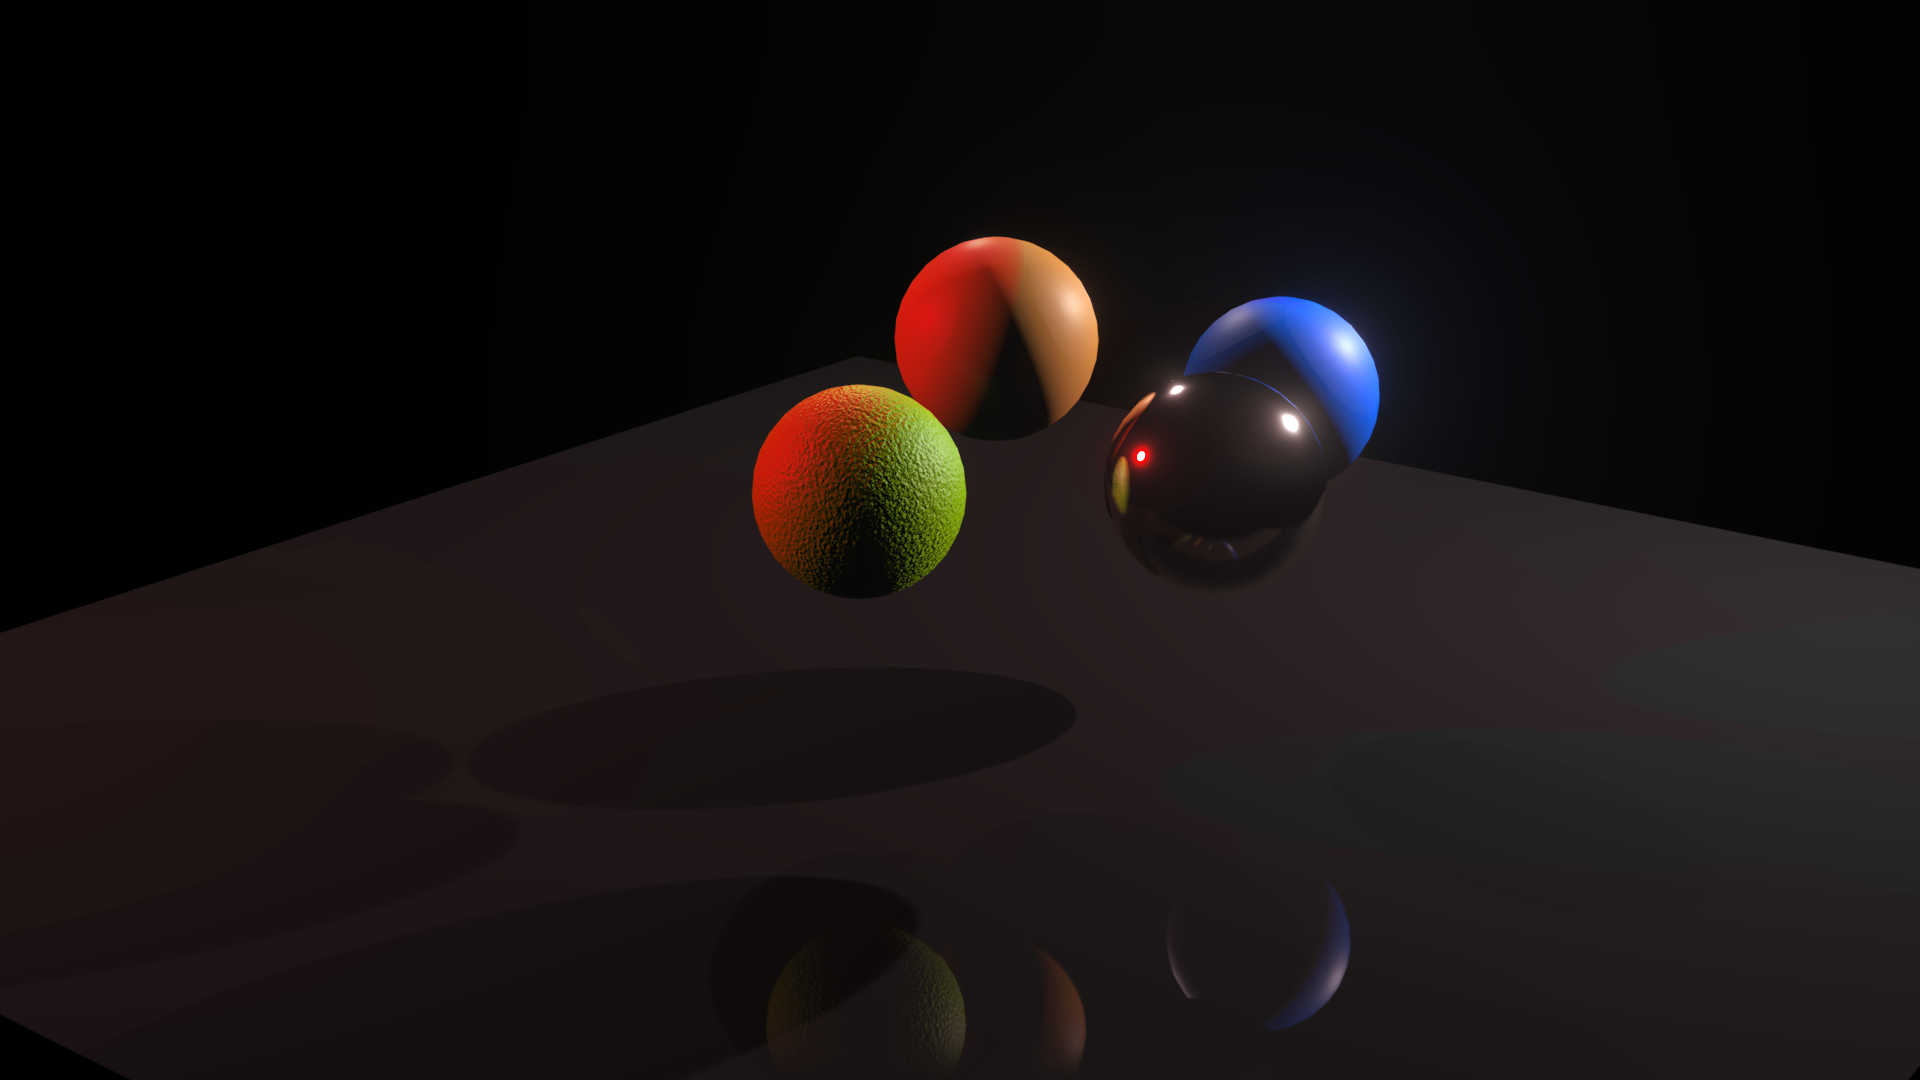
Neither of these look like the AE result, so this is the best that I’ve managed to produce in Blender so far, with another setup:

Compositing Tests.blend (1.5 MB)
Had to remove the EXR images, so the file would upload. They can be re-rendered locally for testing.
While I believe my best Blender result is about the same quality as the AE result, I’m puzzled as to why the simple setups didn’t work. Am I doing something stupid, or is it the case that the basic nodes work differently in Blender than in AE?