Car project in Blender

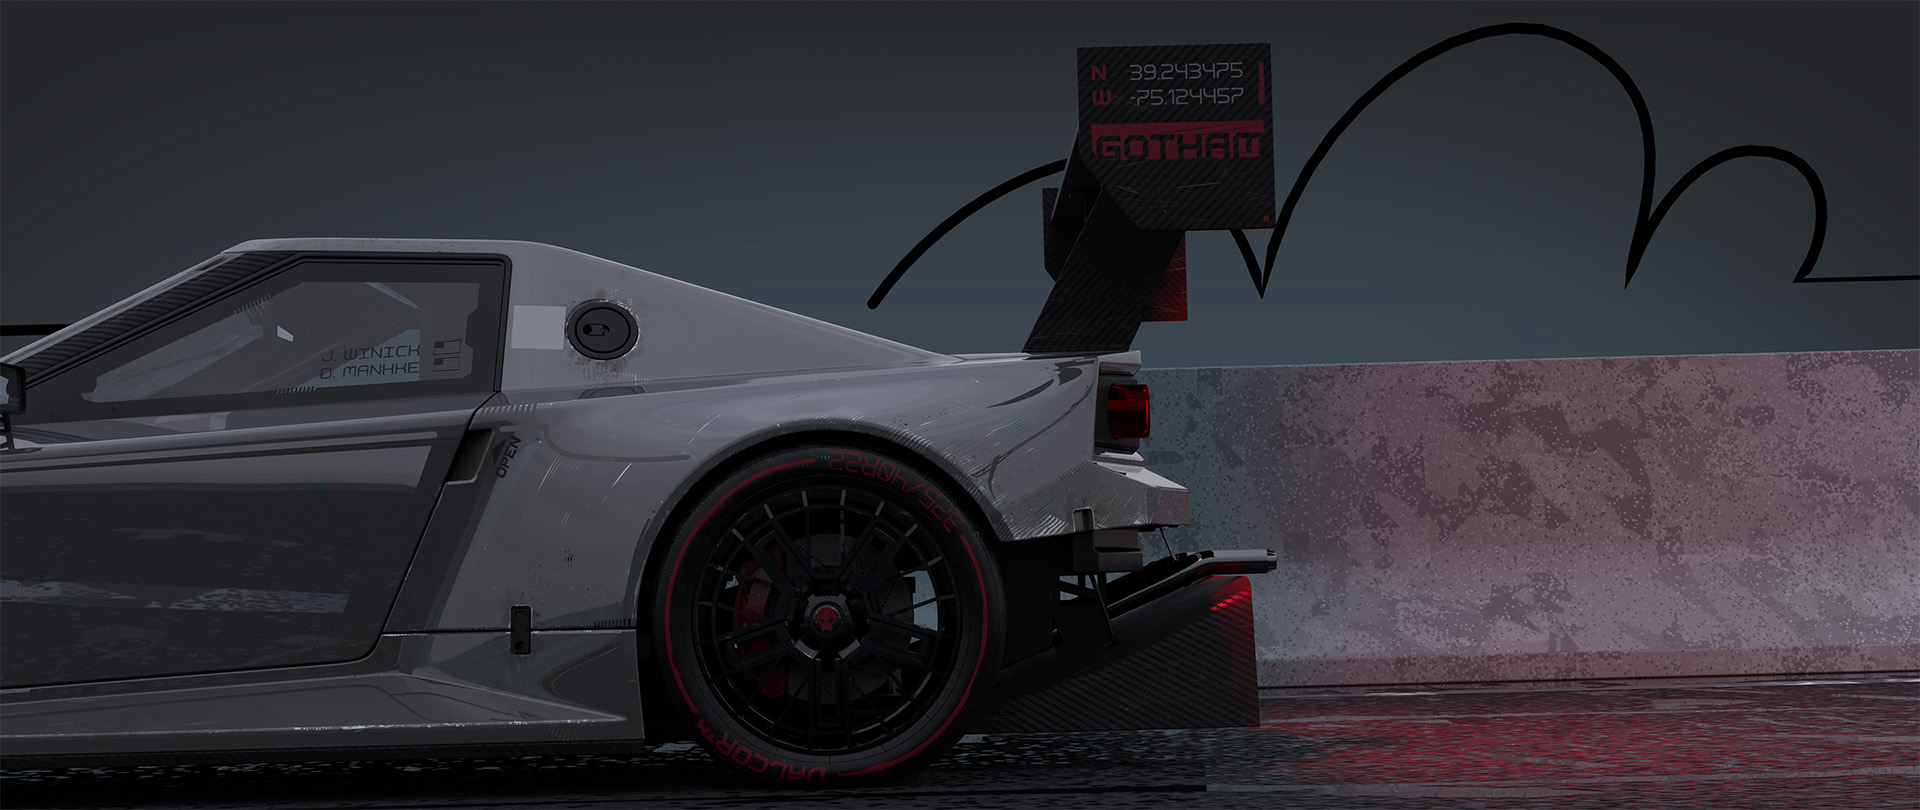
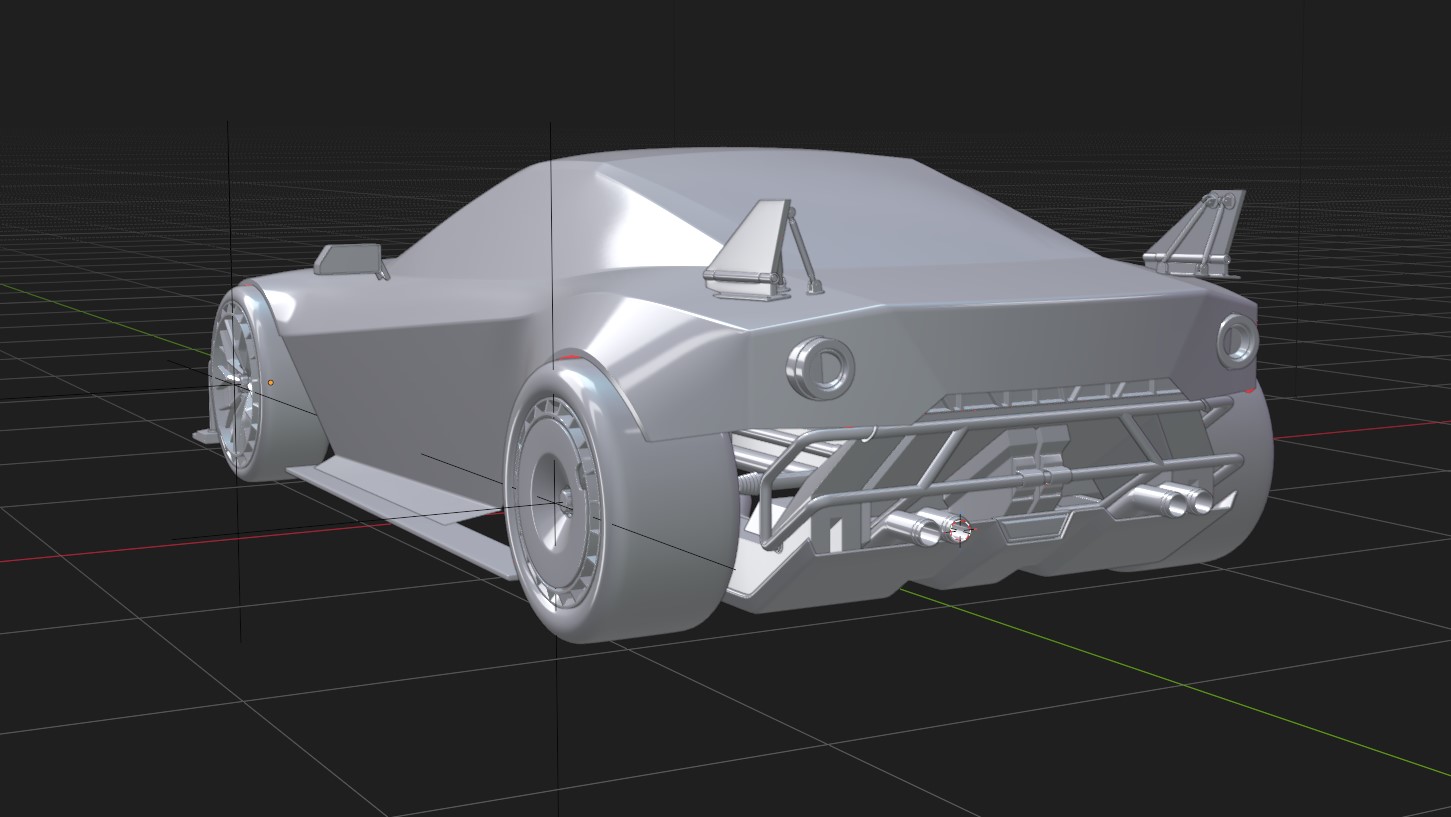
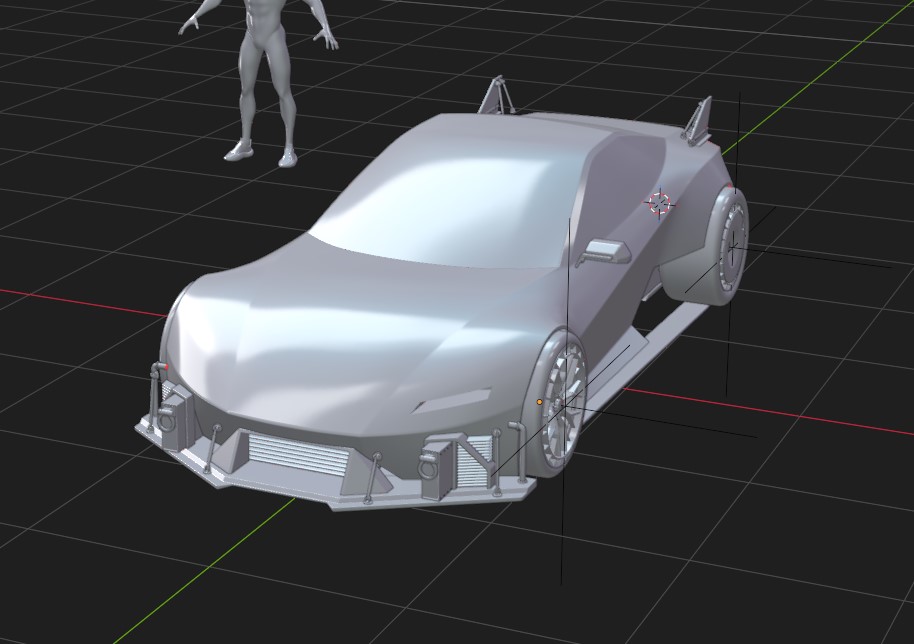
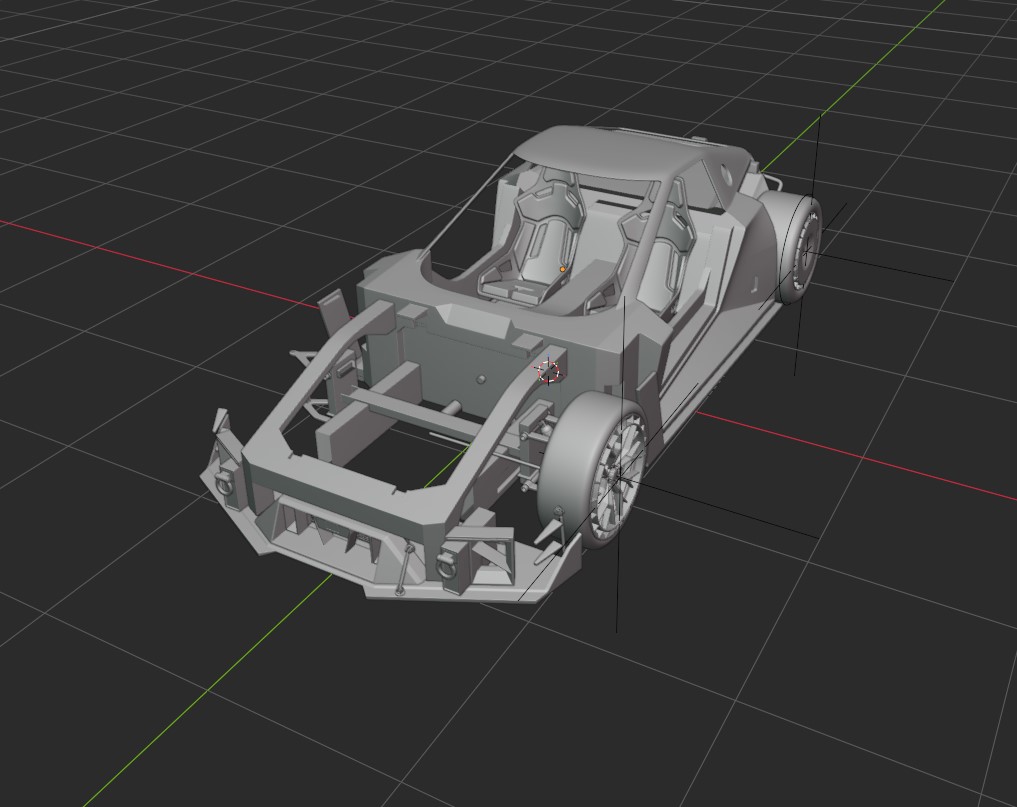
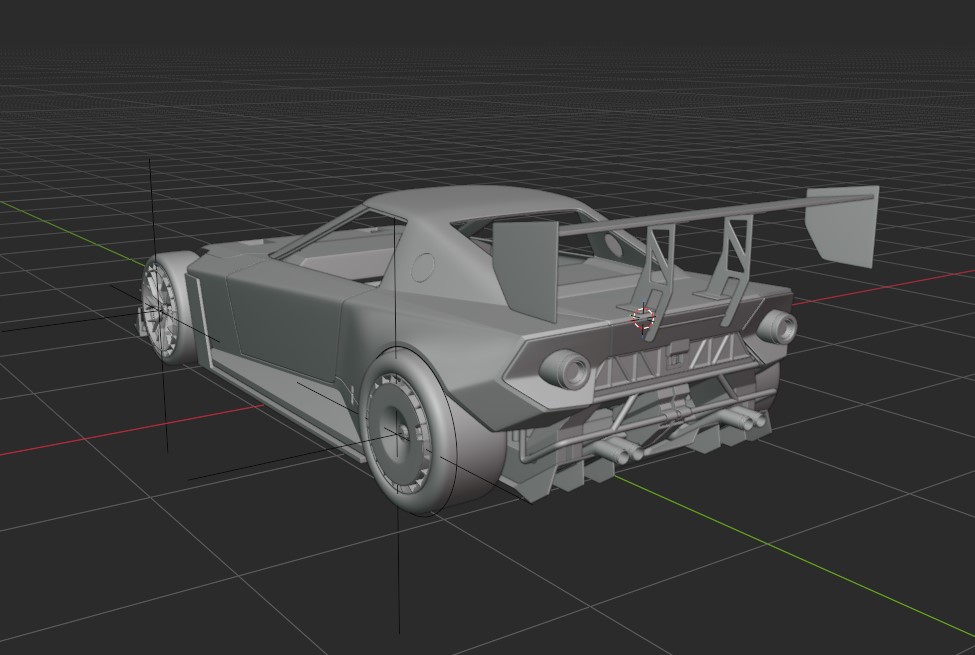
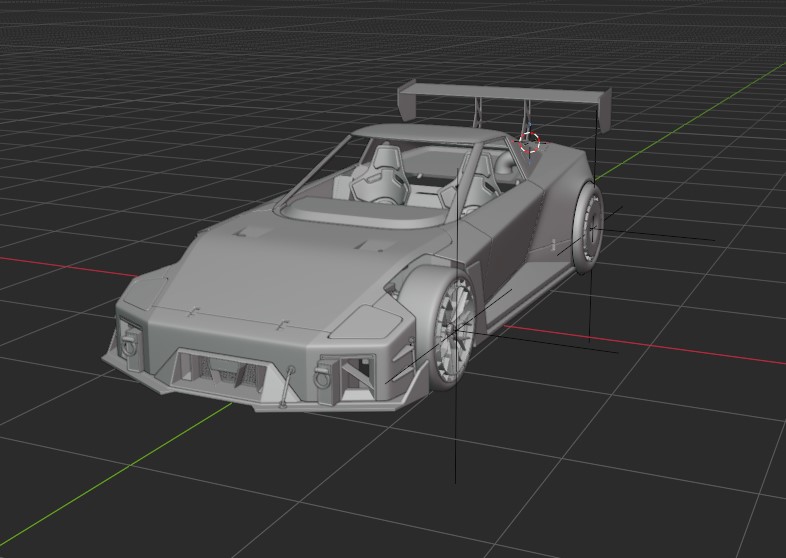
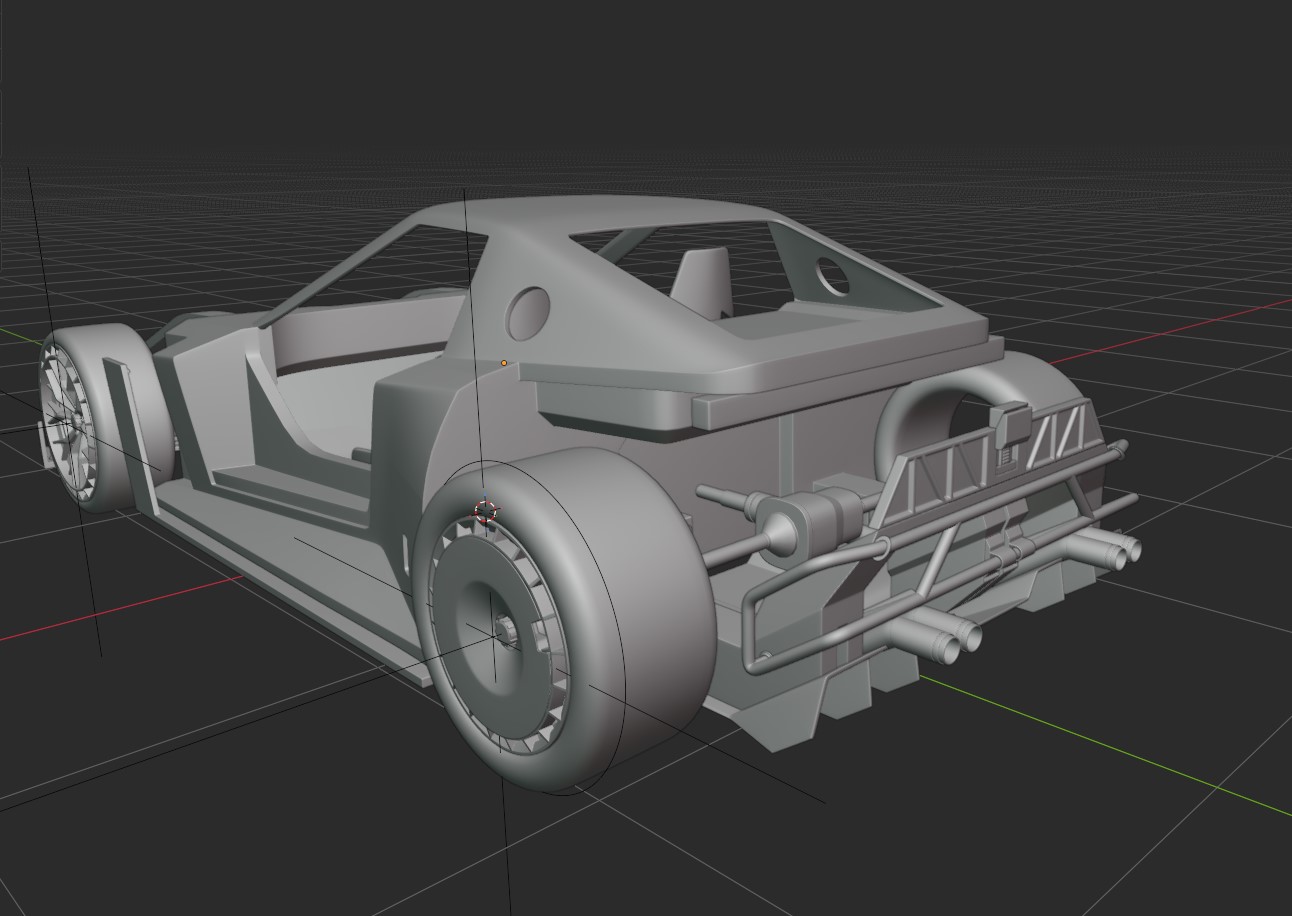
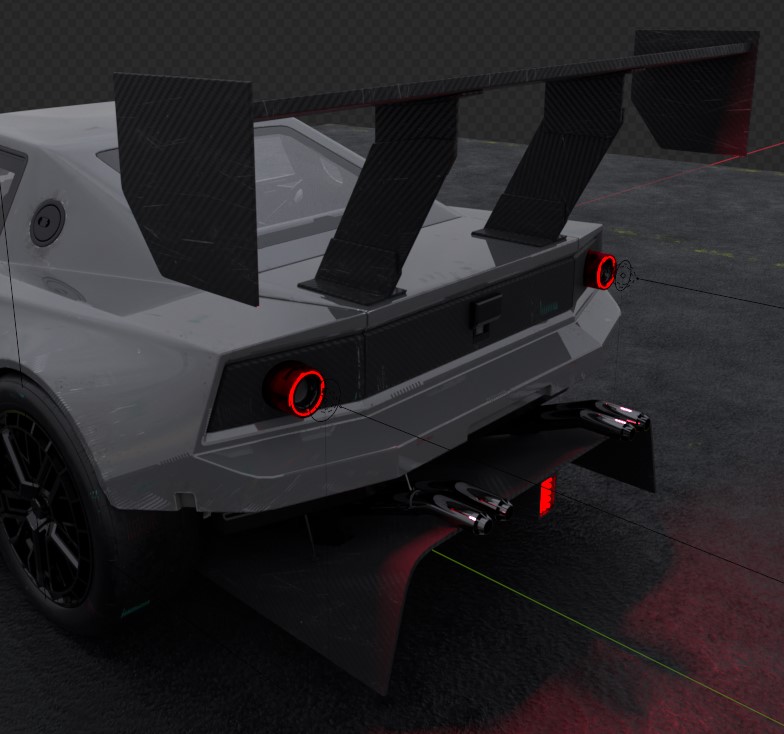
thumbnail and current state of the project:

Every guy needs a car project, and this is mine.

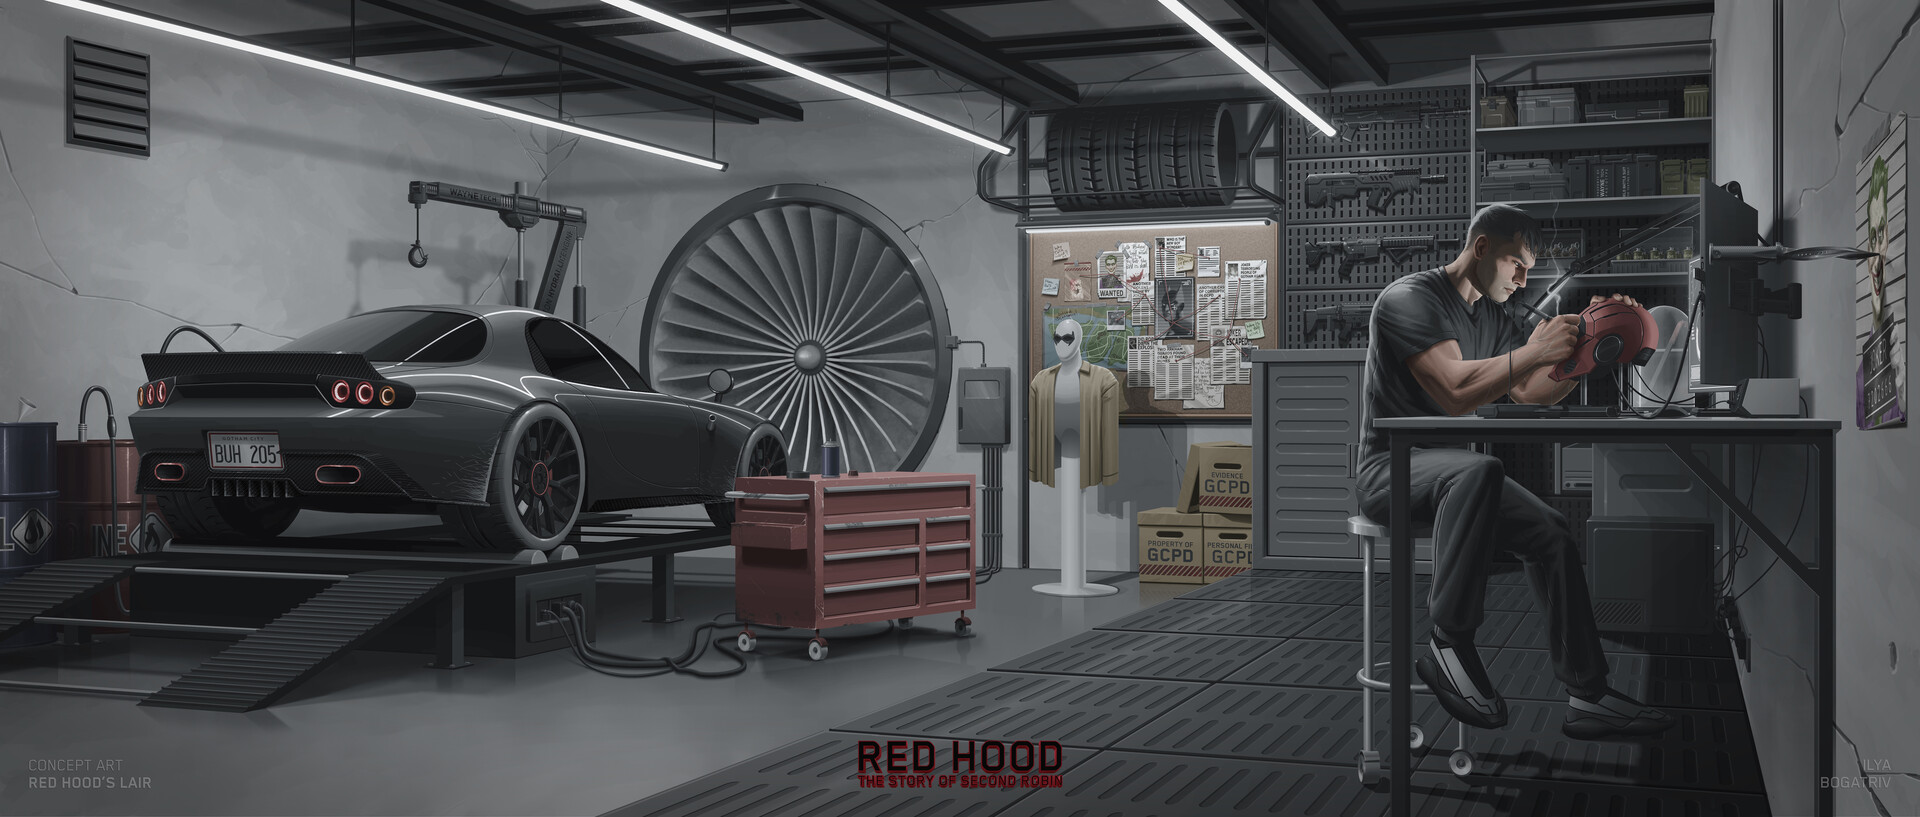
For a while, I’ve wanted to create something in the style of graphic realism and combine my 2D and 3D skills. The main goal is to design a “hero car.”

The project is my own interpretation of the RX-7 with a rotary engine. The idea is to keep the RX-7’s recognizable proportions and major forms, while evolving its visual language into a more modern design with some Time Attack influence.

I’ll be using this thread to share progress, experiments, and whatever I learn along the way. Thanks for stopping by, and feel free to leave any feedback.

4 Likes

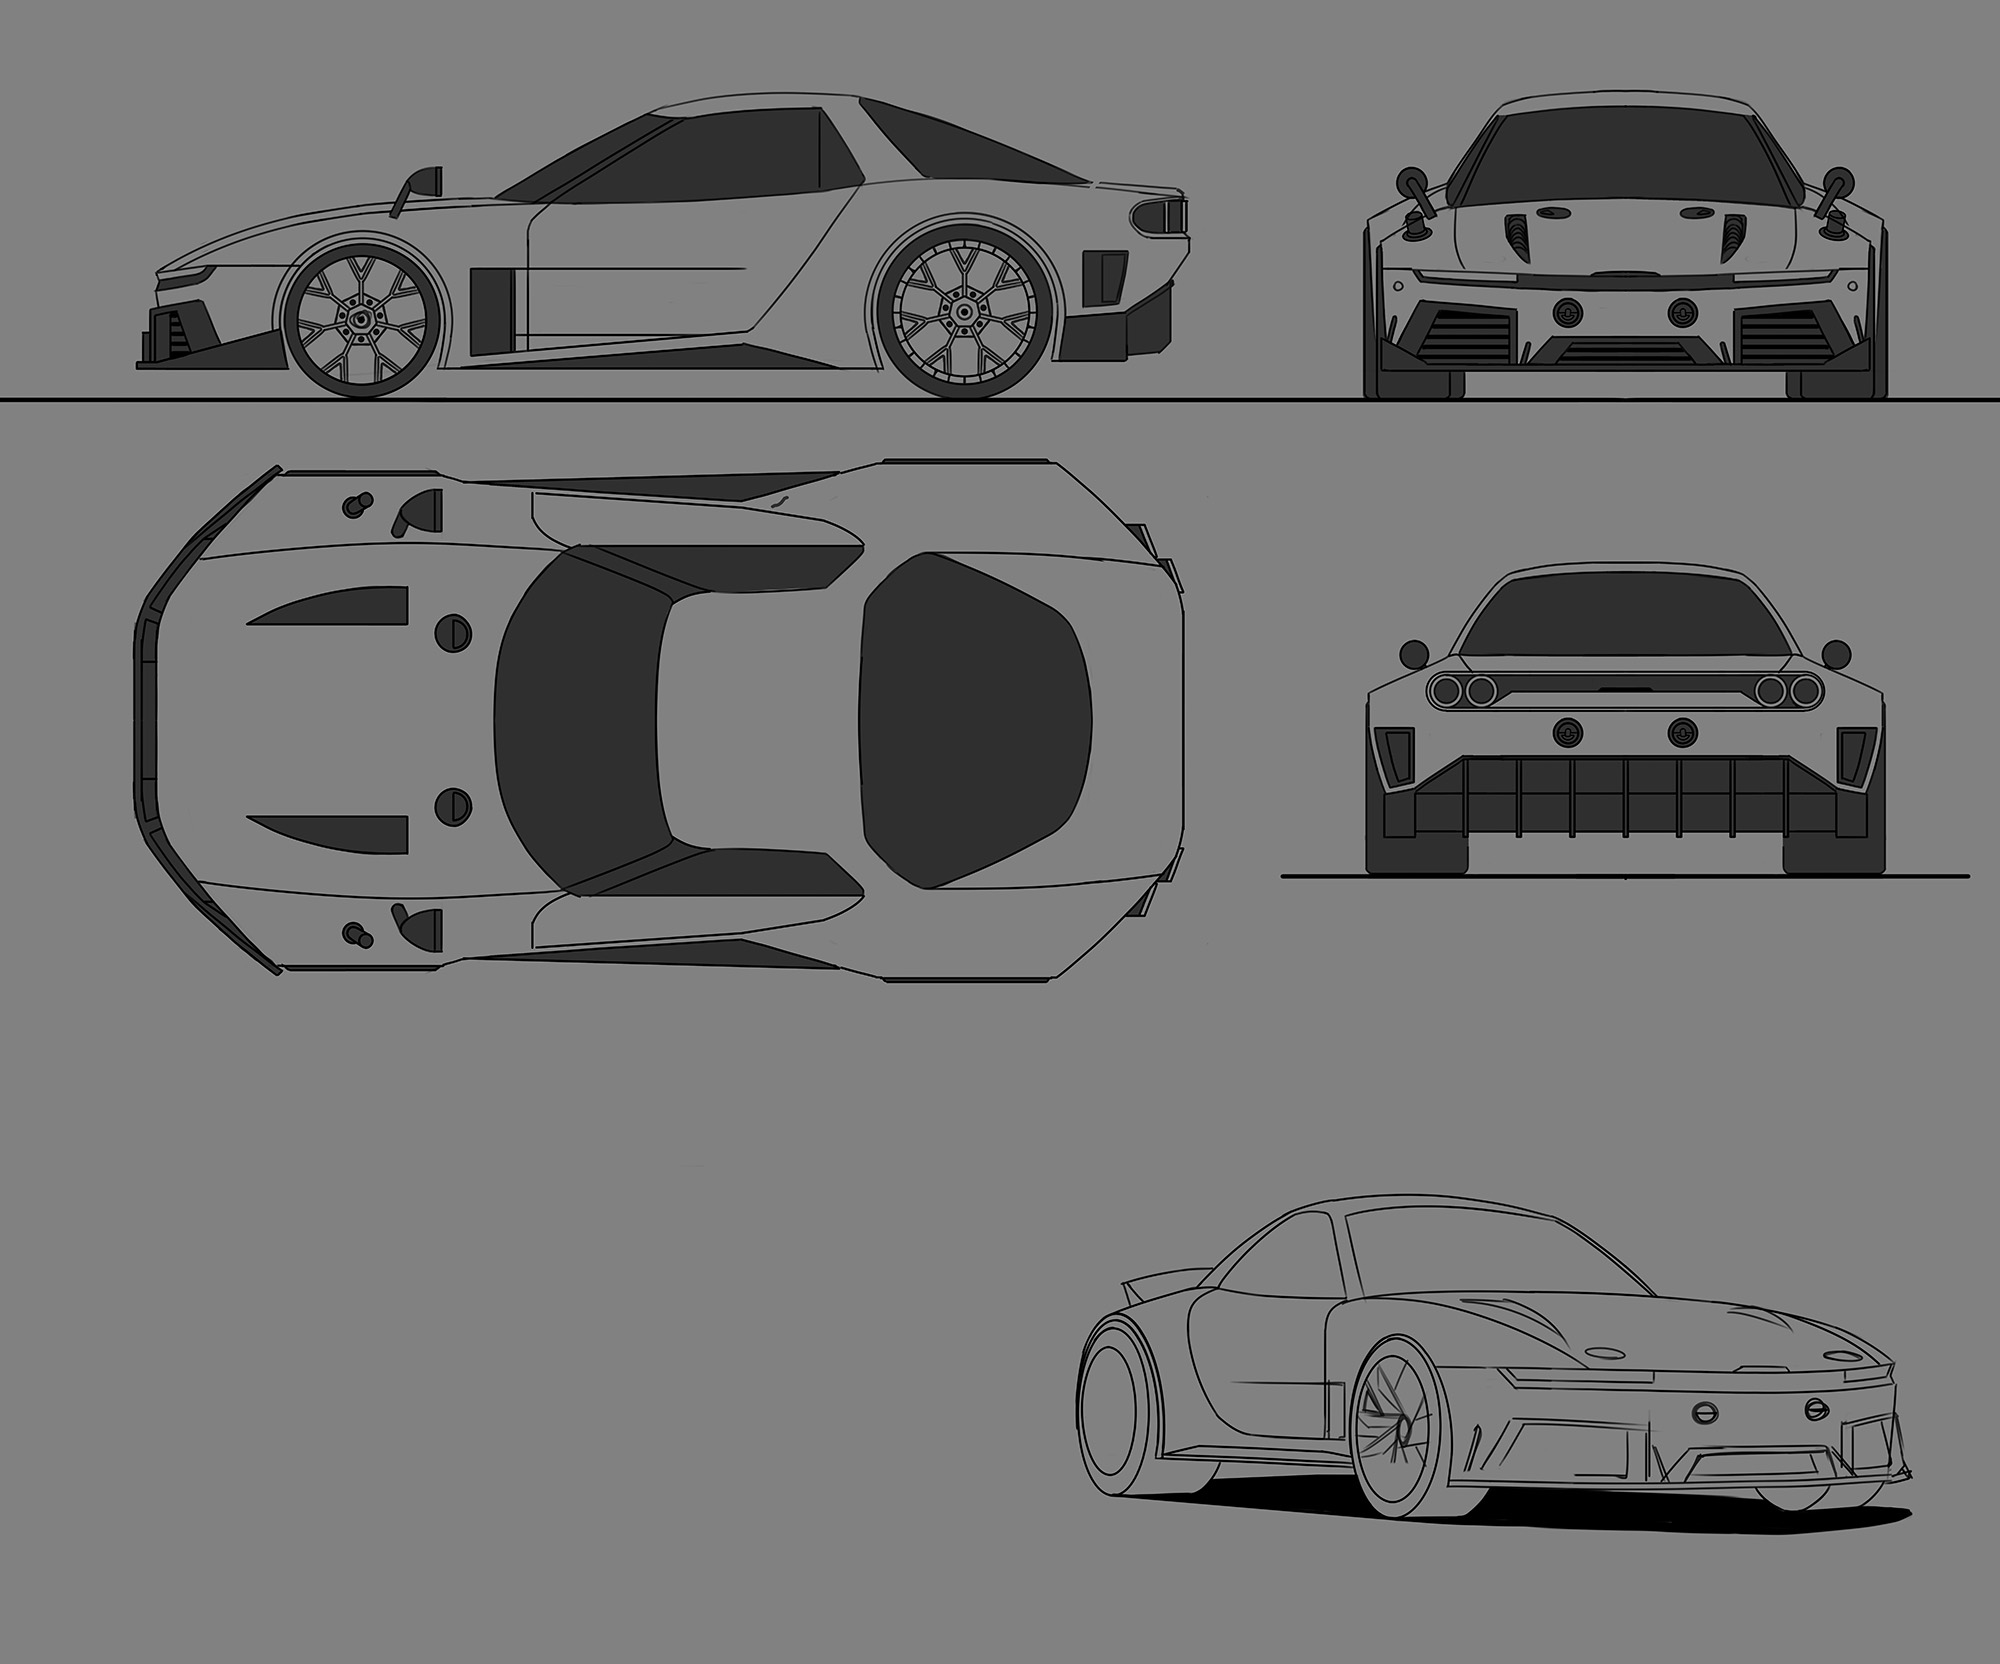
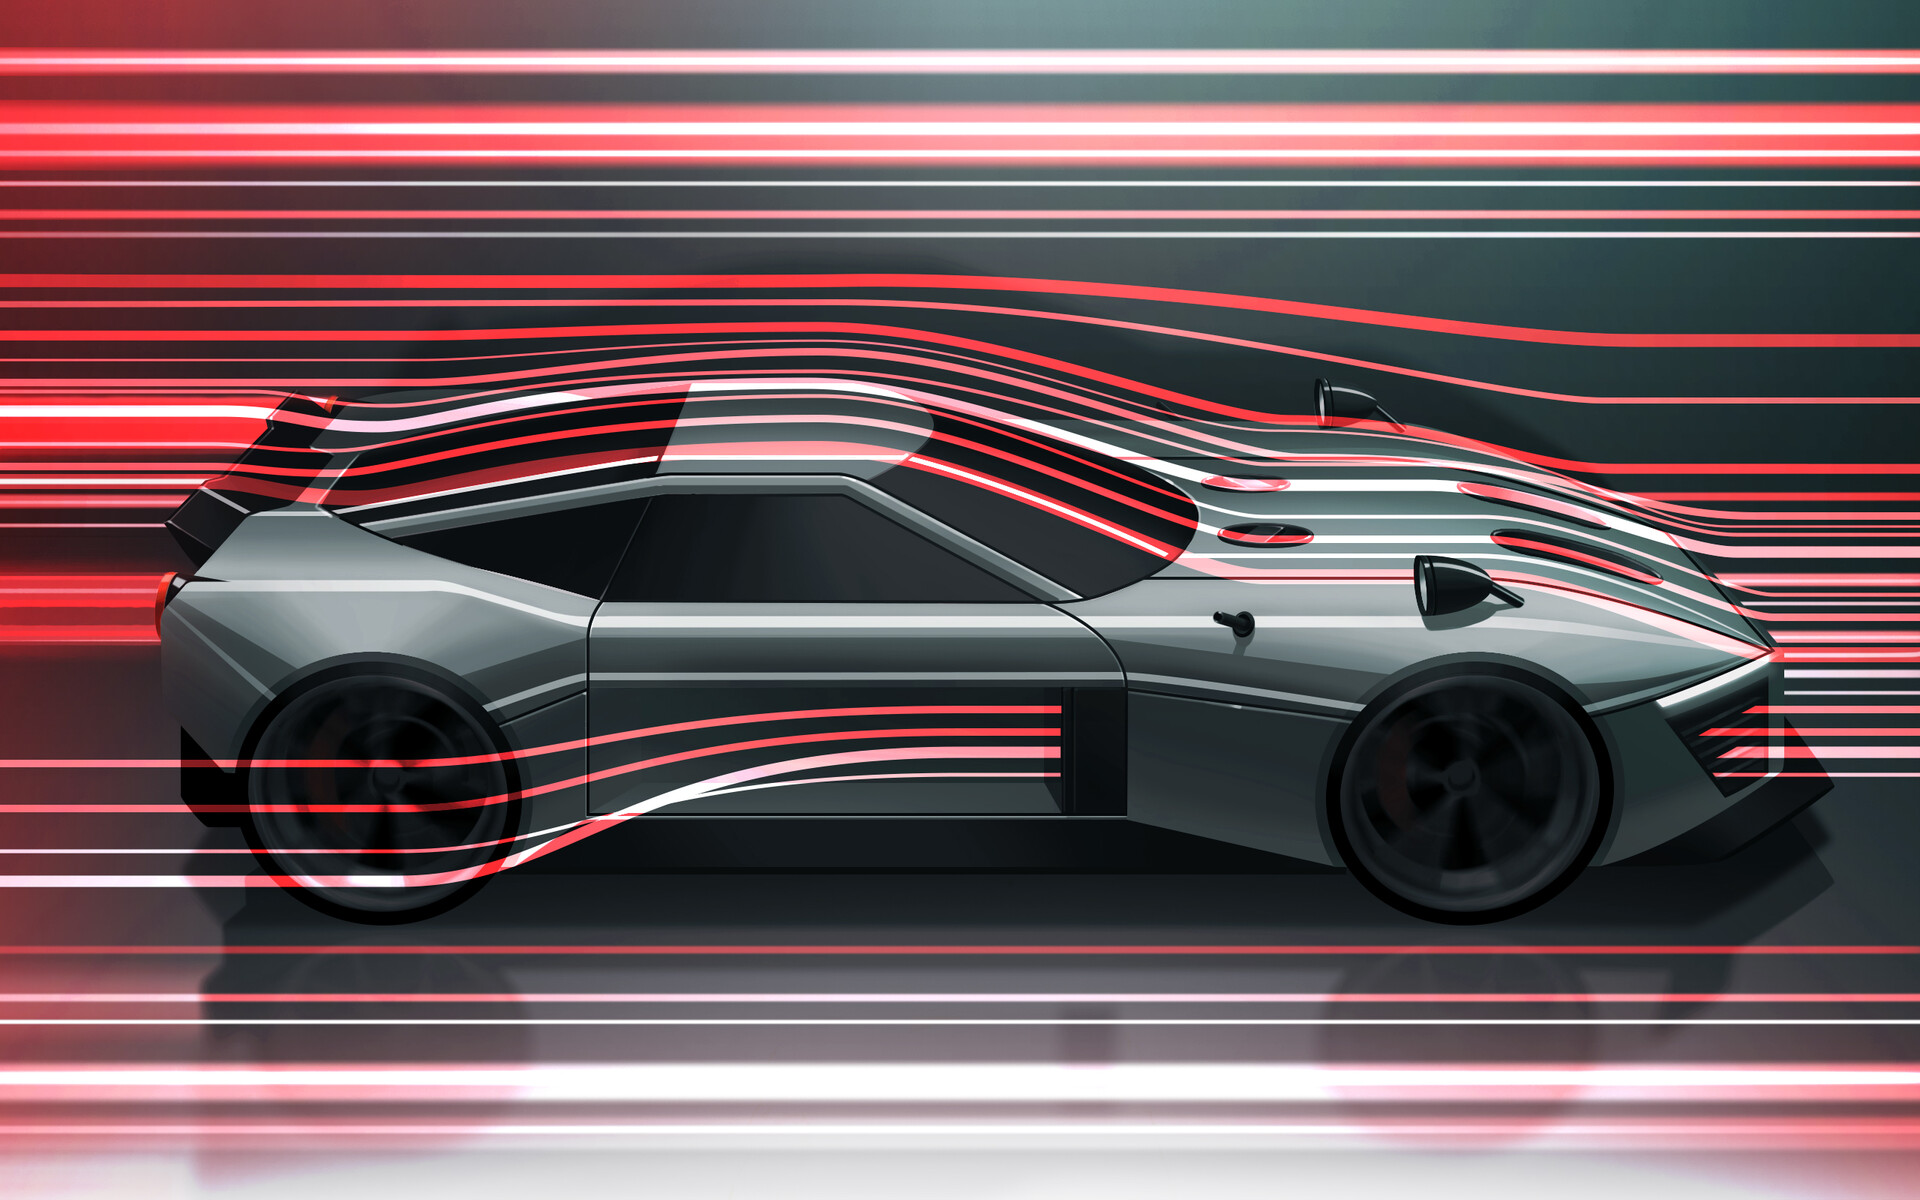
Initially, I planned to base the project on concept art I’d created over the past few years. Looking at it now, though, I honestly don’t think it holds up. The general idea is there, but it doesn’t match what I had in mind. Instead, I’ve decided to stick to the references and figure out the rest on the modelling stage.

Concept art in question:

References for the car:

2 Likes

Here’s my first attempt at designing this car:

In terms of body, it more reminiscent of an RX-8 rather RX-7, looks to smooth, not sharp enough. Chassis is questionable for a couple of reasons: they bend at the front to accommodate the position of the fangs at the front and currently chassis has no connection to the tub of a car. Rims look to smooth and too detailed for the style I’m going for. Rear spoiler as an idea looked good, but in this iteration hinge looks like a door hinge and it’s just too small to have any meaningful impact on the aerodynamics of a car.

Second attempt:

In terms of major shapes and visual language it’s much closer to what I’ve had in mind. Now I have a proper carbon tub. There’s still little things which need to be fixed: front bumper is a mess, rear is just collection of different ideas smashed together, rims still not close to what I had in mind, side vent behind front wheel is an awkward looking thing, tires too slim (especially at the front). Seats too generic and look ugly, have to find better refs and remodel it.

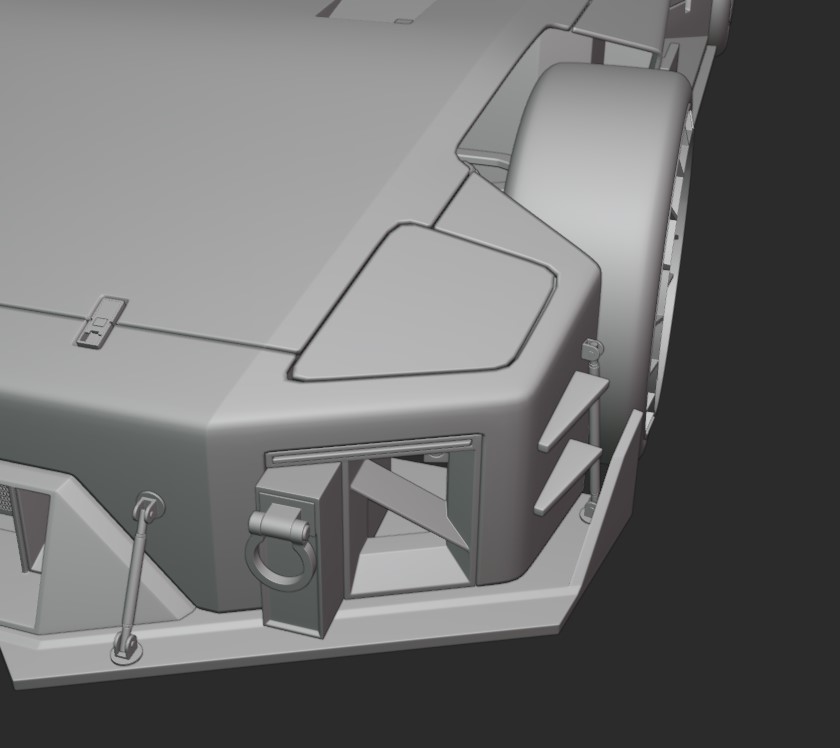
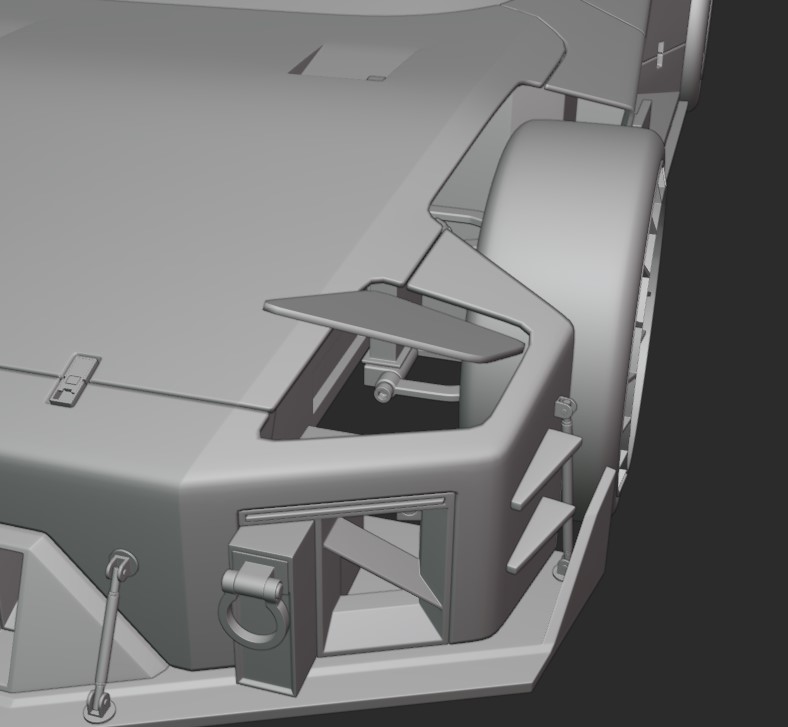
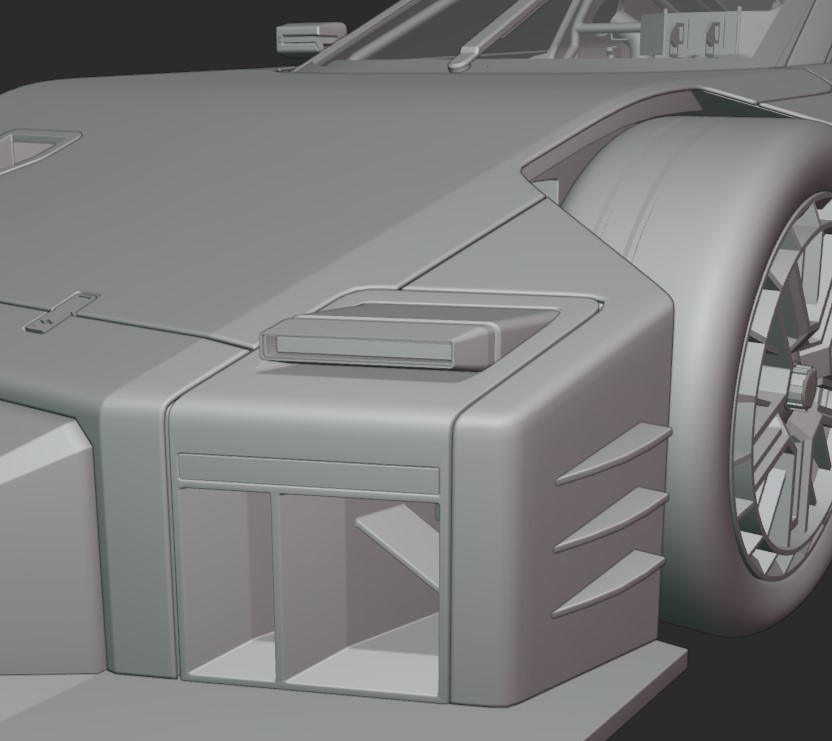
One major issue with the body design is the headlights. Because the section of the body where they’re mounted is angled, it’s impossible to integrate pop-up headlights without them popping up at an awkward angle. That completely ruins the effect, so unfortunately the pop-up headlights have to go. :frowning:

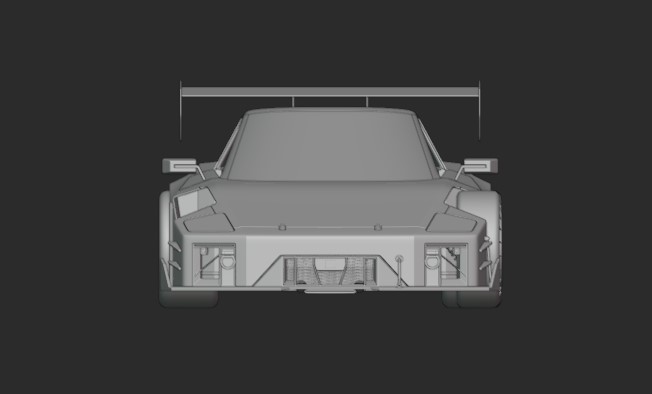
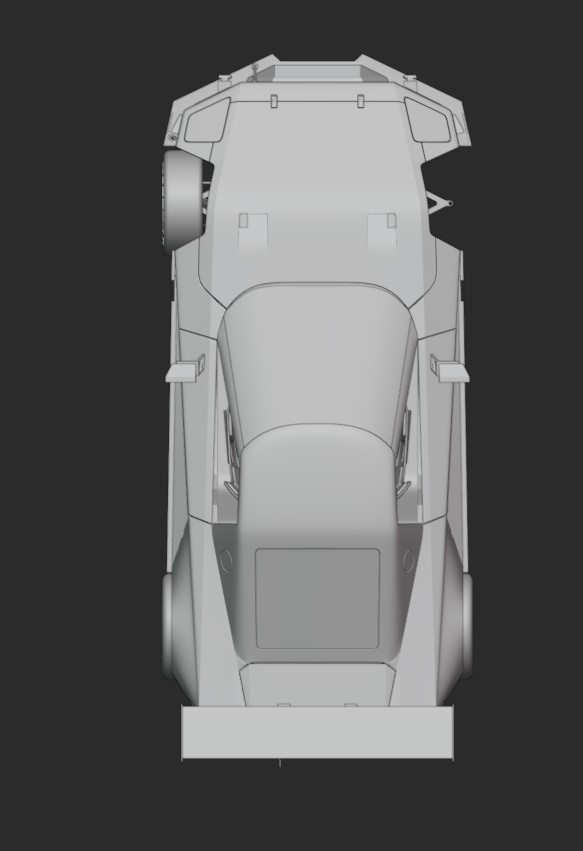
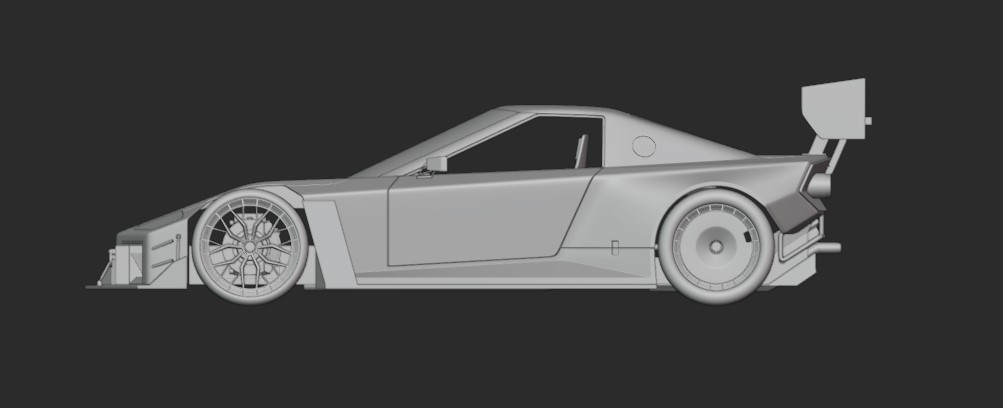
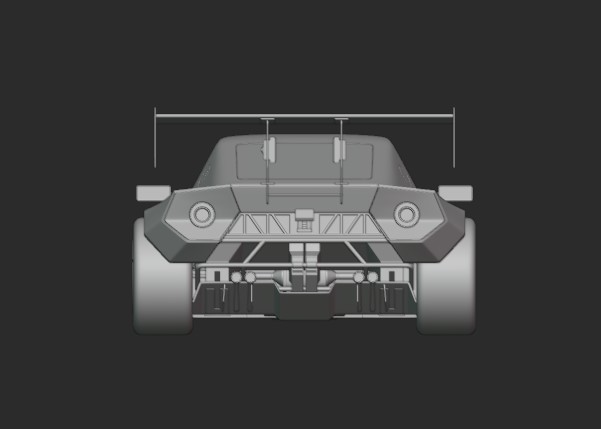
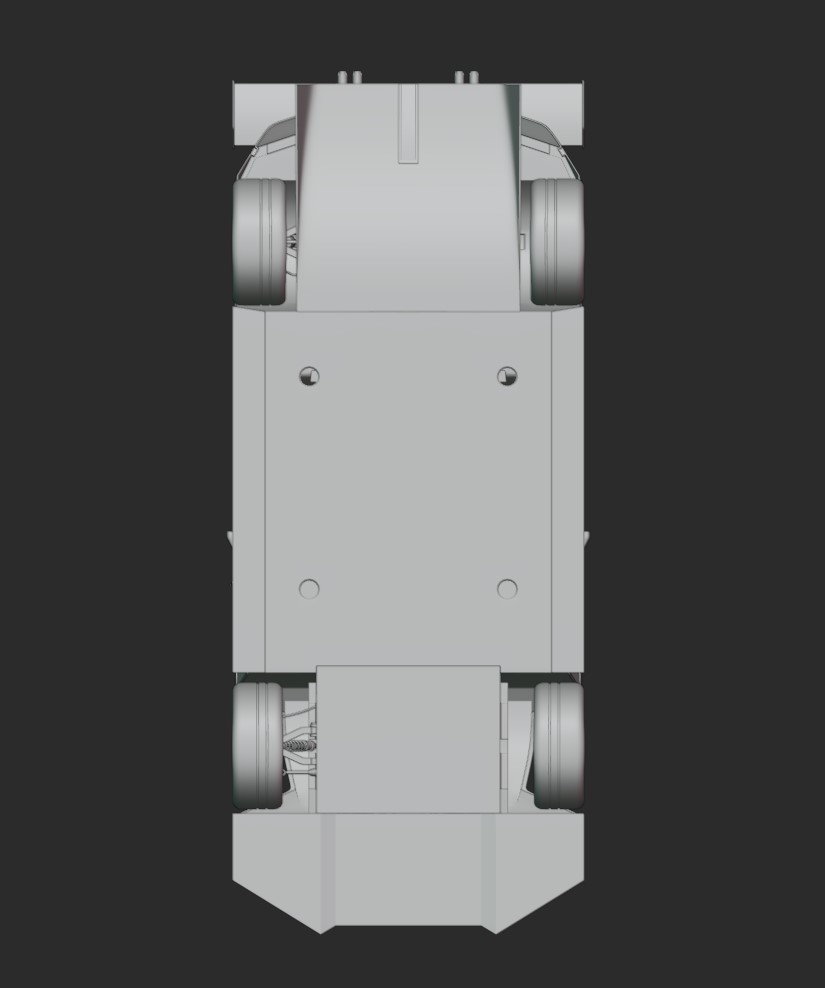
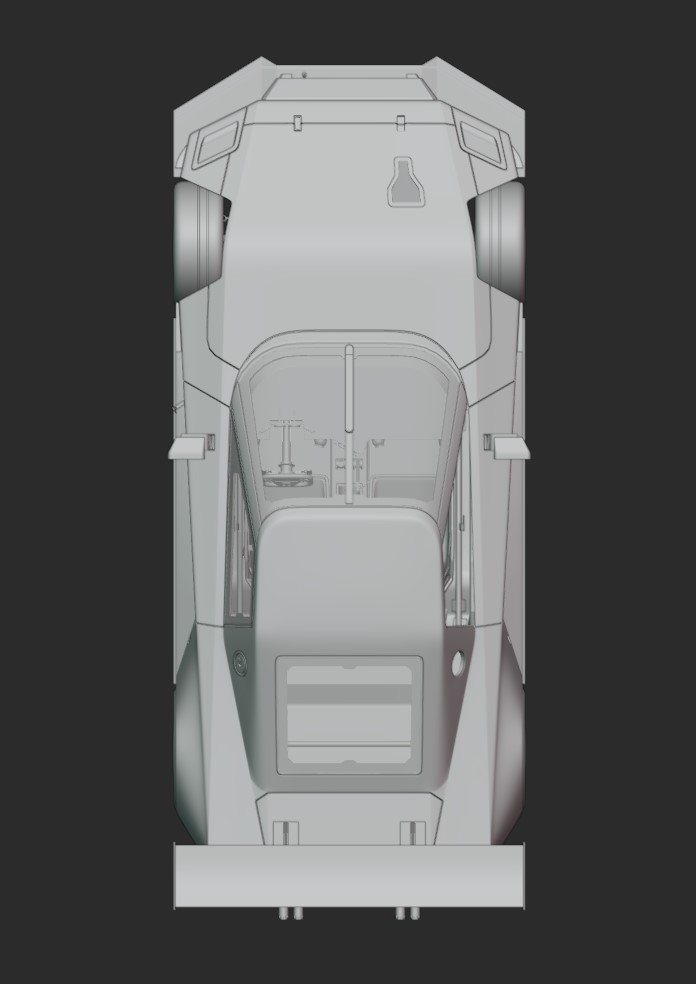
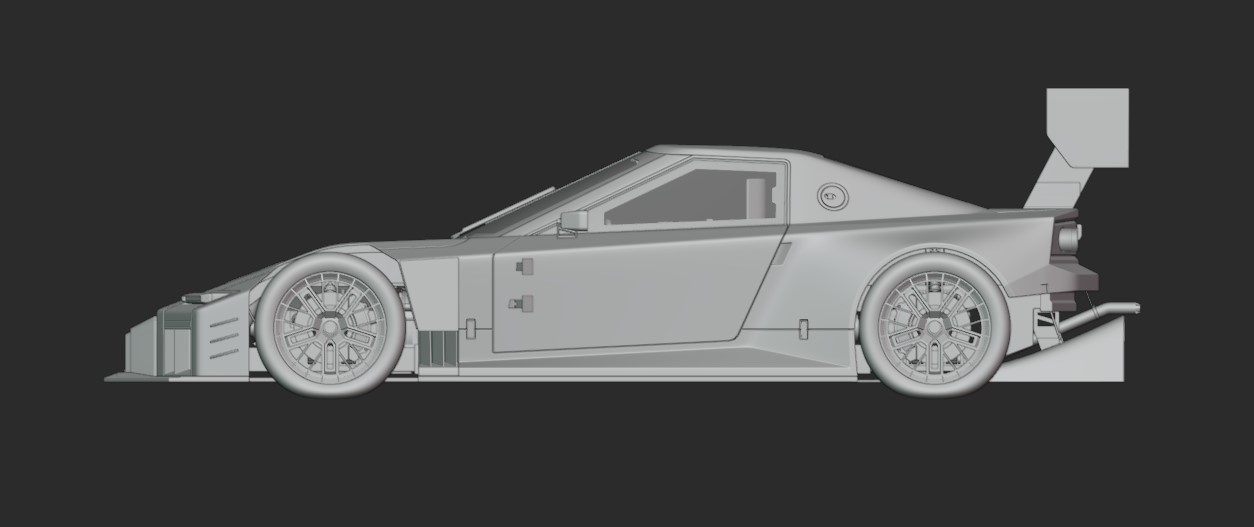
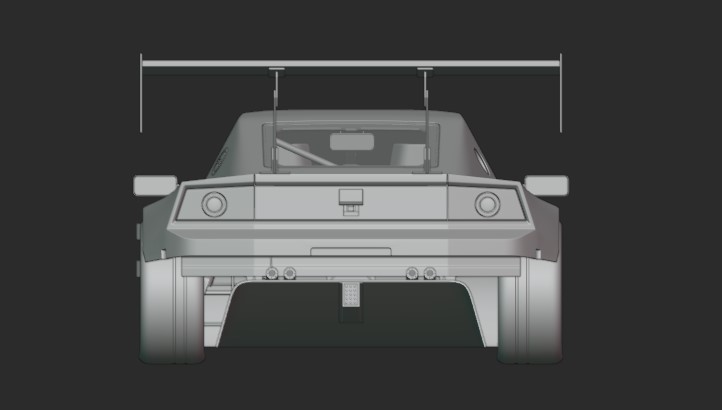
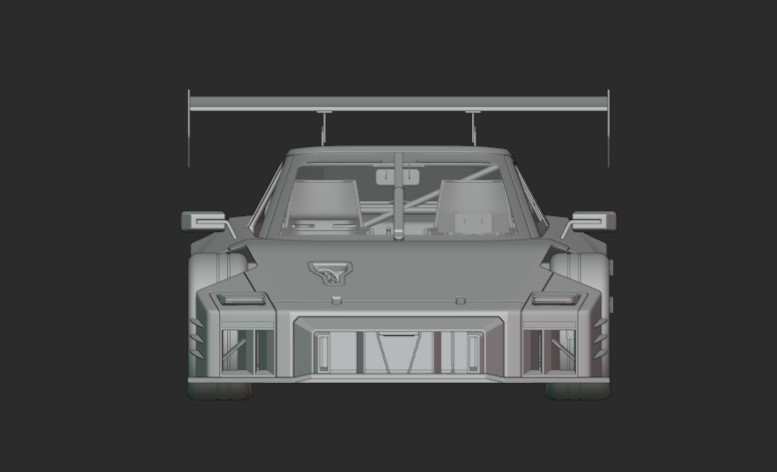
orto view:

generic shots:

headlight issue:

3 Likes

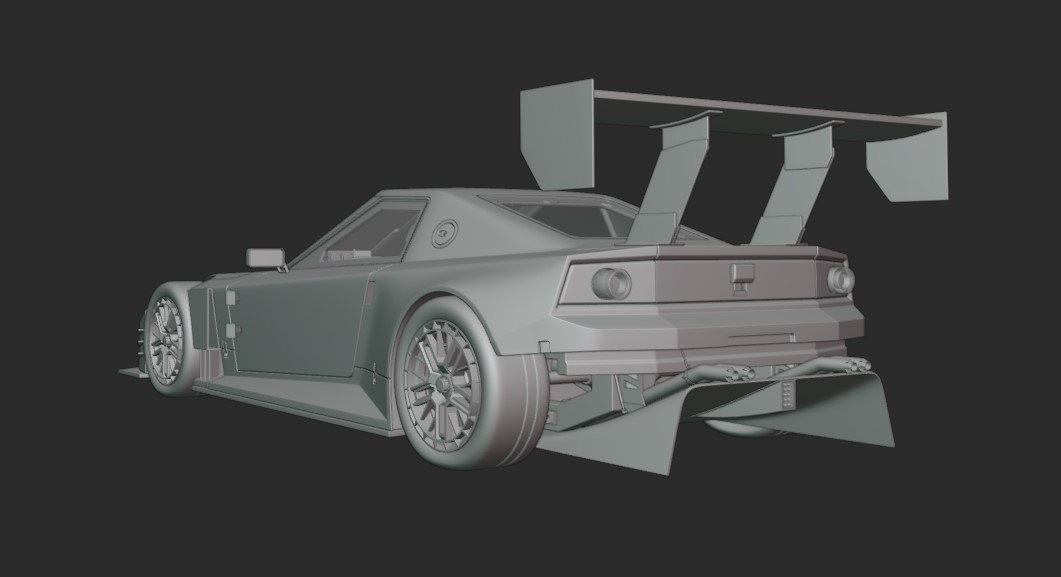
Here’s third and final attempt:

Exterior

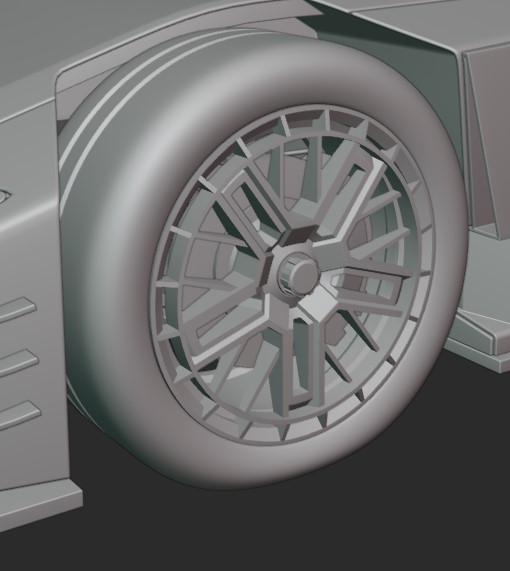
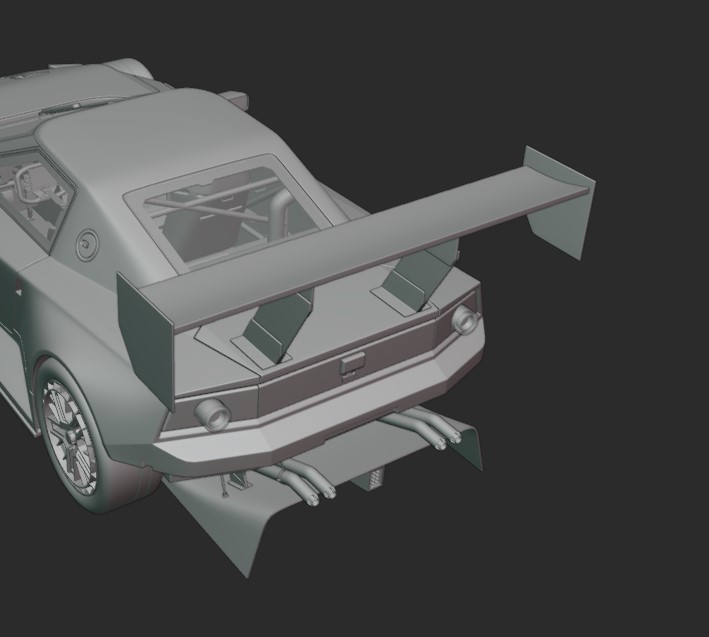
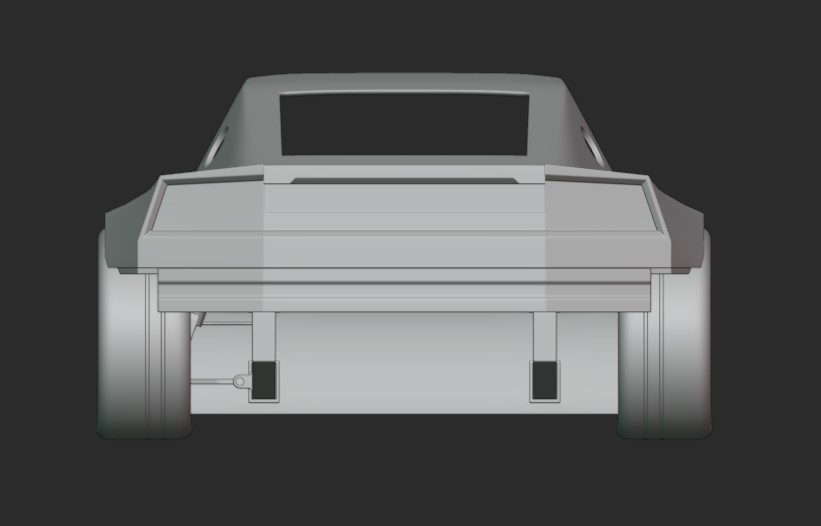
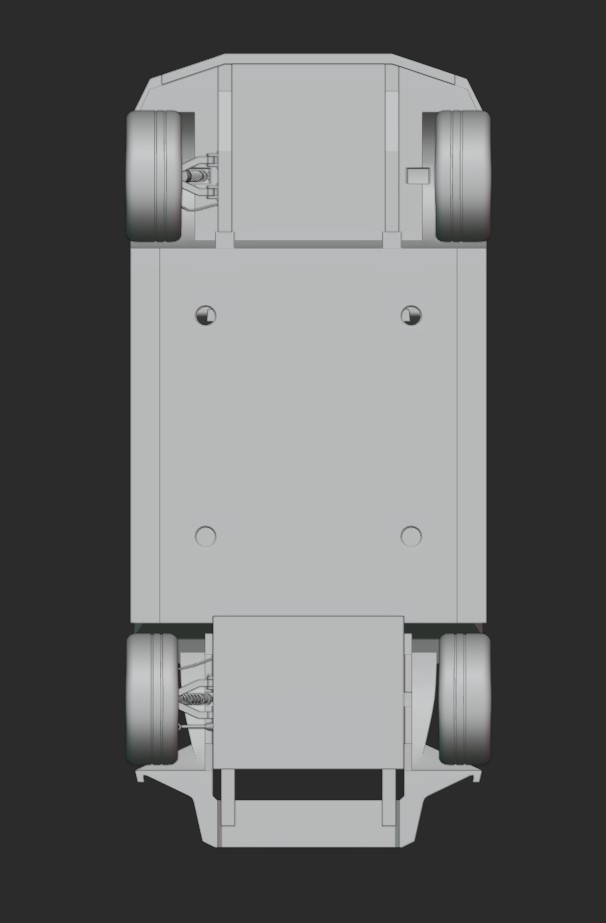
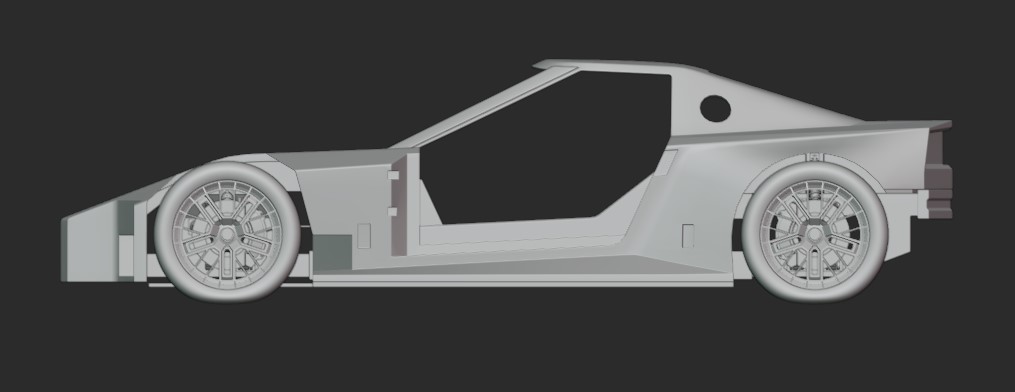
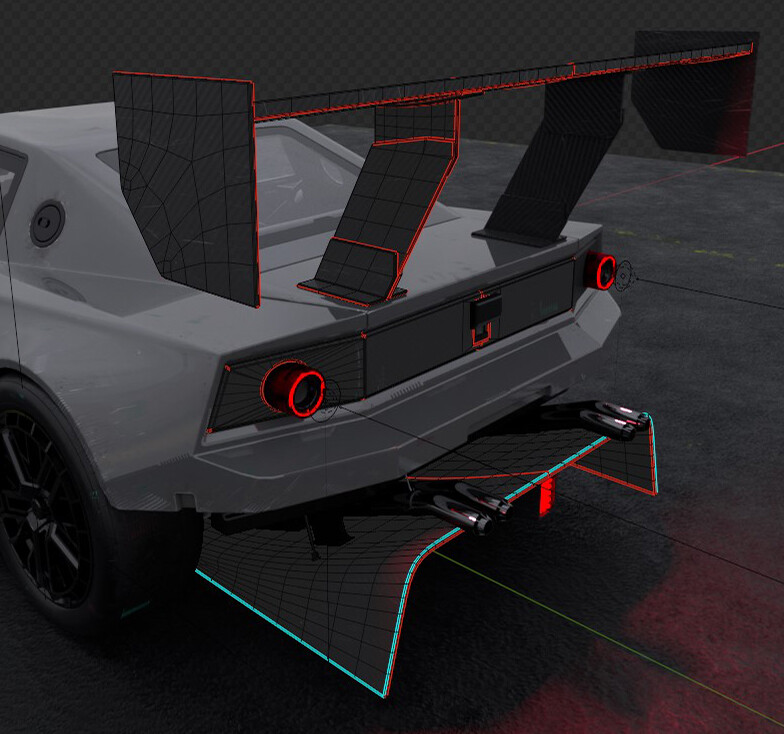
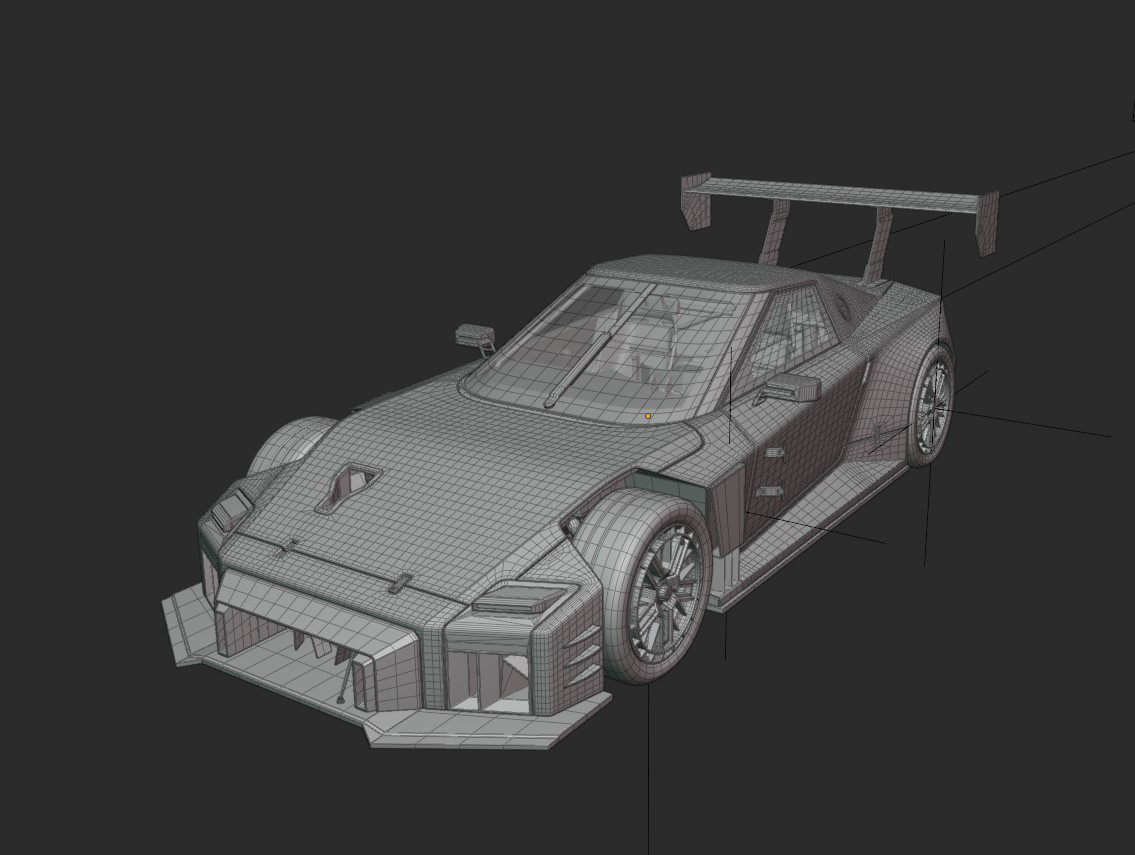
I’ve tied up all the small details compared to v2, added elements related to time attack, fixed the issue with headlights, simplified a lot of elements. Now rims, spoiler, front and rear bumper looks exactly how I’ve wanted:

orto view:

perspective:

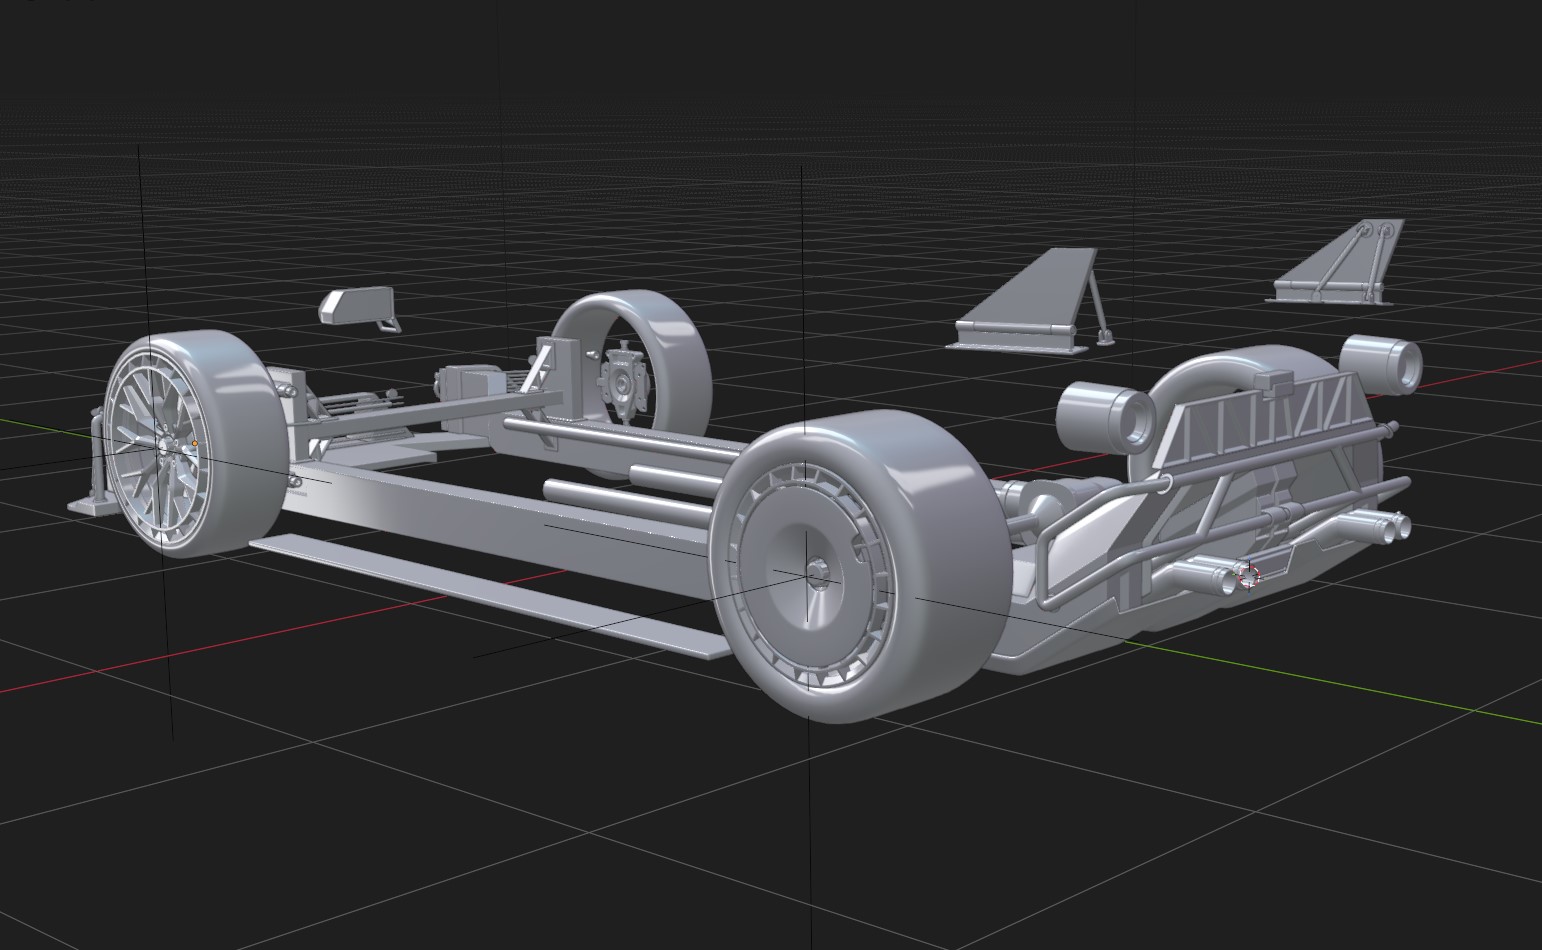
Carbon tub and chassis:

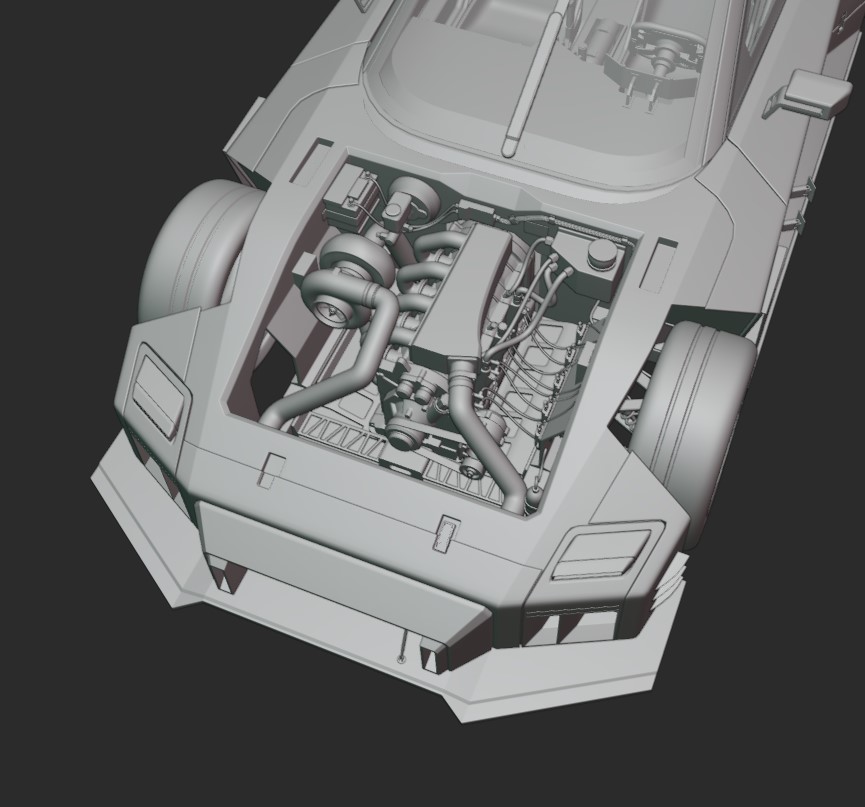
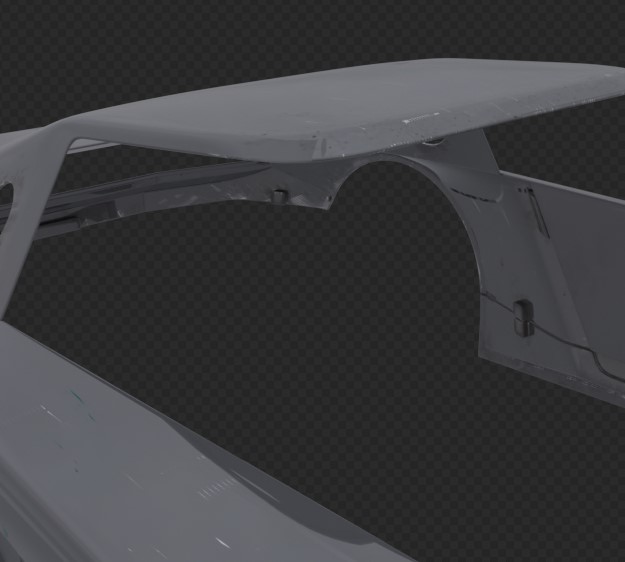
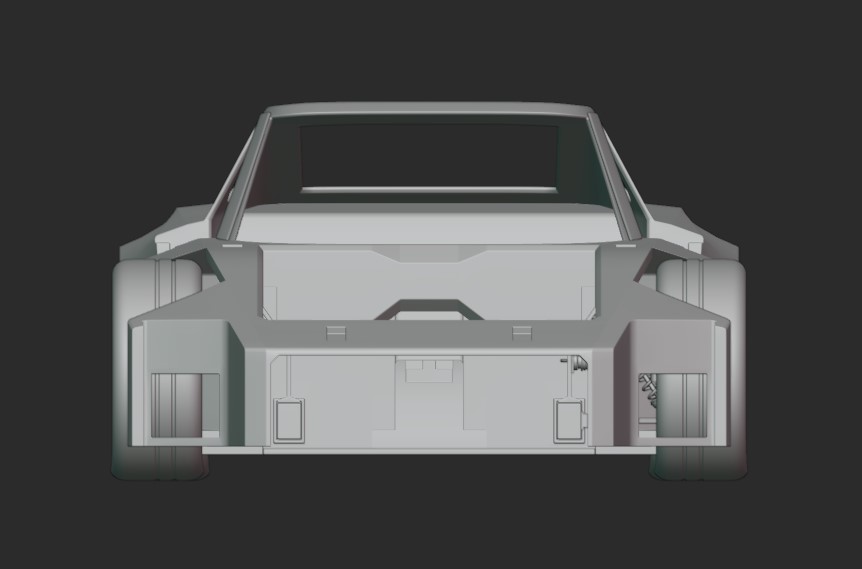
Should be first really, since it’s a foundation for any car. But I’ve started from exterior first so… Carbon tub itself really simple: i’ve just cutout the parts of the shell from the main body of a car, shrinkwraped it with offset, then modelled missing parts(like enginge bay, trunk, holders for chassis, interior, etc) and added some extrusions for headlights and taillight bar at the rear.

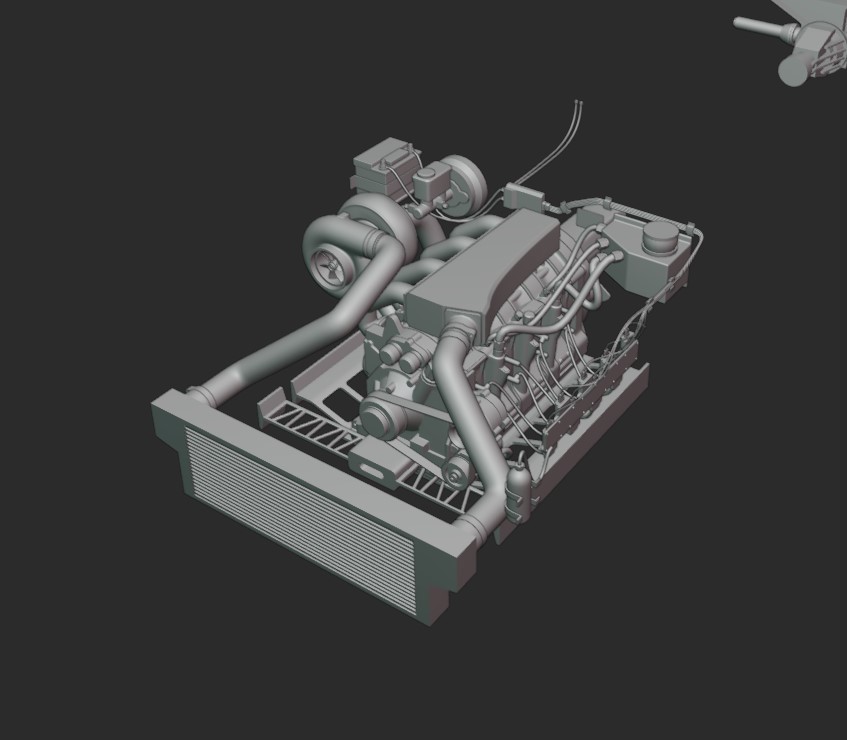
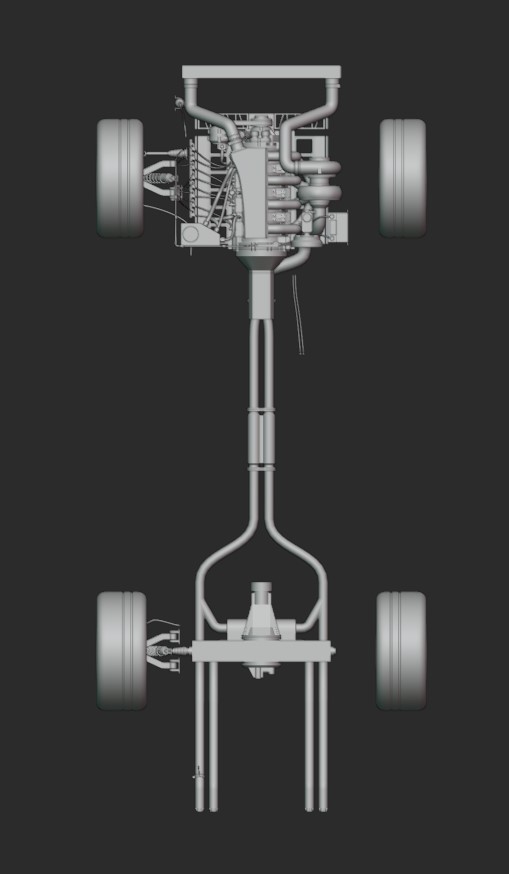
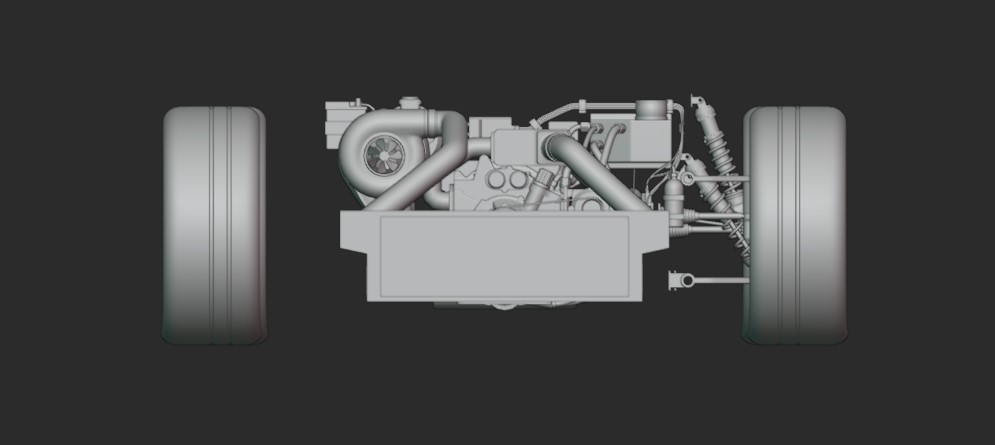
Engine, exhaust and drive train:

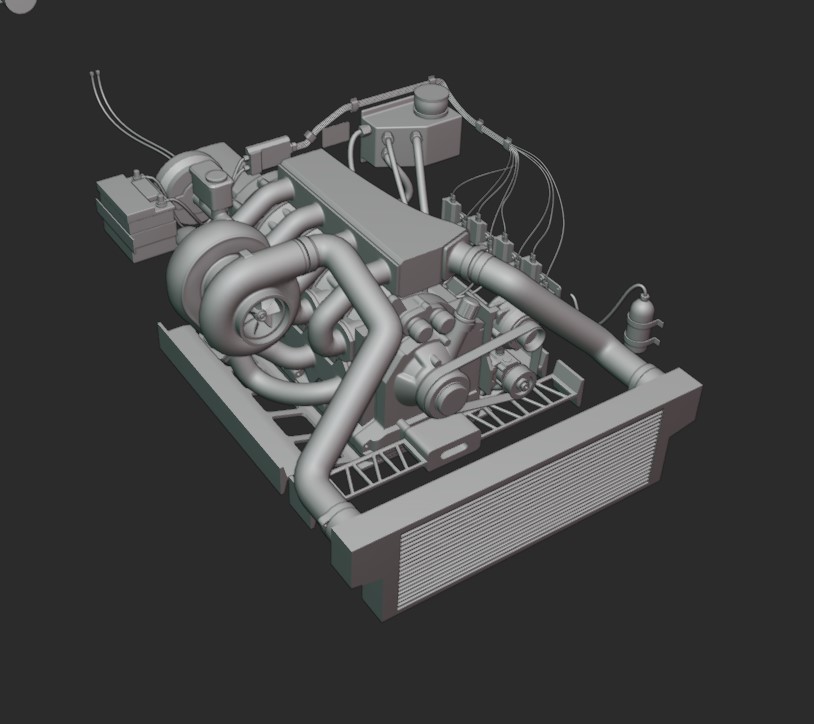
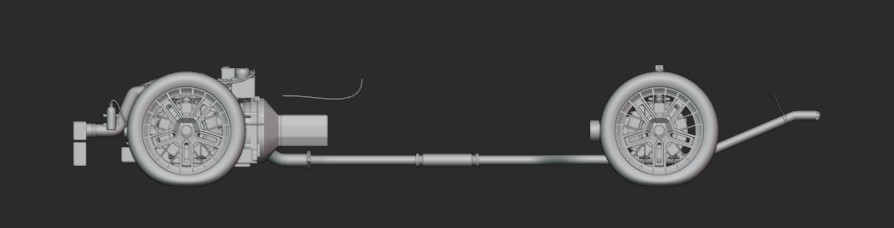
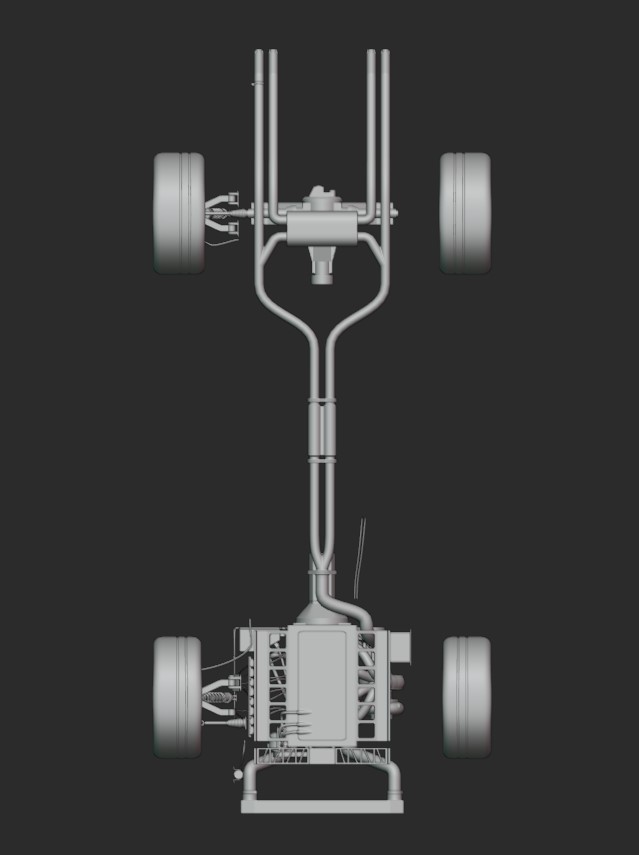
SInce I did’nt want to create just an empty shell of a car, I had to model an engine, exhaust, drivetrain, suspension etc. And in the end, considering some parts of the car exposed(front fenders, rear bumper) it’s really cool to see something in there, not just proxy meshes or light blockers.

Had to really dug deep and watch through yt videos in order to find all the references and figure out how it works

In terms of topology: most of it sub-d, but some meshes which I know won’t require sub-d in the future were made with high-to-low-poly in mind(this is relevant not only to engine but to whole car)

26B rotary engine with turbo:

whole system:

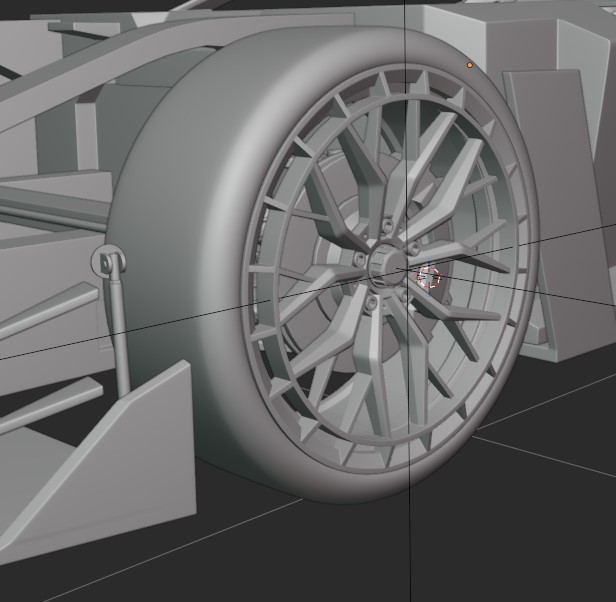
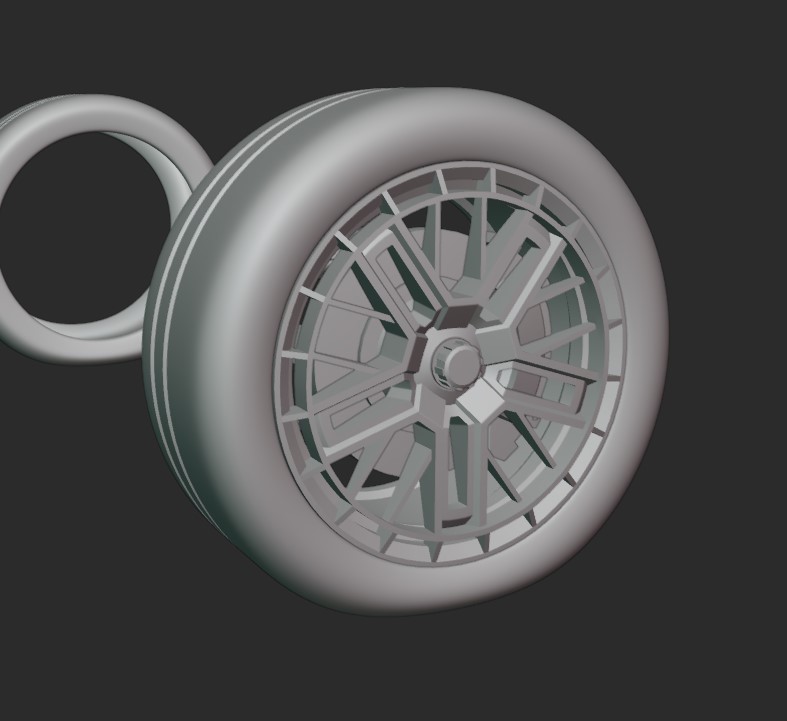
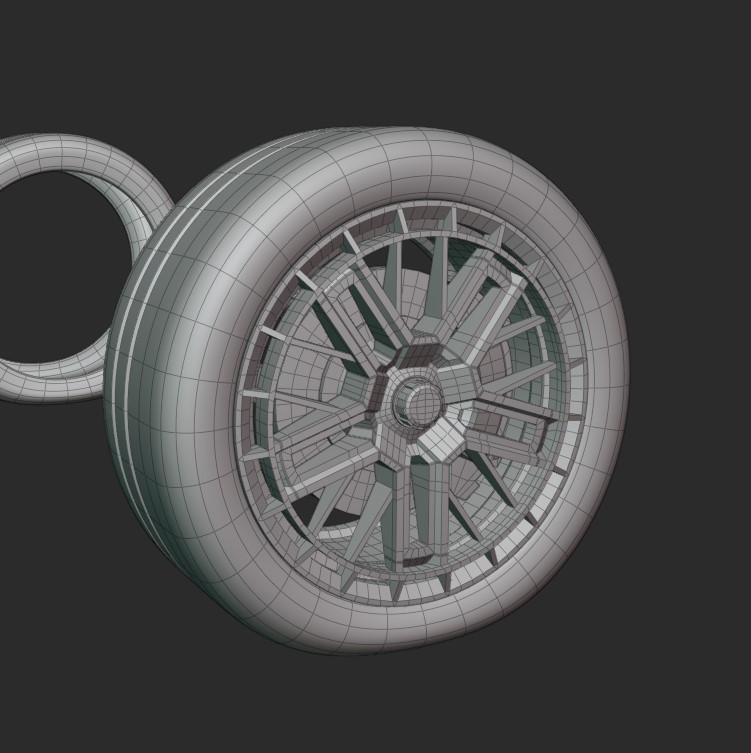
Wheels:

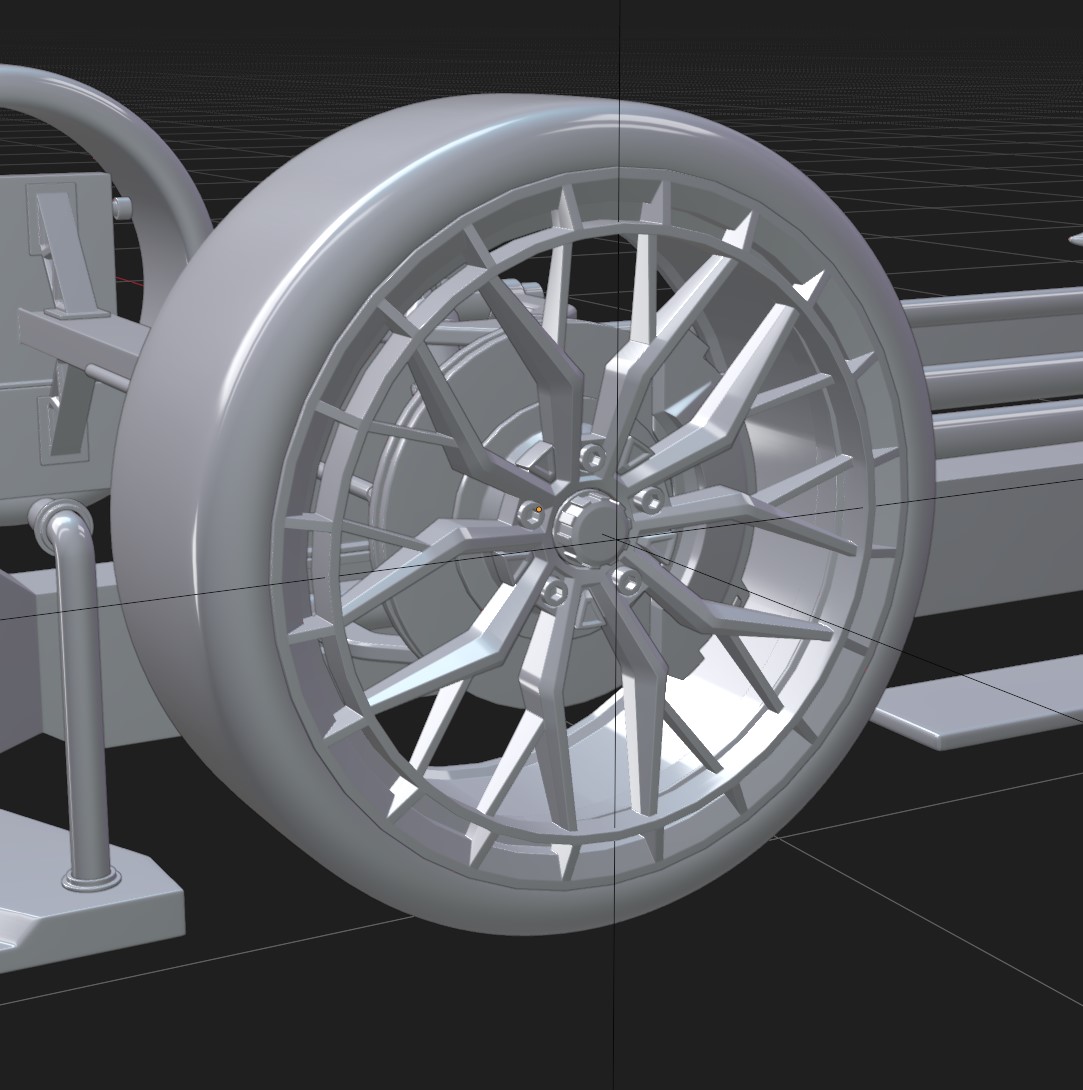
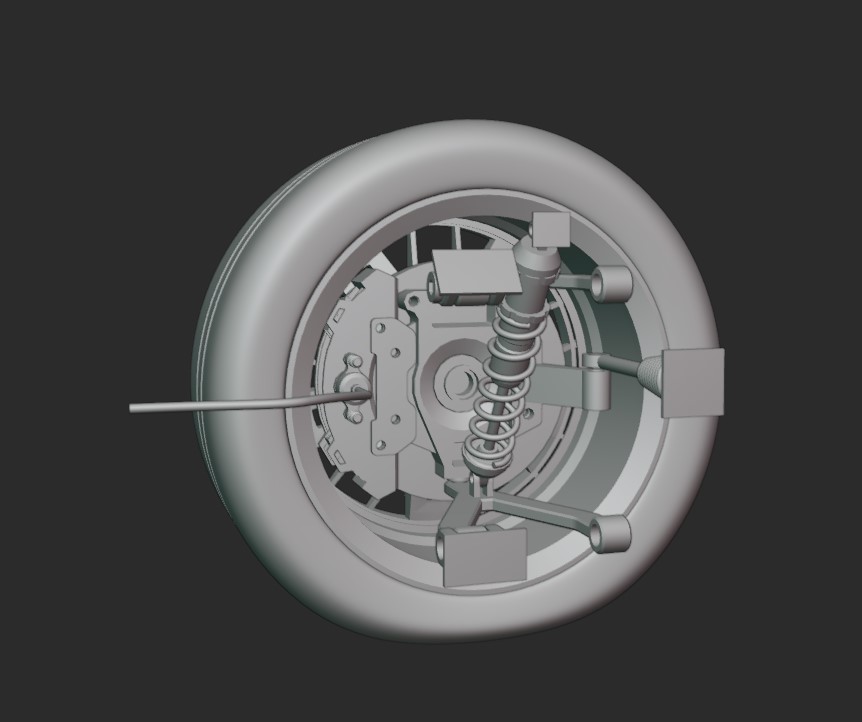
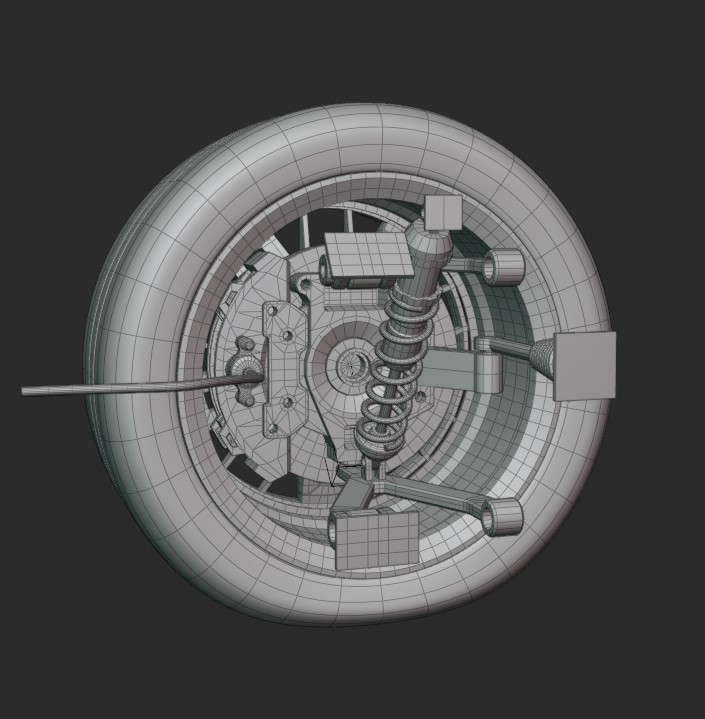
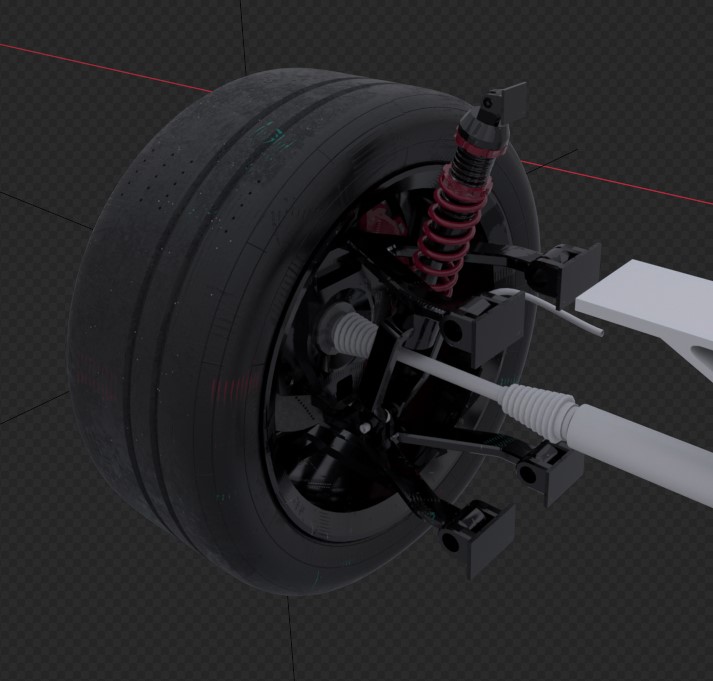
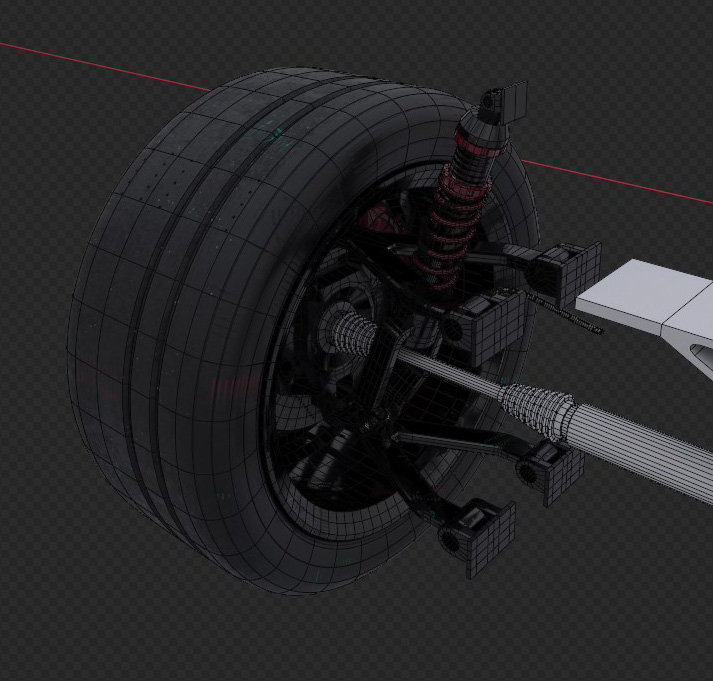
In terms of design finally reached the result I’ve wanted: sharp edges without the bevel, small corner radius, etc. Squished tire at the bottom with a Lattice modifier to give it some weight. Suspension is the most basic, and works on both front and rear wheels with drivetrain. It was original plan in order to save some uv space later.

Interior:

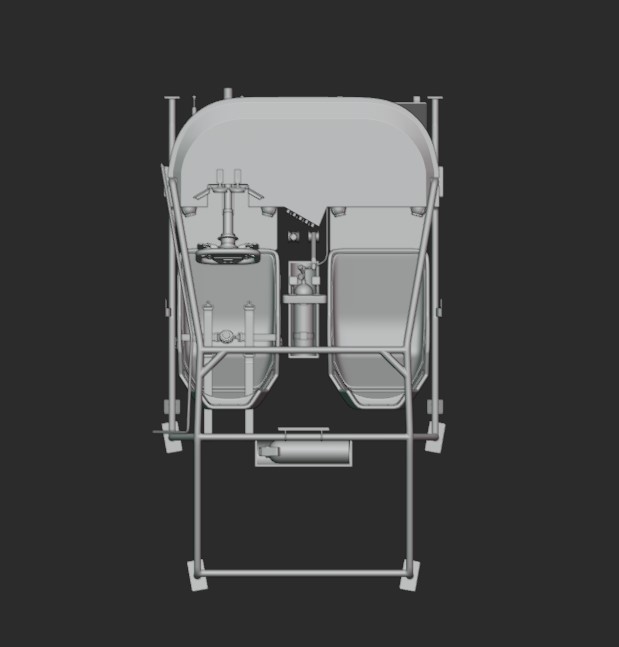
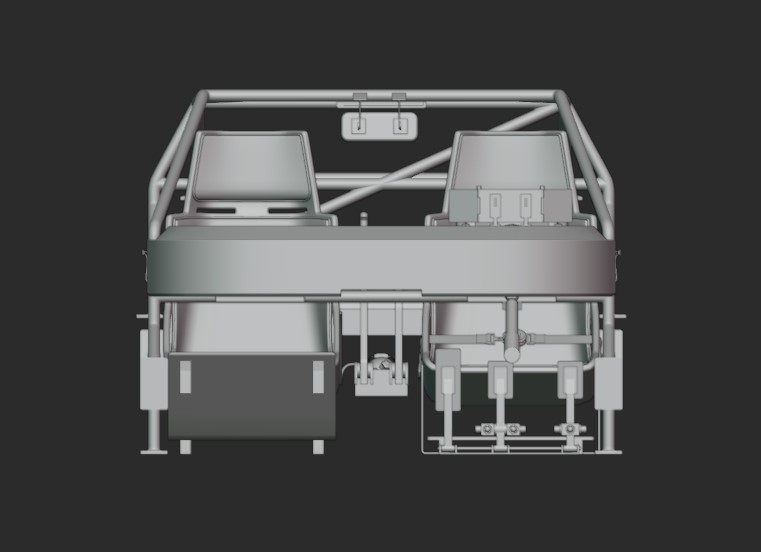
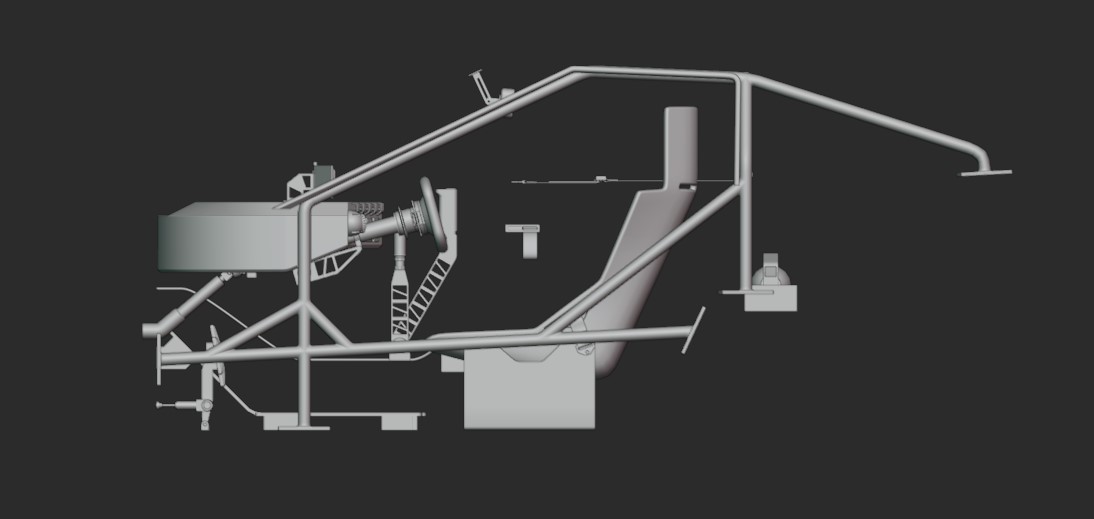
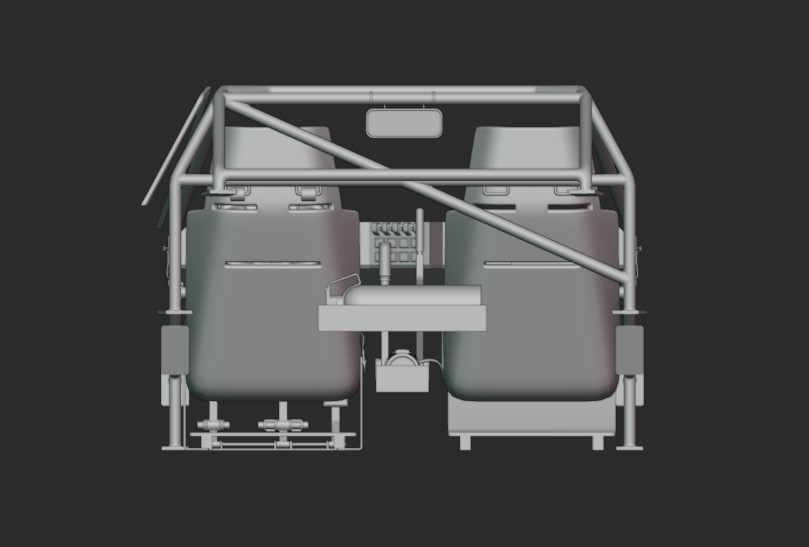
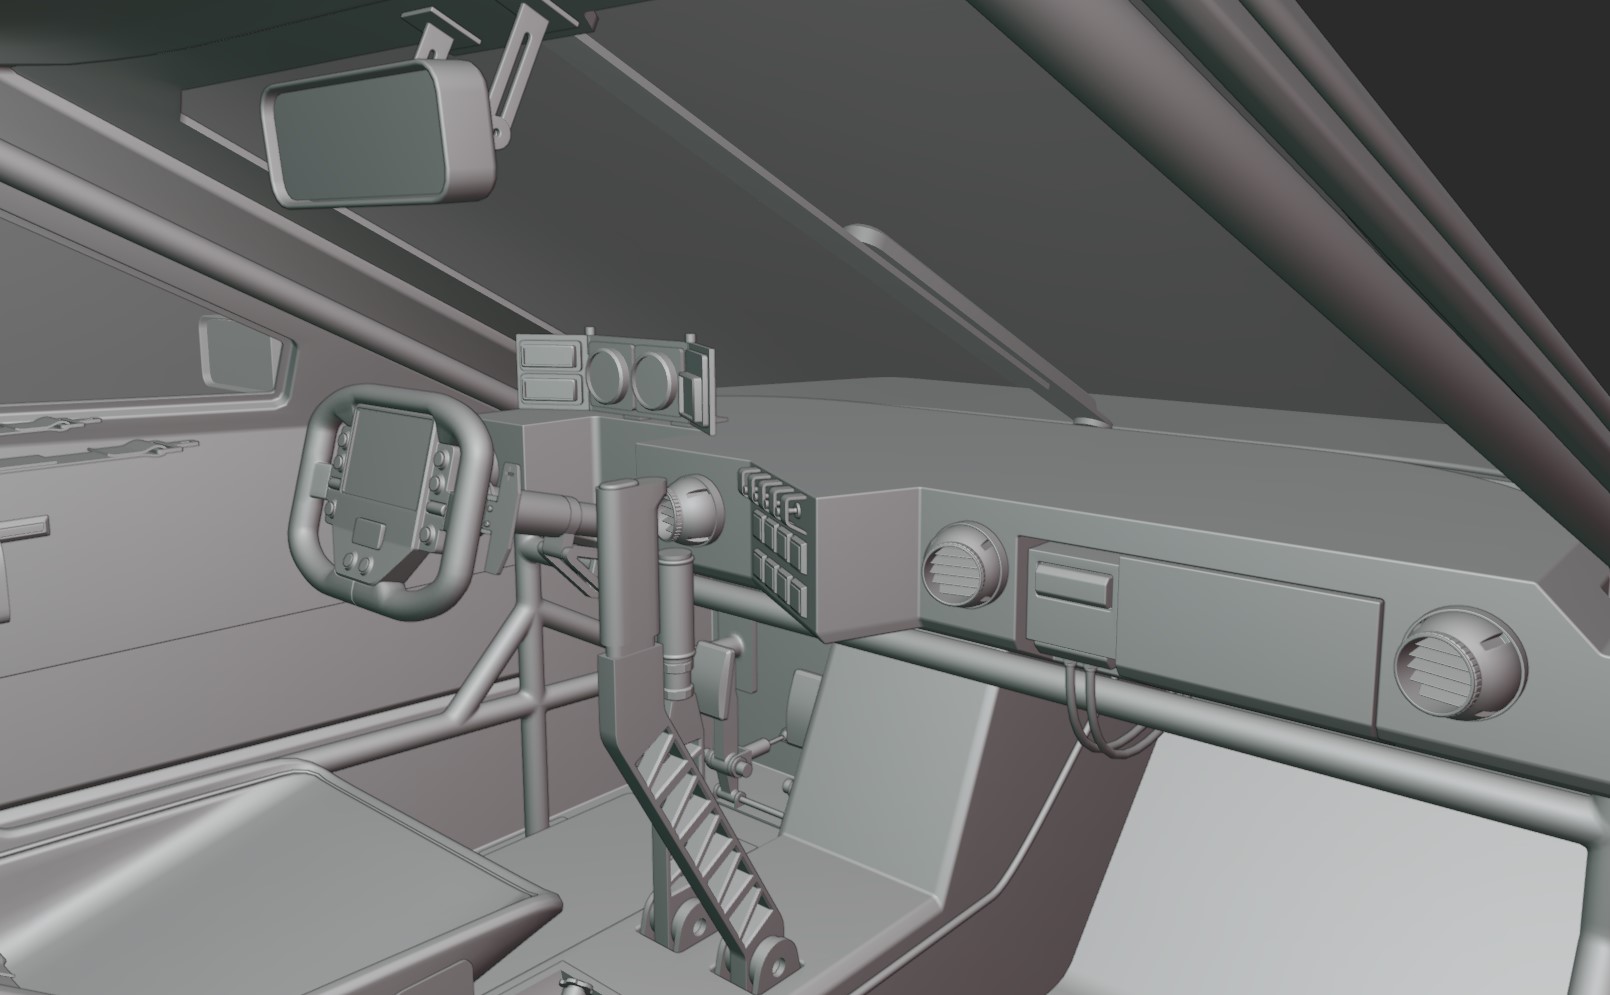
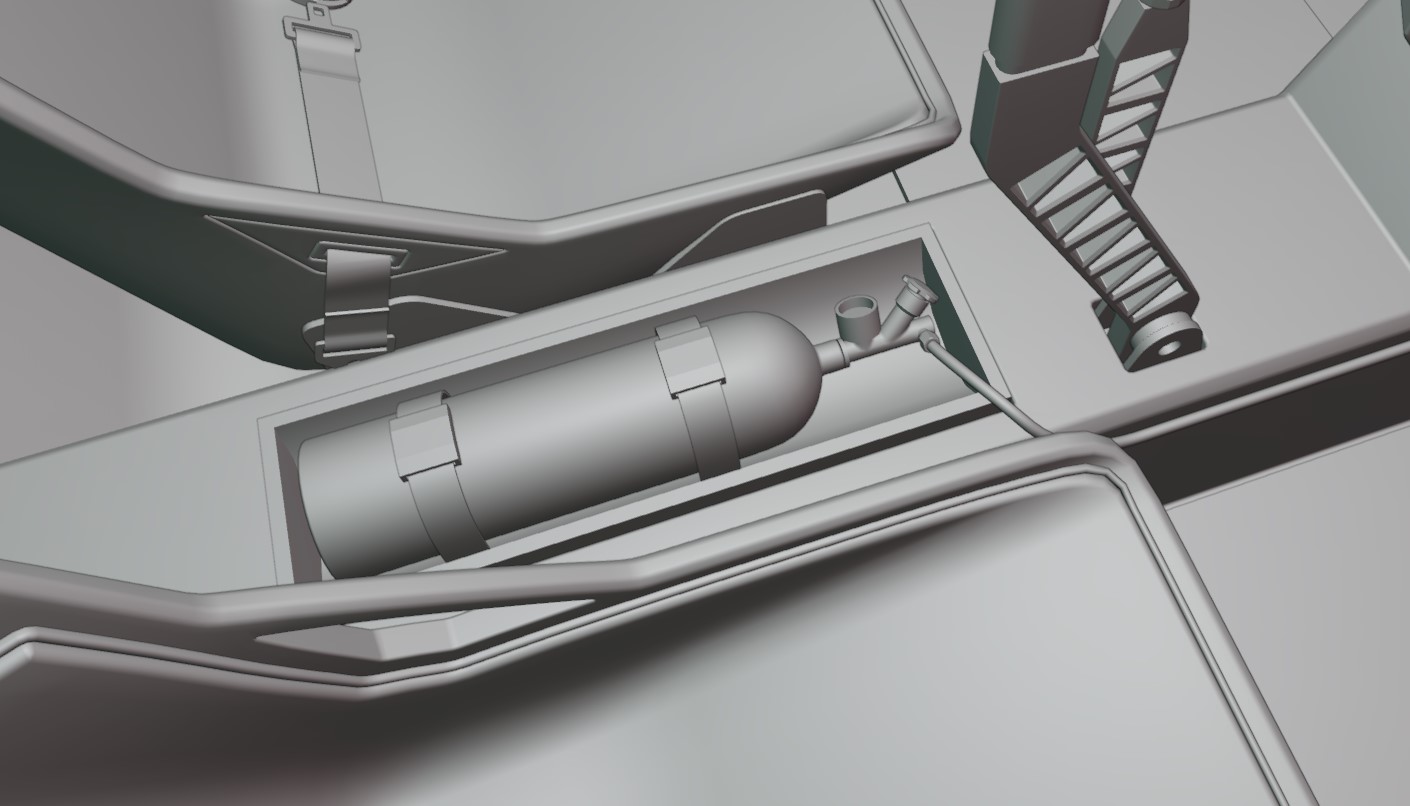
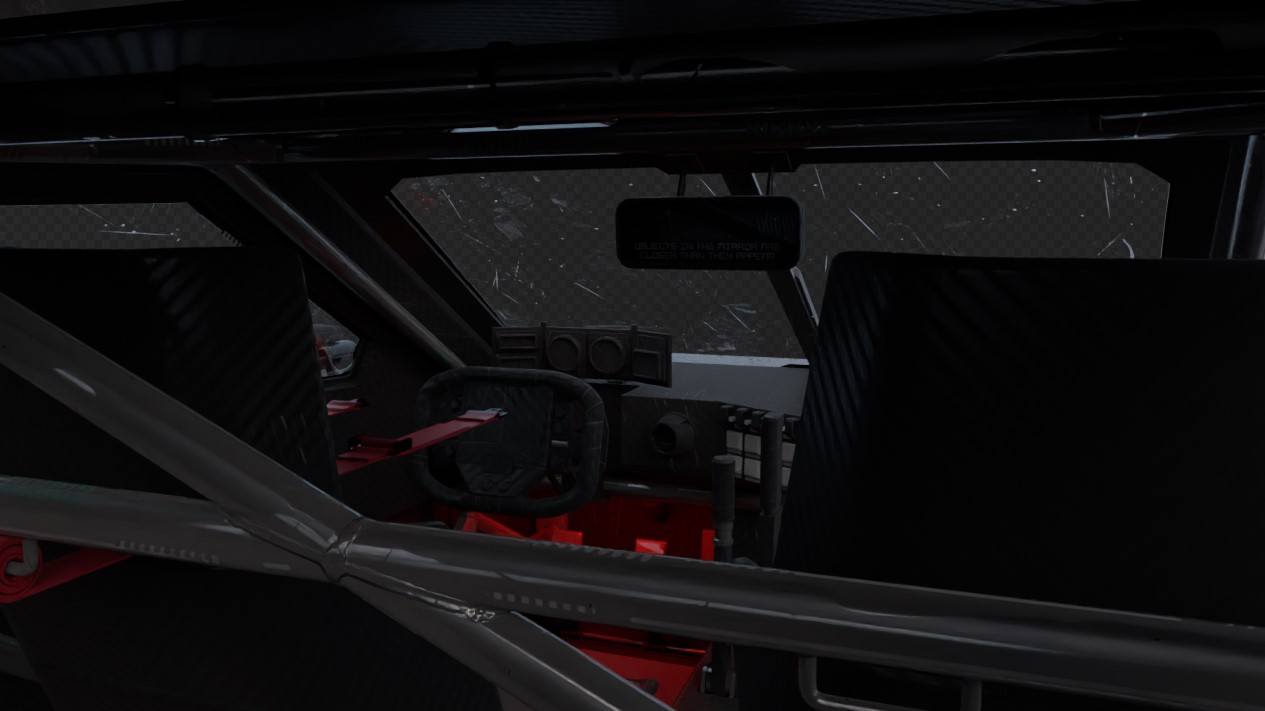
Interior is really simple. Since it’s a race car, I’ve wanted it to have a utilitarian feeling. Roll cage, couple bucket seats, simple dashboard, gear stick, handbrake, pedals and a wheel, nos can, fireextinguisher, ac. Nothing extra.

whole package:

Individual shots:

3 Likes

crazy work. crazy.

2 Likes

Thank you! This car took a lot of time and there’s still a long way to go, but really appreciate it! :handshake:

2 Likes

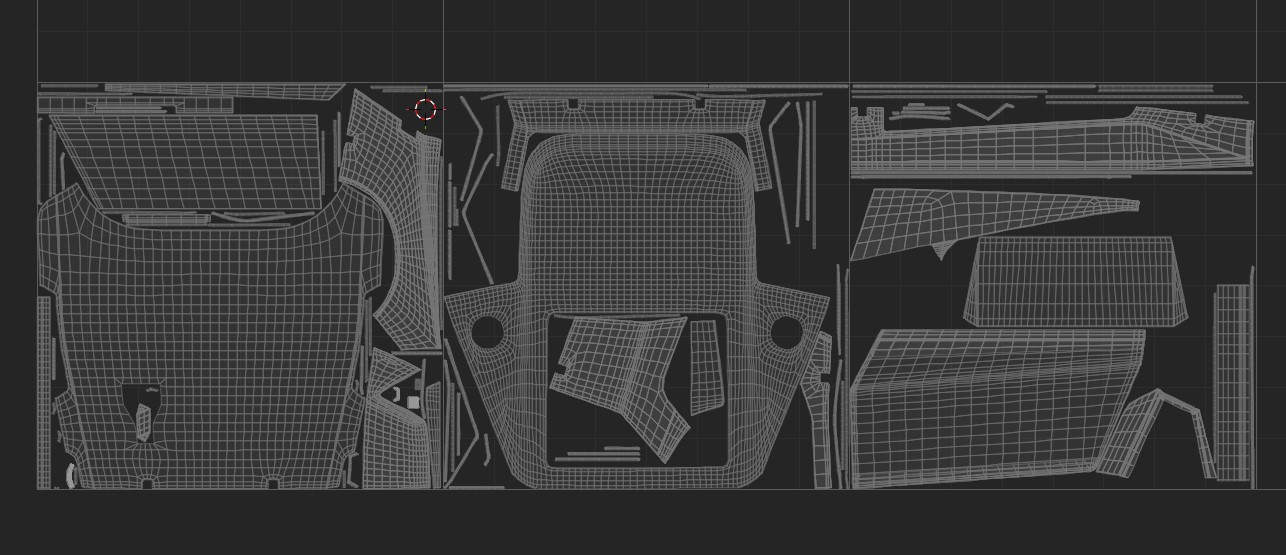
Something I wasn’t looking forward to is uv unwrapping, but if you wanna have hand painted textures, there is no other way, unfortunately. So, here we go:

In terms of texel density, I’ve set 2048 px/m on 4096px texture. It’s perfect balance in terms of quality and amount of memory it takes for what I’m trying to achieve. Otherwise I had to cut some panels in half(roof for example) and i really didn’t wanna deal with this.

Exterior body panels:

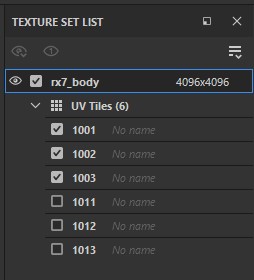
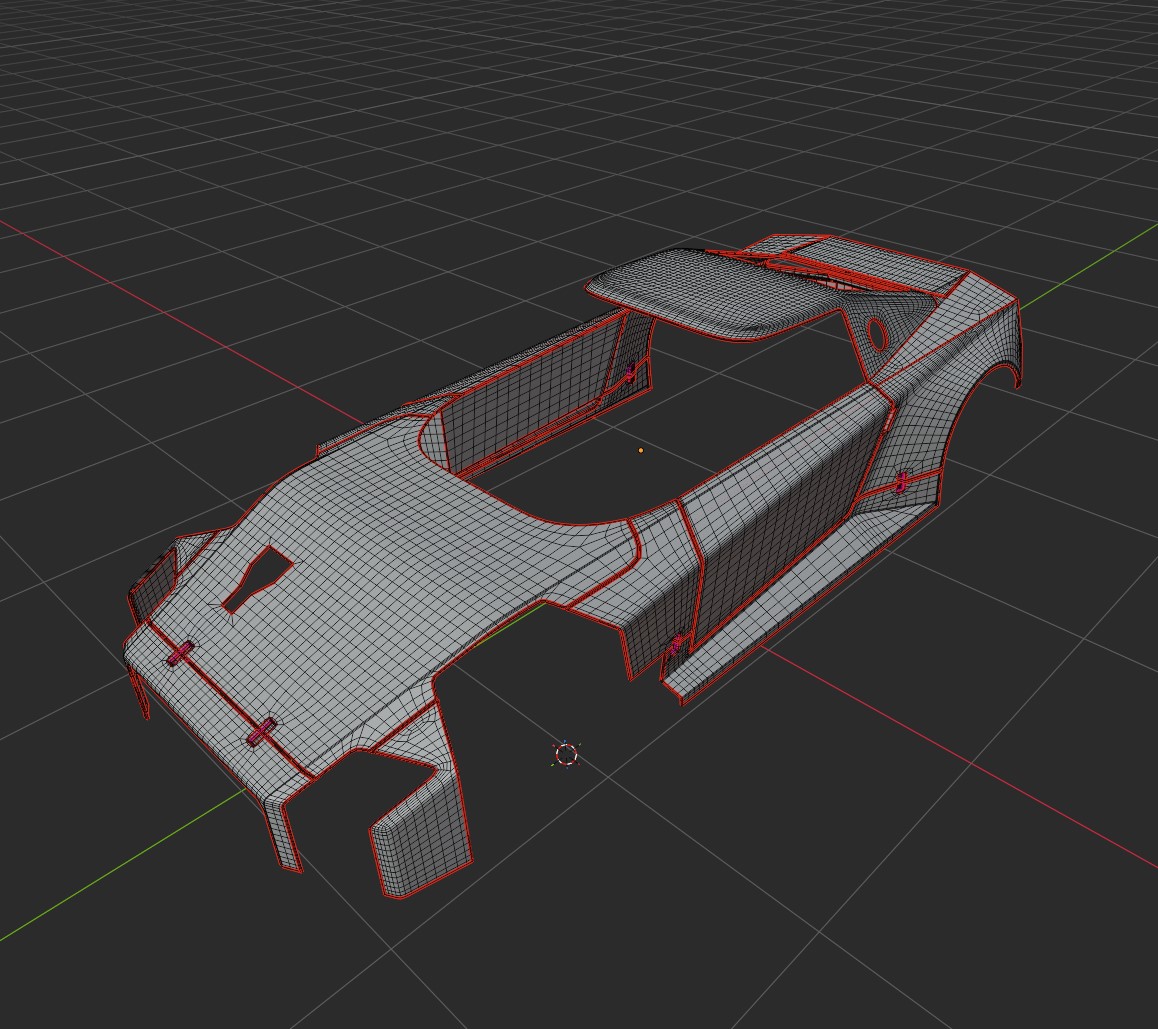
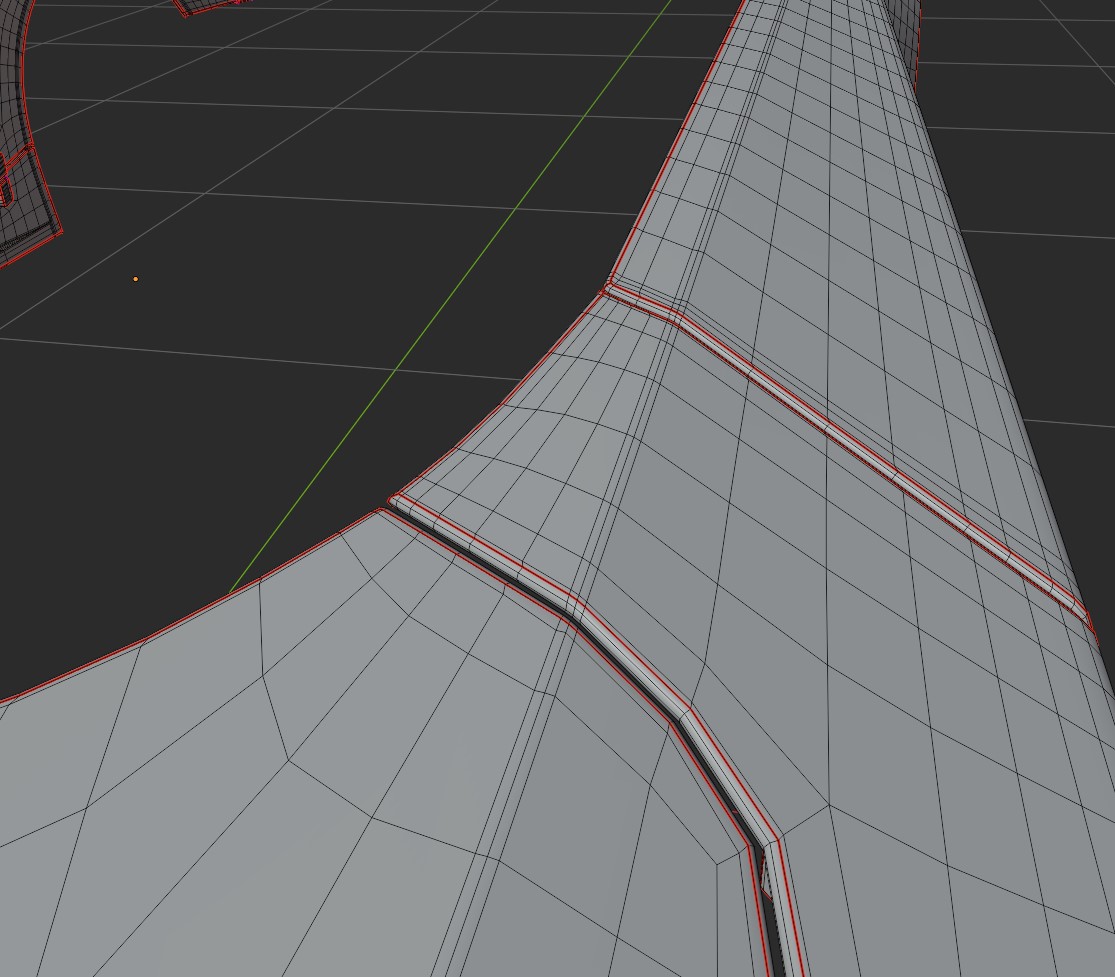
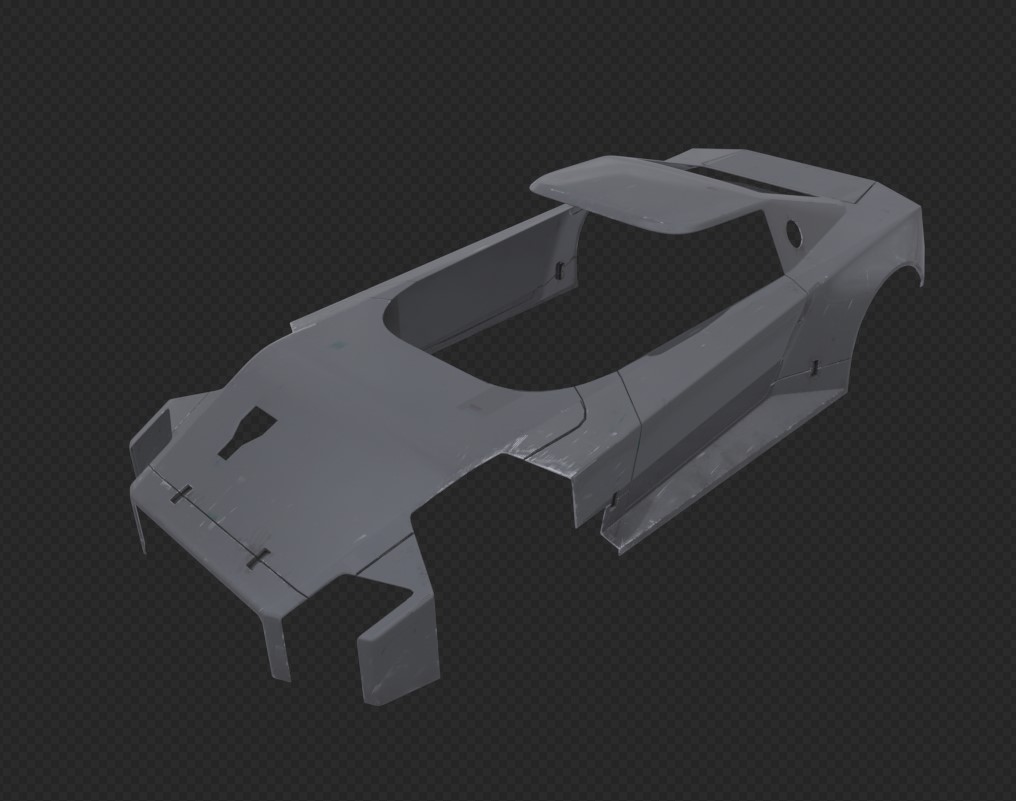
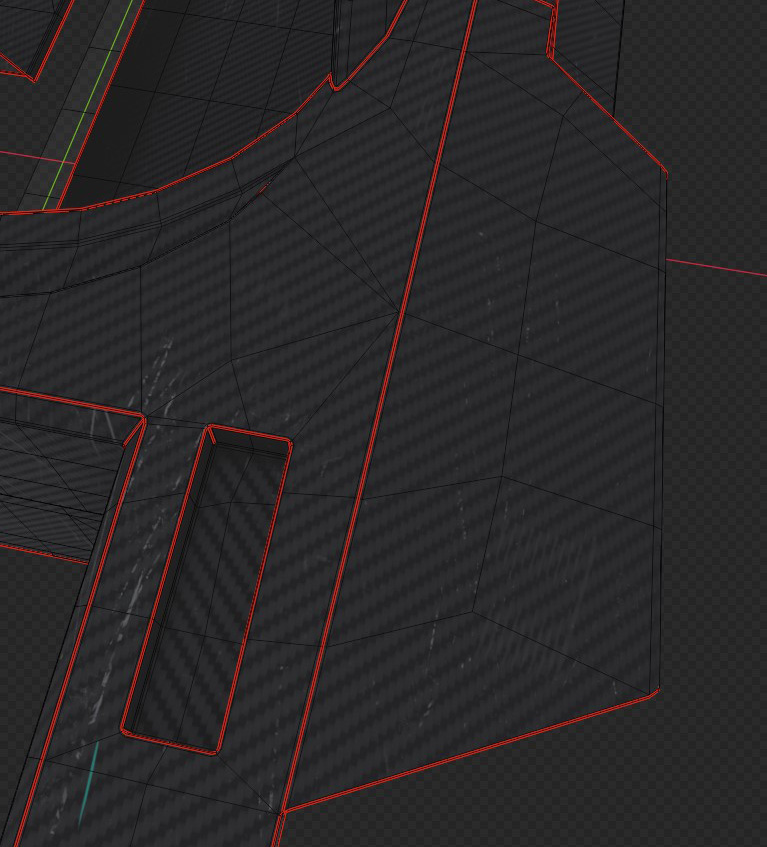
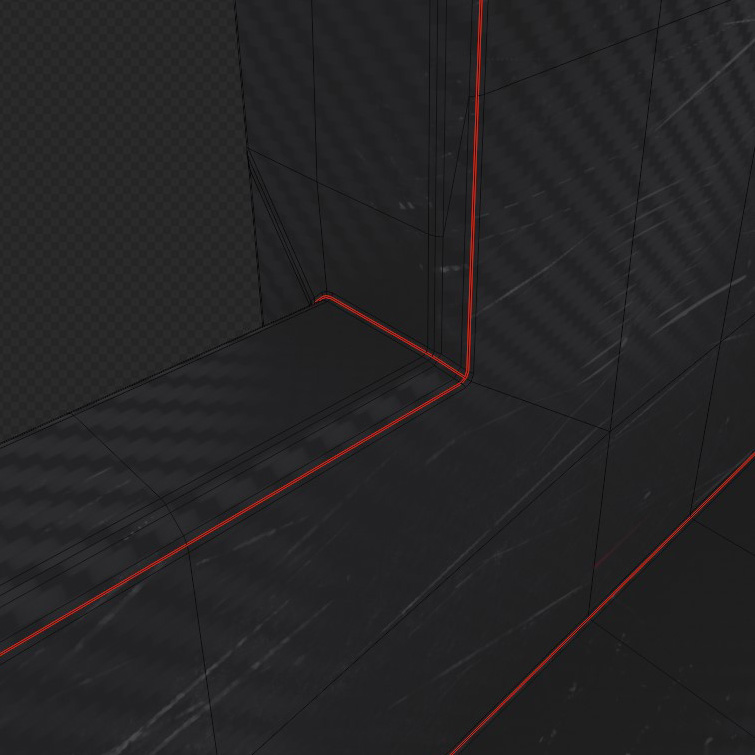
Body panels on this car have thickness but backside of them is never gonna be seen, so there is no reason to spent UV space and time texturing them. I’ve used UVPackmaster addon to stack and pack them. When I was exporting the mesh to Substance Painter I’ve unstacked everything(image 1), otherwise substance will bake passes on the same place in UV twice or more times(depending how many copies you’ve stacked) and in substance I’ve just disabled 3 top UDIMs while baking, which I’m not gonna texture(since they just a copy essentially)(image 2). After export is done I bring textures back to their original place since tiling not really working with UDIMs (image 3). And here’s UV seams in case someone interested(image 4 and 5)

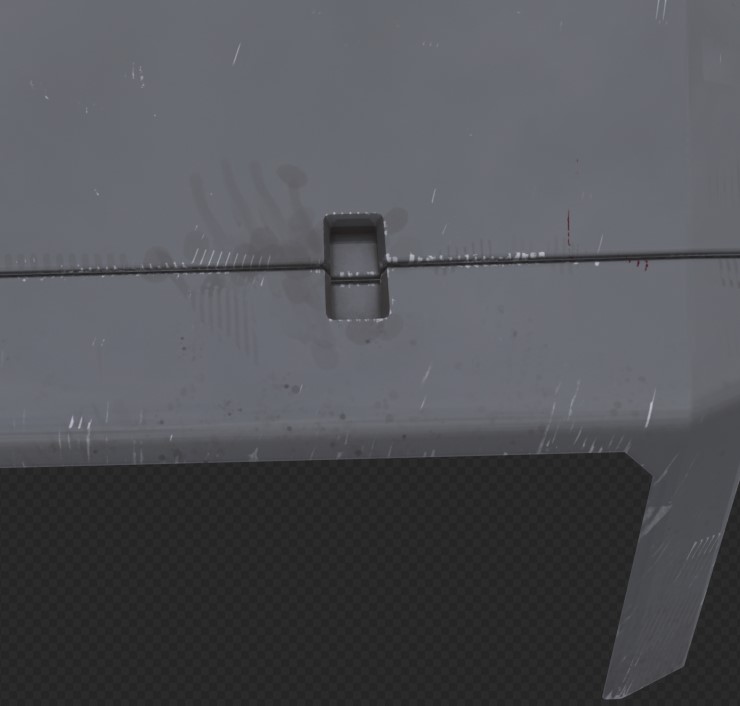
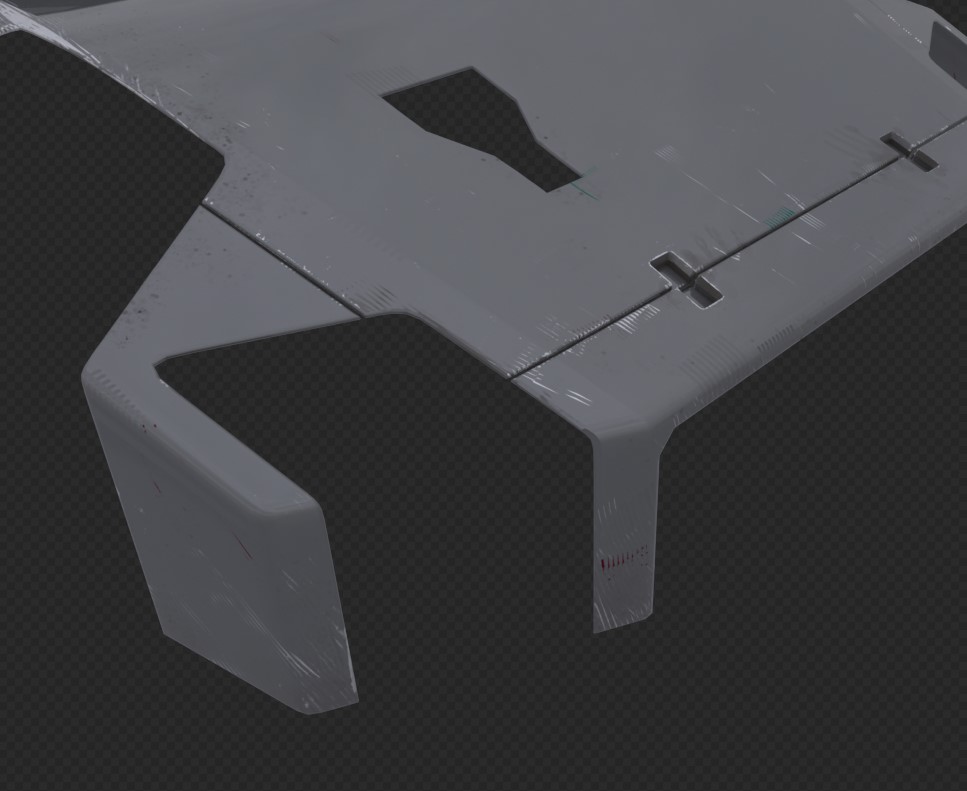
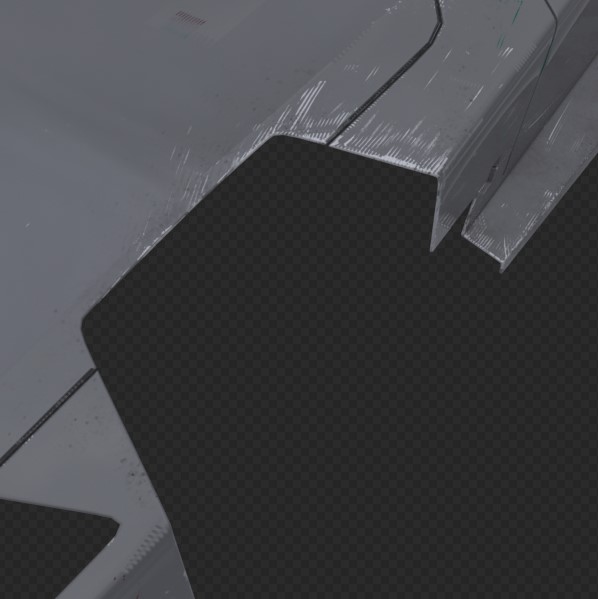
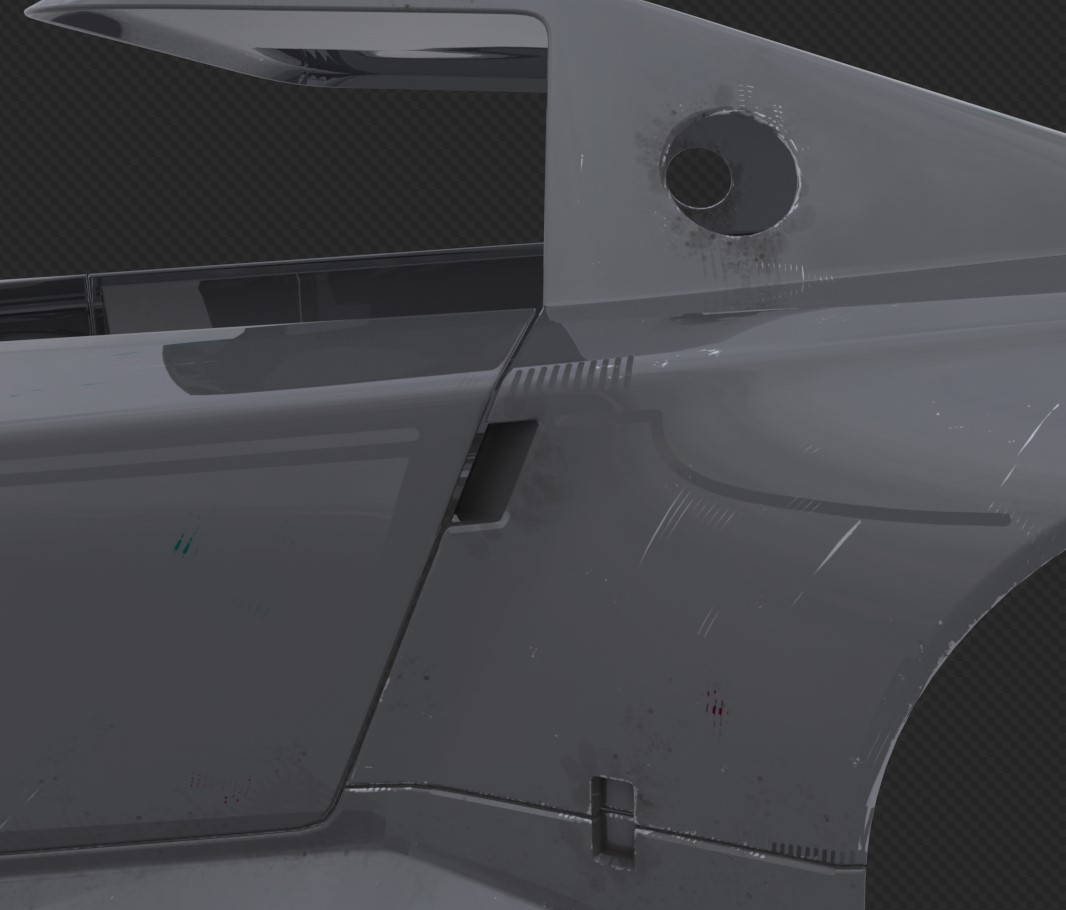
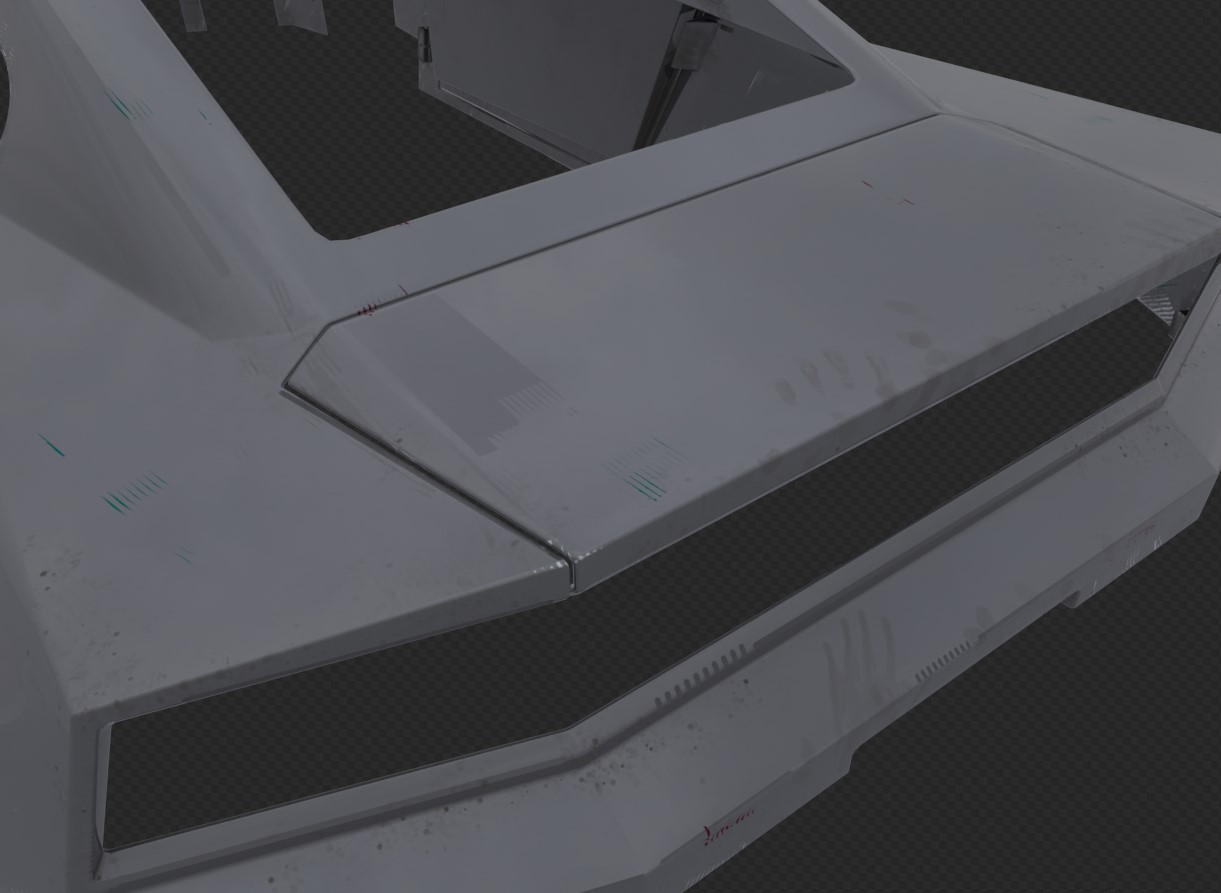
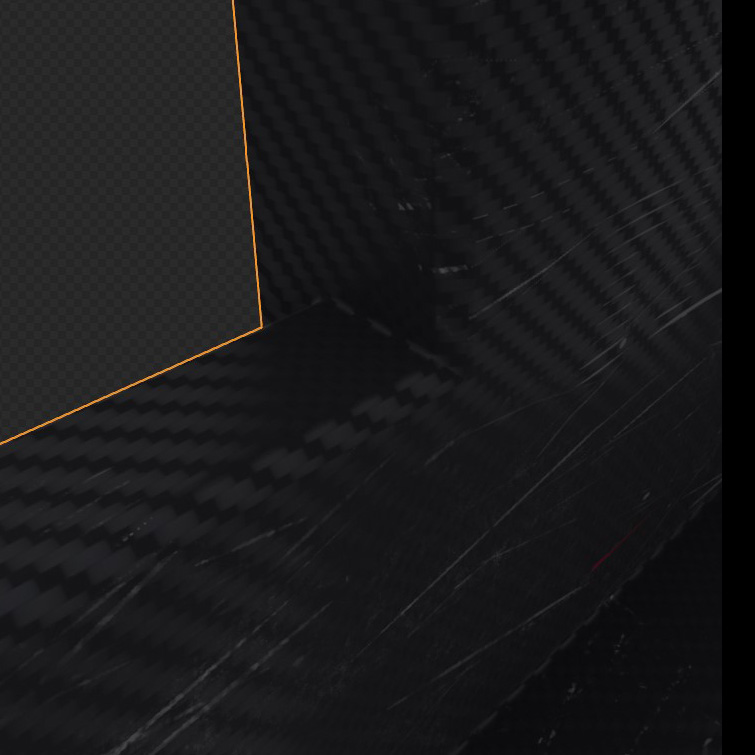
In terms of texturing it’s really straightforward and basic. Almost every texture painted or placed by hand(except specific things like fingerprints(it’s just a texture which comes with SP)). I’ve used Very Normal Paint addon to add some hand painted normals in some places of the mesh. Usually when people texture stylized stuff, they completely handpaint whole model, but I didn’t want to completely ruin PBR, so I’ve used it very sparingly in strategic places where form changes direction.(image5 handpainted normal on the edge of the roof, image 6 handpainted normal on the side of the door and fender, image 9 handpainted normal on corner of rear bumper(rike brush)). One of the reason’s why i’ve separated thickness of body panels into a seprate islands is so I’ve had an ability to paint a hard edge with handpainted normals later(image 8).

Here some examples:

3 Likes

Wowza so much detail love it and cant wait to see more!

1 Like

Thank you! Me too :sweat_smile:

Carbon Fiber panels

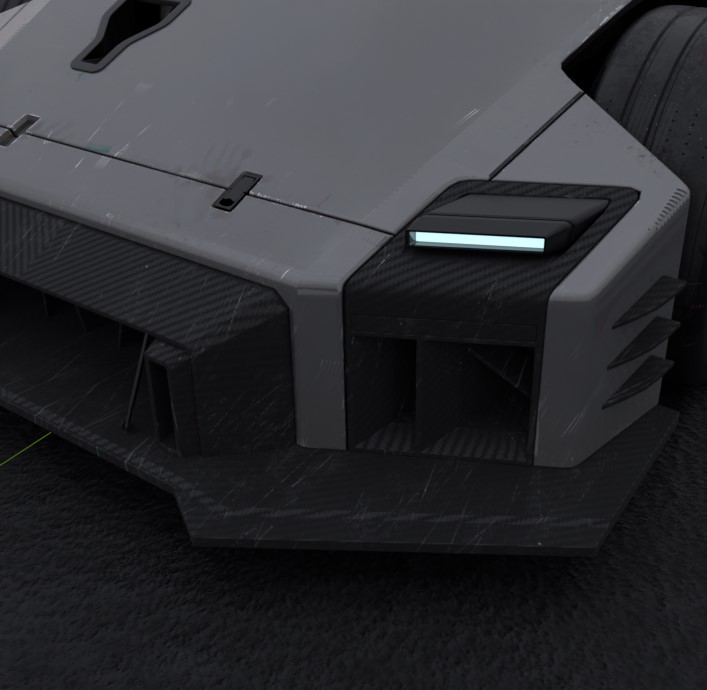
Since carbon fiber has a visible weave pattern, and I want to keep that pattern continuous across each panel (just like on real production cars), I had to unwrap everything accordingly. I can’t stack the front side of a panel on top of the back side, even if they perfectly match, because it would break the weave direction. However, because I want the pattern to have a V-shape, I can mirror one side onto the other. That introduces another challenge: the symmetry becomes easily noticeable. Taking all of this into account, the unwrapping ended up requiring around 12 UDIMs, which might be acceptable for a large production, but I still have to render this car on my own PC, so I need to find a more efficient solution.
I’ve splitted all carbon parts into 3 groups:

  • Exterior parts
  • Carbon tub
  • Interior parts

So, the most effective way to solve this is by using trim sheets. This approach fixes all of the problems above: it allows me to create V-shaped weave patterns by mirroring UV islands along the X-axis, lets me texture as many objects as I need using a single texture set, and allows me to use the Mirror modifier with a UV offset so the texture itself isn’t mirrored.

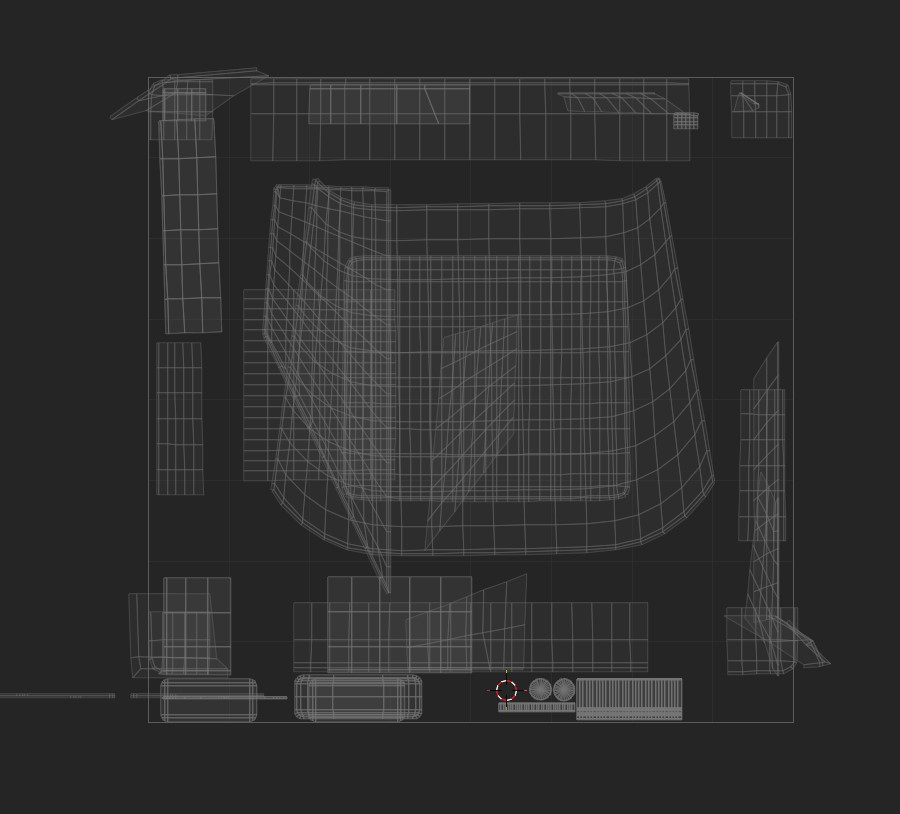
Here’s the albedo for the carbon fiber trim sheet I created. I simply exported a 2x2m plane into Substance Painter, since it fits perfectly at 2048 px/m in a 4K texture. Notice that the weave pattern is angled in only one direction. That’s intentional, because I create the other side of the V-pattern simply by mirroring the UV island:

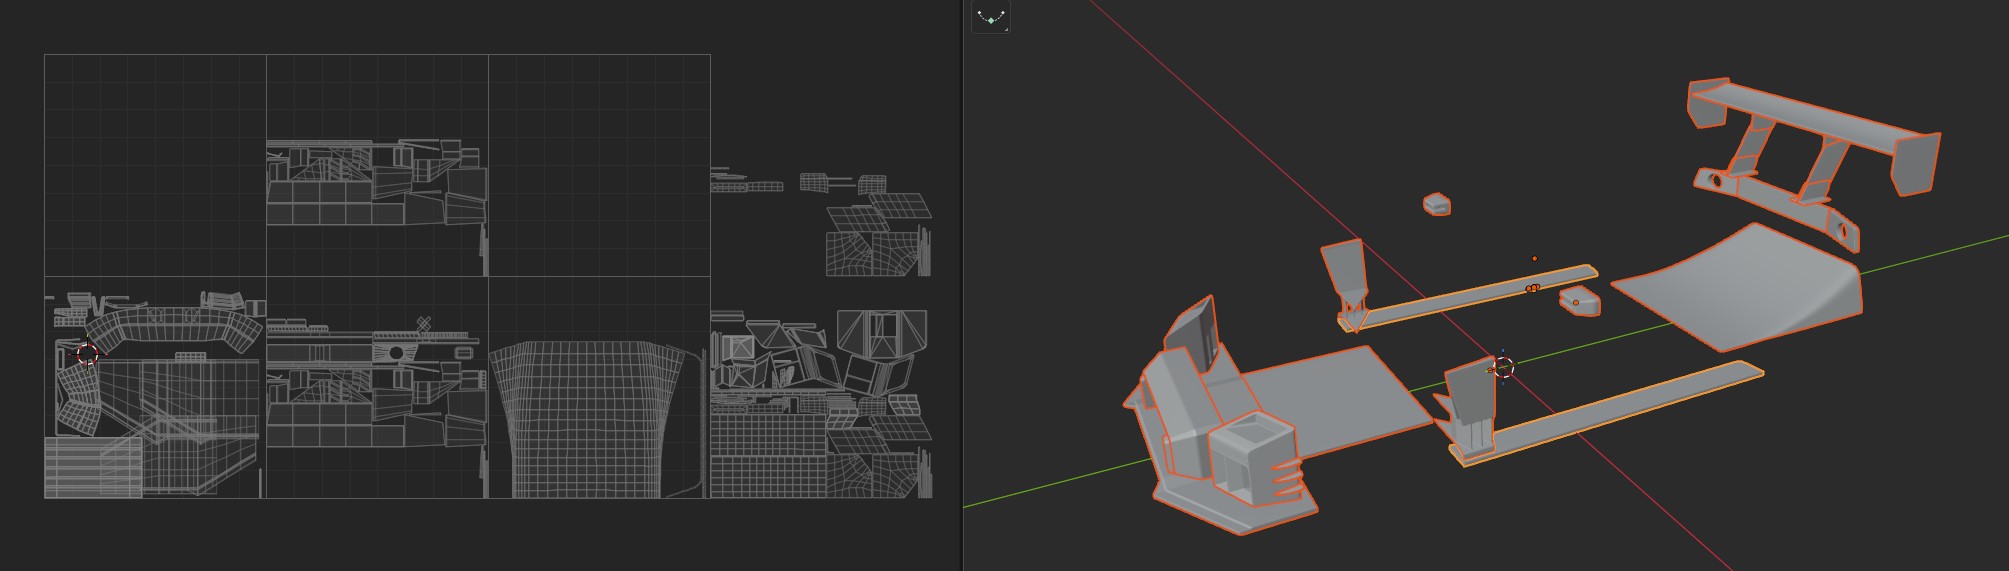
And here’s UV aligned to this texture to perfectly match weave pattern. Ignore UV mess you see here and what it takes so much space, because I’ve visually splitted every object into it’s own tile for usability purposes and it doesn’t really matter, since it uses only one repeating texture.

However, there are still a few downsides.

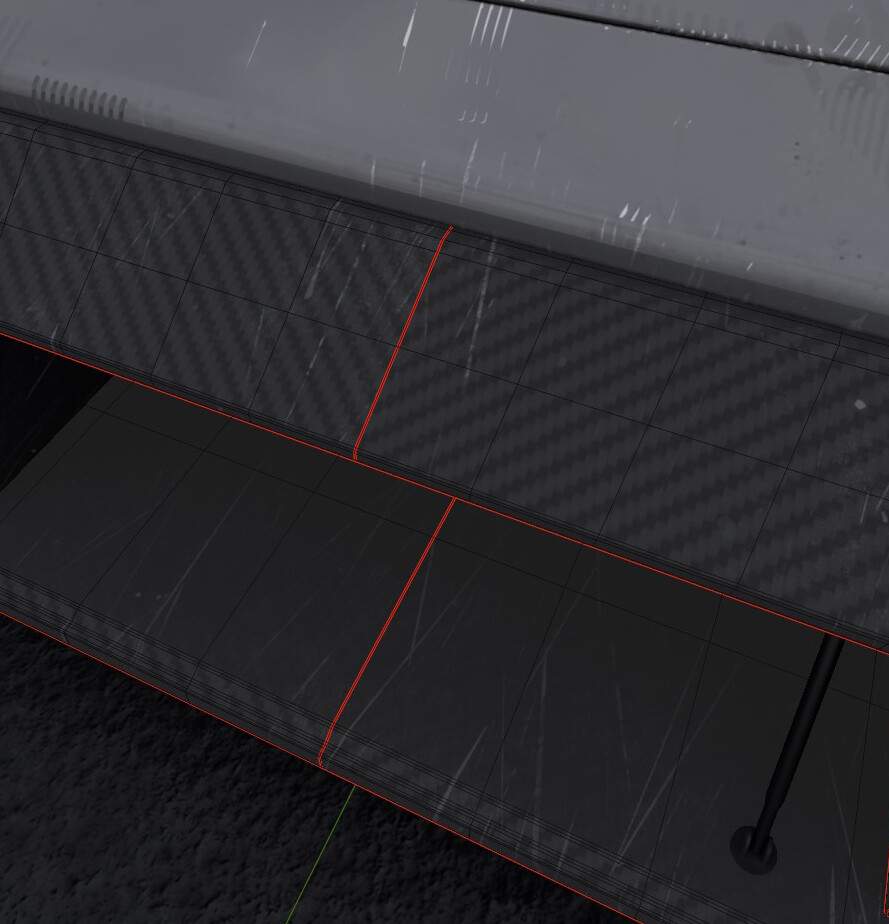
The first issue is that all edge damage is gone, which is a shame. Technically, it could be brought back: I would just need to add a thin strip to the trim sheet, align the panel edges to it, place seams more frequently, and match the weave pattern more precisely. Showing seams here just so everybody understands what’s going on.

The second issue is the hand painted normal map. I’m not sure how well it’s going to work because, ideally, it should be aligned to the world space orientation of the object being textured. Since the same trim sheet is reused across many different objects, UV seams could become quite noticeable due to the way tangent-space normals are calculated on different UV islands. I’ll need to figure out a solution for that.

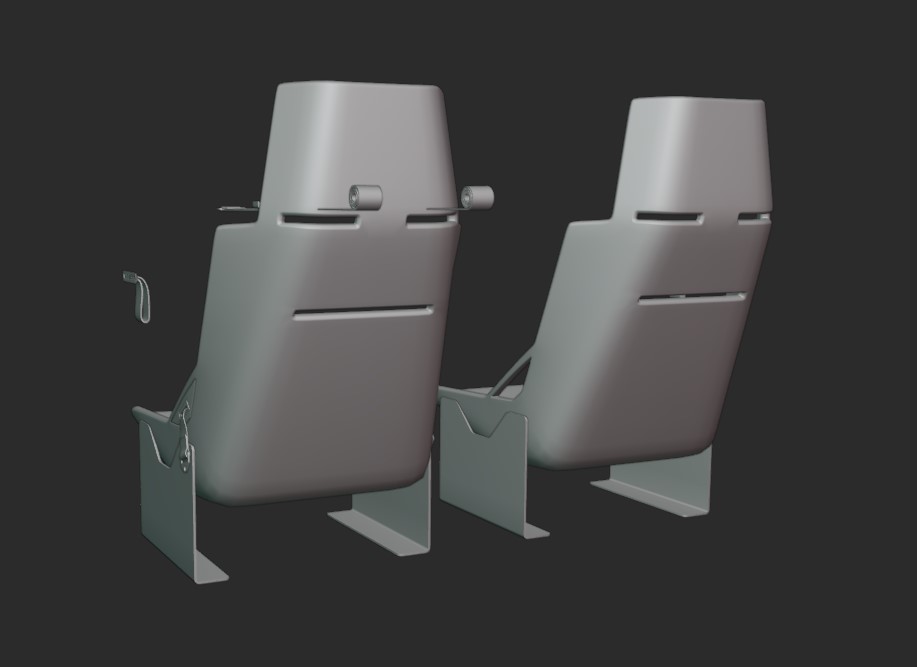
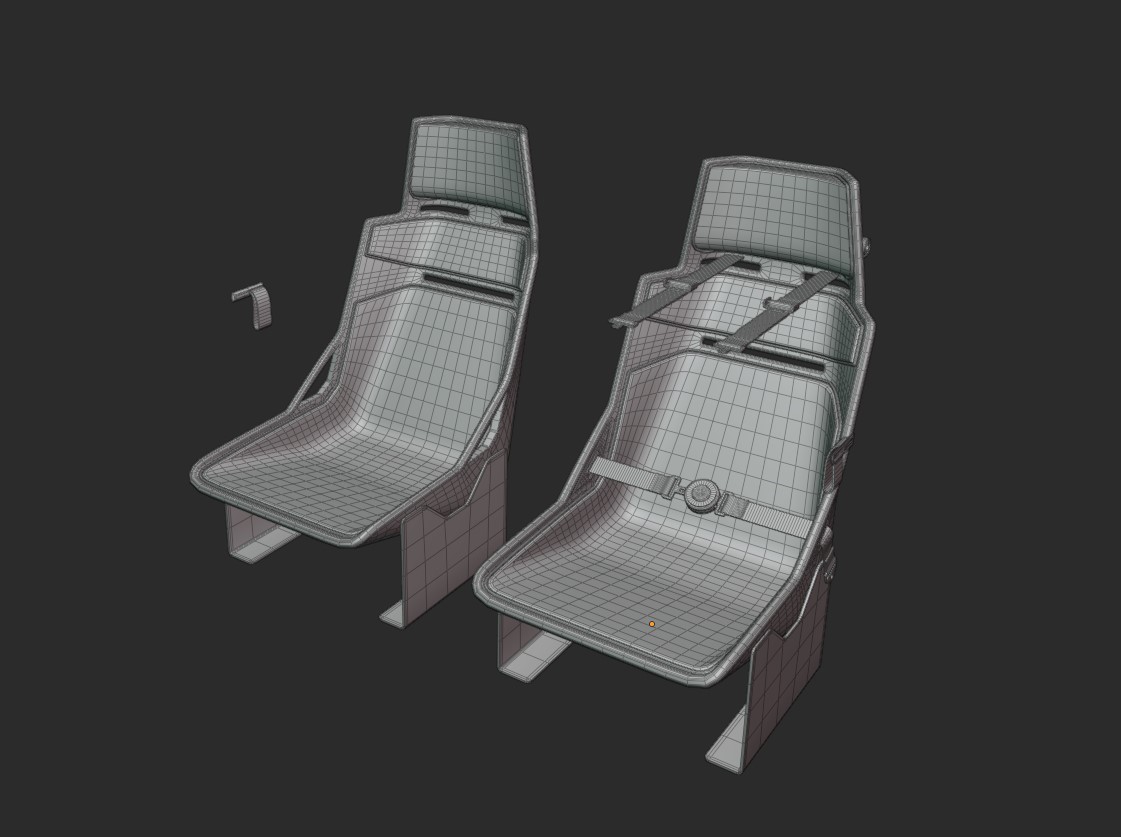
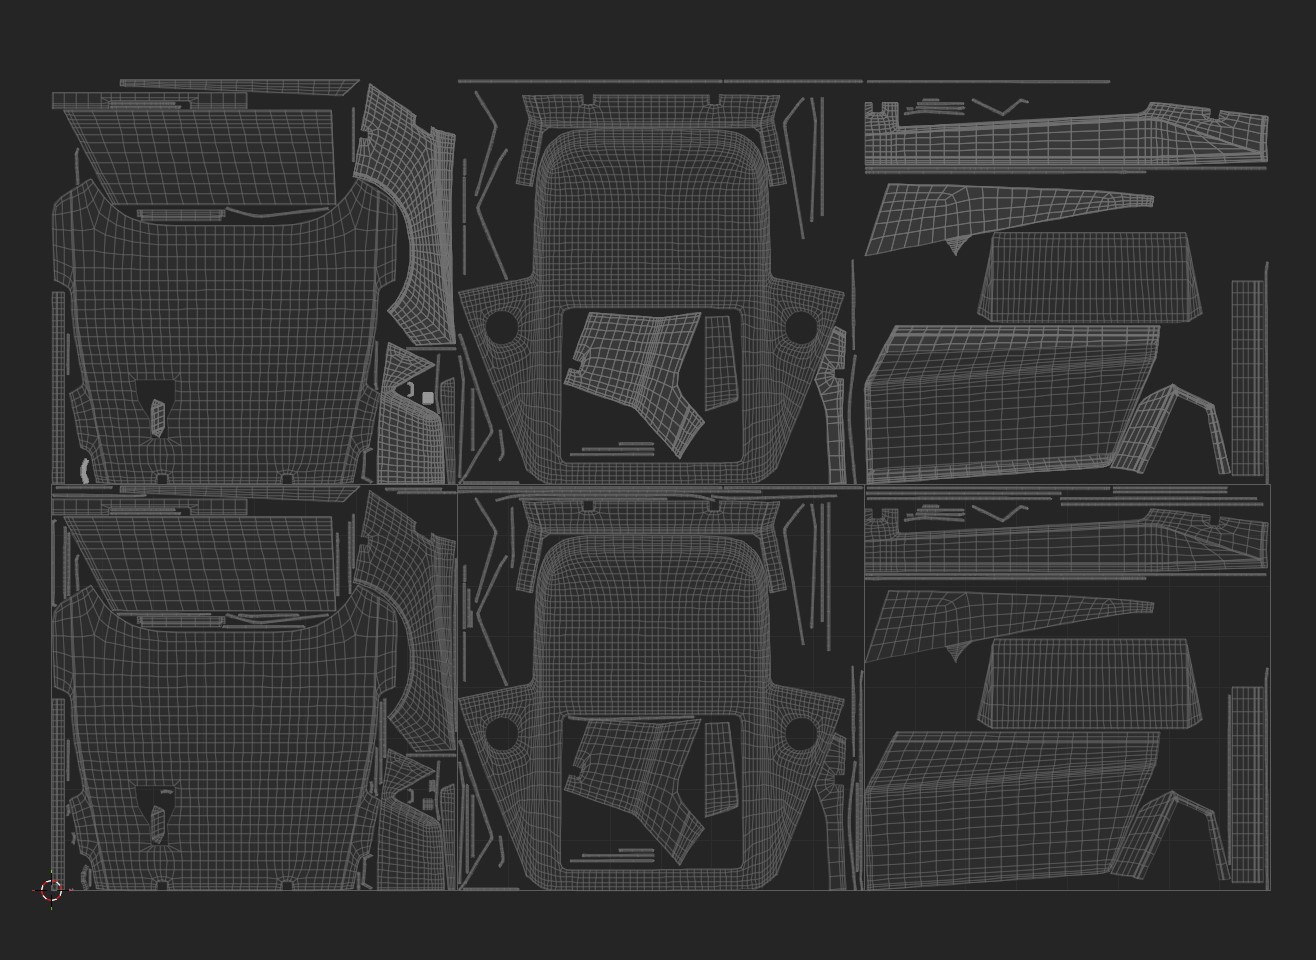
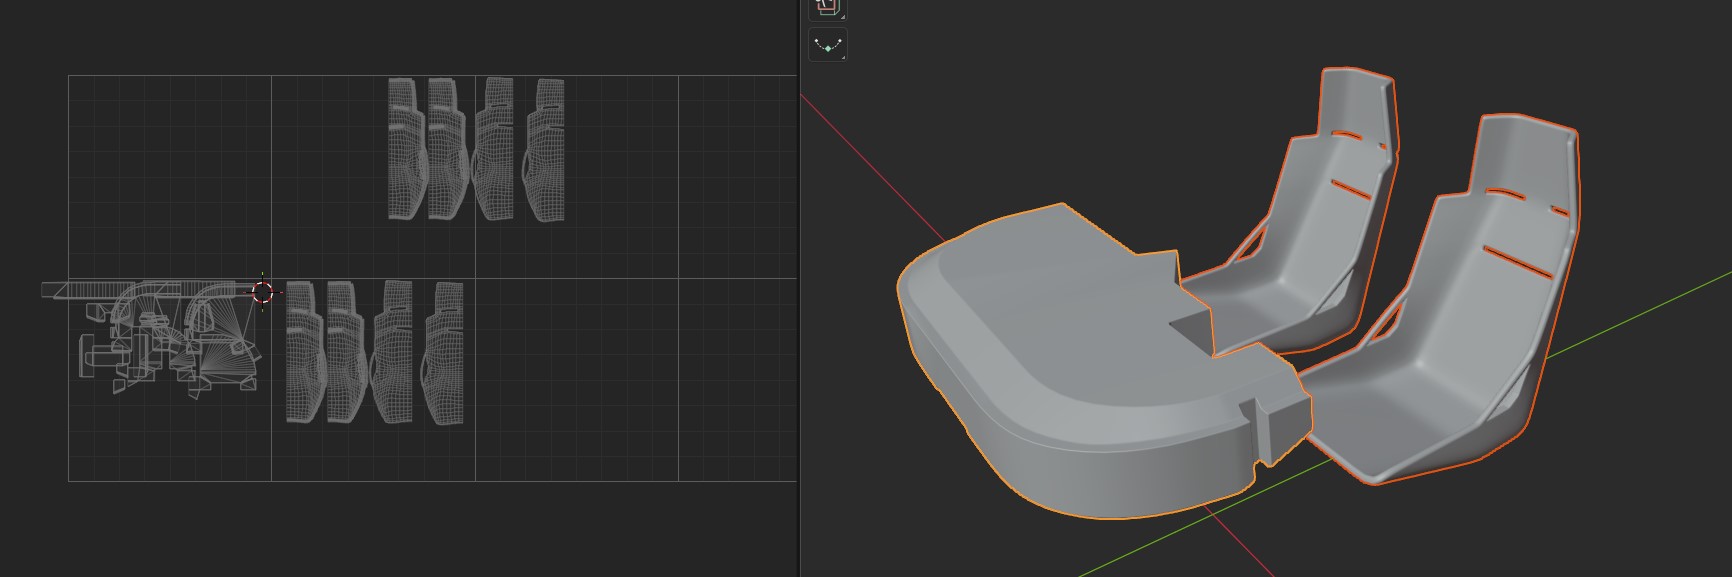
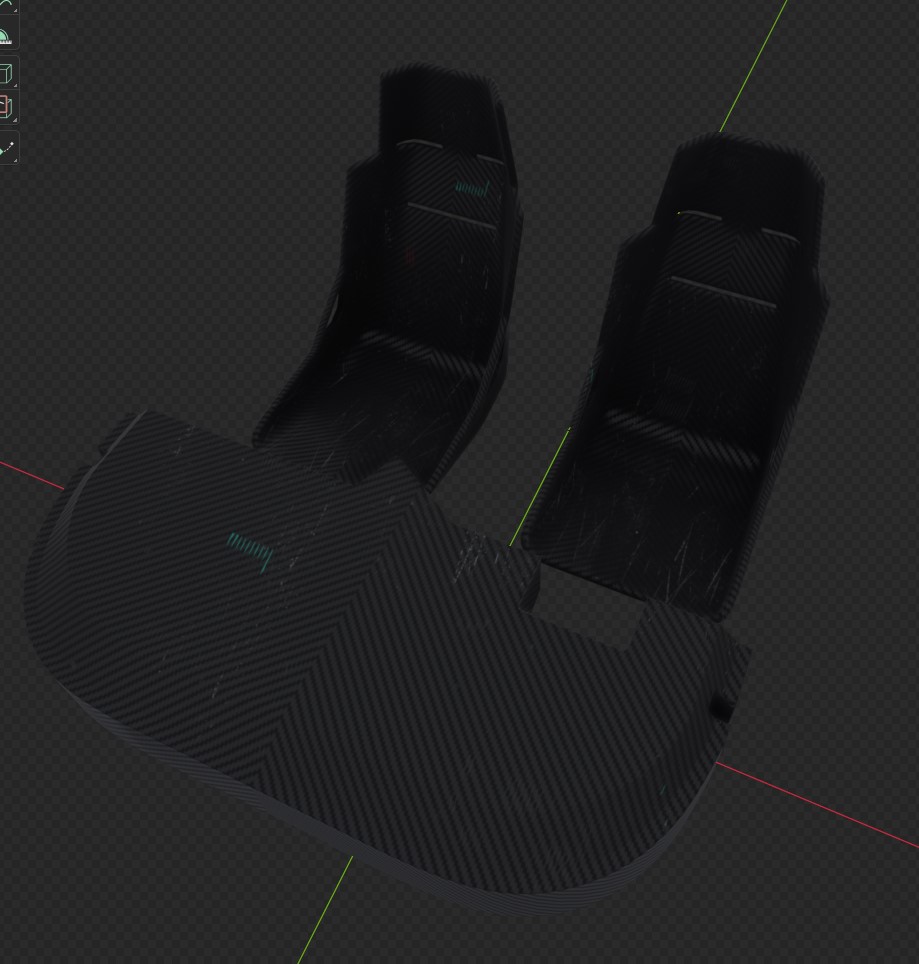
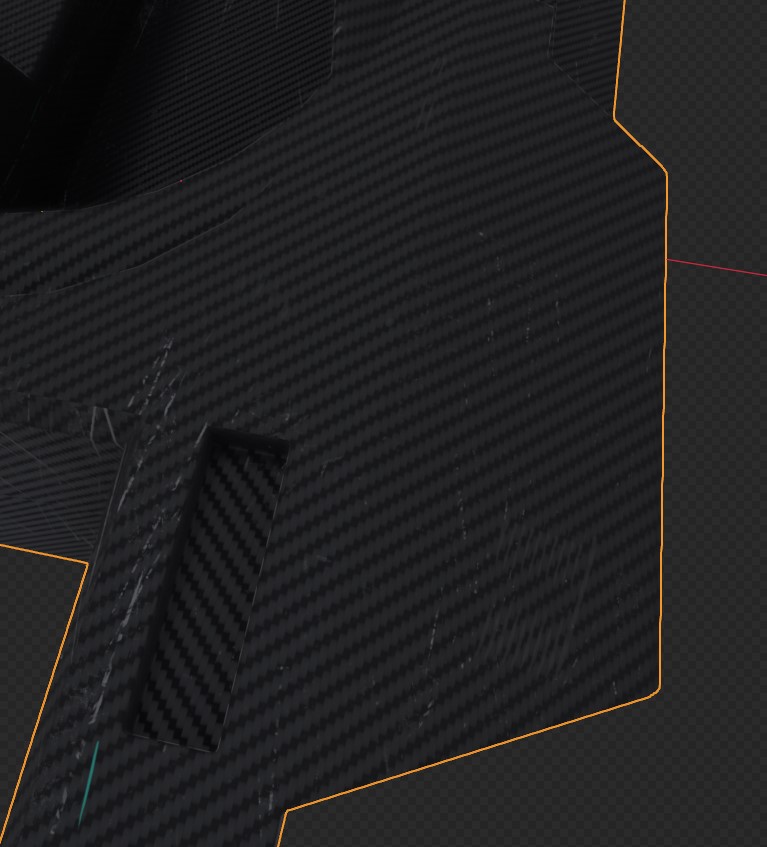
The third issue is that the trim sheet is split into two sections: the lower half contains scratches for exterior parts, while the upper half is mostly clean for interior parts. However, some interior objects, like the bucket seats, occupy almost the entire tile. As a result, the bottoms of the seats inherit scratches they don’t really need. One possible solution would be to split the seat UV island in half, but aligning the weave pattern on such curved geometry is a pain, and it’s not something anyone is likely to notice anyway, so I can ignore it for now. Also notice the repeating green rike brush on the lefts seat and the left side of a dashboard. In this case it doesn’t really matter, because seat gonna have cushion in that place, but generally I try to avoid so obvious repetition where it matters.

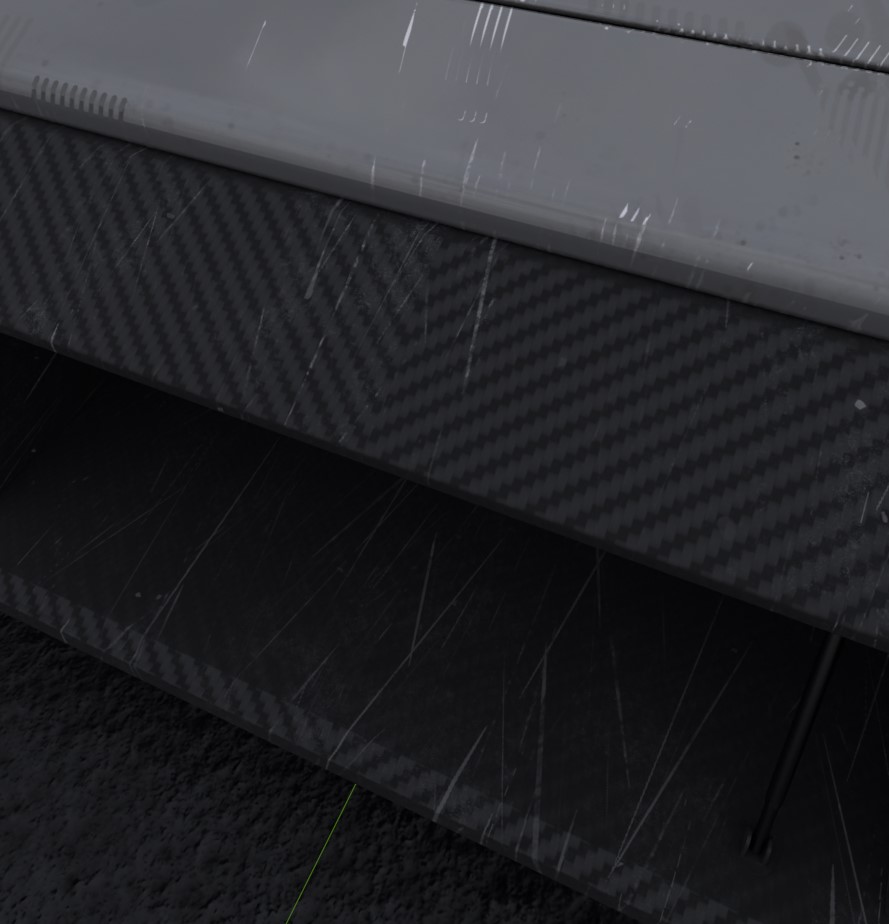
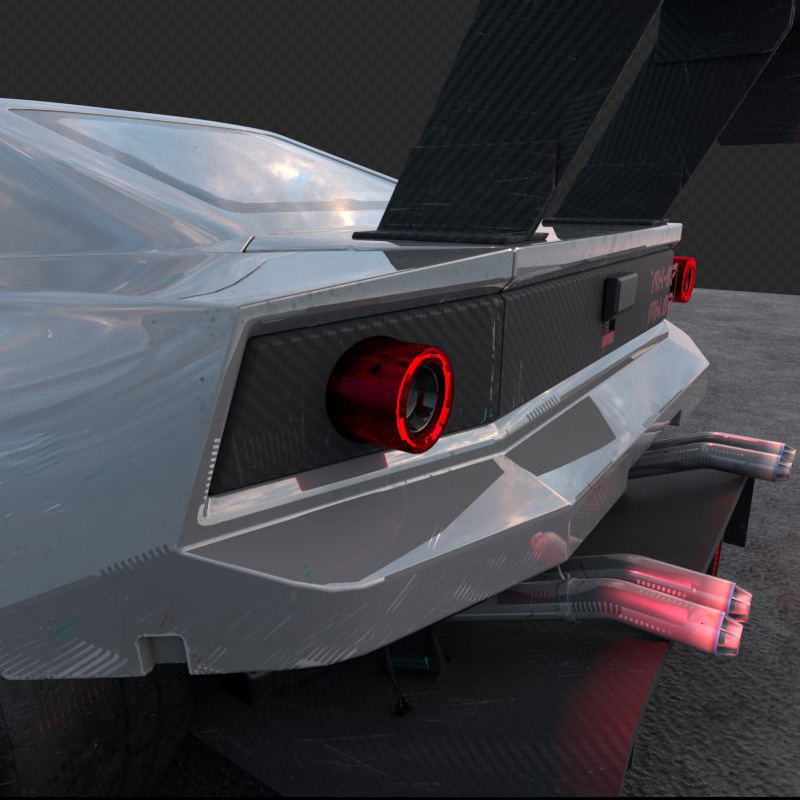
Here’s detailed examples of aligned weave pattern for V-shape I talked about despite UV-seam and using only one texture. Notice how it blends together very well and even scratches here blend smoothly. And even underneath the pattern still matches(except scratches, but it easily can be fixed in this case)

However, there is still cases(usually in the corners) there is just no way to match it, because texture comes from all different angles and directions. And in this case it’s totally fine, simply because you can find cases like this in real world. It’s pretty much the same exact issue they dealing with.

Here’s couple general shots:

In conclusion, by using just one trim sheet, I’ve textured:

  • the entire carbon tub (5 UDIM tiles otherwise)
  • the exterior carbon panels (4 UDIM tiles)
  • the interior carbon panels and two bucket seats (roughly 2 UDIM tiles)

Considering how much texture memory and loading time this saves, I think it was definitely worth it :smiling_face_with_sunglasses:

2 Likes

Wheels and Suspension

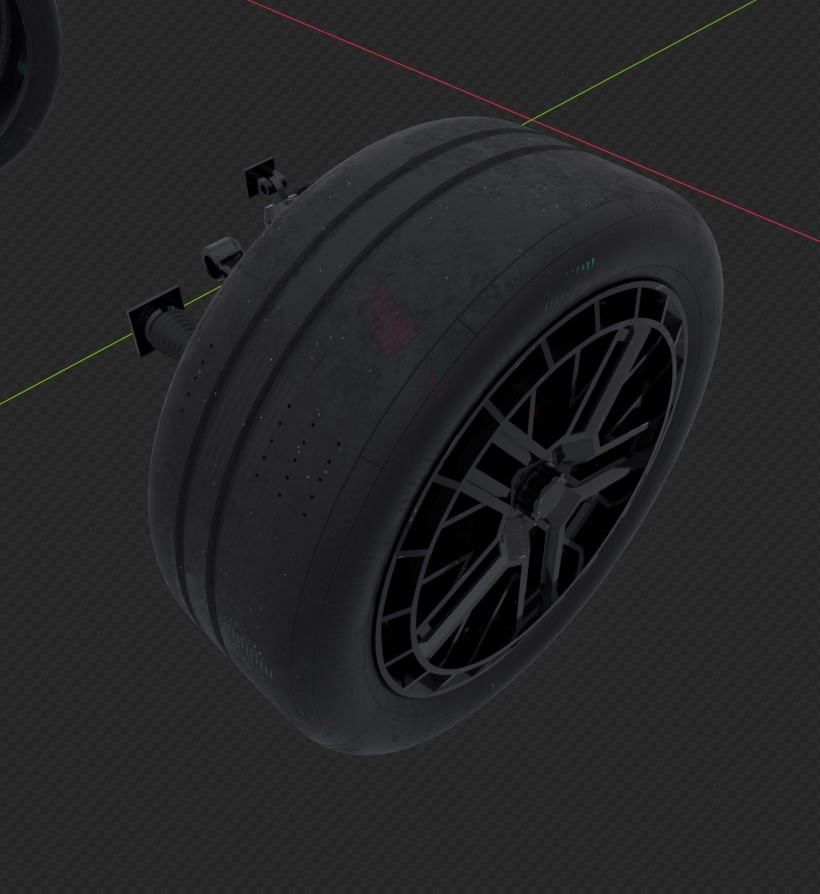
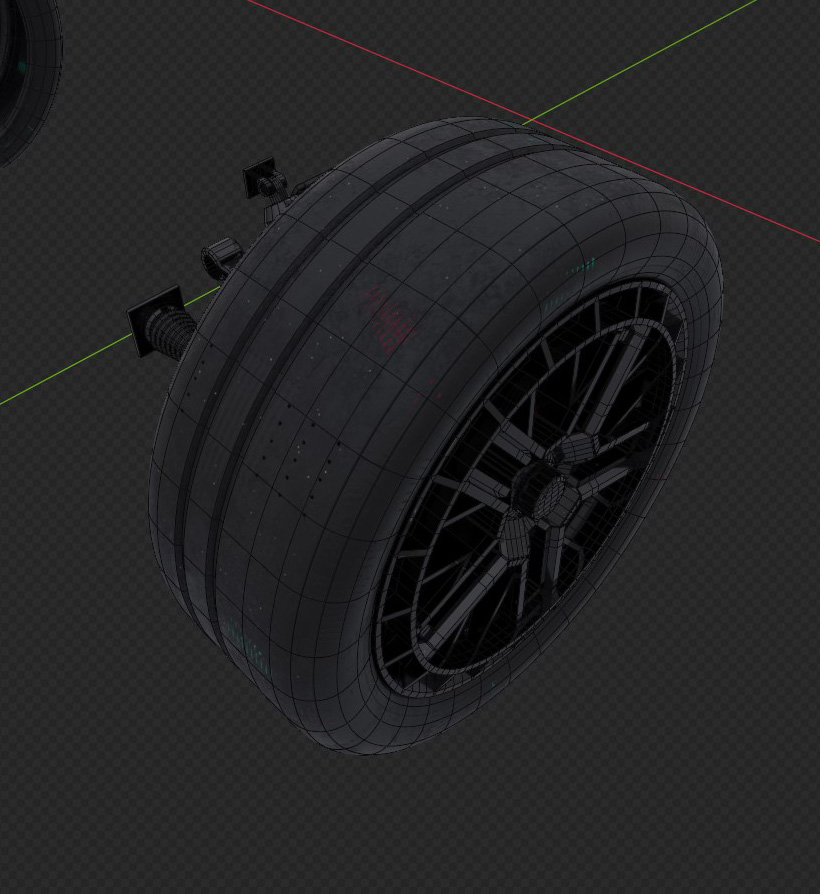
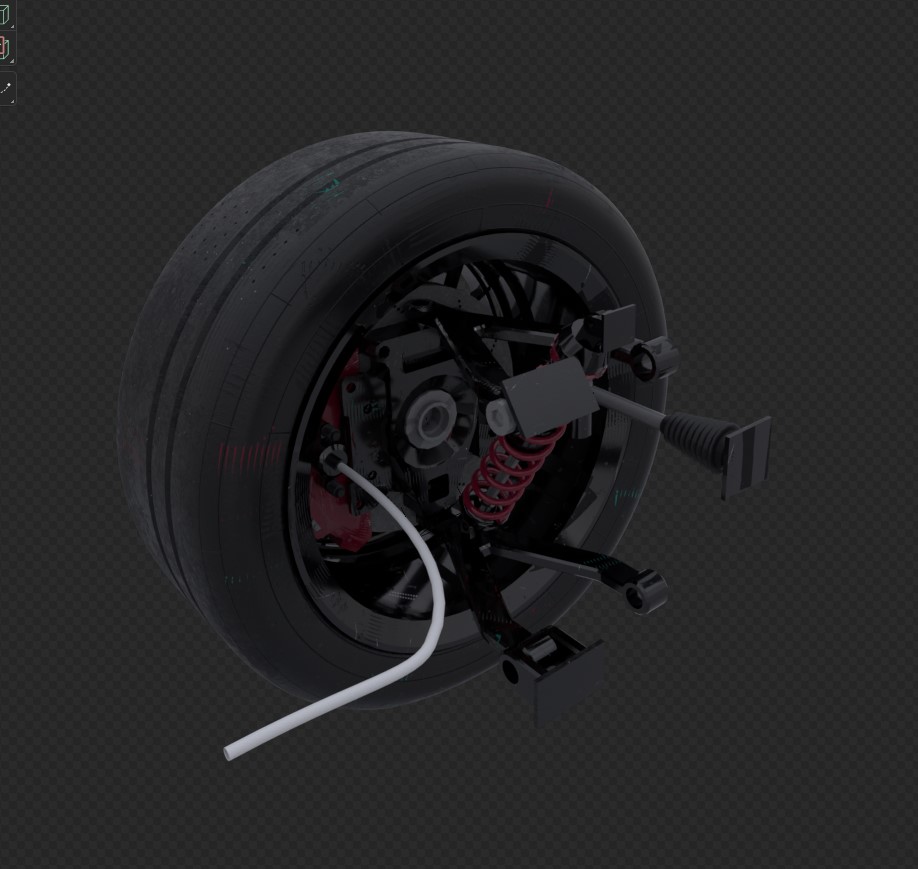
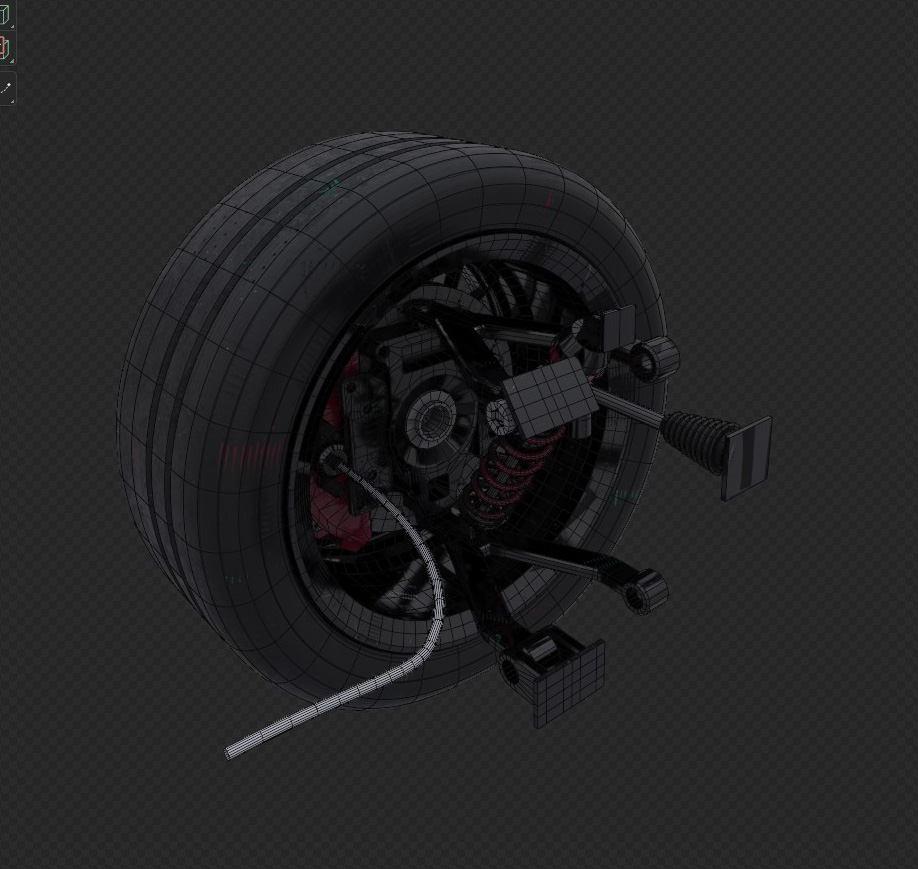
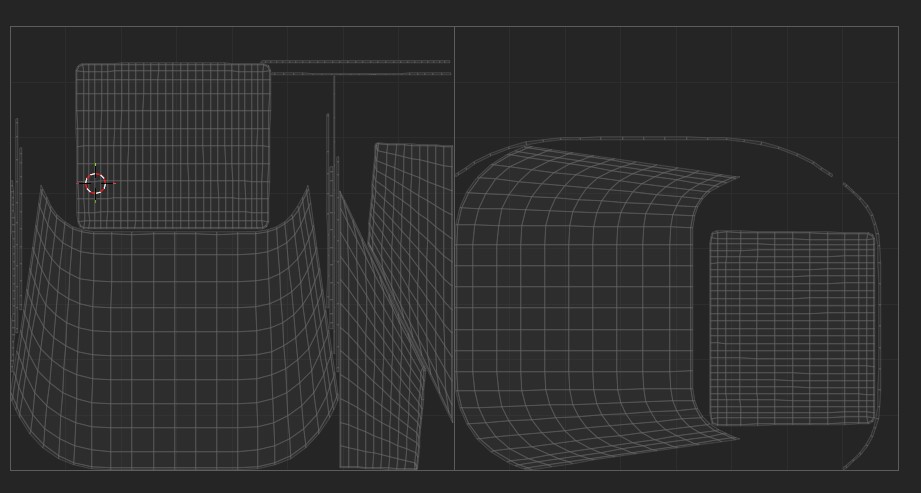
The front wheel and front suspension are fitted into a single tile, and the same texture is used for the rear wheels. Had to pack extension piece on the right in order to accommodate for rear drivetrain. (What you see on tile 2 is unstacked island for texturing purposes)

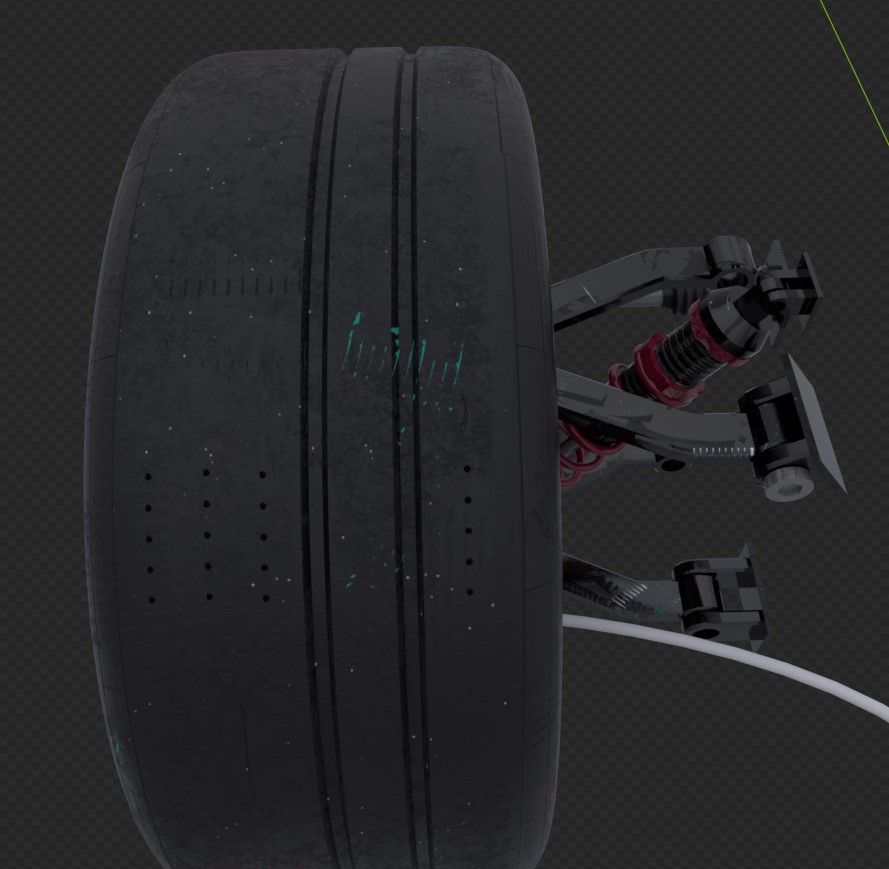
In terms of texturing, because it’s a rubber material, I had to use the height channel in Substance 3D Painter to give it some character. Otherwise, it looked a bit flat. Other than that, it was a pretty standard texturing process: a painted base layer with brushes, followed by a few noise generators to add some variation.
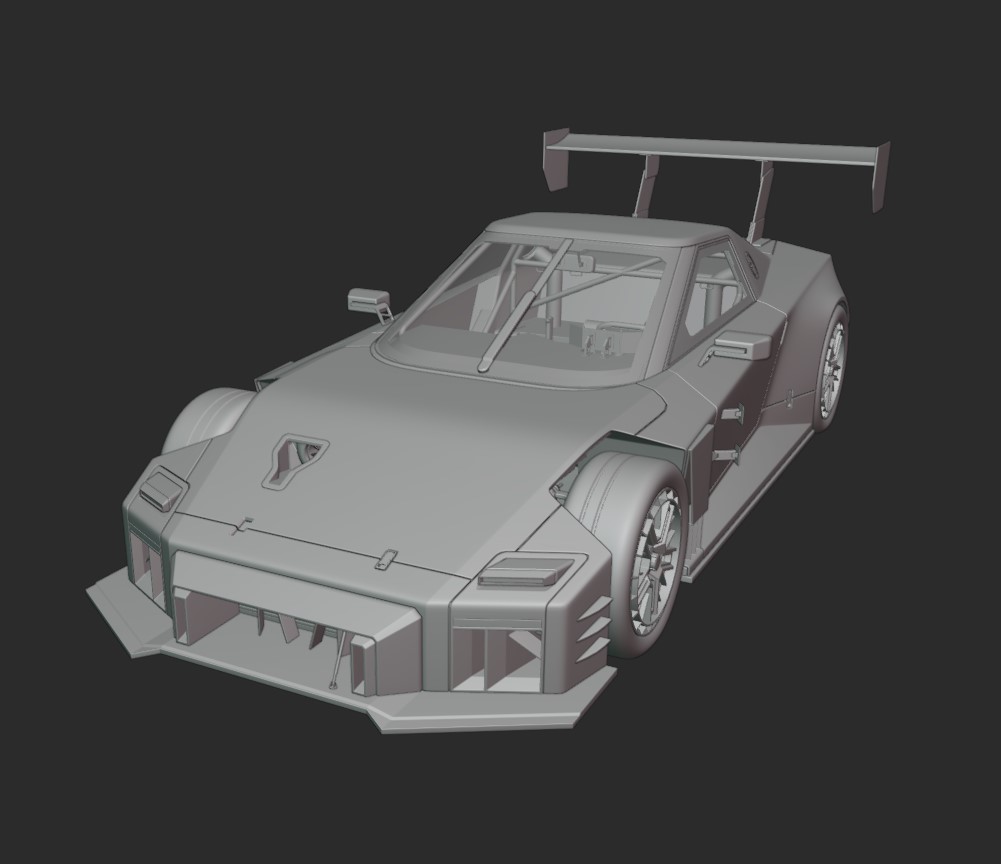
Right now, the tires still look a bit empty because they’re missing all of the typography, logos, and other details. I’ll add those later when I start working on the decals.
2 Likes

Glass and mirror surfaces

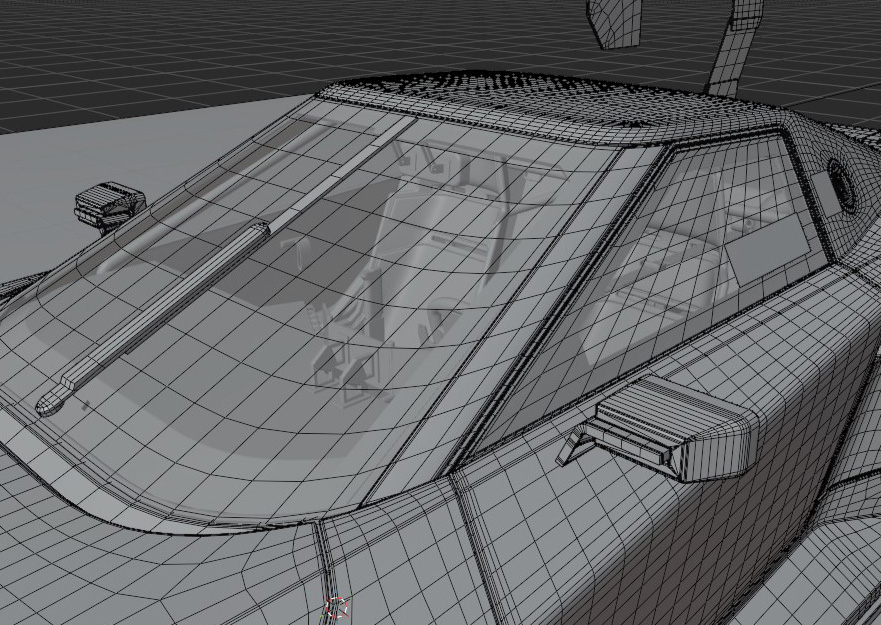
Glass on this car has thickness. I need it for a couple of reasons:

  1. Inner side is clean without any scratches
  2. Inner side has black border on the perimeter like a race car
  3. Outer side gonna have scratches, smudges, etc.

Because of that I can’t stack back side on top of the front. So initially, it takes 2 UV-squares. Ideally, I want only one.

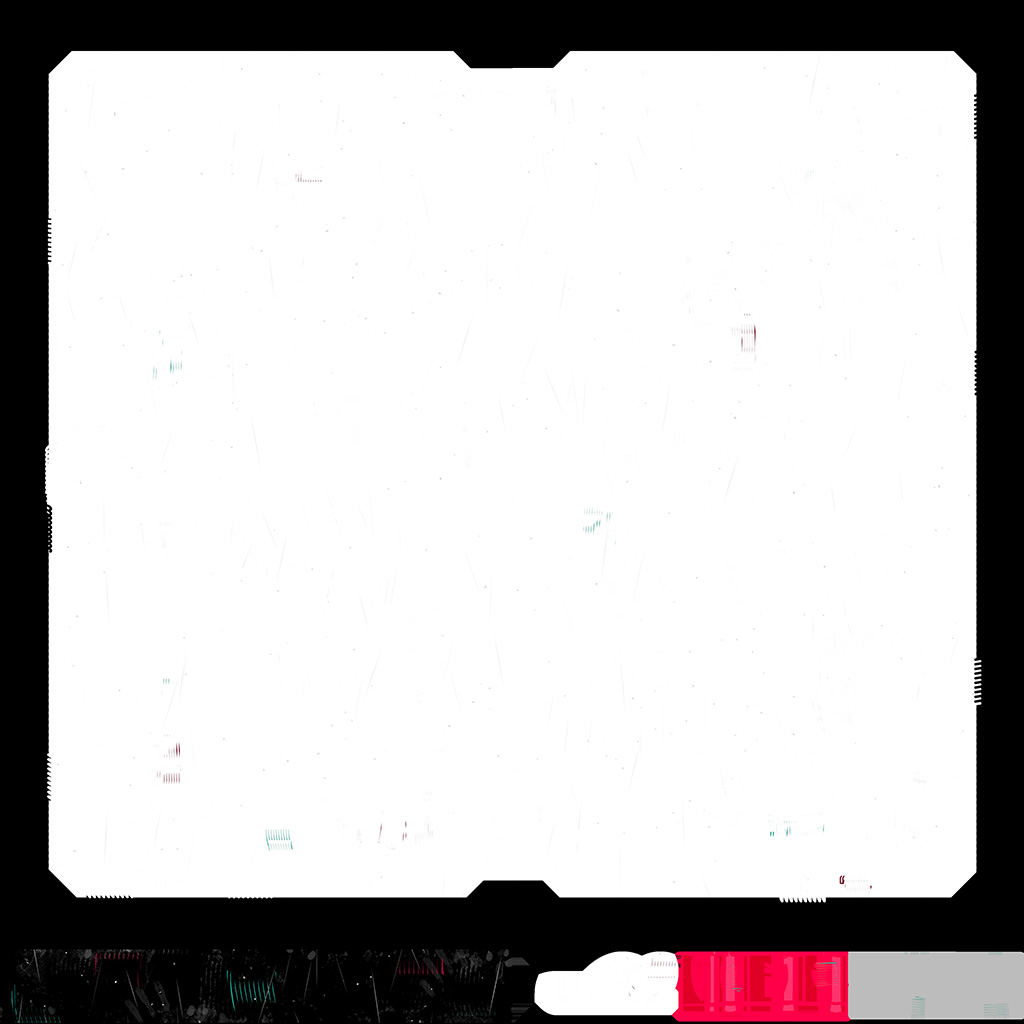
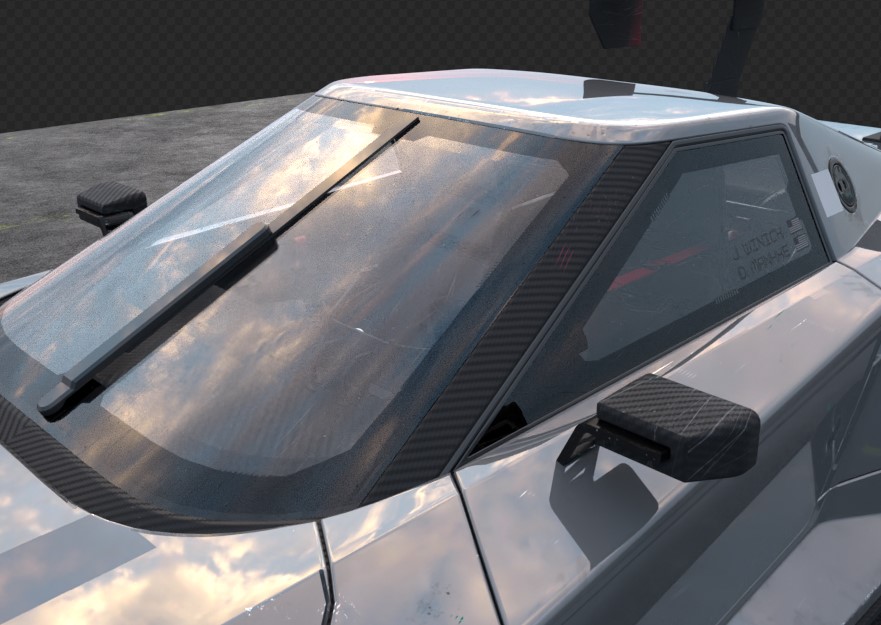
And again to solve this issue I’ve used trim sheet with black border and and glass texture in the middle. Here’s an albedo and new uv of the texture I’ve painted. UV looks like a mess but it works. I’ve cutout separate island for the border on the inner side, and outer side I’ve used as on the example above, just aligned it to match a direction of scratches. It also gives me an opportunity to use the same texture for other glass-like materials in the future without re-exporting and re-packing whole thing.

The big square you see is used for front and rear glass, door’s glass.
Bottom part is reserved for tail lights housing, side view and rear view mirrors. You can’t see really much detail because of the texture size and because most of the details are in the normal channel.

Here’s how it looks on the car from outside and inside:

Here you can see all the scratches and details, because it’s against dark transparent bg, in the reality it’s all gonna be less noticable. (ignore the rest of the interior, it hasn’t been textured yet)

And here’s windows from outside with the black borders:

2 Likes