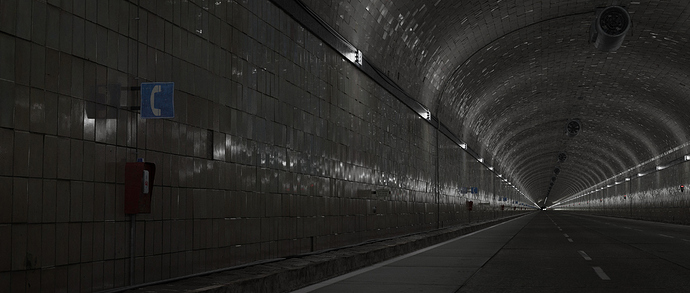
Yeah! After being super busy with commercial projects for the last few weeks - I finally found time to work on my feature again.
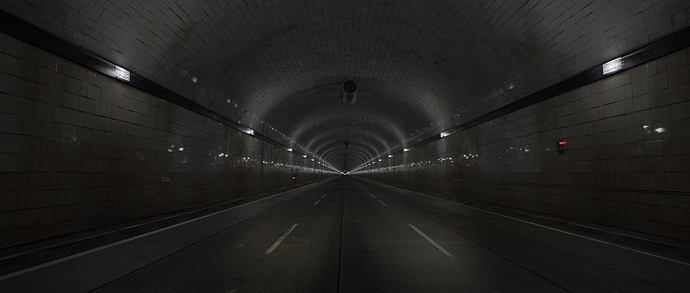
This time it’s about a tunnel driving scene.
Yep… tunnels seem to be a little fetish of mine. ![]()
I needed a ‘driving through an endless tunnel’ shot for my film.
Unfortunately Bangkok, where we shot the movie, offers lot’s of great locations - but cool tunnels are not amongst them.
So - it’s Blender time!
It’s pretty easy to create a tunnel in Blender - I discovered a really cool technique doing so, though.
And I’d like to write about it here.
As I wanted the tunnel’s walls and ceiling to be covered with tiles, I had to find the best way of doing it.
Only bump maps make the tiles look too flat. Especially reflections would look too boring.
And real (micro-) displacement for all the tiles would be almost impossible for a big location like this. It would create an enormous amount of polygons.
Micro-displacement is kind of absurd for strictly graphical patterns like tiles, anyway.
So I came up with a very simple and easy way to create good looking tiles, without wasting any polygons. This approach is soooo simple, that many people might use it. But since I’ve never seen it in any tutorials, I thought it might be worth mentioning here:
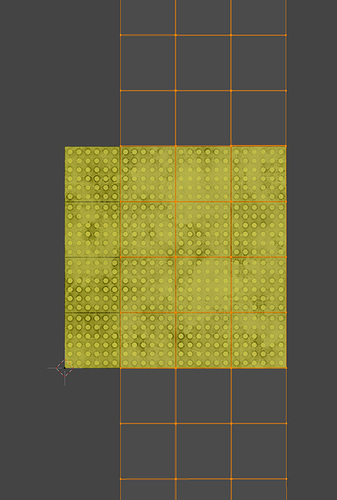
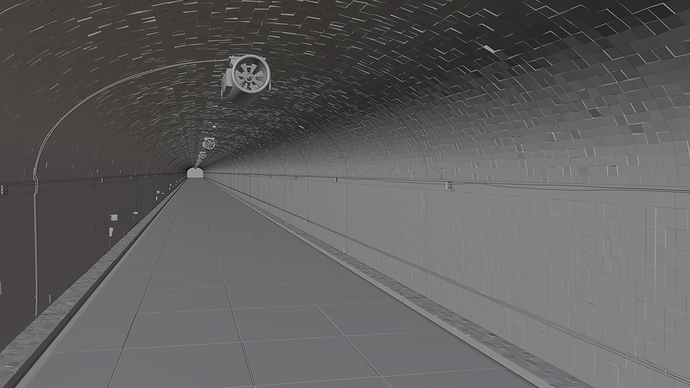
At first I subdivided my walls and the ceiling (with loop cuts!) until I got subdivisions of the size of the tiles, I’m planning to have. I just guessed how big I imagine them to be.
Then I added the tile texture. And in the UV editor I simply match the size of the subdivisions to the size of the tiles on the texture.
Then I selected all the edges, beveled them to get two edges instead of one. (So the two lines of the bevel are at the edges of the dark lines between the tiles on the texture.)
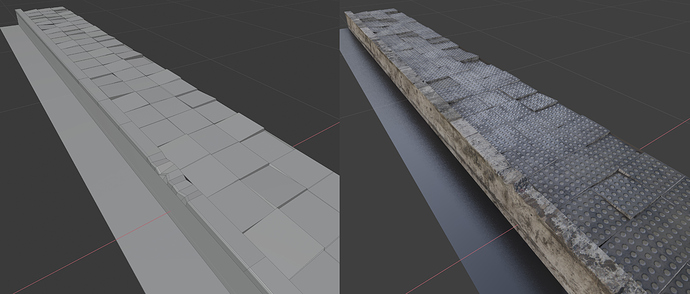
I then selected all the squares (by selecting one and ‘select similar - area’), and extruded them out a little bit. Finally I selected some random squares and rotated them slightly. I did that a few times with different squares and rotations.
(Another options is to select one vertex and pull it upwards with proportional editing enabled and set to random. The influence should cover the whole object/surface. This is a super fast way - BUT afterwards you have to reset all tiles to ‘planar’. Otherwise you get triangular reflections, as the tiles are ‘invisibly broken up’ in tris.)
This way you get very organic, real looking tiles - with the least amount of geometry.
And you have full control of how perfect or how wild and messy your tiles are arranged.
For this scene, I made the tiles quite messy, since the motion-blur will make it less visible.
I also ‘removed’ a tile here and there, to make it look more real. As if they would have been fallen out.
Since this scene will always be in motion, I did not bother with little details. Just modelled the basics.
Also the road texture, which is not very high-res, is no problem. The motion blur will cover a lot.
I also didn’t care to scatter little stones or trash at the edges of the road. (For a still picture it would need it!)
I actually even ‘tiled’ the road texture, to give it more depth. But there I adapted the loop cuts to the texture (and not vice versa as with the other tiles), since the tiles are so big.
A bigger problem I had was the render times. And this needed me to get a bit creative.
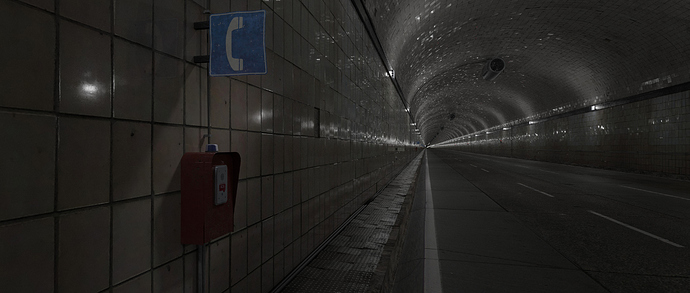
As one single frame took almost 3 hours to render, I needed to make the scene loop-able after a rather short time. (That’s why the phone and the vents repeat so often.)
This way I only had to render 50 frames and could loop them endlessly.
It worked perfectly well - apart of the end of the tunnel, which jumped ‘back to start’ after each loop.
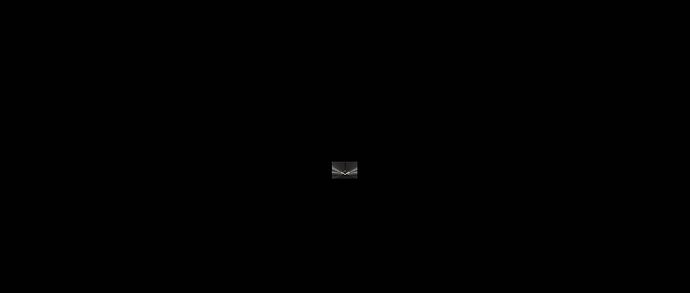
So I simply rendered the end part of the tunnel with a tiny render region for 200 frames. That went very quickly, actually. Then I copied it into the looped main render in after effects.
To save geometry I built one tunnel section only (about 25 meters) and used instances to create the rest of the tunnel. To achieve an endless tunnel I placed a mirror on each end of the tunnel. This saves a lot of geometry and works pretty well. Obviously, I see the head lights (which follow my camera) approaching in the mirror at the far end. That’s why I needed the little trick with the render region.
For the final animation I will add depth of field, ‘atmosphere’, subtle lens flares and some color correction in After Effects.
So…next will be creature animations…and cloth physics!
(PHYSICS?!..oh my…!!!) ![]()
