There maybe, but I mostly just figured it out and tested it myself. I’ve had thoughts of somewhat doing a tutorial, more around how I expanded on this method to animate hair. I guess if there’s enough interest I may well give it a go.
But basically, you have 2 objects pretty much on top of each other, run simulation on one and apply that to the other.
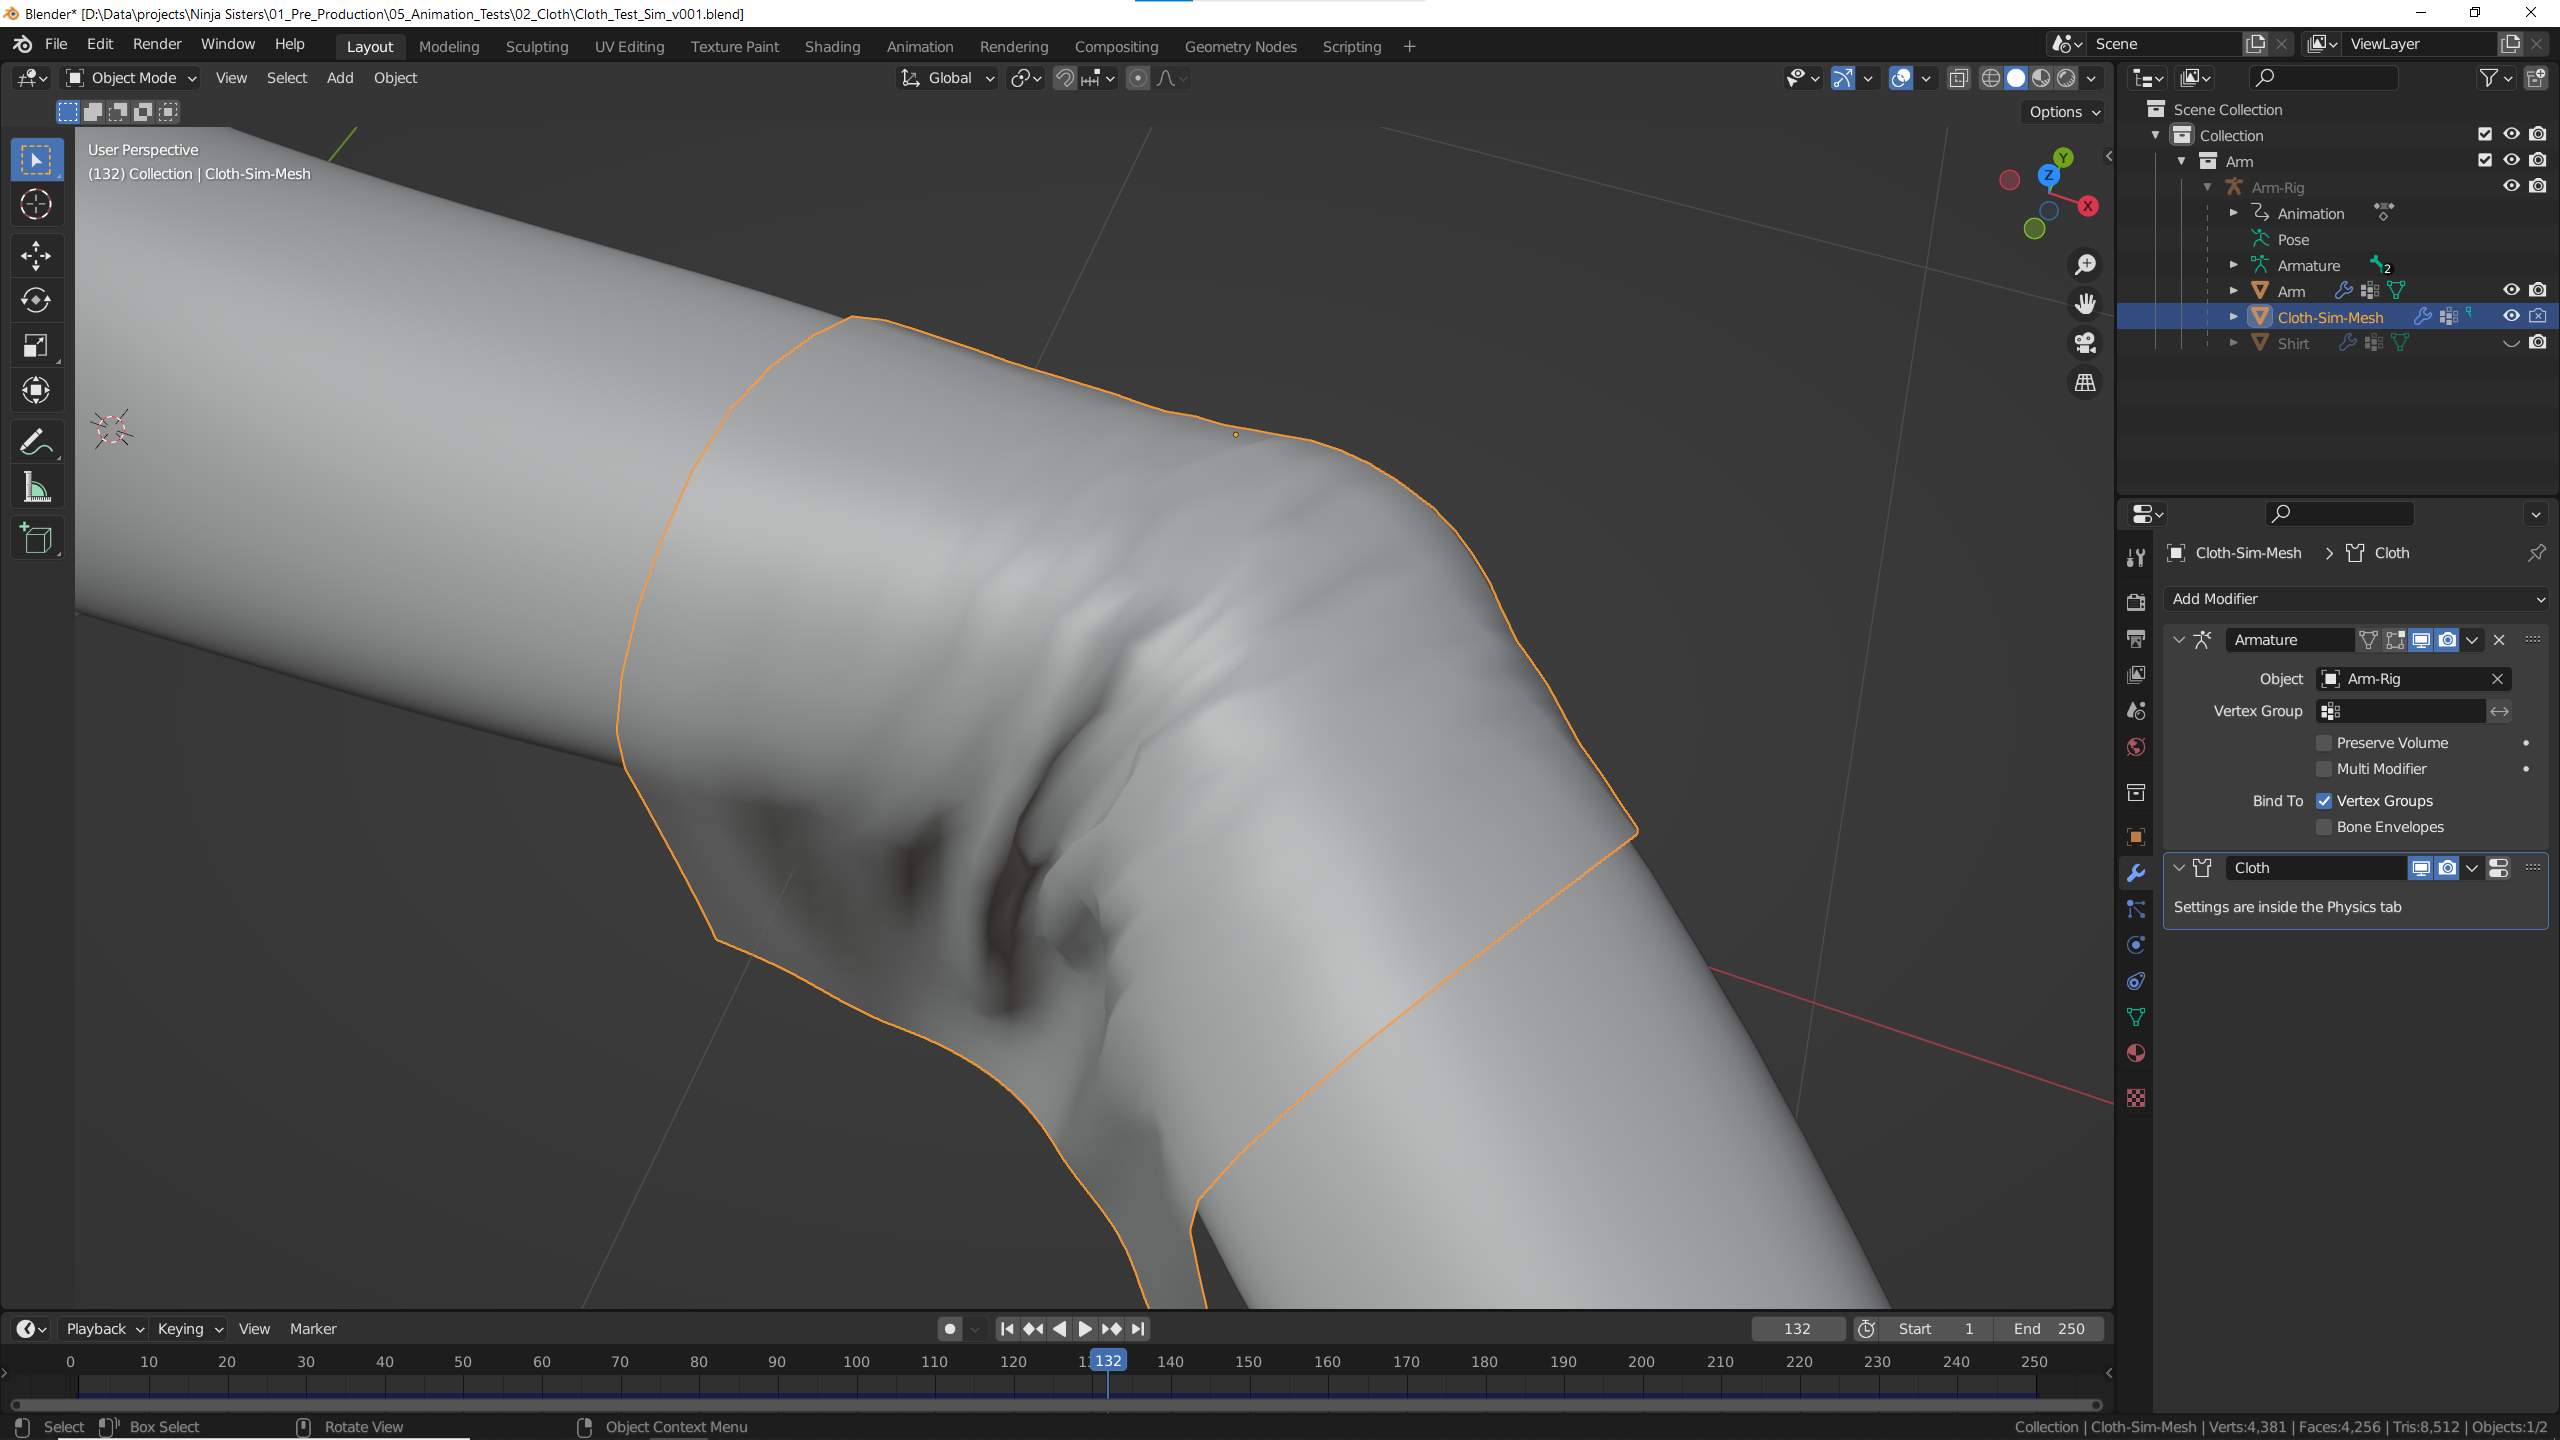
So in this first image is the Cloth Sim Mesh, it is nothing more then a subdivided plane, no extra details, no extra modifiers (other then the armature for animation) and as such it deforms fairly cleanly (all at like 10 times real scale).
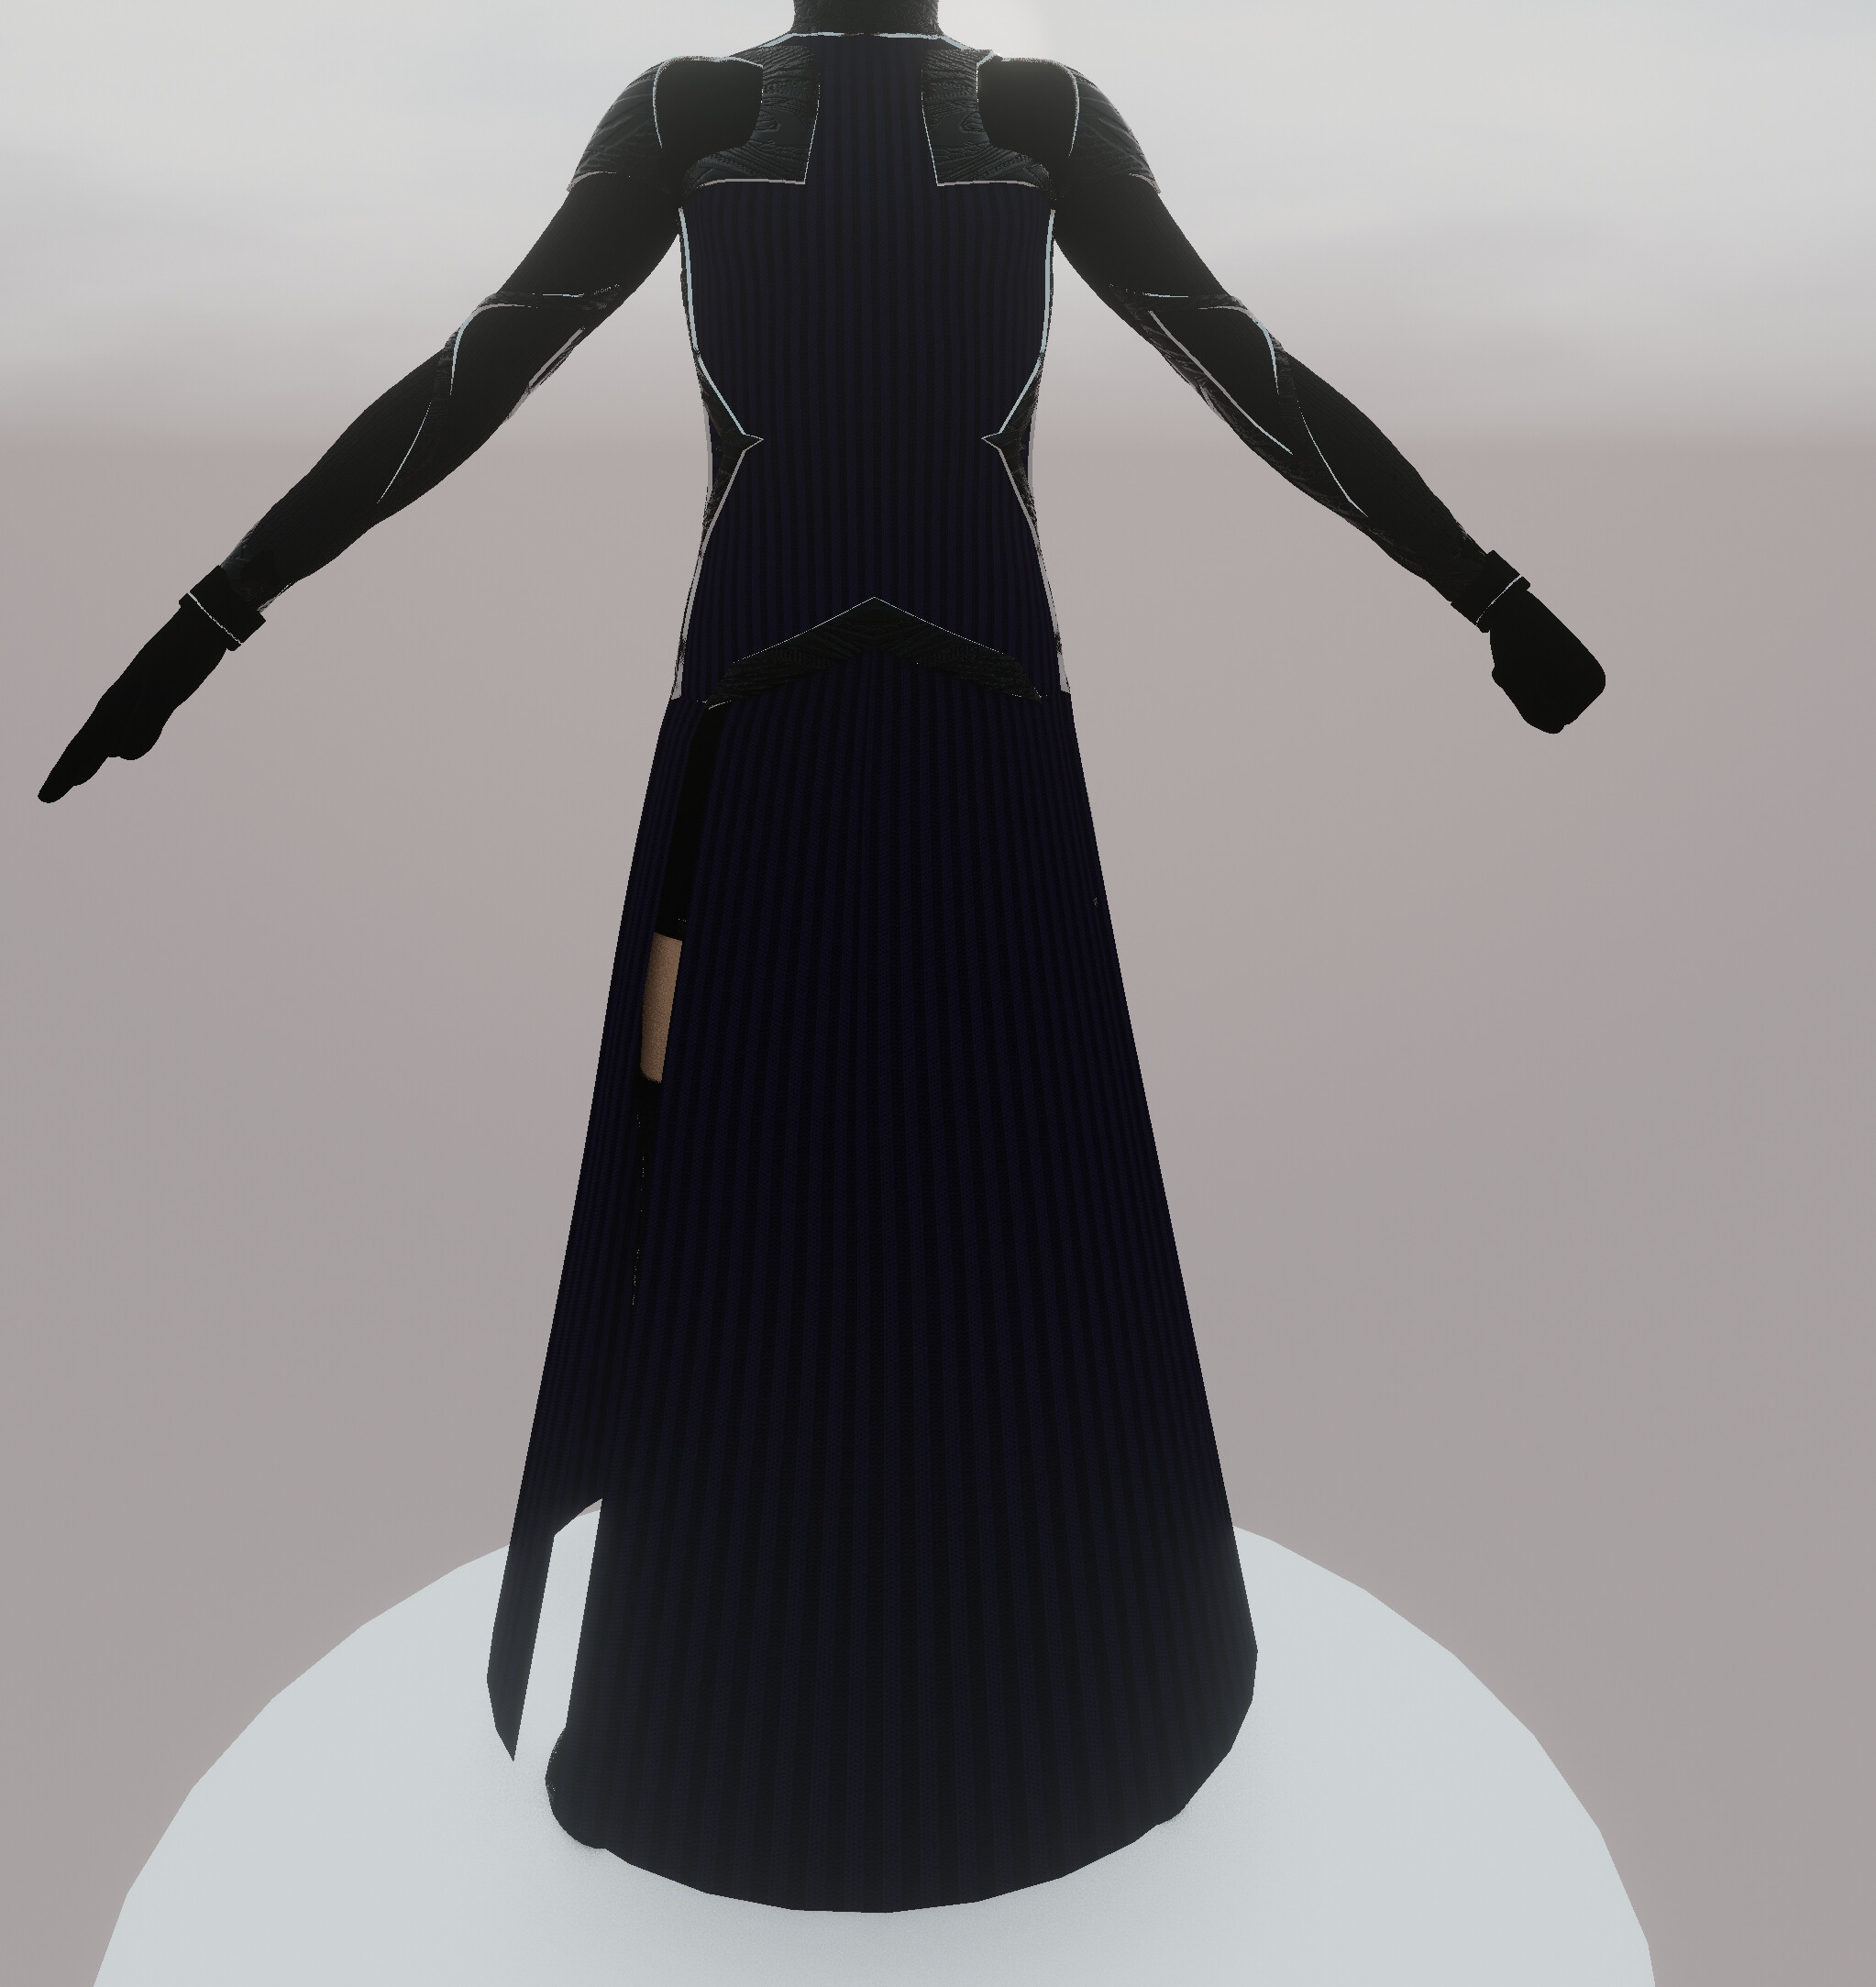
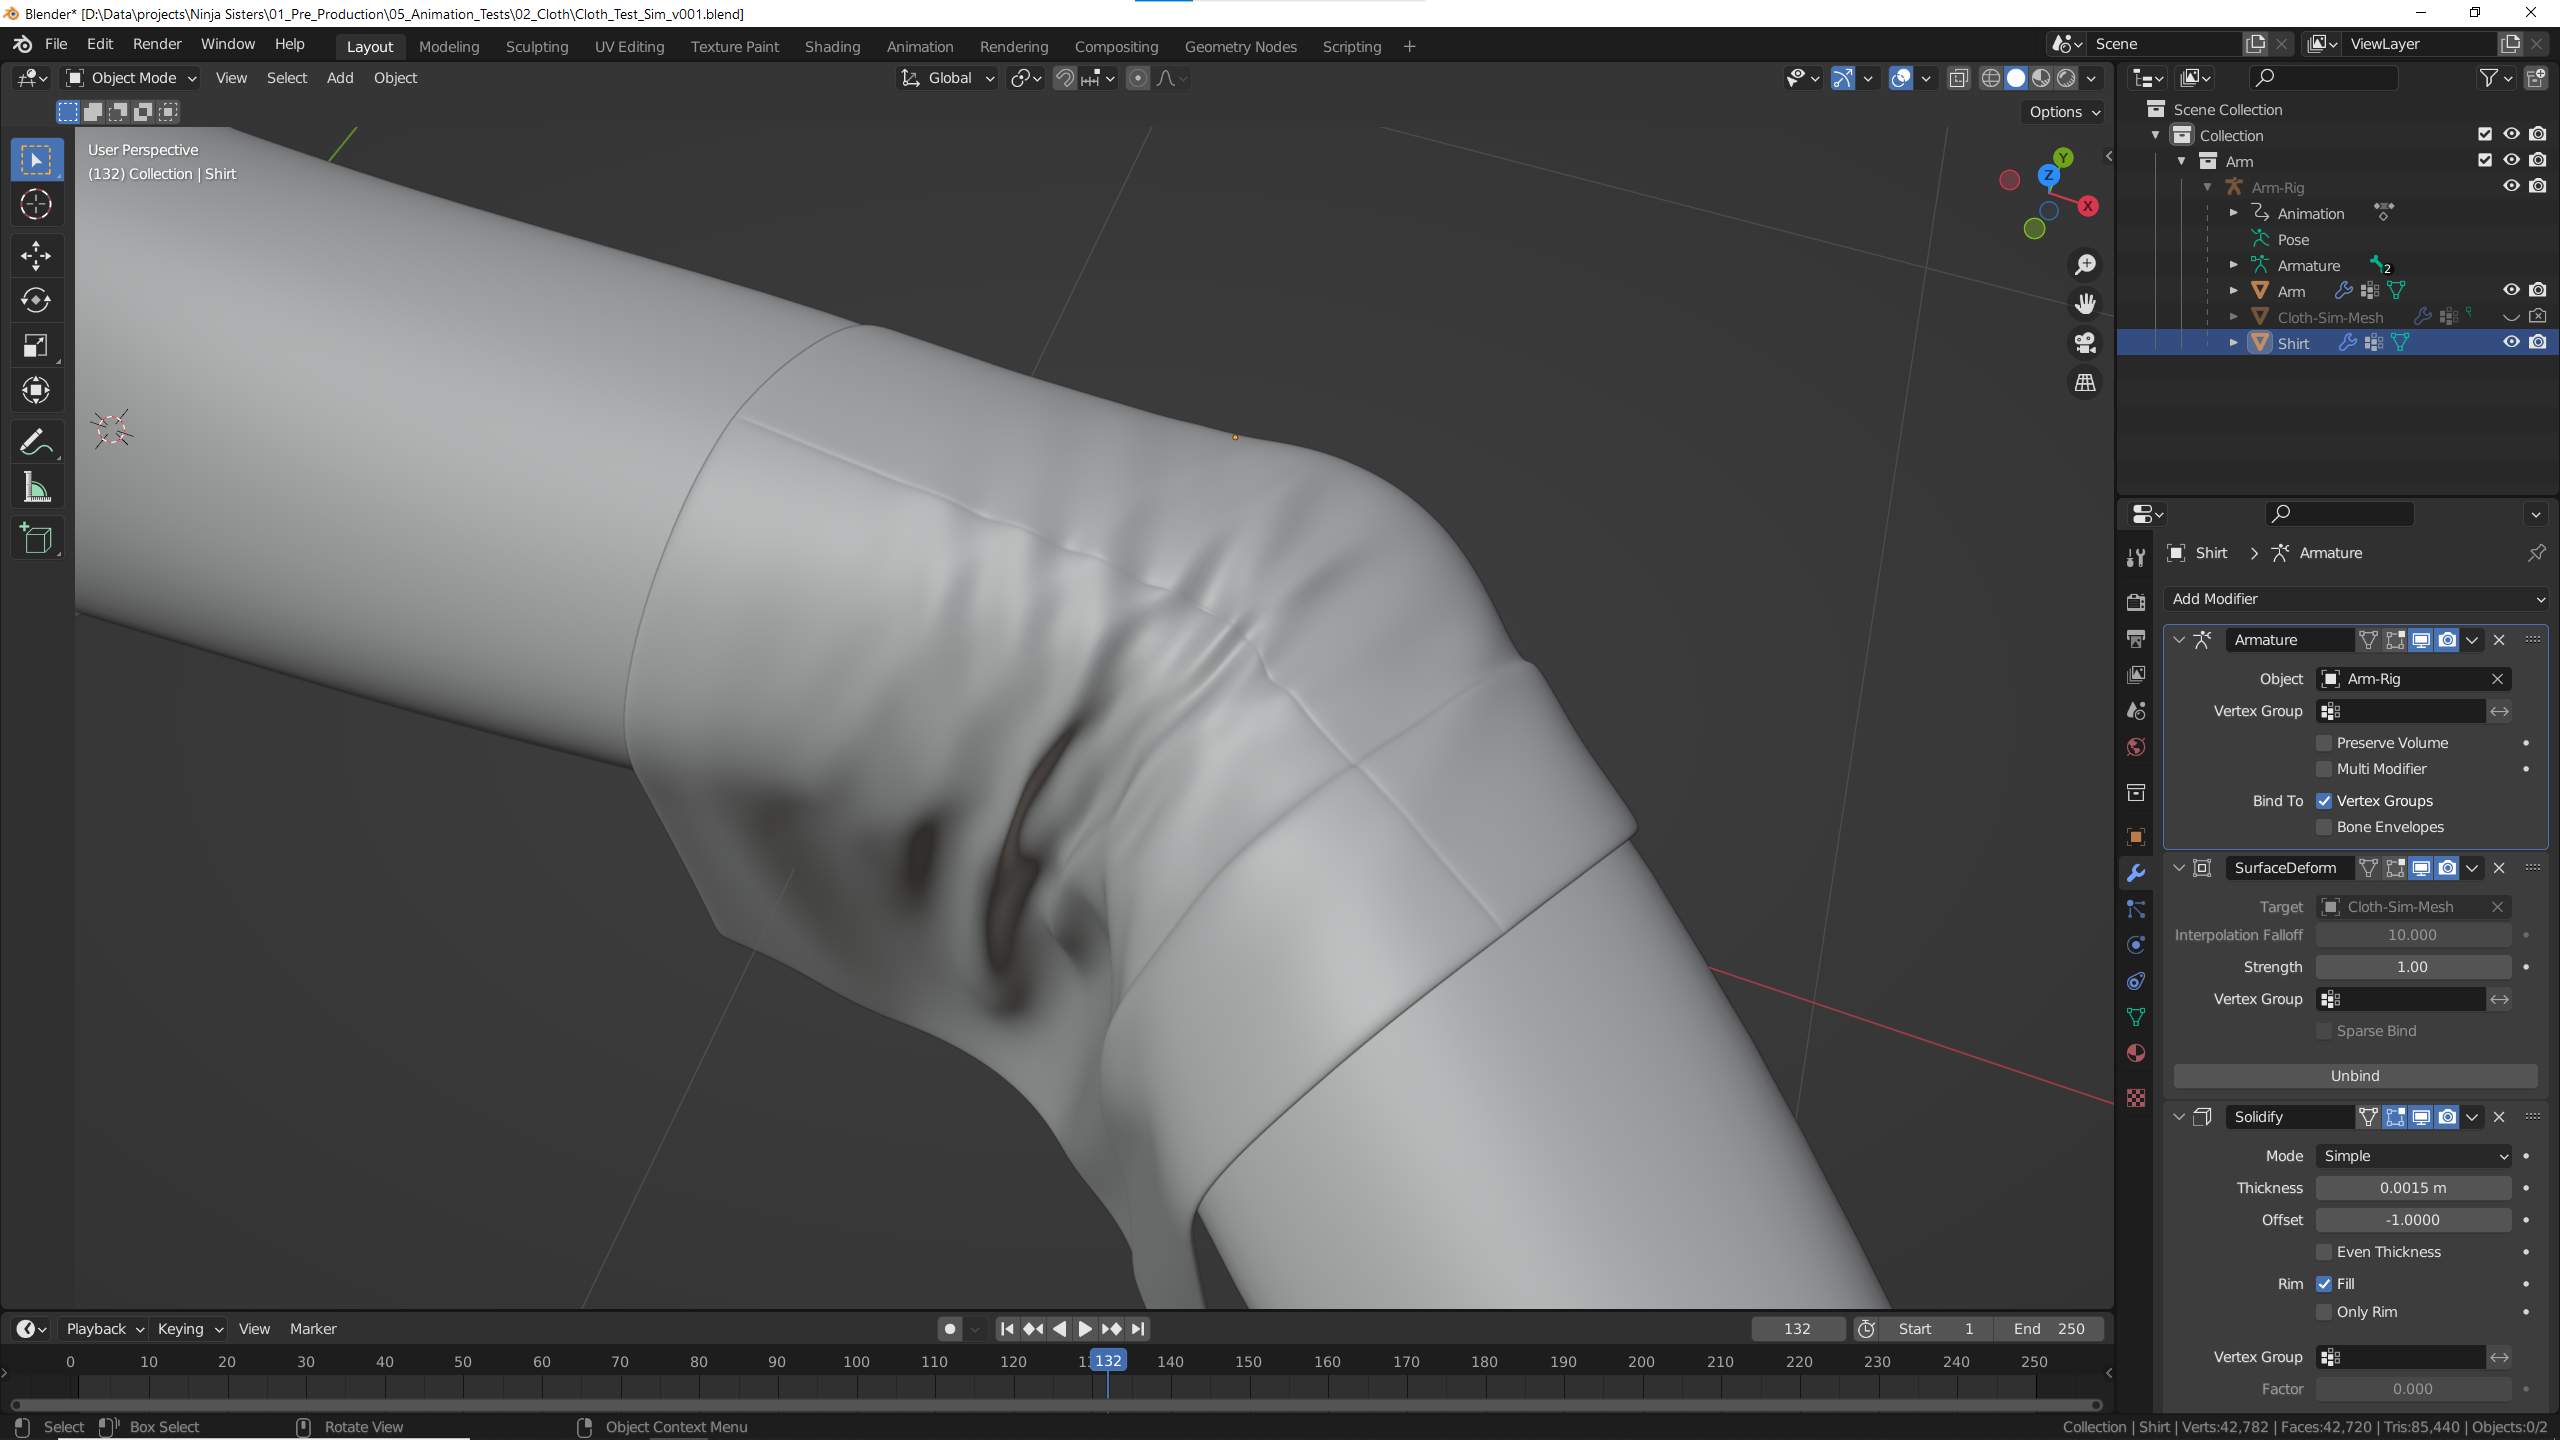
In the second image you see the actual cloth (what you want to be rendered). This has extra details, the crease down the middle, somewhat like real clothes, is in fact modeled, as is the end part which is like a thicker sleeve or cuff on a shirt. Now yes, you could do this with a texture(bump) map, but it’s just a couple of extra edge loops and highly detailed without having to create and use a 4K image, etc. Of course it could actually be a whole lot more, like a pocket or loops for a belt. Anything that sticks out a little from the main cloth but is near enough that it should still basically deform and move the same.
If you had say that crease on the Cloth sim object, it would just totally fall apart and look like rubbish as part of the simulation, but by using the Surface Deform you can have the higher detail mesh follow the more simple cloth sim mesh and it all looks pretty good.
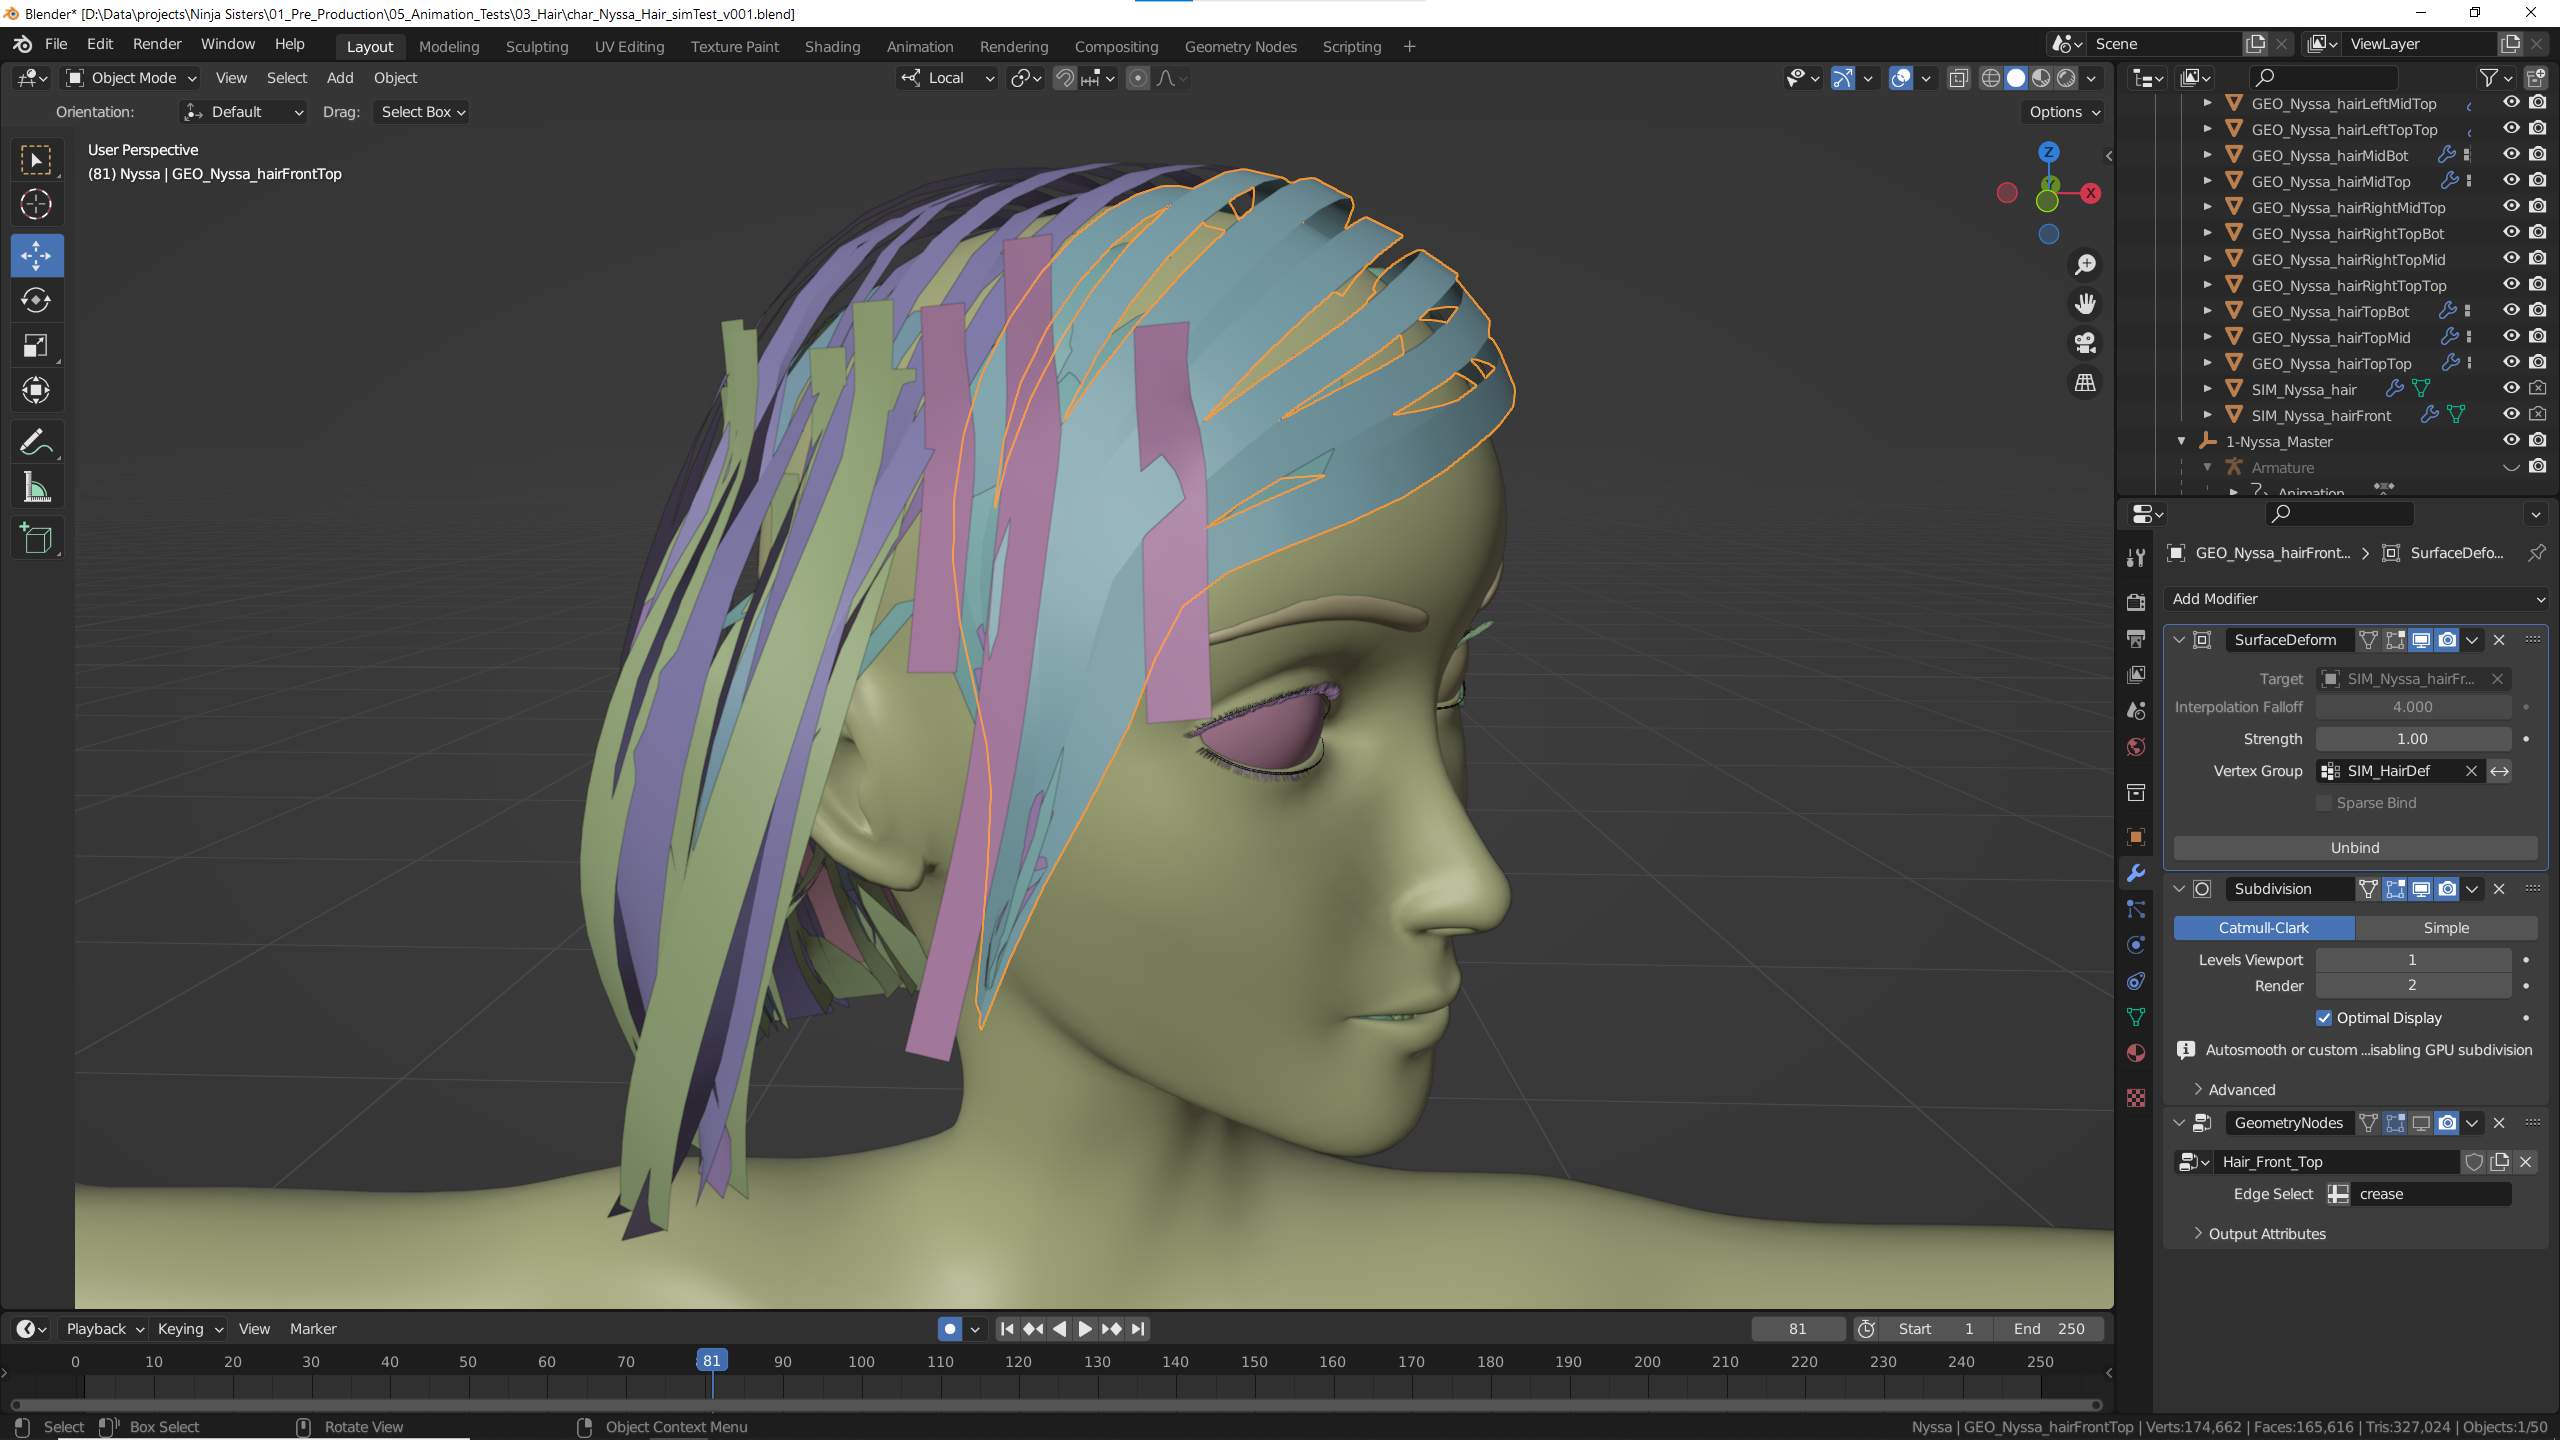
I used the same method (all be it with a few more levels of complexity) to do a hair test animation.
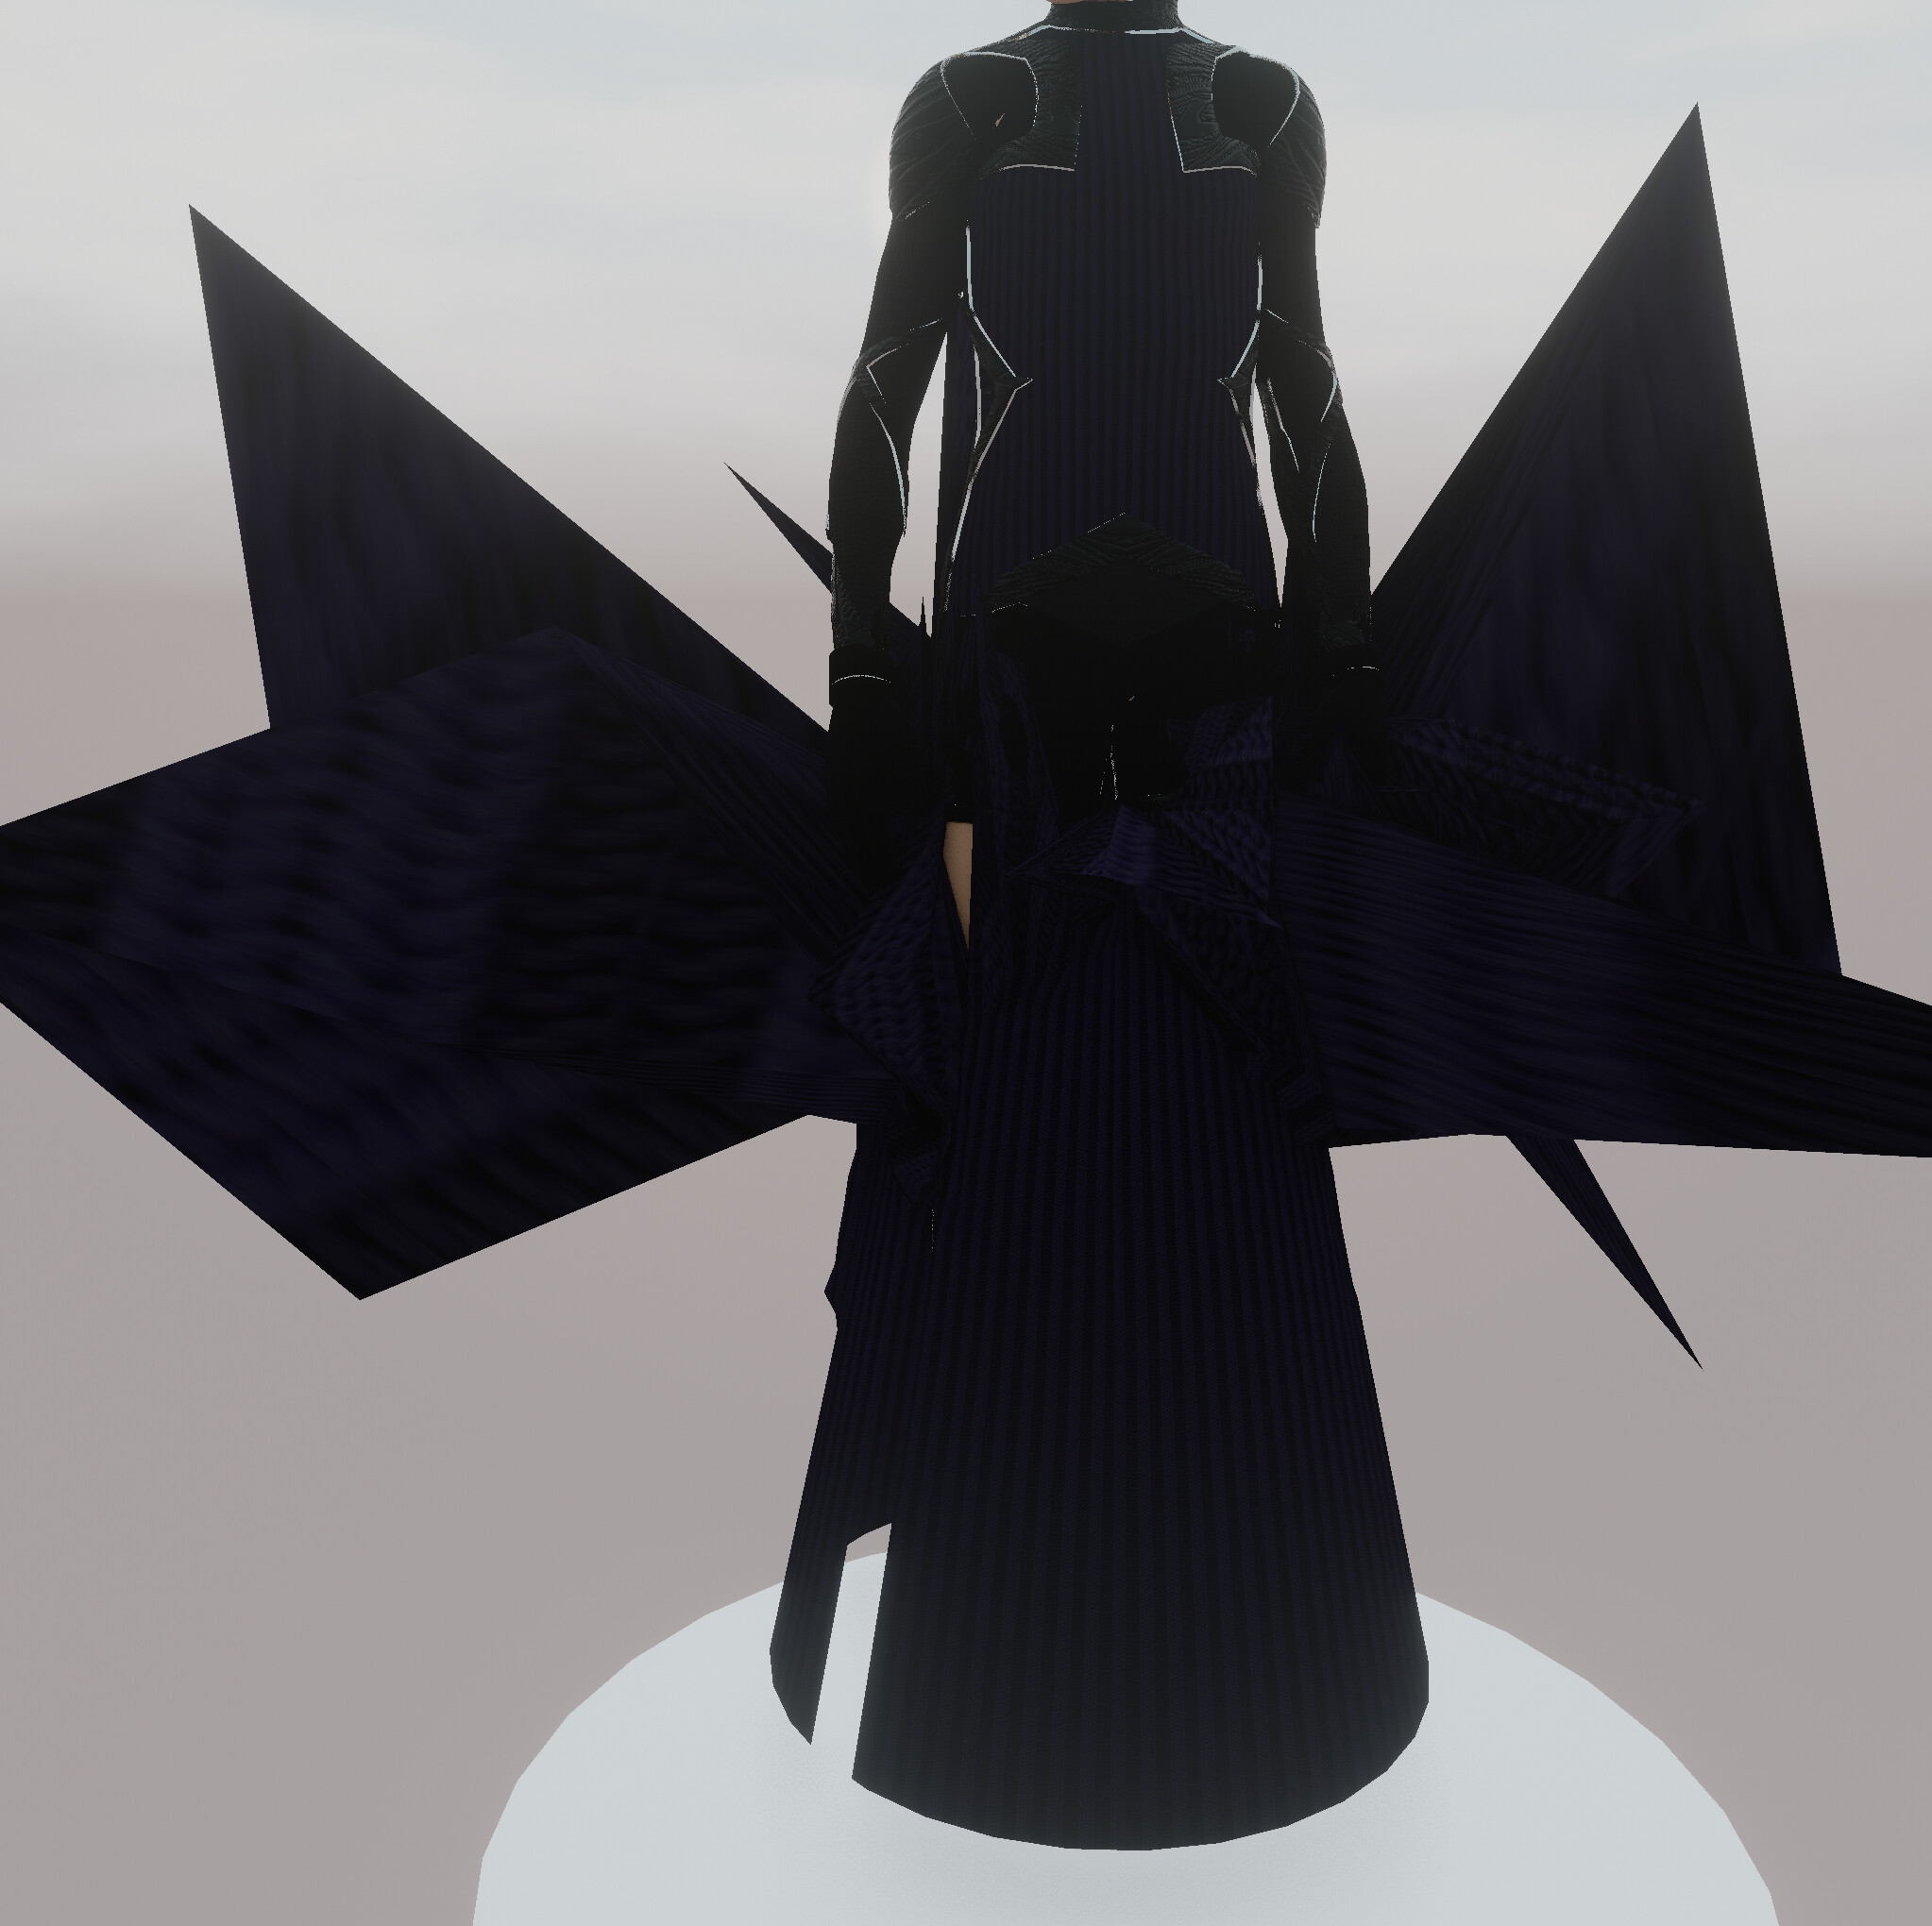
In this image the three front purple strips are the cloth sim and using weight painting they are more loosely bound to the selected front hair strips which with the surface deform modifier follow the general overall movement.
Only 2 cloth sims objects are used to then control all the hair objects and of course only the hair objects are actually rendered.
Here’s how it all looks as an animation: