I would like to model a background similar to the grey velvet in the photo but I’ve some problems.
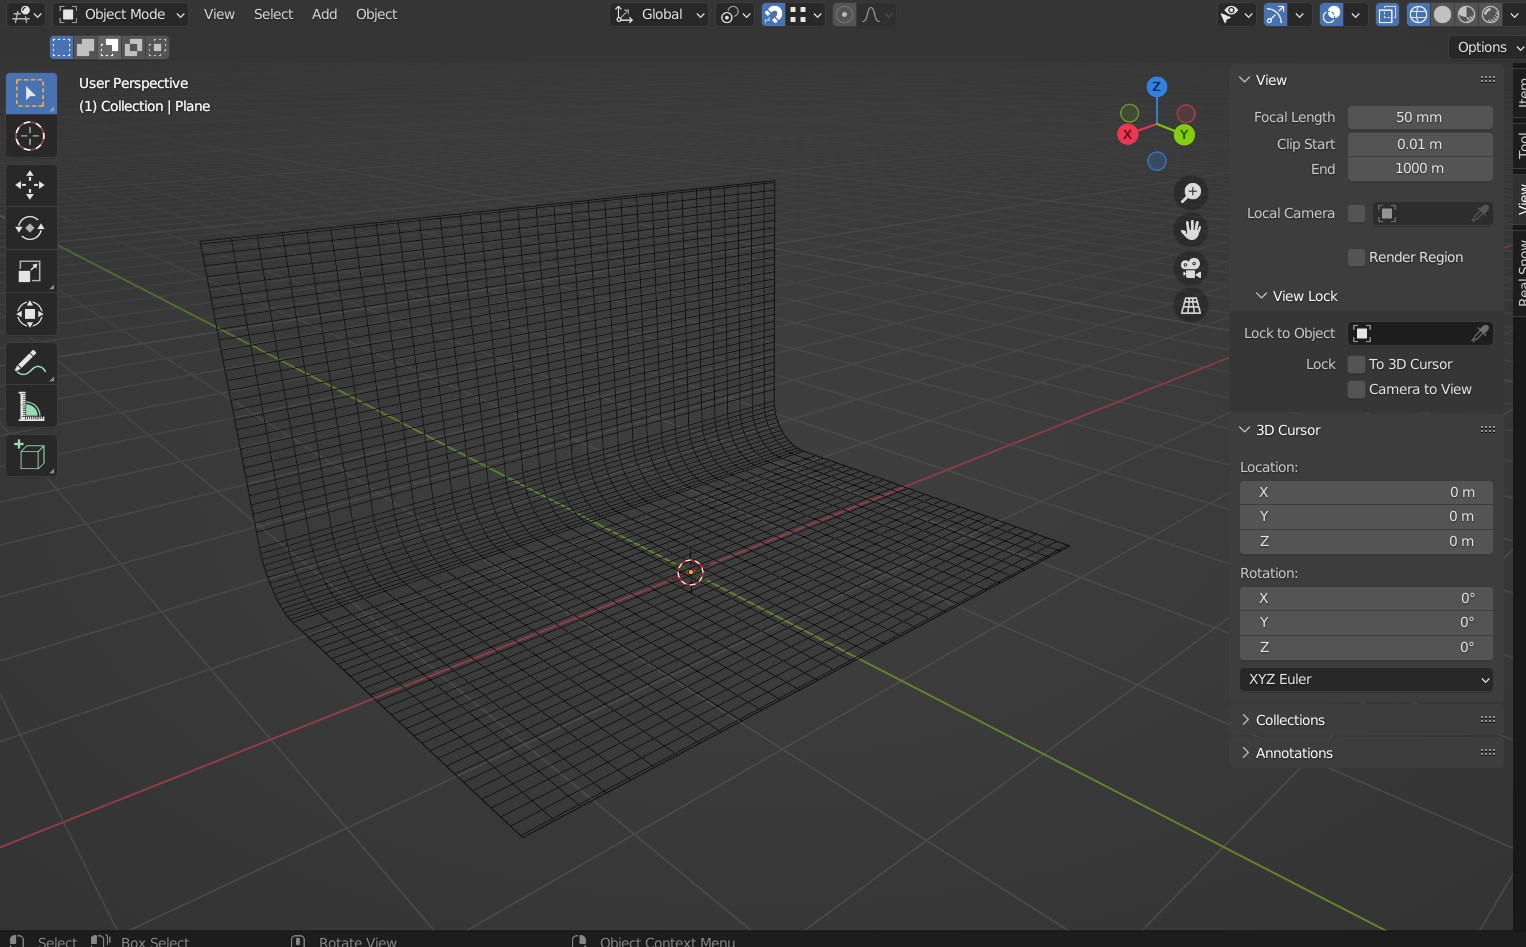
I’ve started with a plane, i extend on the Z one edge and then i bevel the intersection between the planes. After this i subdivide the faces.
But when I begin to sculpt with the cloth brush i’m not able to model those cloth “waves”. I’ve tried with different settings but nothing seems to work.
When sculpting, it’s important to make sure that your faces are as close to square as possible. I’d start this again, and keep that in mind when adding loop cuts or subdividing.
Once you have a grid made of squares and not rectangles, add a multires modifier. This is a sculpting equivalent to the subsurf modifier. You should then have some more success.
Alternatively, you could look at doing a cloth sim instead. For something like this, it would be fairly straight forward with a collision plane underneath, and the ‘cloth’ pinned in the top corners.